Summary
- The Science Behind Minimalist Grain-Free Canine Treats
- Ingredient Formulation and Moisture Balance Pitfalls
- Dough Consistency, Rolling Depth, and Shaping Blunders
- Thermal Regulation, Dehydration, and Storage Hazards
- Baking Temperature, Dough Thickness, and Shelf-Life Matrix
- Structured Blueprint for Crunch and Canine Safety
The Science Behind Minimalist Grain-Free Canine Treats
Stripping standard grain fillers down to a lean three-ingredient formula changes every physical dynamic on your baking sheet. Traditional wheat flour relies on a stretchy gluten network to trap steam and build a reliable crumb. Without that elastic binder, grain-free dog treats depend entirely on egg protein and native starches to knit together around the natural juices of fresh fruit. Skipping flour makes your dough fragile, turning ordinary homemade pet treat mistakes into either crumbly sand or spongy biscuits that spoil within days.
Precision moisture management makes the difference between brittle dust and shelf-stable crunch. When baking dog treats at home with minimal elements, the egg acts as structural scaffolding while your flour alternative dictates water absorption. Balancing these elements keeps healthy dog snack recipes crisp all the way through without needing chemical stabilizers or synthetic shelf extenders.
Ingredient Formulation and Moisture Balance Pitfalls
Small adjustments in raw ingredient proportions compound rapidly once you eliminate conventional bulking agents. An extra tablespoon of egg white or fruit juice can turn a manageable dough into wet sludge that never sets. Dialing in dog treat ingredient ratios requires understanding how alternative starches behave under oven heat, particularly when folding in juicy fruit.
- Coconut flour drinks up three to four times more liquid than standard nut or seed flours, demanding extra binder volume.
- Egg size variations from medium to extra-large can swing dough hydration by over twenty percent.
- Fruit moisture shifts depending on whether produce comes fresh from a farmers market counter or thawed from cold storage.
Careful grain-free pet food prep ensures your batter holds clean cut lines before entering the oven. Keeping hydration consistent safeguards healthy blueberry dog snacks against uneven bake lines and raw interior centers.
1. Adding Wet Blueberries Directly Without Paper Towel Blotting
Rinsing a half-cup of fresh berries under the tap washes away orchard debris, but tossing them straight into the mixing bowl carries hidden surface water into your dough. That lingering film dilutes your starch binder right at the point of contact, creating soft, gummy craters around each fruit pocket during the bake.
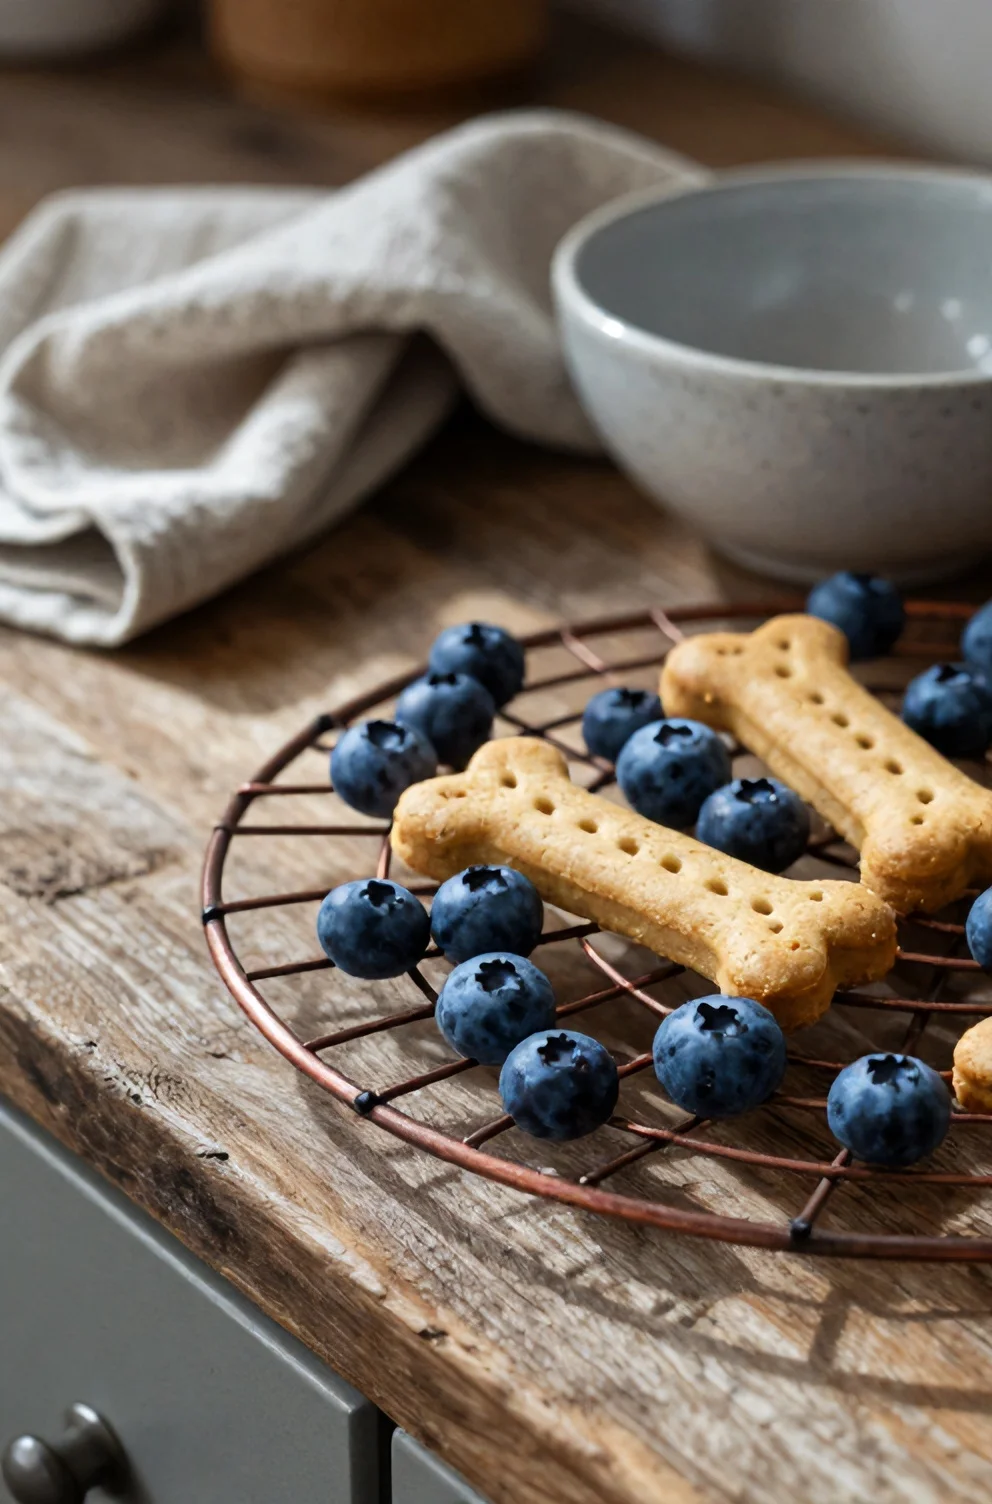
Spread washed berries across a clean paper towel and gently pat the skins dry before incorporating them into fresh fruit pet snacks. Trapping unevaporated water inside crisp blueberry dog treats introduces localized moisture pockets that encourage furry green mold blooms within forty-eight hours of storage on your counter. Strict moisture control keeps blueberry dog treats safe and crunchy, proving that thorough prep is non-negotiable when baking homemade batches.
2. Substituting Coconut Flour at Standard Wheat Ratios
Standard all-purpose flour swaps will instantly ruin your batch because dried coconut meat functions like an insatiable sponge on your baking counter. When formulating coconut flour dog treats, you must measure exactly 0.75 cups of coconut flour rather than matching conventional two-cup wheat recipes, because this alternative starch draws in nearly triple its weight in ambient hydration. Pouring in standard ratios starches out the moisture immediately, turning your mixing bowl into sandy crumbles that refuse to come together under a rolling pin.
Stylist Rule: Target a supple clay texture before rolling.
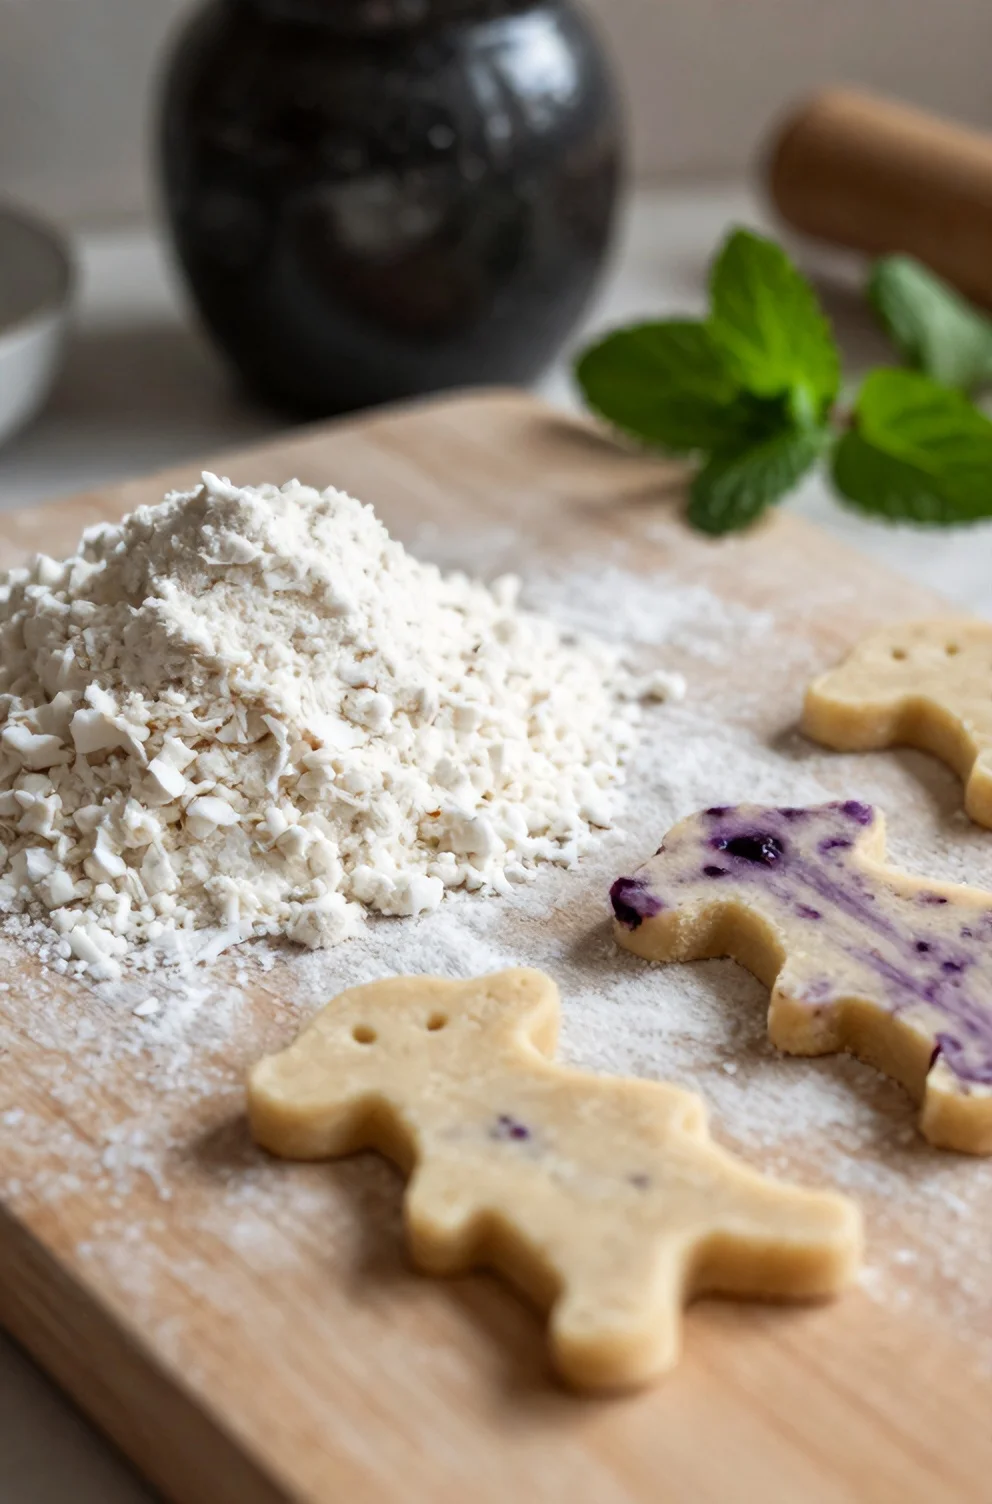
The ideal dog biscuit dough texture develops after letting the blended mix rest for five minutes so the fibers fully swell. If your gluten-free pet treats still crumble along the edges, mist the ball lightly with warm water until the mass presses flat without splintering, guaranteeing resilient grain-free flour dog biscuits that hold cutter edges cleanly.
3. Utilizing Sweetened Frozen Berries with Added Sugar or Preservatives
A quick trip down the supermarket freezer aisle can introduce hidden dangers if you grab commercial pie-filling blends instead of whole, unprocessed fruit. Checking package ingredient labels for 100 percent pure fruit dog treats ensures your pup never encounters cane syrup, dextrose, or synthetic preservatives like potassium sorbate. Added sweeteners do far more than trigger canine digestive upset; high fructose concentrations caramelize prematurely against the hot cookie sheet at 325 degrees Fahrenheit, creating bitter black crusts before the biscuit cores dehydrate properly.
- Select packages clearly labeled with a single ingredient to guarantee pure, safe berries for dogs.
- Inspect the frozen berries for added glazes or crystalline coatings that introduce unwanted refined sugars.
- Rely on raw, unadulterated fruit to keep your no-sugar pet snacks gentle on sensitive canine stomachs.
- Source USDA-certified organic bags at Target or Costco to ensure consistent natural dog treat baking results.
4. Under-Estimating Egg Binder Volume for Grain-Free Starches
Without gluten strands to weave a structural scaffold, grainless dough relies entirely on whole egg albumin and yolk fats to lock loose starch particles together. Incorporating two large eggs establishes the ideal egg binder pet treats require, coating dry coconut fibers and fruit pulp in a sturdy protein matrix. Skimping on this binder creates fragile discs that crumble into powdery heaps the moment your dog takes a bite, destroying the crisp texture you worked hard to achieve.
The coagulated protein mesh sets firmly under oven heat, delivering that coveted dog biscuit structural snap that holds up inside treat pouches. For this crunchy dog treats recipe, thoroughly whisk your eggs until frothy before folding in the dry base, ensuring these protein bound dog snacks bake into resilient, bite-sized wafers that store without shedding dust.
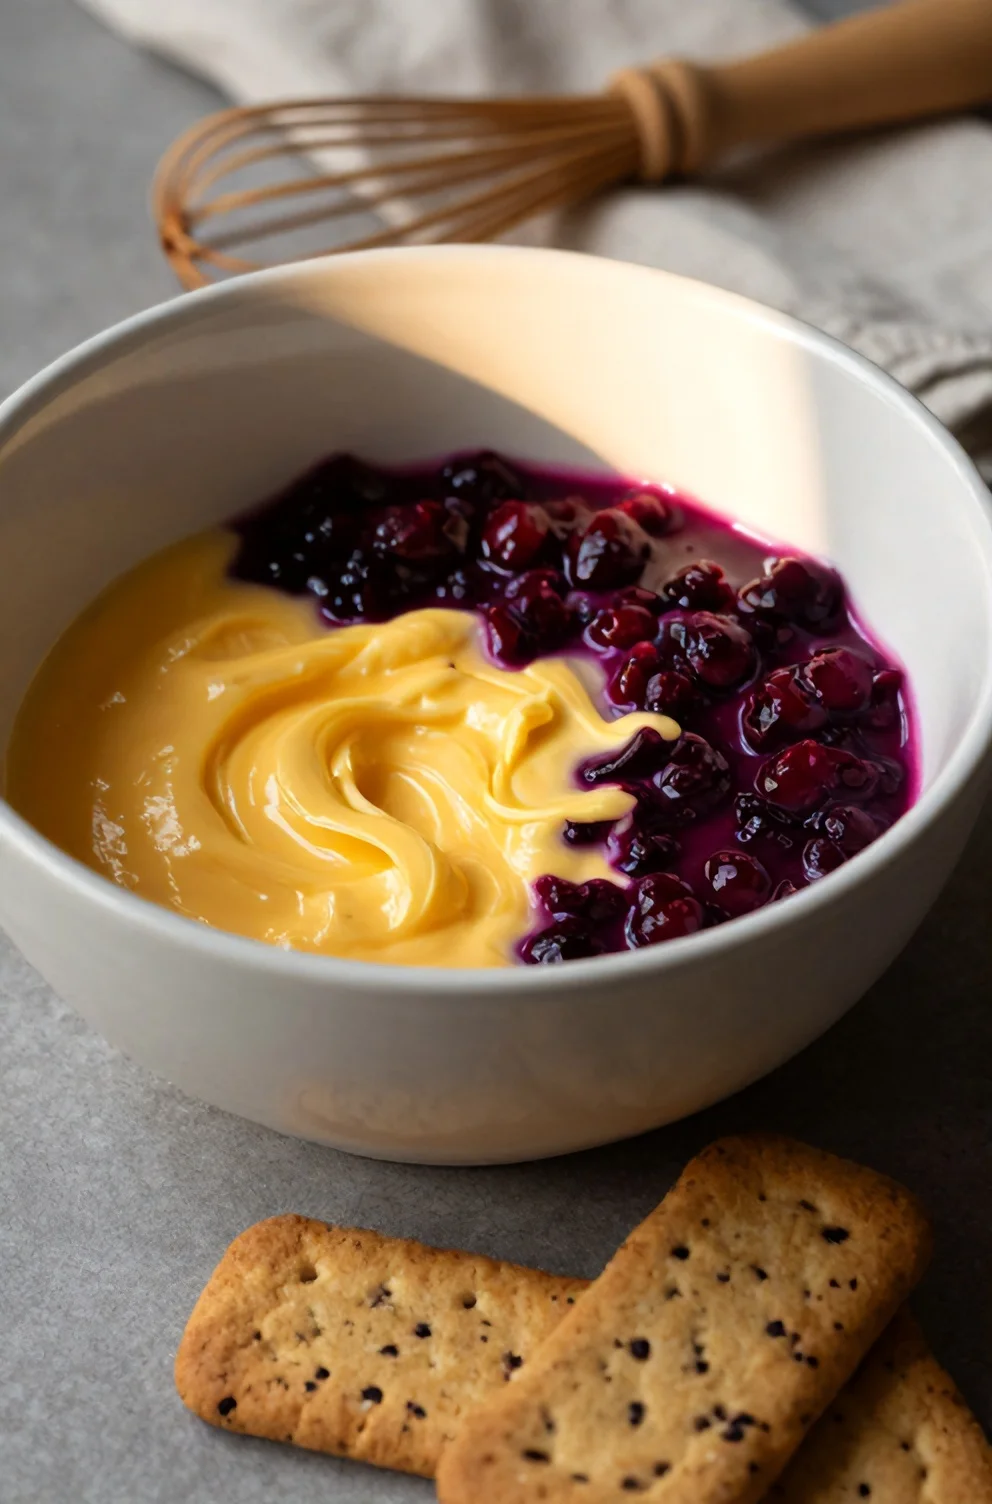
5. Over-Pureeing Fresh Blueberries into Runny Liquid Slurry
Tossing whole berries into a high-speed blender completely ruptures their cellular structure, flooding the dry starch with unmanageable free water. That flood turns your mixture into an intractable paste rather than workable cutouts. For simple homemade dog treats, you want small jewel-toned pockets of fruit suspended throughout the matrix rather than a soupy purple batter. Pulse your berries in a mini food processor for no more than eight to ten seconds, or simply mash them on a cutting board using the back of a stainless steel fork.
Coarse berry pieces allow moisture to evaporate cleanly during the bake while retaining concentrated antioxidants for your canine nutrition treats. Aim for pebble-sized bits that fold smoothly into crushed blueberry dog snacks without destabilizing pet treat batter consistency.
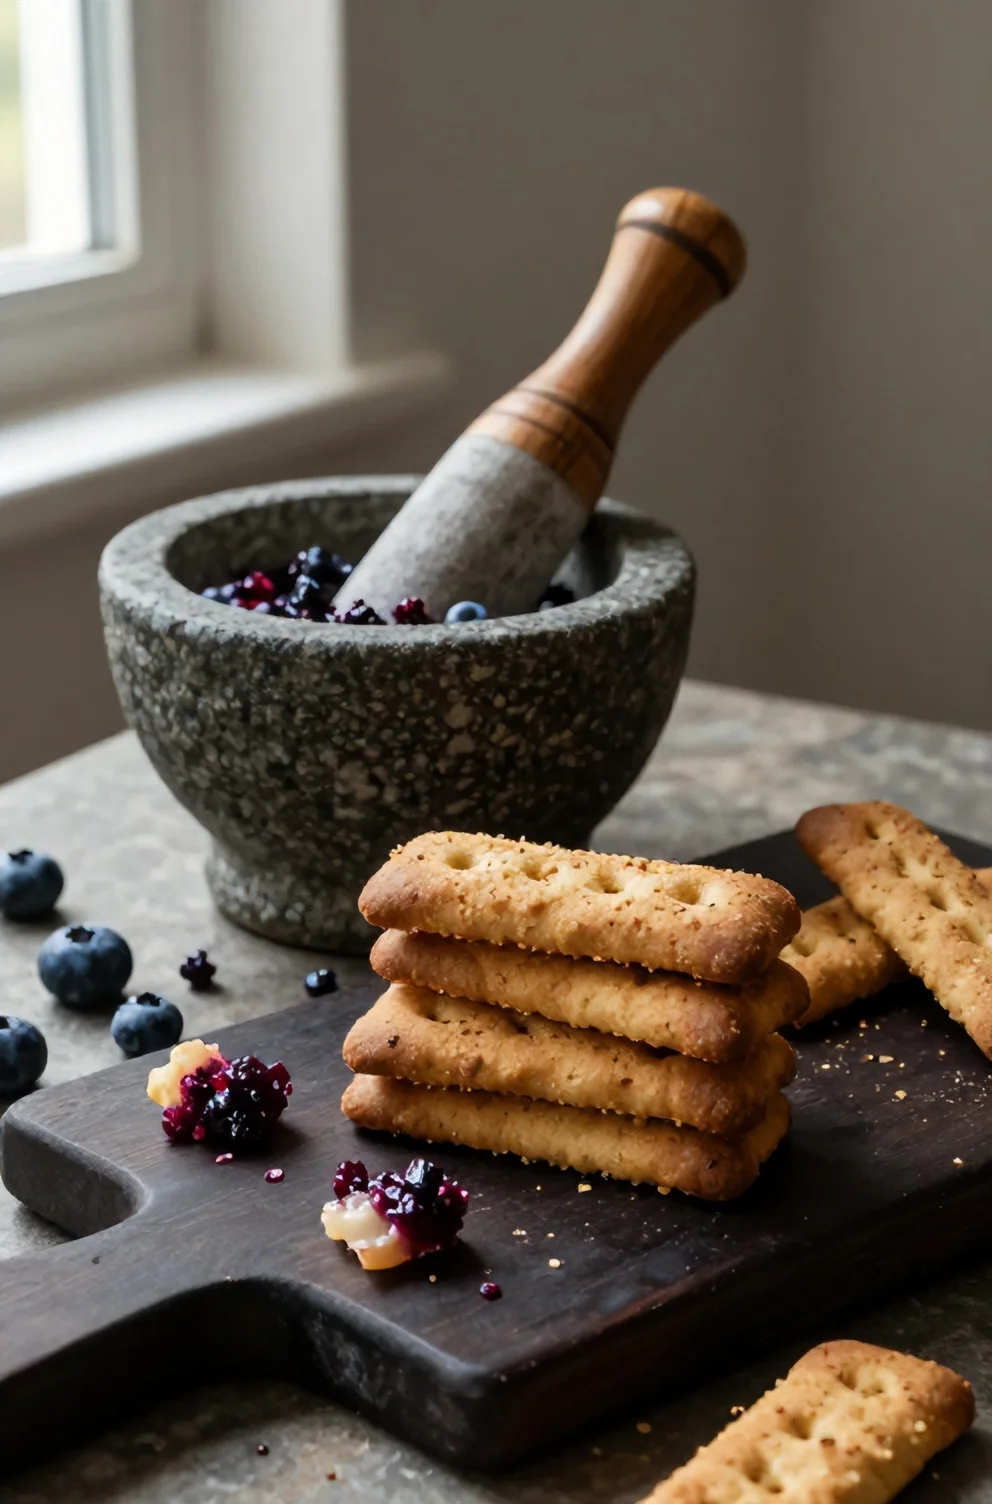
Dough Consistency, Rolling Depth, and Shaping Blunders
Grain-free dough behaves far differently under a rolling pin than gluten-based pastry because it lacks an elastic protein web to hold tension. When rolling dog treat dough, uneven surface pressure leaves thick pockets that remain doughy while thinner edges burn. Successful baking sheet prep for dogs begins with sandwiching the mixed dough between two sheets of unbleached parchment paper, eliminating the need for dusting flours that alter your hydration balance.
Stylist Rule: Dust metal cutter edges with tapioca starch between every punch to prevent grain-free shapes from tearing along intricate corners.
Solid mechanical preparation ensures your dog biscuit cutter tips glide through without dragging delicate edges or tearing berry pockets before the pan enters the heat.
6. Rolling Dough Thicker Than One-Quarter Inch
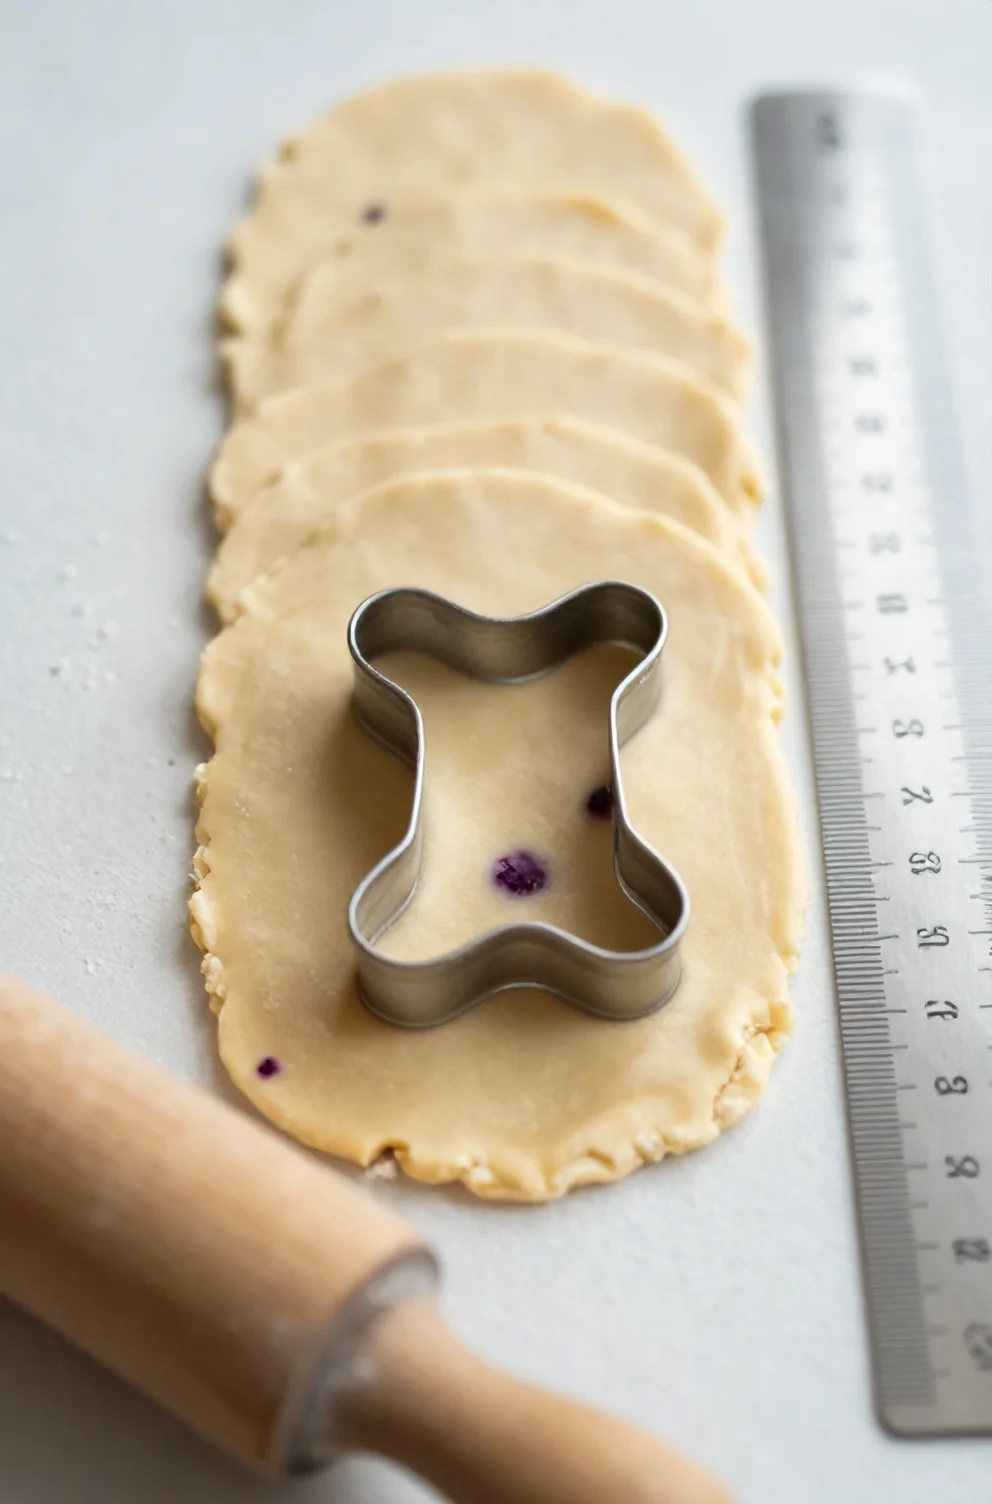
Eyeballing your slab height almost always results in oversized pieces that trap water deep within the center. Biscuits rolled thicker than one-quarter inch emerge with a deceptively crisp exterior while harboring a damp, sponge-like core that invites mold spores within forty-eight hours. Slip silicone spacer rings onto both ends of your rolling pin to lock in a true 0.25-inch depth across the entire perimeter, guaranteeing every cutout dehydrates at an identical pace.
Precision depth makes all the difference when baking bone shaped treats, especially around narrow center joints that bake faster than rounded ends. Uniform dog treats dry thoroughly all the way to the center, yielding truly crispy dog biscuits that snap cleanly under canine jaws. If you want treats that store safely for weeks in pantry jars, exact dog treat dough thickness serves as your best defense against moisture rot.
7. Skipping Parchment Paper on Hot Metal Baking Sheets
Raw aluminum or dark carbon steel sheets become high-heat friction zones the moment moisture-dense grain-free dough touches bare metal. Berry sugars caramelize rapidly upon pan contact, transforming tender cutouts into glued, charred fragments when you attempt to slide an offset spatula underneath. Lining the tray with unbleached parchment paper establishes a gentle thermal buffer that neutralizes hot spots and prevents scorching.
To ensure clean, nonstick baking, cut your parchment liner flush with the pan rim rather than letting excess paper curl against the oven walls. This simple barrier yields clean dog biscuit pans without harsh scrubbing or greasy aerosol sprays that add unwanted rancid fats to homemade pet baking. Your cutouts lift intact, preserving precise bone and paw shapes while keeping pan bases spotless throughout repeated afternoon batches.
8. Crowd-Spacing Treat Cutouts on the Baking Sheet
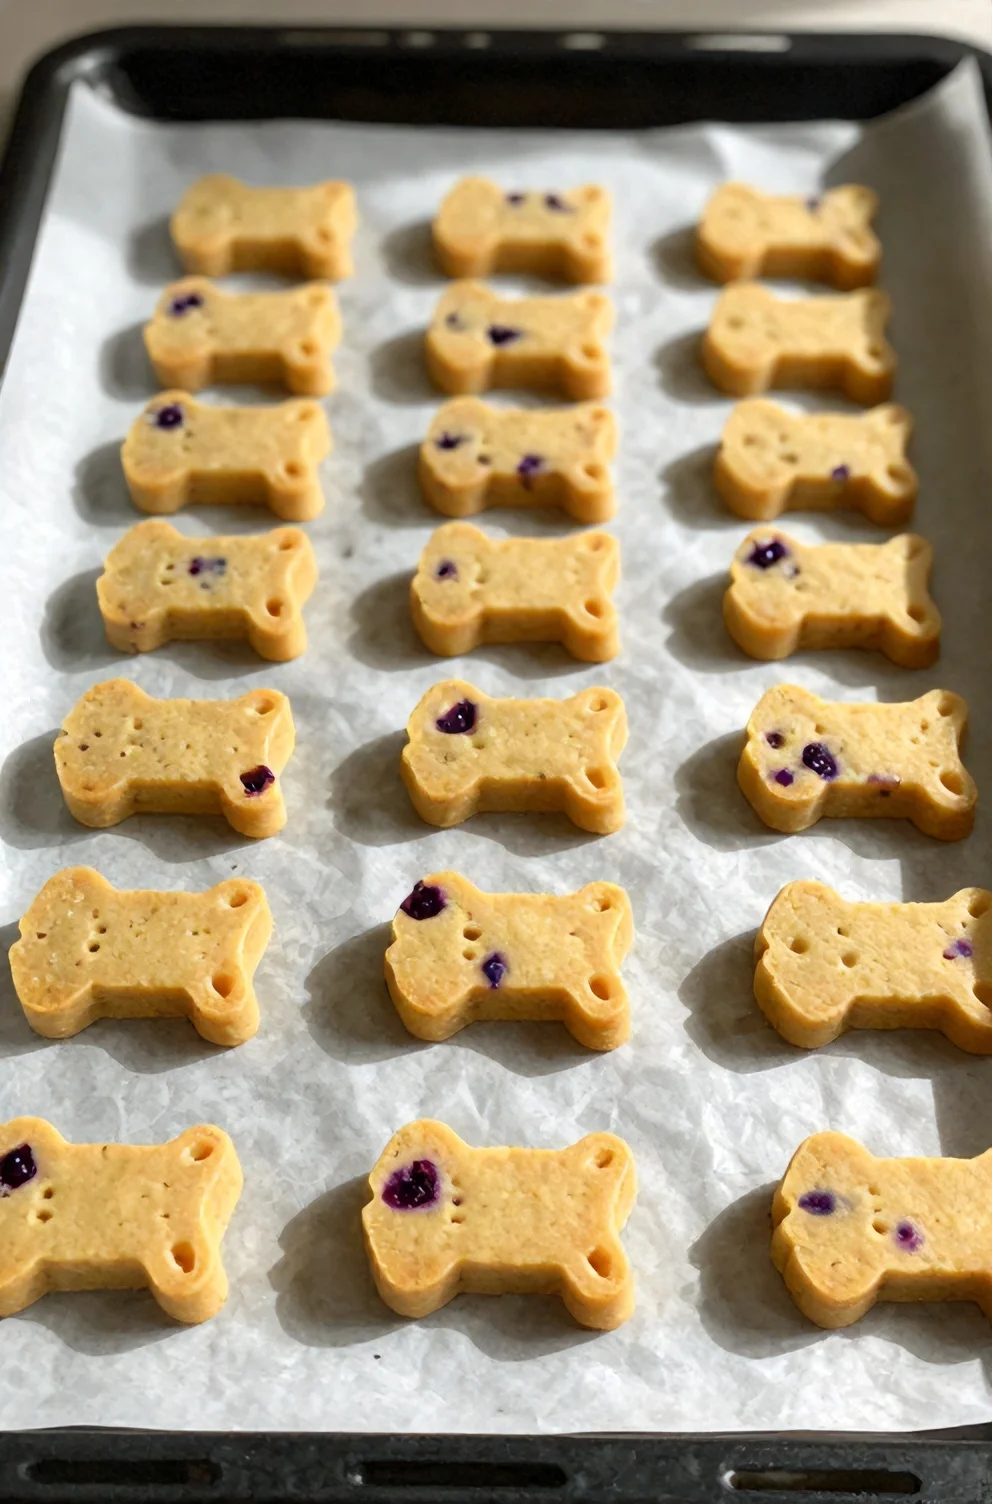
Packing dozens of cutouts shoulder-to-shoulder across a single cookie sheet creates an accidental microclimate of trapped steam. When heat penetrates dense dough, internal berry moisture must vaporize and escape into the oven cavity; if biscuits touch, that vapor circulates right back into adjacent dough walls, leaving perimeter edges soggy instead of brittle.
- Maintain half an inch of clearance for optimal baking sheet spacing dog treats require during active moisture evaporation.
- Stagger adjacent rows in a gentle checkerboard layout to let hot air circulate freely around every perimeter edge.
- Allow radiant convective airflow to yield genuinely crisp pet biscuits rather than spongy, semi-soft bites.
- Complete steady batch runs when dehydrating dog treats, swapping pans between racks halfway through to ensure evenly oven baked dog snacks.
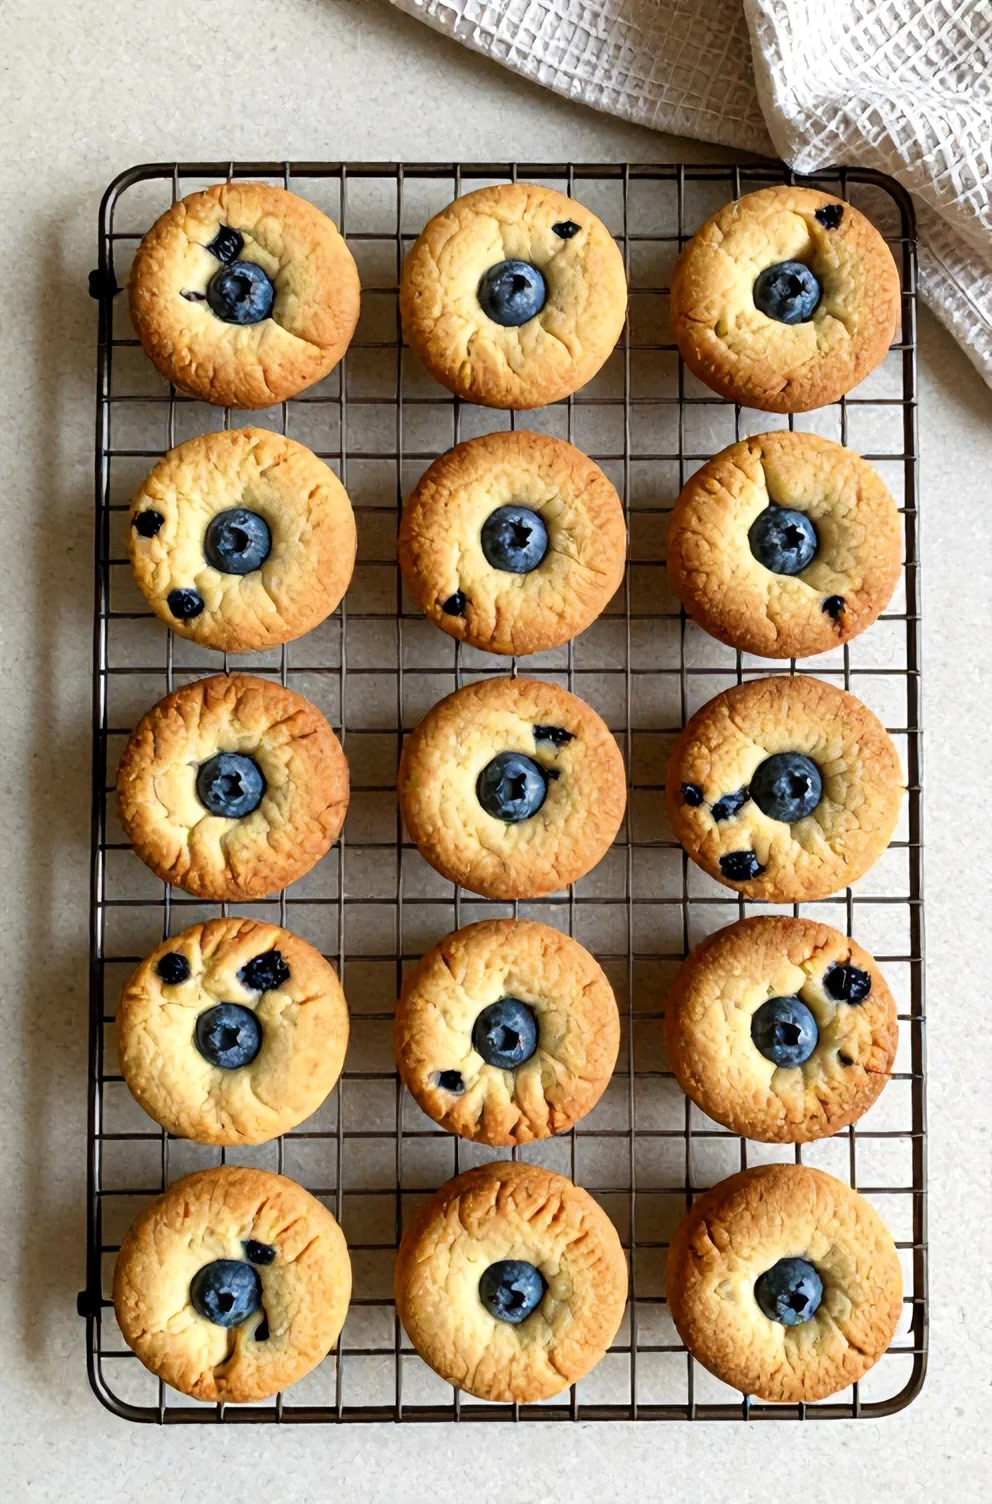
9. Skipping a Twenty-Minute Dough Chill Before Cutting
Warm coconut flour binds stubbornly to cutter blades and rolling pins whenever you rush straight from bowl to marble board. Coconut fats liquefy near room temperature, leaving the binder loose, gummy, and prone to ragged tears along fine cutter borders. A deliberate rest inside your refrigerator at 38 degrees Fahrenheit solidifies natural lipids into a workable, cohesive block.
A twenty-minute rest in the refrigerator transforms sticky paste into firm dough that stamps cleanly without stretching. Cold dough releases instantly from mini copper cutters, ensuring firm cut dog biscuits that hold crisp definition all the way into the oven. You will save substantial scrap re-rolling time while producing clean shape dog snacks that bake uniformly across the tray.
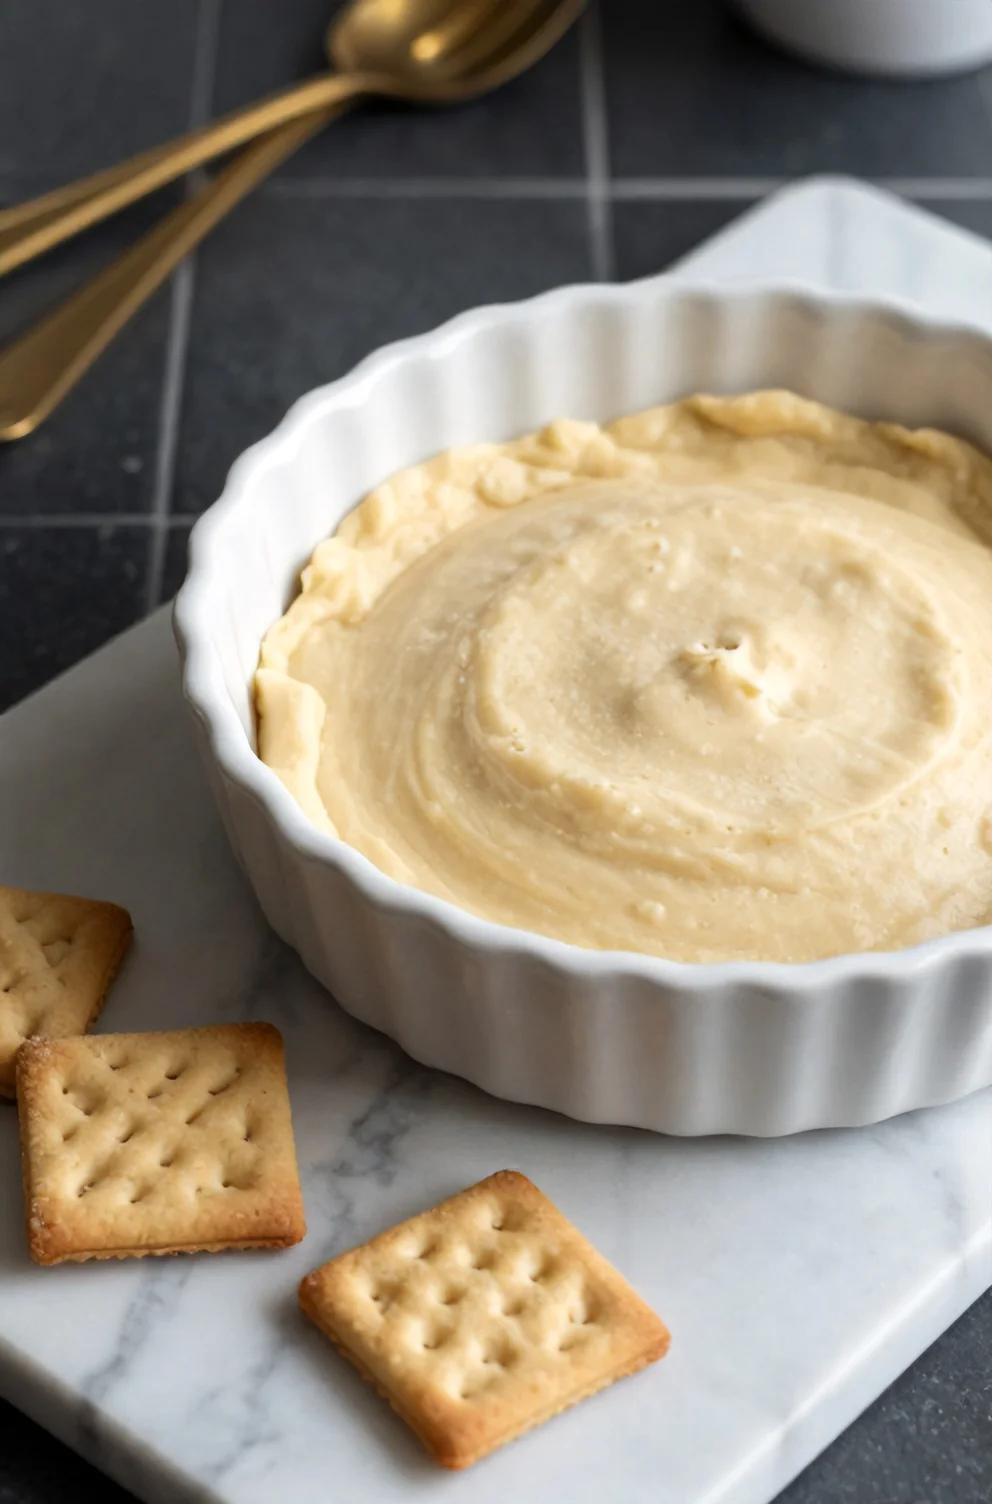
10. Mixing Different Biscuit Cutter Sizes on the Same Tray
Stamping a cute mosaic of two-inch stars alongside tiny half-inch bone shapes looks photogenic on your silicone rolling mat, but this habit wrecks your batch the minute the tray slides onto the oven rack. Thin metal canine snack cutters absorb and transfer radiant heat rapidly, meaning smaller shapes bake through in eight minutes while larger silhouettes barely warm at the core. When you arrange uniform dog biscuit sizes across a single sheet, every morsel responds to dry heat at the exact same rate.
Stylist Rule: Dedicate one full sheet to 1.5-inch cutters and reserve scrap offcuts for an entirely separate mini-treat pan.
Uniform cutter dimensions guarantee consistent heat penetration and structural density from center to perimeter. If you want varied novelty shapes for gift jars, simply sort your cut dough by surface area onto two distinct Nordic Ware aluminum sheets rather than crowding them together.
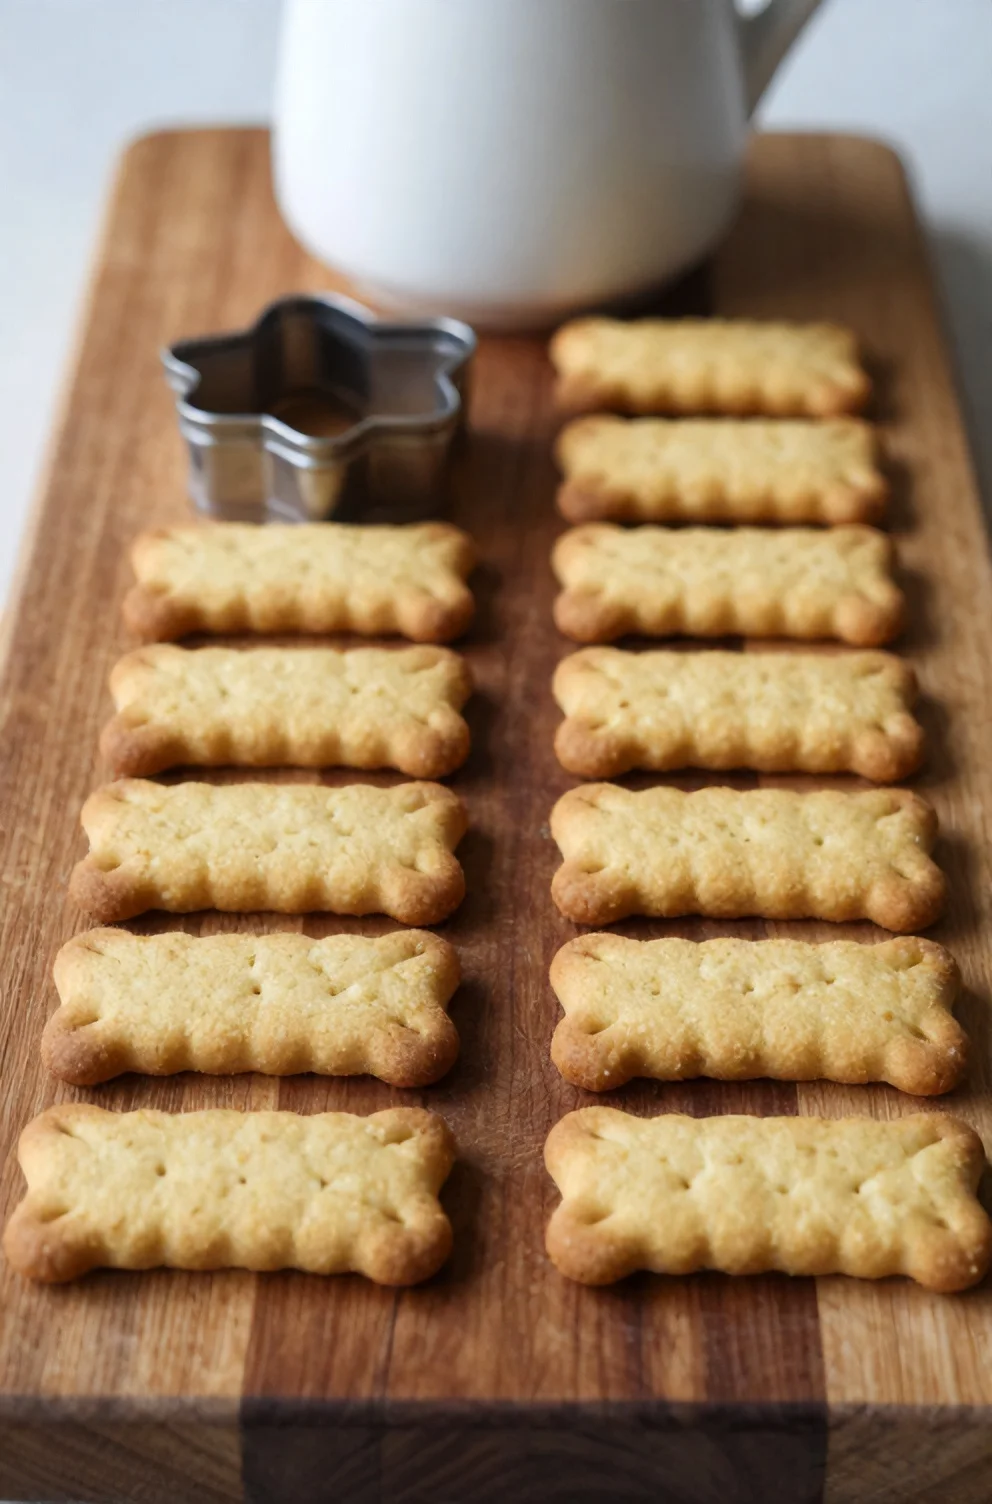
Thermal Regulation, Dehydration, and Storage Hazards
Grain-free baked snacks behave fundamentally differently than typical wheat flour recipes because starch blends hold moisture tenaciously. Dialing in your dog treat oven temperature requires a calculated two-step thermal strategy: an initial bake cycle to set the crumb structure, followed by an extended dehydration cure in a cracked-open oven. This prolonged dry air circulation wicks residual berry moisture out of the interior dough matrix without torching the exterior.
Long-term shelf life depends on controlling humidity pockets once the treats reach room temperature. When storing homemade dog treats without synthetic stabilizers, container airflow dictates how long they retain a crisp snap:
- Bake treats thoroughly until edges show light golden dryness across both surfaces.
- Cure biscuits on an elevated wire cooling rack for three full hours to bleed off vapor.
- Store daily rations in a breathable ceramic treat canister rather than airtight sealed glass.
- Freeze extra batches in parchment-separated silicone freezer bags for up to two months.
11. Baking Above 350 Degrees Fahrenheit Scorching Berry Sugars
Cranking your dial up to 375 degrees might promise a quick twenty-minute bake, but pureed blueberries carry concentrated fructose that caramelizes and blackens rapidly under intense direct heat. High heat creates an acrid, bitter crust while trapping raw steam inside the dough core, leaving you with soggy centers prone to mold within forty-eight hours. Calibrating your oven temperature to an exact 325 degrees Fahrenheit protects delicate fruit sugars while drying starches steadily from edge to center.
A lower baking temperature promotes steady moisture evaporation, preventing burnt crusts and raw interiors. When low heat guides the thermal curve, natural anthocyanin antioxidants in blueberries remain intact rather than degrading against scorching metal. Baking treats at this mild threshold yields an appetizing golden crumb with a crisp biscuit snap your dog will love.
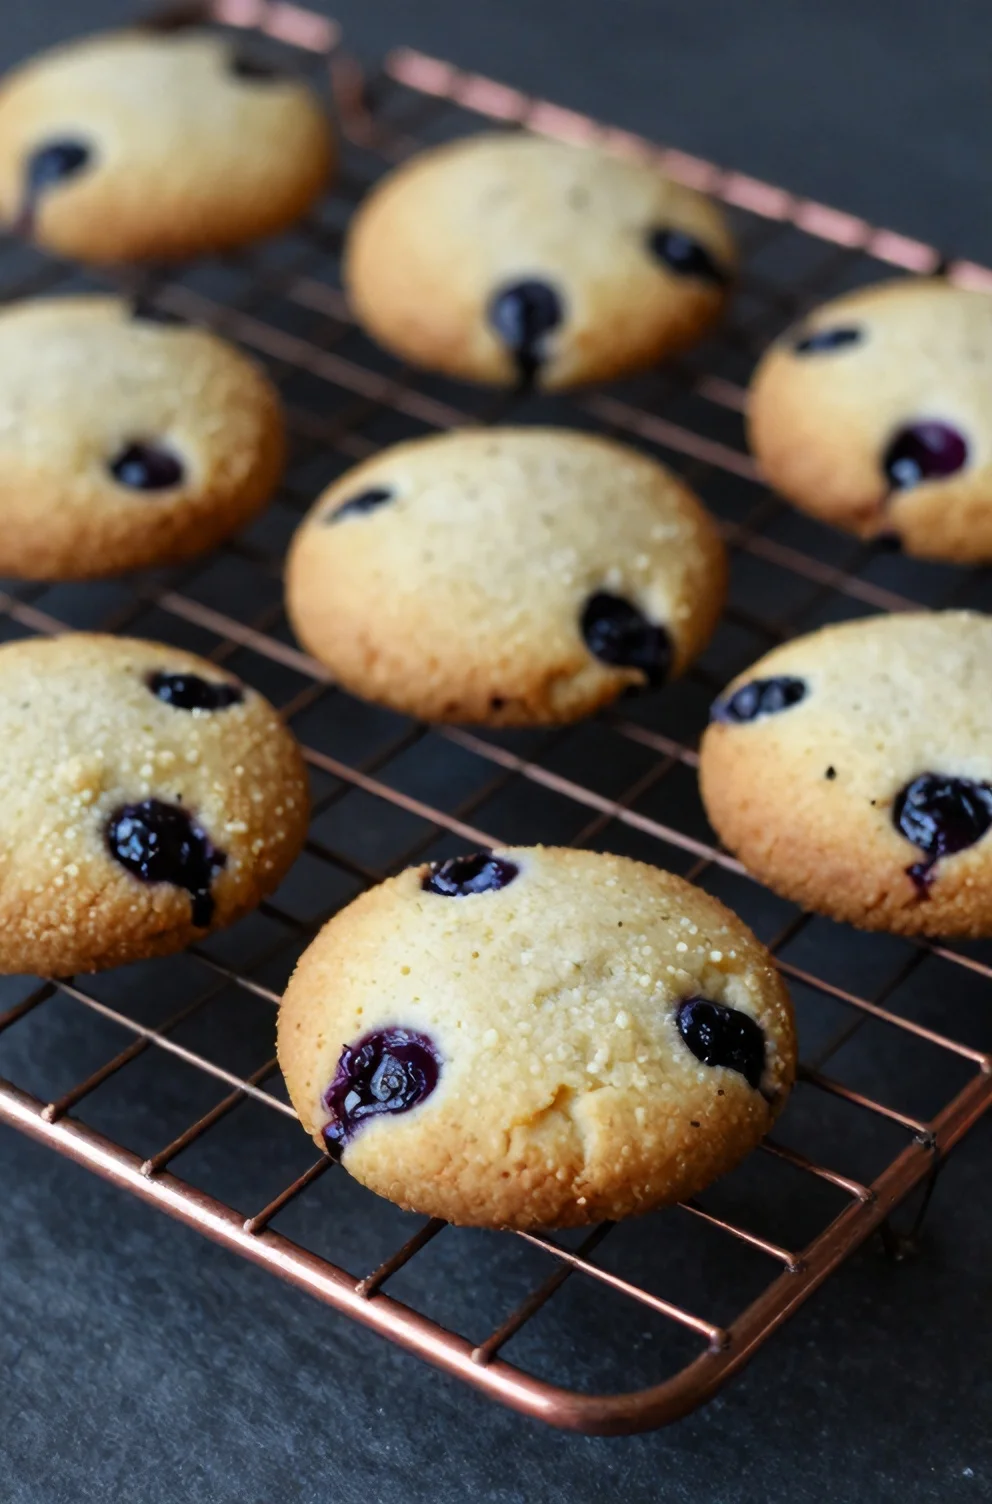
12. Skipping the Low-Heat Oven Dehydration Stage
Freshly baked treats often seem firm on the exterior straight out of the hot oven, yet trapped water pockets linger deep within grain-free dough. Rather than pulling your baking sheet onto the counter immediately, turn the oven dial down to 200 degrees Fahrenheit for a quiet thirty-minute session. This secondary low-temperature cycle initiates the moisture removal needed to evaporate stubborn liquid without scorching delicate fruit sugars. Dehydrating dog biscuits slowly transforms what would otherwise turn into gummy, perishable chews into sturdy pantry staples.
The lingering oven warmth draws out deep core dampness to secure a genuine crunchy pet snack texture your pup can audibly snap into pieces. Without this patient drying interval, internal moisture migrates back outward, softening the crunch and shortening the lifespan of long lasting dog treats.
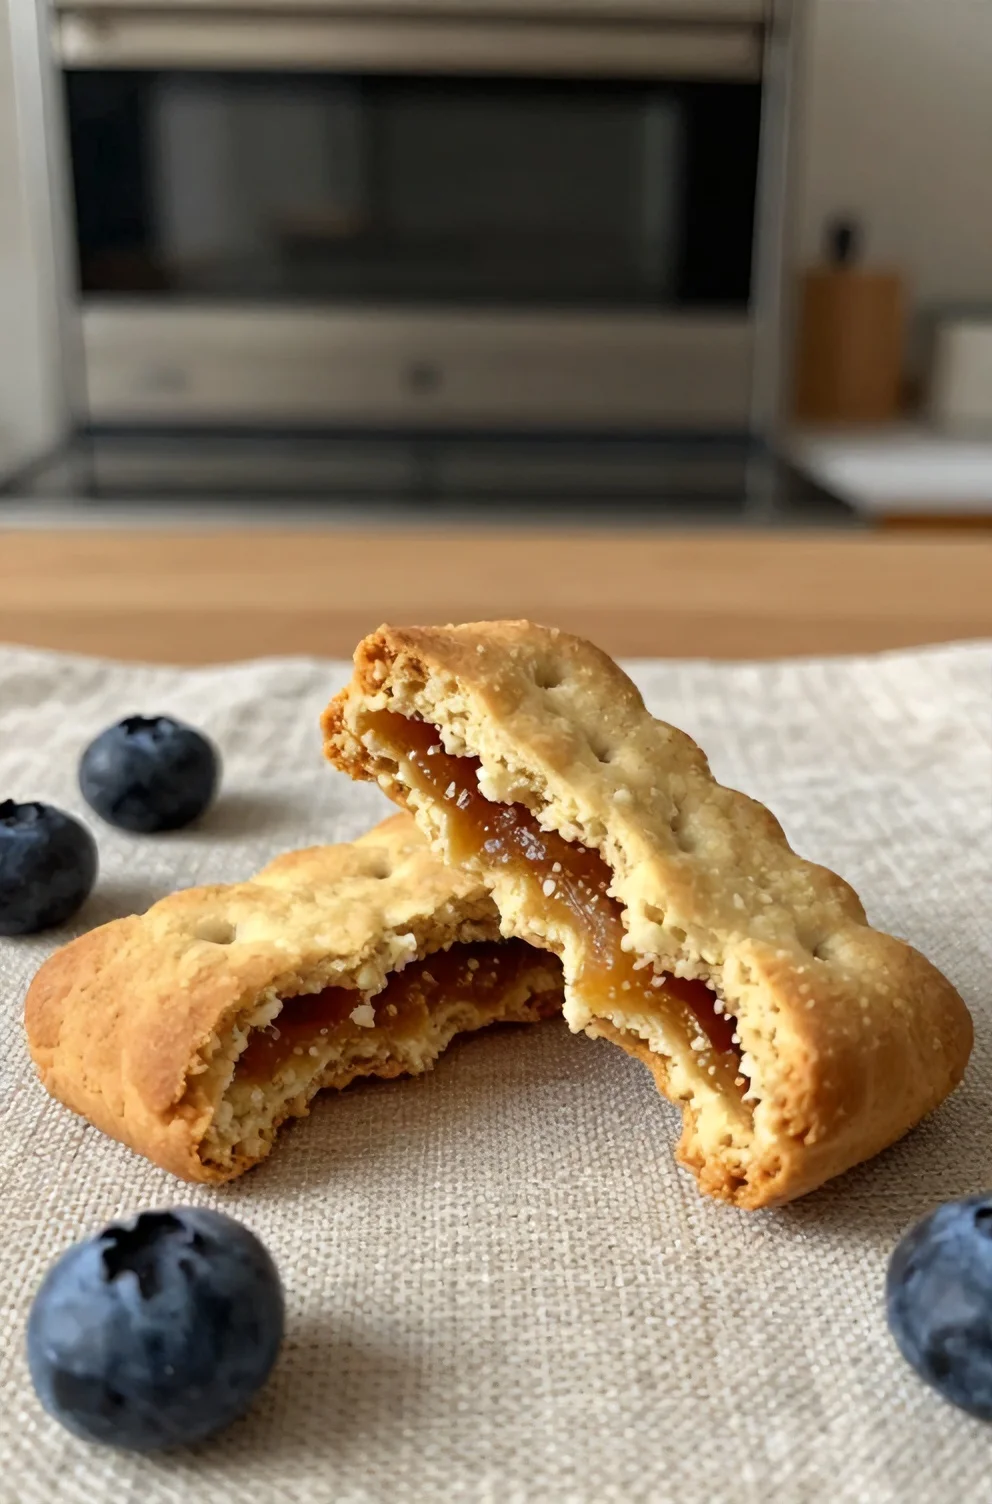
13. Sealing Warm Treats in Airtight Glass Jars Immediately
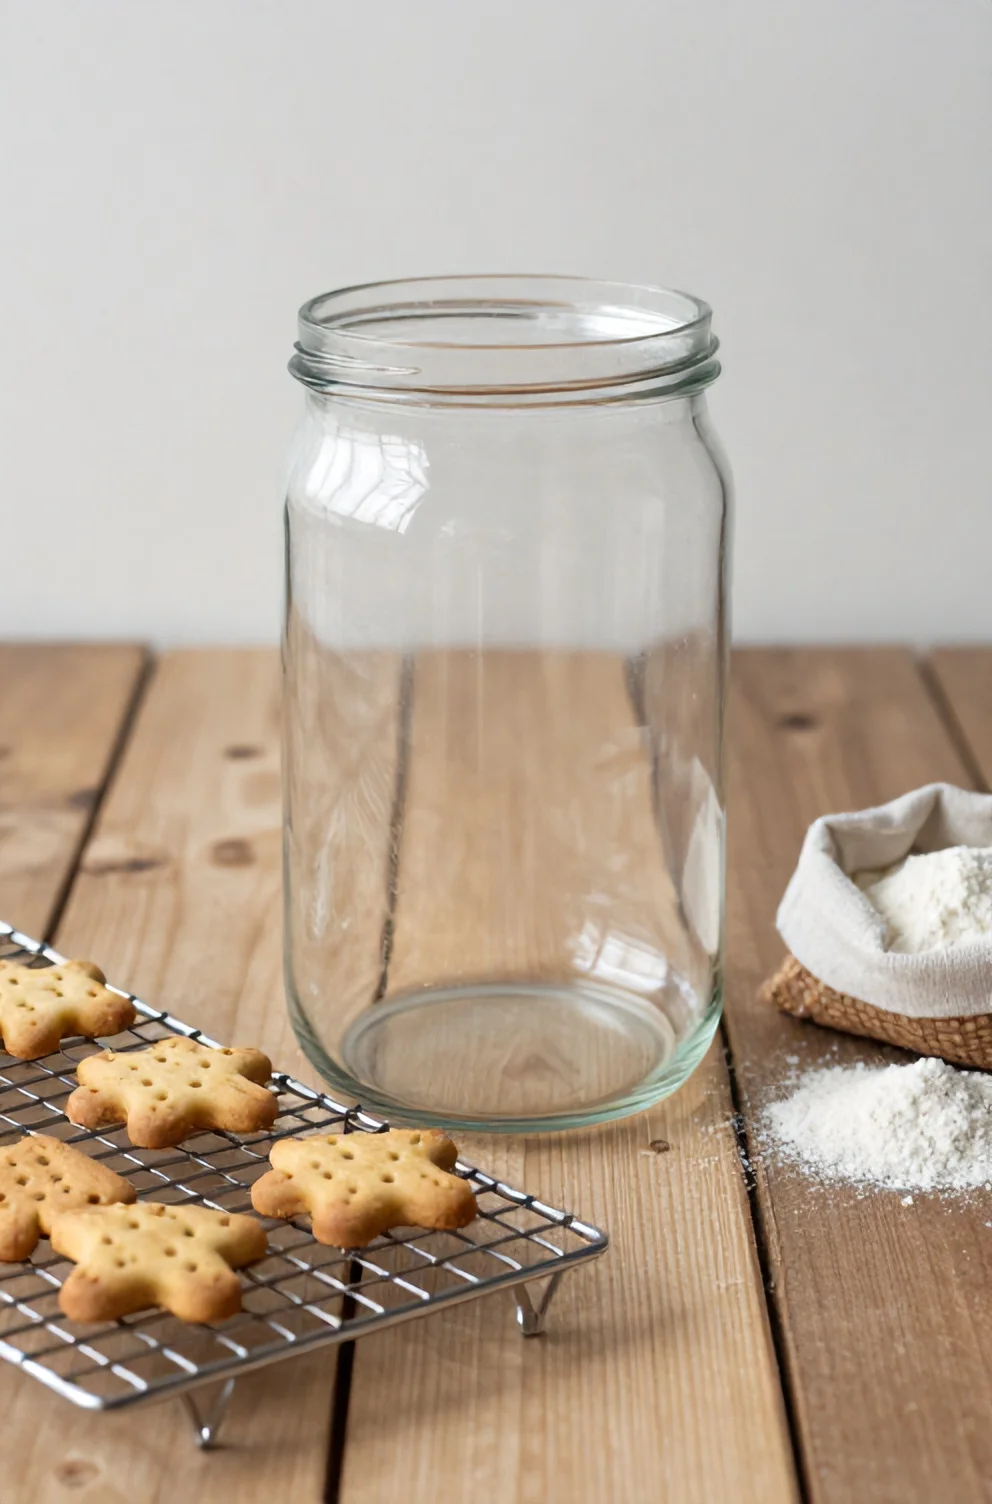
Pulling golden biscuits off the baking sheet tempts anyone to pack them right away, but rushing them into Mason jars or sealed tins ruins hours of baking effort. Residual thermal energy continues sweating moisture long after treats leave the oven heat. When enclosed too soon, that trapped humidity condenses against cold glass walls, turning your labor of love into soggy dough by nightfall.
- Position your biscuits across an elevated wire rack, allowing air to circulate freely beneath every base.
- Allow at least 45 minutes for cooling dog treats completely until each piece reaches room temperature to the touch.
- Store only thoroughly cooled snacks in pantry containers to ensure the biscuits hold their crunch for days.
14. Storing Moisture-Laden Treats at Room Temperature Beyond Three Days
Homemade baked goods lack commercial preservatives, chemical stabilizers, or synthetic antimicrobials to fend off airborne spores. While dry wheat flour biscuits might survive a week in a countertop crock, fresh blueberry purée introduces moisture and fruit sugars that mold spores thrive on. Leaving fresh batches on the kitchen counter past seventy-two hours invites fuzzy gray spoilage across the batch.
Cold temperatures halt fungal growth, making refrigeration the most reliable method for preserving homemade batches. After three initial days at room temperature, transfer the remaining portions to an airtight glass container inside the fridge to extend their shelf life up to two full weeks. If you bake a double portion, storing grain-free dog treats in the freezer keeps them fresh for up to sixty days. This simple cold-storage routine prevents mold growth and protects your dog from digestive upset.
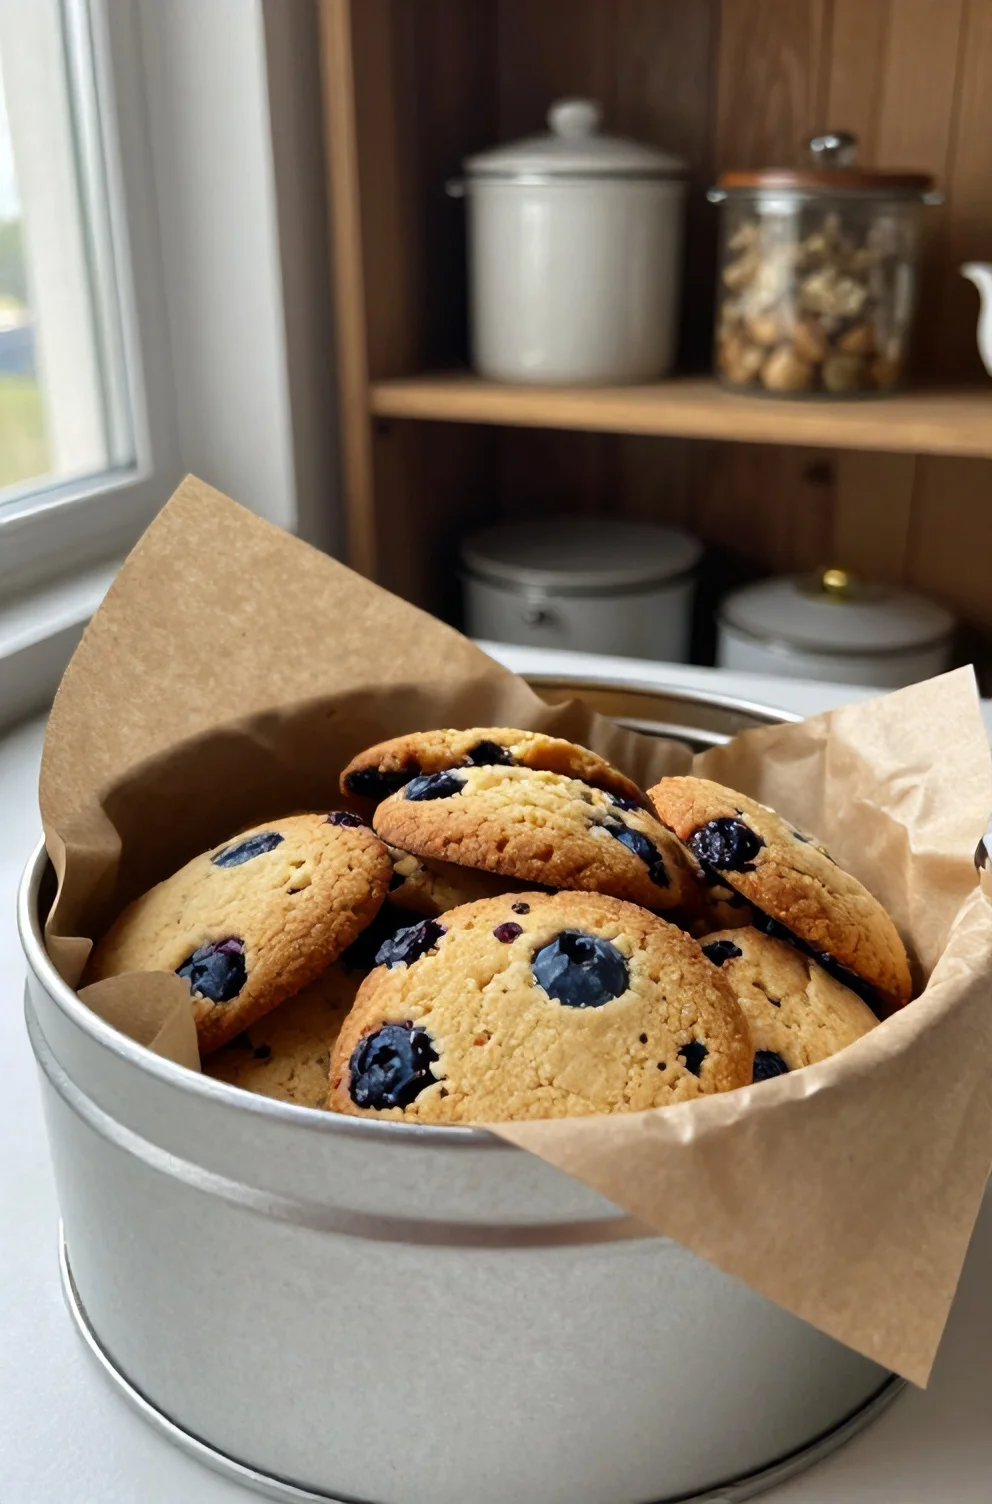
15. Offering Fresh Treats Before Internal Cooling Finishes
The temptation to hand over a warm biscuit straight off the wire rack is real, especially with eager paws dancing across your kitchen tile. However, cooling baked pet biscuits for at least thirty minutes on an elevated counter rack is essential for canine safety. Freshly baked dough pockets harbor concentrated steam and hot berry juices that can scorch sensitive gums or mouth tissues in seconds.
Warm grain-free starches also require ambient airflow to set their physical structure. Feeding lukewarm snacks before they set can disrupt digestion, as warm, unhardened starches may trigger loose stools or sudden bloating. Give every batch ample resting time to ensure a crisp crunch and safe snacking before calling your dog over.
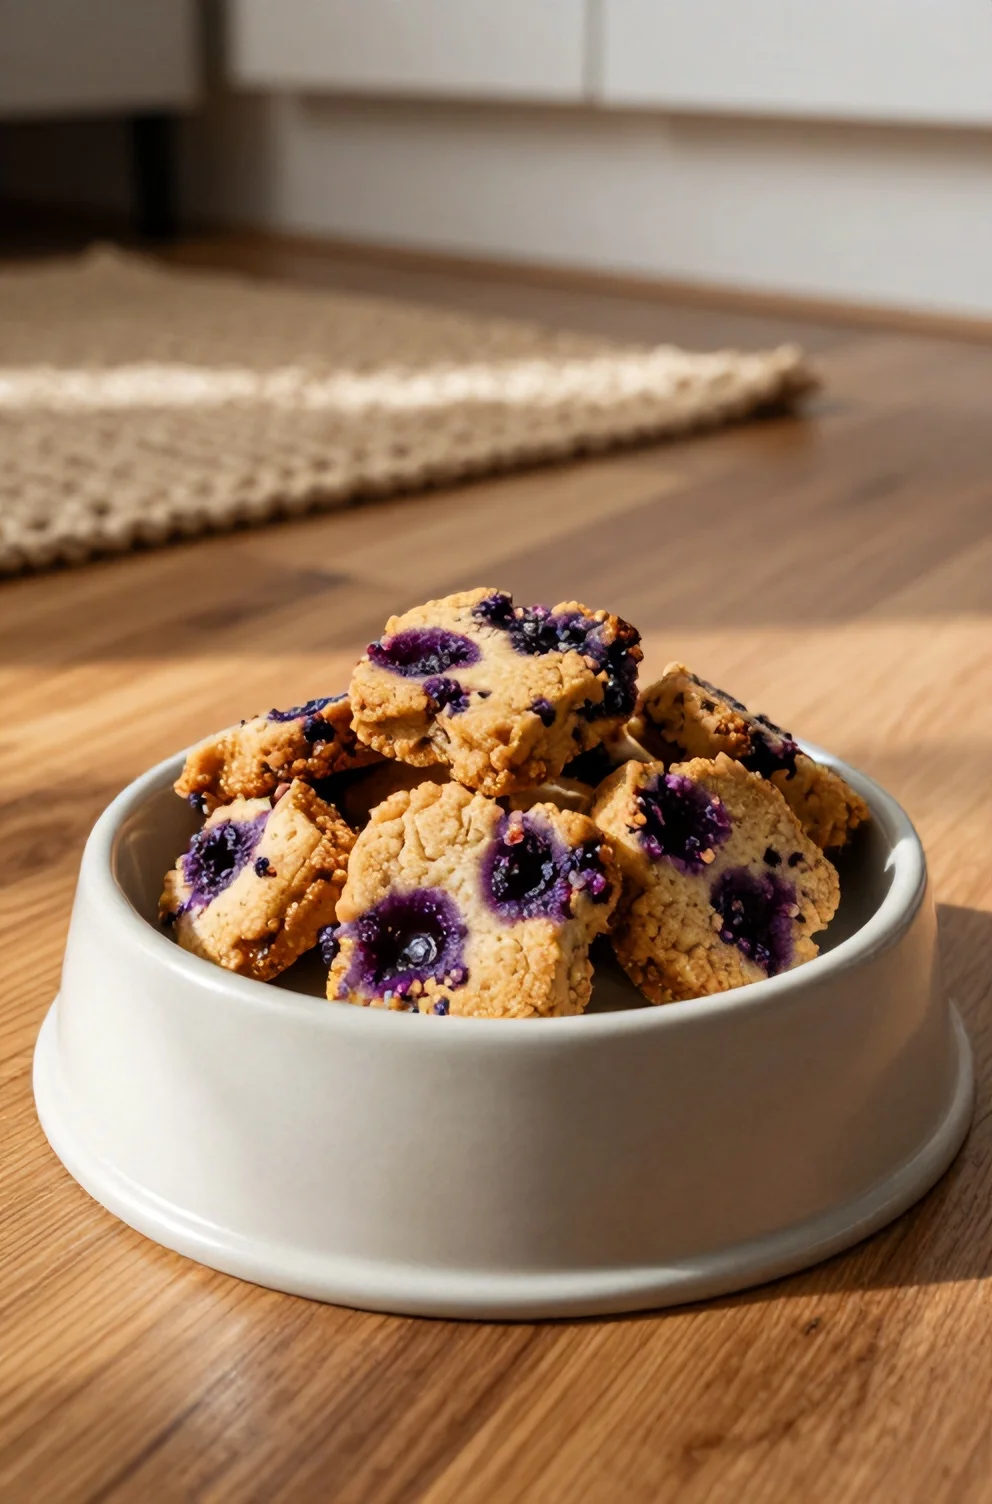
Baking Temperature, Dough Thickness, and Shelf-Life Matrix
Dialing in precise thermal stages and rolling depth prevents soggy centers while keeping berry sugars from scorching. Reviewing this reliable dog treat baking matrix gives you the exact benchmarks required for clean snaps and dependable moisture control. Following strict pet biscuit thickness guidelines ensures even heat penetration from outer crust to core.
| Process Stage | Target Parameter | Shelf-Life Expectancy |
|---|---|---|
| Rolling & Cutting | 1/4-inch uniform sheet | Pre-bake baseline |
| Primary Bake | 325°F for 25-30 mins | Soft center if un-dehydrated |
| Oven Dehydration | 200°F for 45 mins | Up to 14 days pantry |
| Freezer Stash | Zero moisture glass jar | 60 days sub-zero |
Careful dehydration locks in a stable crunch without degrading natural antioxidants. Paired with disciplined storage habits, these benchmarks keep every batch crisp without artificial shelf stabilizers.
Structured Blueprint for Crunch and Canine Safety
Mastering grain-free batches comes down to managing moisture thresholds rather than guessing bake times. Committing to a reliable homemade dog treat blueprint transforms humble pantry staples into crunchy, pantry-stable rewards your dog will eagerly chase. Achieving that signature bone-dry biscuit snap requires three deliberate production phases:
- Blot whole fruit thoroughly on paper towels before folding into starch bases to maintain optimal dough hydration.
- Roll the prepared dough between two sheets of parchment paper to an exact one-quarter-inch plane for uniform heat distribution.
- Finish with an extended low-temperature dehydrating cycle in a cracked-open oven to eliminate lurking mold-causing moisture.
This methodical baking routine removes the uncertainty from making grain-free dog biscuits at home. Following these controlled steps ensures repeatable results that preserve wholesome nutrients while protecting your dog from undercooked dough.