Why Bake Your Own Dog Treats?
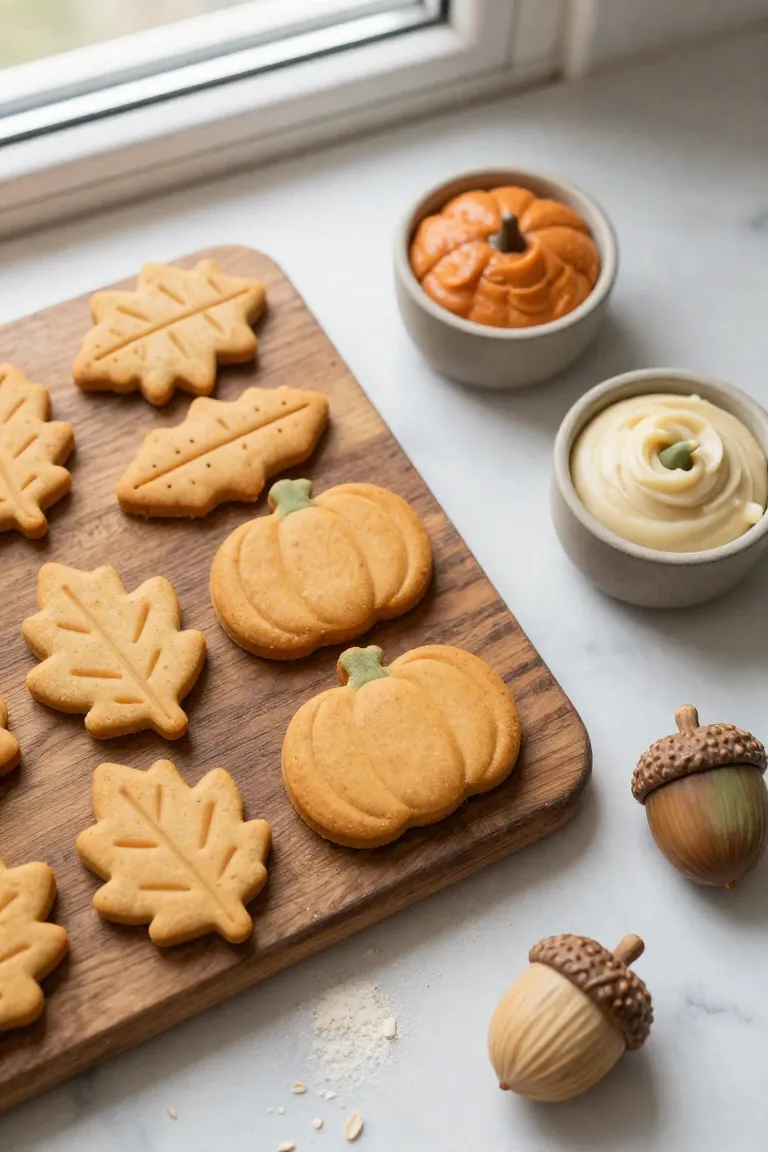
Taking control of your dog's snack jar gives you total oversight of every single ingredient, eliminating the artificial dyes and preservatives frequently hidden inside commercial bags. Commercial artisanal biscuits often cost five to six times more than their raw pantry components, meaning you save substantial money simply by mixing standard whole foods in your own kitchen. There is genuine satisfaction in watching your dog perk up while the kitchen warms up with wholesome aromas. A straightforward batch of Sweet Potato Oat Dog Cookies with Peanut Butter is a reliable, beginner-friendly starting point that provides balanced nutrition and gentle fiber using everyday staples you already trust.
The Power of Three: Nutrient-Dense Ingredients
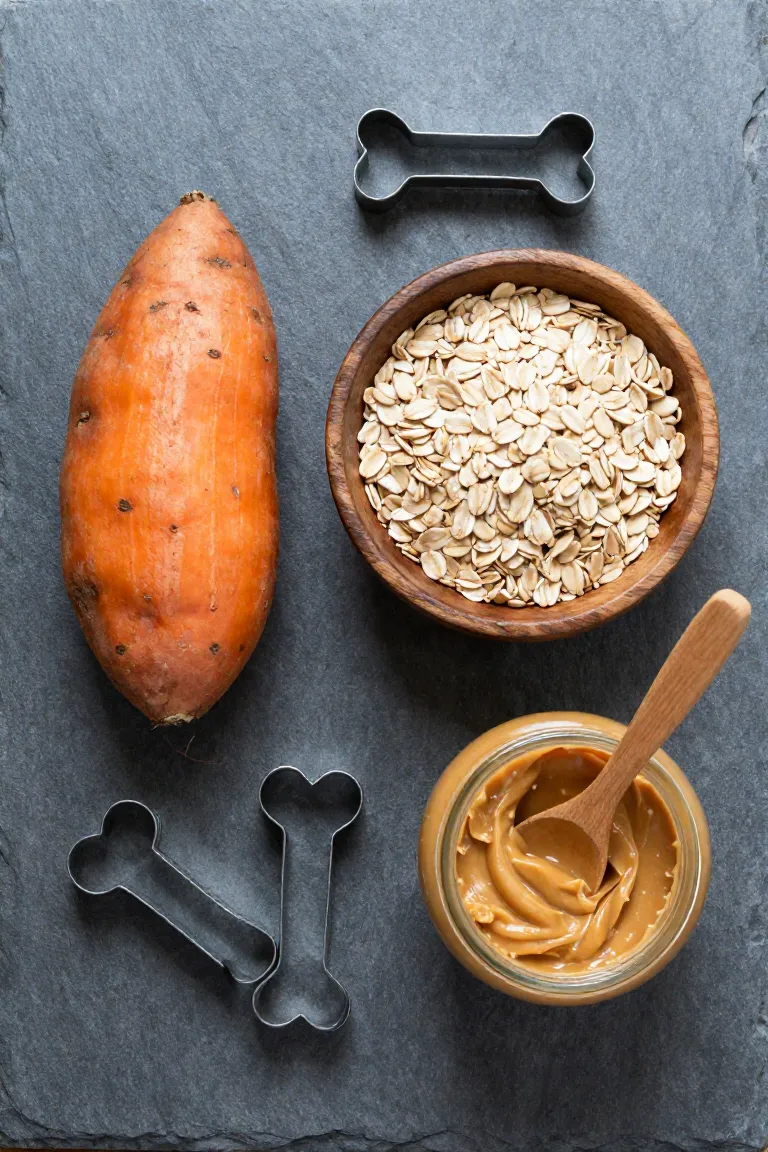
Combining sweet potato, whole rolled oats, and peanut butter gives your dog clean carbohydrates and healthy fats without unnecessary fillers. Each item brings specific benefits. The root vegetable soothes digestion. The slow-burning grain sustains energy across active afternoons, while the nut butter supplies essential fatty acids for a soft coat. Because these three wholesome pantry staples are common grocery items you likely keep on hand, whipping up a fresh batch keeps your pet routine transparent and highly cost-effective.
1. Sweet Potato: The Digestive Superstar
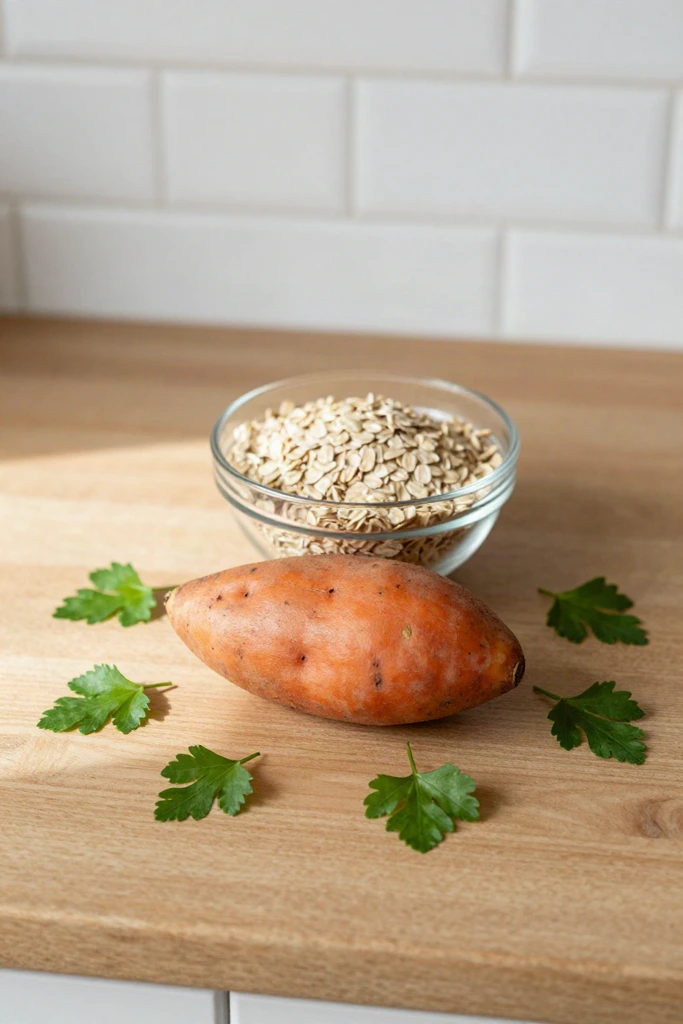
This orange root vegetable provides a gentle nutritional base, supplying generous amounts of soluble dietary fiber that supports smooth daily digestion and calms sensitive dog stomachs. Alongside that gut support, the cooked flesh supplies concentrated doses of vitamins A, B6, and C to reinforce immune health. Once you boil or roast the tuber until tender, mashing it creates a thick, moist binder that holds your dough together without needing eggs, butter, or added oils.

2. Rolled Oats: The Gentle Grain
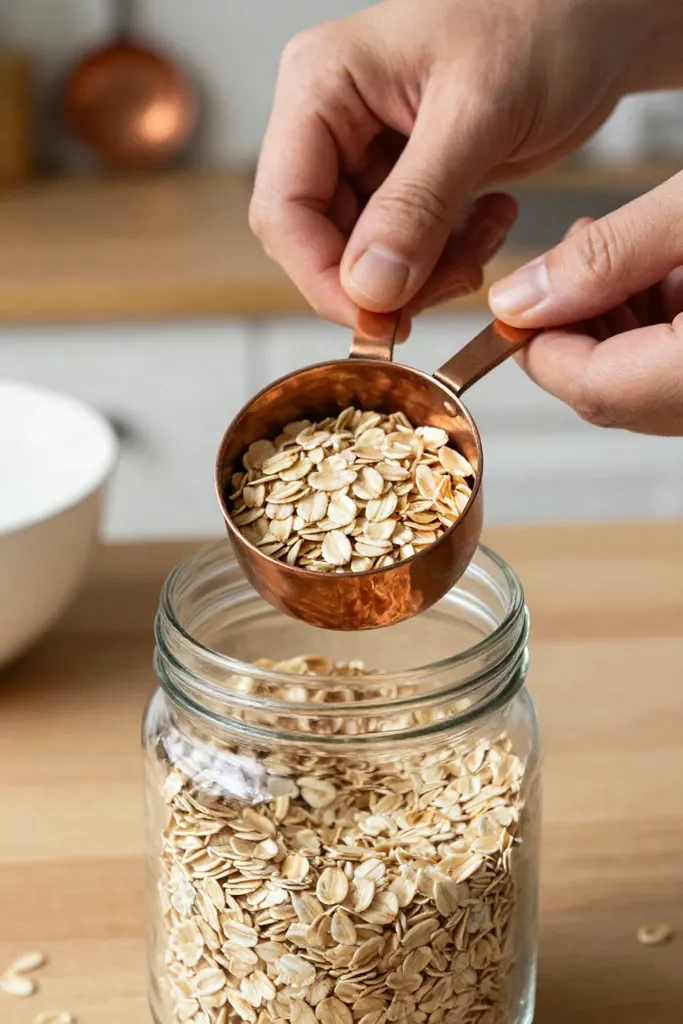
To balance that sweet potato moisture and give your dough sturdy structure, skipping standard wheat flour shields pups prone to itchy skin or sensitive bellies. Whole oat flakes provide abundant soluble fiber that soothes the digestive tract and keeps blood sugar steady. Because these complex carbohydrates break down gradually, your dog gets lasting fuel for daily walks and backyard play instead of rapid energy crashes.
In the grocery aisle, the safest choice is a canister with exactly one item on the ingredient panel: plain oats. Flavored breakfast packets often contain added sugar or artificial sweeteners like xylitol that can endanger your dog. A brief pulse in your blender turns the whole flakes into a coarse flour that absorbs moisture evenly.
3. Peanut Butter: The Irresistible Flavor
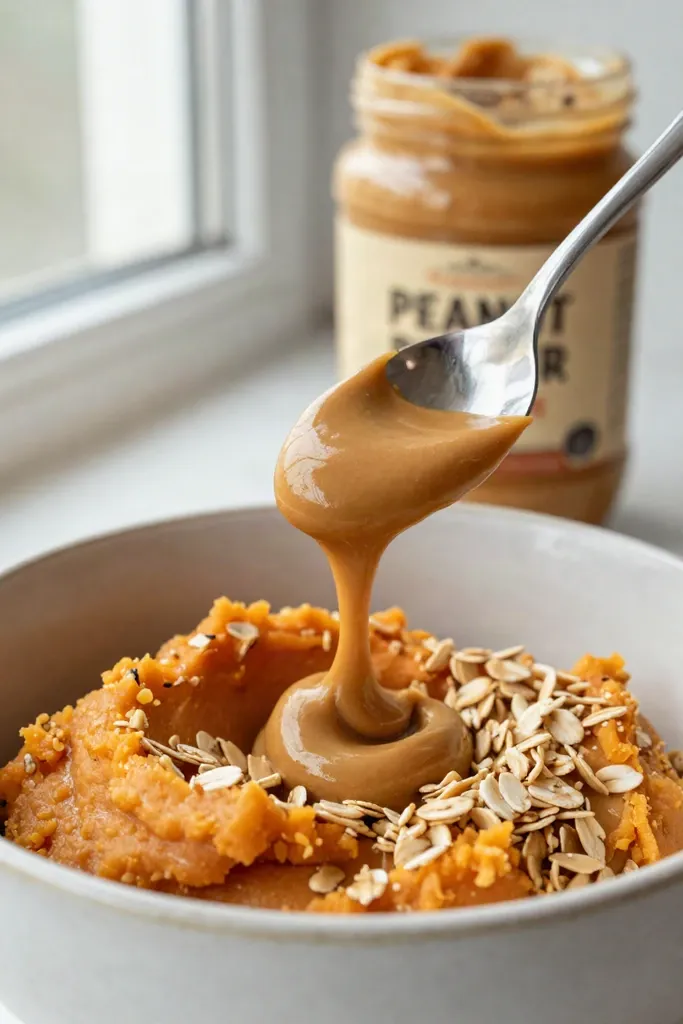
To bind that dry oat flour into a workable dough, introducing a rich nut spread provides the motivating aroma dogs crave and a concentrated source of protein and healthy dietary fats. These beneficial fatty acids support skin hydration and maintain a shiny coat while giving your pup sustained stamina. Your most critical step before scooping anything from the pantry is thoroughly checking the nutrition label for hidden additives. You must avoid any spread containing xylitol, sometimes listed as birch bark extract or birch sugar, or other artificial sweeteners, as these compounds trigger acute toxicity in canines. Grabbing a simple jar containing purely roasted peanuts ensures your base stays wholesome while remaining easy to stock from regular supermarket shelves.
Budget-Friendly Baking: Cost Breakdown
A single medium sweet potato generally costs under a dollar, a cup of rolled oats from a standard canister runs mere pennies, and a couple of generous spoonfuls of peanut butter add roughly fifty cents. That brings your entire homemade tray of crunchy biscuits to around two or three dollars in total ingredients, meaning you spend far less than you would on packaged goods. By comparison, specialty pet store shelves routinely price artisan biscuit pouches at twelve to sixteen dollars for barely four to six ounces of dried treats. Pulling simple staples straight from your own pantry yields dozens of fresh portions for a small fraction of retail shelf prices.
Step-by-Step Recipe Guide
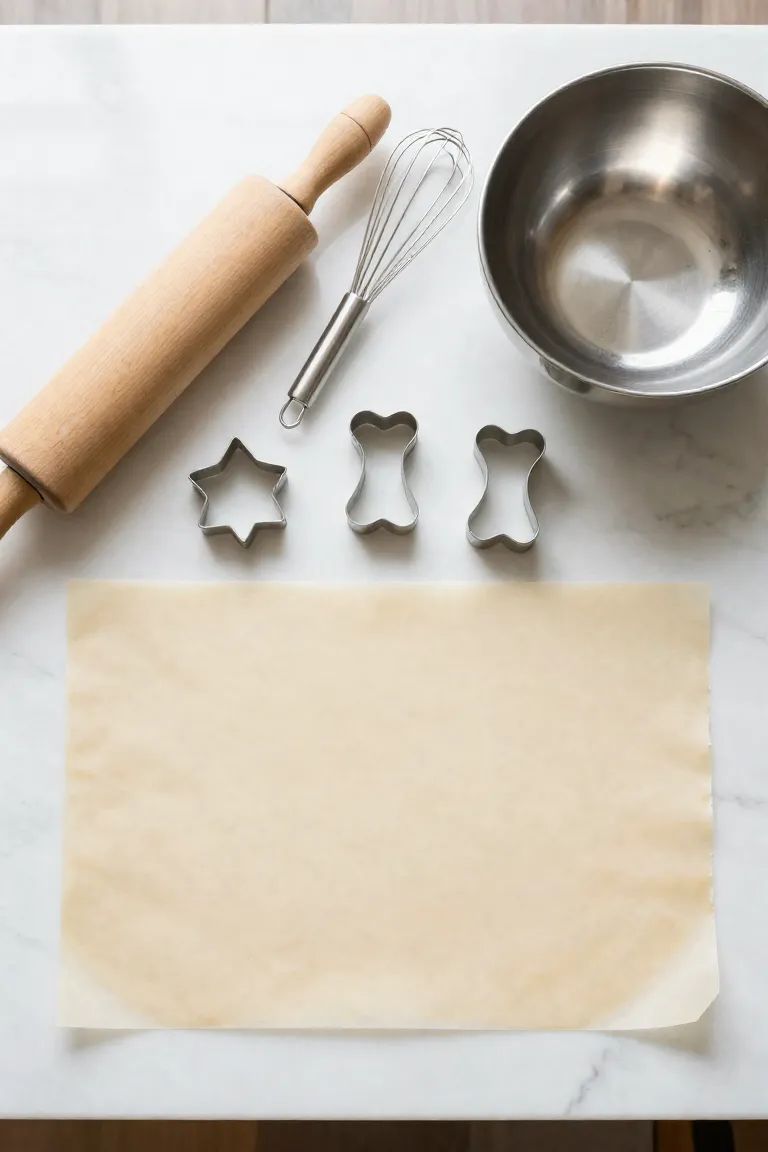
A quick workstation setup takes only a few minutes, keeping the baking process manageable even if you rarely turn on your oven. Gathering your supplies beforehand keeps your counter tidy so you can assemble the batch without pausing to dig through cabinets.
- Core ingredients: One medium sweet potato, two cups of whole rolled oats, and a half cup of unsalted, xylitol-free peanut butter.
- Prep tools: A large mixing bowl, a sturdy fork or potato masher, and standard measuring cups.
- Baking gear: A rolling pin, simple cookie cutters, parchment paper, and a flat baking sheet.
Step 1: Prep and Mash the Sweet Potato
Start by peeling a fresh sweet potato and slicing the flesh into small, even cubes so they cook at a consistent pace. You can simmer the pieces in a pot of water for about fifteen minutes, or roast the whole tuber on a lined tray at 400°F until tender. A quick fork test right at the center will confirm whether the flesh is soft enough to yield under gentle pressure.
A standard potato masher breaks down the tender flesh quickly inside your mixing bowl. Press firmly across the base until you achieve a smooth purée without any hard fibrous pockets, which keeps your dough from tearing during later steps. Set the bowl aside on the counter for ten to fifteen minutes so the steam dissipates and the temperature drops to a lukewarm state before adding the remaining items.

Step 2: Combine the Wet and Dry Ingredients
Once the orange mash cools down, spoon your measured peanut butter directly into the bowl with the puree. Stir the two together with a sturdy wooden spoon until they form a smooth, uniform paste with no separated oil or dense streaks. Pour in your rolled oats in two or three gradual additions rather than dumping them in all at once, which allows the dry flakes to absorb moisture evenly and prevents dry pockets from hiding at the bottom of the bowl.
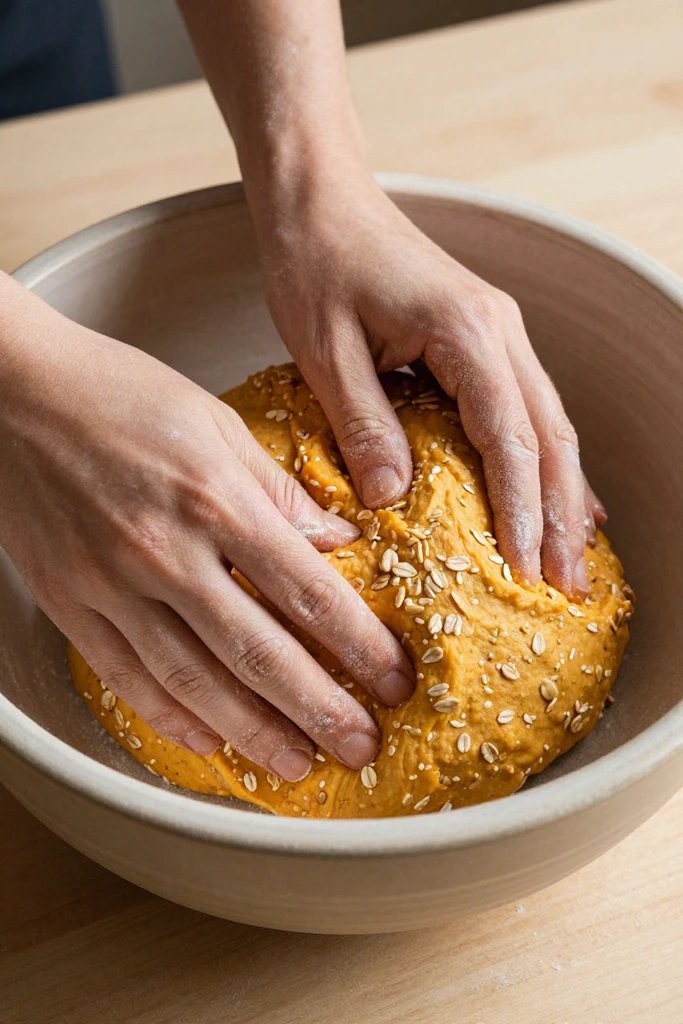
At this stage, your hands work best to gather the shaggy mass into a single pliable ball. Press the mixture firmly against the sides of the bowl or onto a clean counter, working it just until the oats integrate and hold their shape. If the texture feels too tacky and clings to your palms, sprinkle in an extra tablespoon of oats. If it seems brittle and cracks, work in a teaspoon of warm water. The finished ball should feel firm and cleanly peel away from your skin, ready for shaping onto your baking sheet.
Step 3: Roll, Cut, and Bake
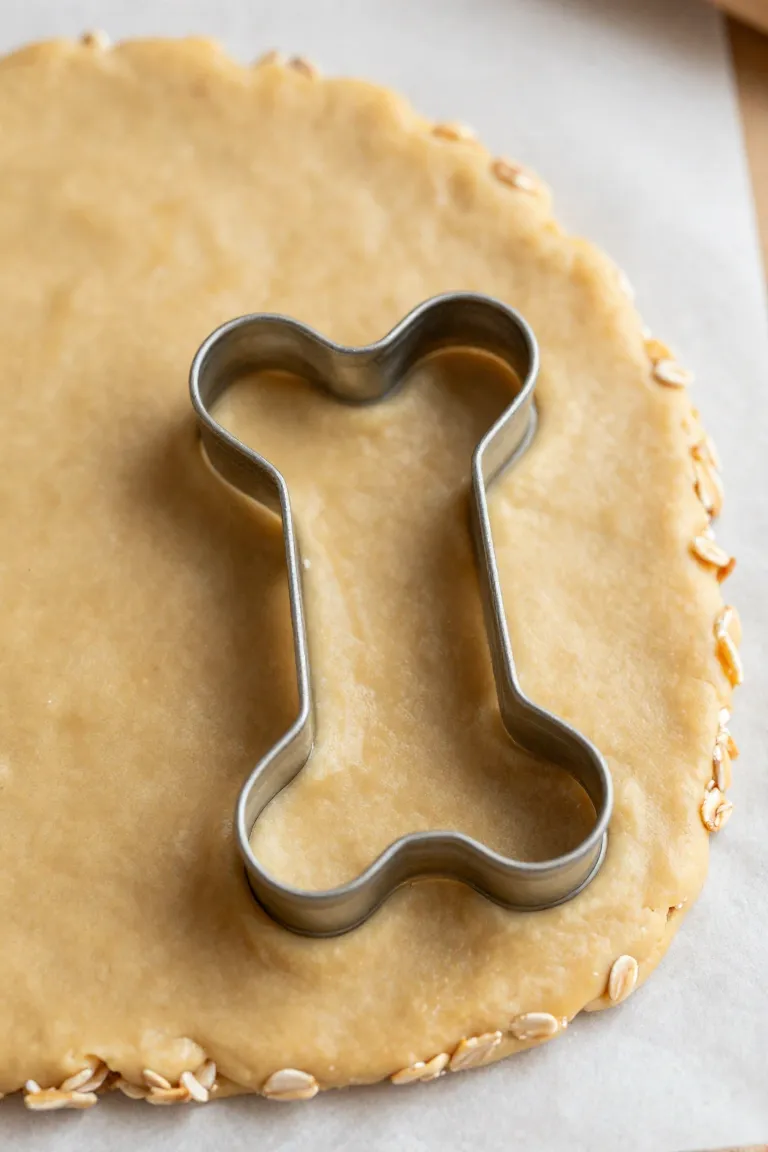
Dust your counter with a light sprinkle of oat flour to keep things from sticking, then flatten the dough using a sturdy rolling pin. Aim for an even quarter-inch thickness across the entire slab so every piece cooks through at the exact same rate.
- Stamp out your shapes using a small cookie cutter and arrange the cutouts on a parchment-lined baking sheet, leaving a half-inch gap between them.
- Gather the remaining dough scraps, press them firmly back together, and re-roll the mixture until your counter is clear.
- Slide the tray into an oven preheated to 350°F (175°C) and bake for 20 to 25 minutes until the rims turn lightly golden.
Step 4: Cooling and Storing
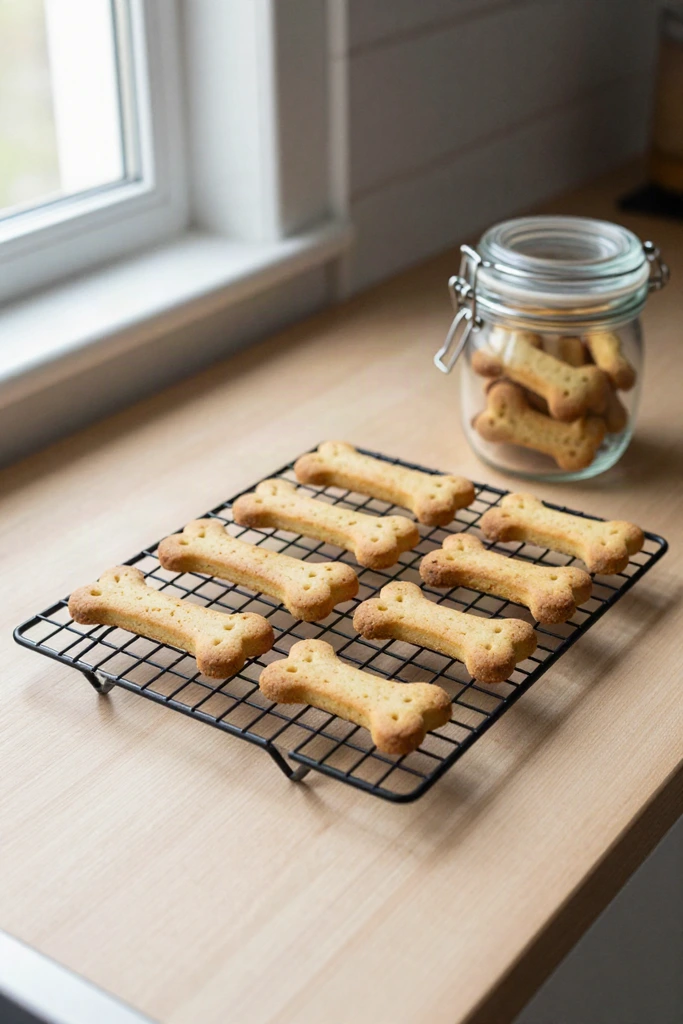
When you pull the baking sheet from the oven, transfer the biscuits directly onto a wire rack rather than leaving them on the hot pan. Trapped heat creates condensation that turns the base soggy, whereas steady airflow pulls residual moisture away so the dough hardens into a crisp biscuit. A full rest until the treats reach room temperature allows the natural starches to set firmly, giving your pup a clean crunch that will not crumble into dust across the floor.
For daily rewards, an airtight glass jar or container tucked into your refrigerator keeps moisture out and preserves freshness for up to two weeks without commercial preservatives. If you baked an extra tray, pack the remaining biscuits into freezer bags with the air pressed out. They hold their crunch in the freezer for up to three months, and you can easily pull a few pieces onto the counter ten minutes before walk time.
Frequently Asked Questions (FAQ)
A few quick adjustments help you adapt this simple dough to your pantry supplies or your dog's dietary needs.
- Can peanut butter be replaced? Unsweetened sunflower seed butter or pure pumpkin puree creates the same binding texture for dogs with nut allergies or sensitive stomachs.
- Are quick oats suitable instead of rolled oats? Both varieties work reliably, though quick oats absorb moisture faster and produce a slightly firmer, denser biscuit.
- How long do the finished biscuits stay fresh? Store them in an airtight container in the refrigerator for up to two weeks, or keep them frozen for three months.
Final Thoughts: Happy Baking and Happy Tails
Pulling a tray of fresh sweet potato oat snacks from the oven gives you full control over what goes into your companion's diet. Preparing these wholesome rewards at home keeps costs down while cutting out artificial preservatives, turning simple pantry staples into a nourishing snack.
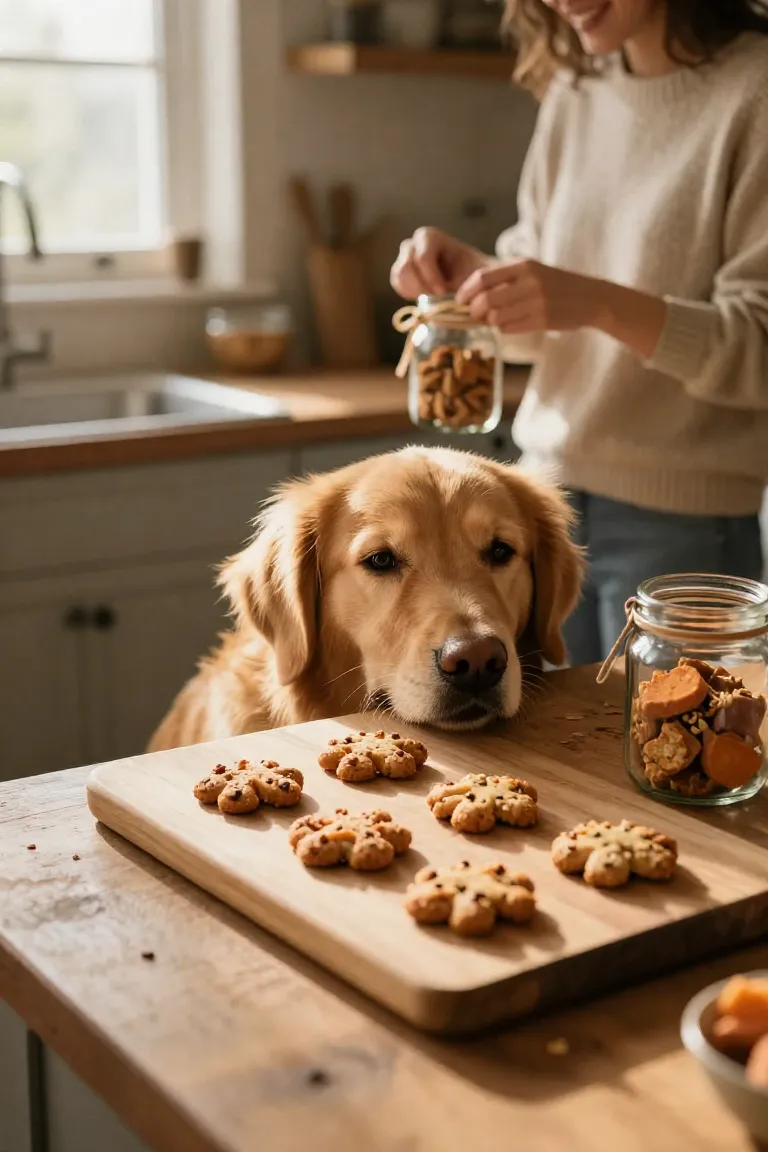
The warm aroma fills your kitchen, and watching your dog eagerly wait by the counter makes the short prep time well worth it. Pin this simple recipe to your pet care board so it is ready for your next baking afternoon, or share a quick photo of your pup enjoying their crunchy biscuit.