Summary
- Mastering Heritage Motif Embossing for Grain-Free Canine Biscuits
- Embossed Hound Silhouette on Fluted Scallop Rounds
- Botanical Wheat Stems with Wild Blueberry Specks
- Deep-Cut Vintage Oak Leaf and Acorn Relief
- Lattice-Bordered Canine Silhouette Plaque
- Victorian Cameo Paw Print with Crimped Rims
- Scandinavian Folk Floral Motif on Thin Wafers
- Scalloped Daisy Border with Recessed Dachshund Profile
- Heraldic Fleur-de-Lis Medallion with Notched Edges
- Sunburst Radial Ribs Framing a Terrier Silhouette
- Harlequin Diamond Lattice with Embedded Fruit Flecks
- French Fluted Tartlet Rim with Celtic Knot Engraving
- Beveled Shield Crest with Raised Spaniel Profile
- Braided Rim Disc with Botanical Sprig and Paw
- Ruffled Pie-Crust Edge with Radiant Starburst Center
- Farmhouse Plaid Weave with Crisp Scalloped Perimeter
- Baroque Scrollwork Round with Crowned Bone Motif
- Fine Coin-Edge Medallion with Dual Micro-Paw Relief
- Dough Hydration, Thickness, and Chilling Parameters for Stamp Crispness
- Common Texture Failures and Edge Definition Breakdowns to Avoid
- Selecting and Preserving Your Signature Heritage Biscuit Motif Collection
Mastering Heritage Motif Embossing for Grain-Free Canine Biscuits
Getting crisp embossed pet treats without gluten takes a little kitchen strategy, but your pup will love the results. Grain free dog treat baking relies on precise moisture balance and thorough dough chilling instead of chemical leaveners to hold shape. When you control dough temperature, heritage stamped dog biscuits maintain every fine line and vintage detail right through the oven bake.
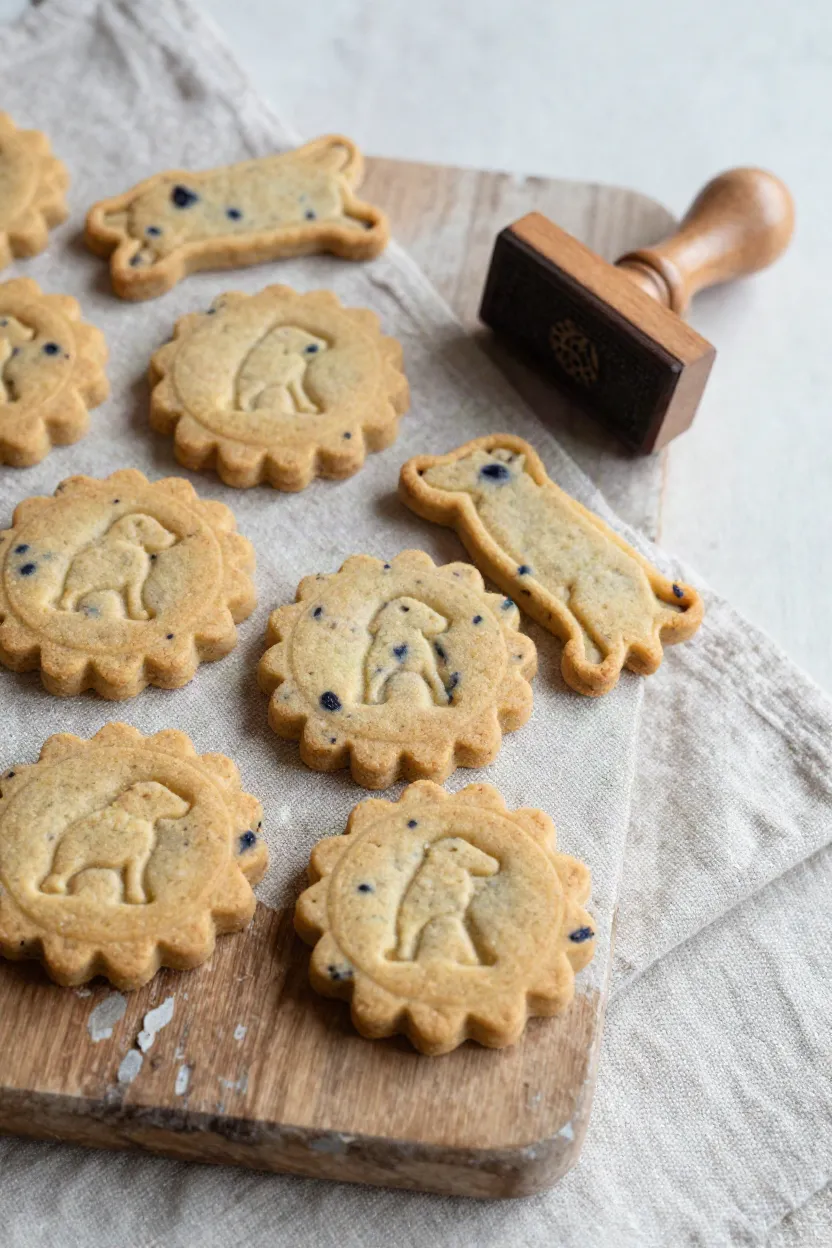
Embossed Hound Silhouette on Fluted Scallop Rounds
Rolling your prepared dough to a uniform thickness of exactly 0.25 inch provides the solid foundation needed for clean, raised artwork. When you pair an oiled beechwood hound stamp with a sharp fluted scalloped dog treat cutter, you create an elegant profile that holds together through baking. A light dusting of fine arrowroot powder along the cutter edges keeps the dough from sticking inside the fluted curves, letting every vintage stamped pet biscuit drop cleanly onto your baking sheet.
Moisture control makes all the difference when you press intricate shapes into grain-free dough. Tiny bits of dehydrated blueberries work far better than fresh fruit because they provide deep purple flecks without leaking juice into the impressions. This simple substitution keeps the dough firm, ensuring your embossed hound dog biscuit shows off crisp ears, a defined muzzle, and tidy scalloped borders after cooling.
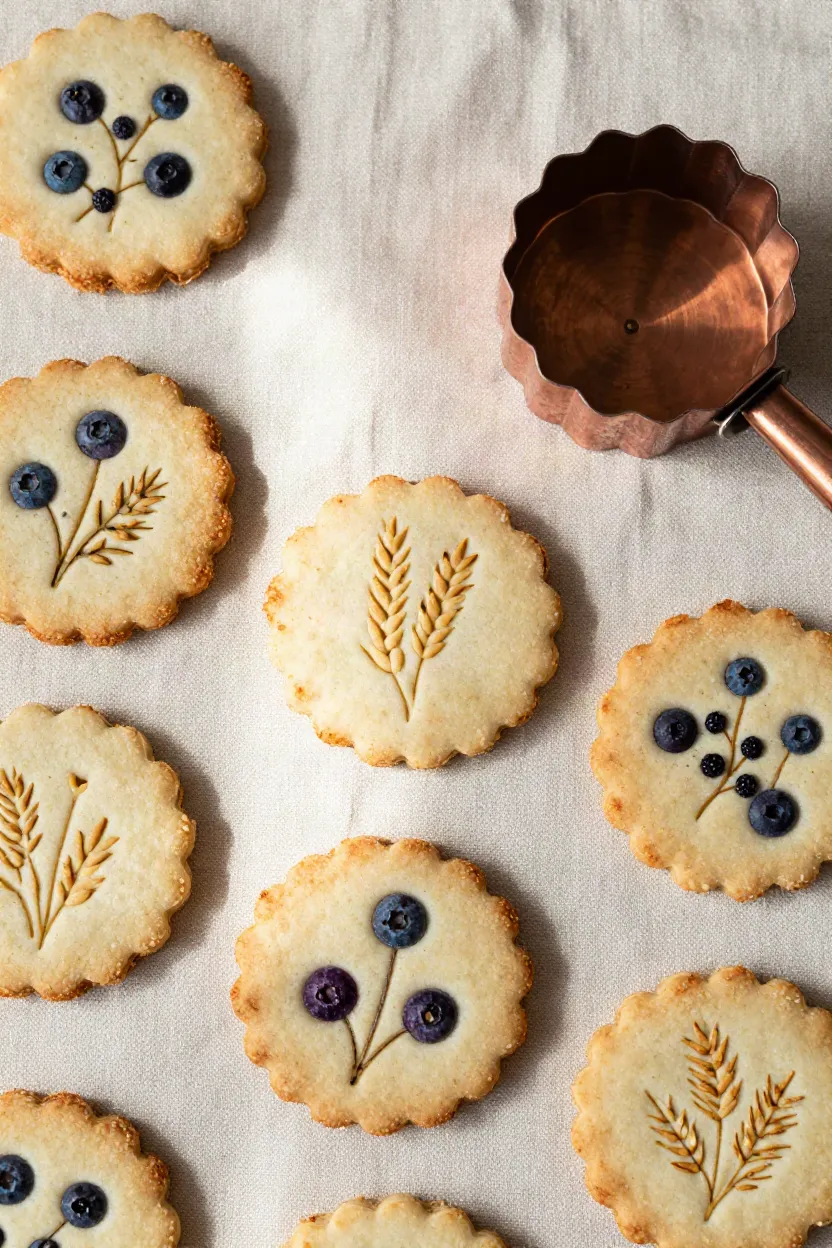
Botanical Wheat Stems with Wild Blueberry Specks
Balancing equal parts chickpea flour and coconut flour creates a smooth, workable canvas that holds delicate patterns beautifully. Blending in 15 grams of wild blueberry powder distributes rich indigo speckles throughout the dough without introducing the excess liquid that softens stamped details. When you press a botanical dog treat motif, aim for a relief depth of roughly 2 mm so the wheat stem pet biscuit pattern remains prominent without thinning out the base. These blueberry grain free treats bake best during a slow dehydration cycle at 300 degrees F, preserving their pale crumb and crisp botanical lines.
Press your motif down to 2 mm, since indentations deeper than 3 mm create brittle fault lines that crack during low-temperature baking.
Deep-Cut Vintage Oak Leaf and Acorn Relief
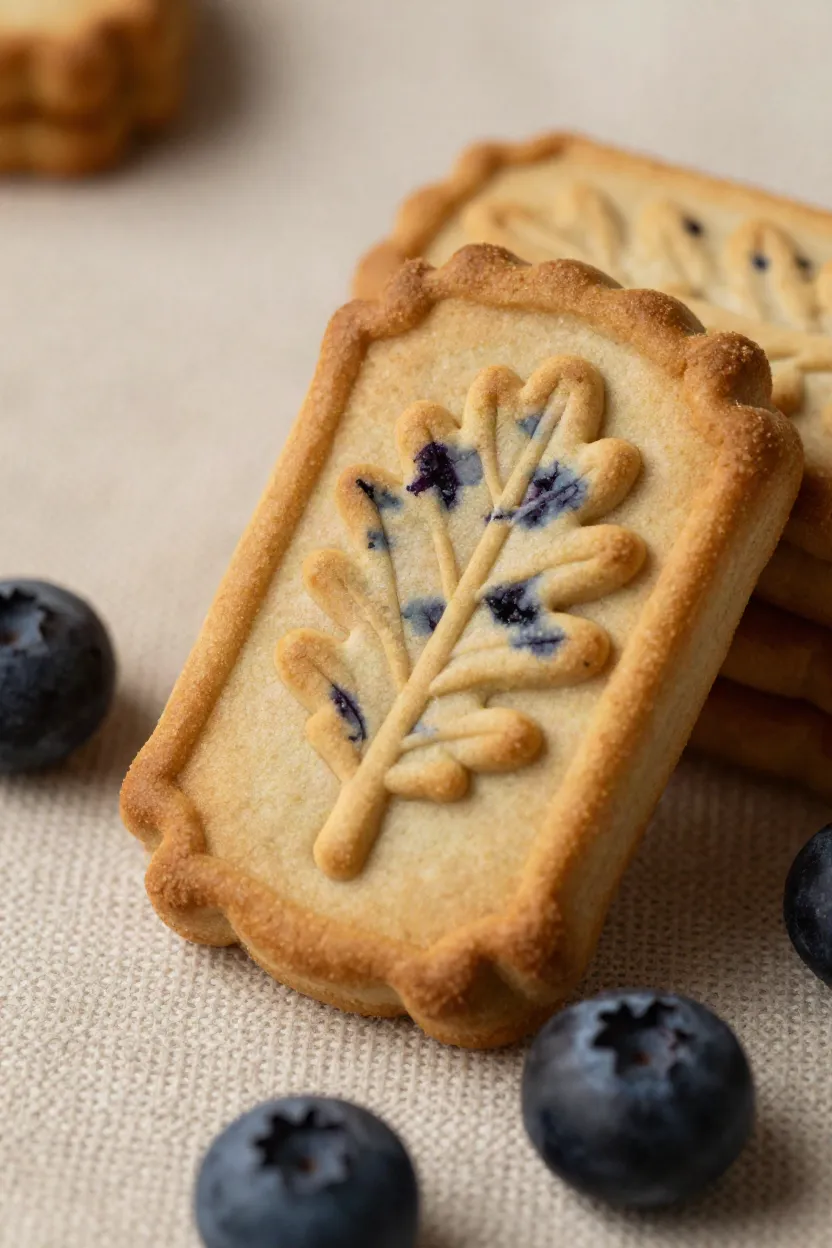
Heavy wooden presses with deep engravings require firm dough resistance to capture every serrated edge and tiny acorn cap. Working with chilled dough slabs kept at 40 degrees F allows you to produce autumn stamped dog biscuits that release cleanly from intricate grooves while retaining a sharp fluted perimeter.
- Keep your dough slab chilled at 40 degrees F so the crisp ridges release cleanly without pulling or tearing.
- Finely chop dried blueberry pieces below 3 mm to stop fruit chunks from wedging inside narrow vein carvings.
- Press the carved tool straight down with steady palm pressure to form fluted edge canine treats with balanced depth.
Consistent dough temperature and uniform fruit morsels ensure your oak leaf dog treats emerge from the oven with immaculate vintage contours that your dog will happily crunch.
Lattice-Bordered Canine Silhouette Plaque
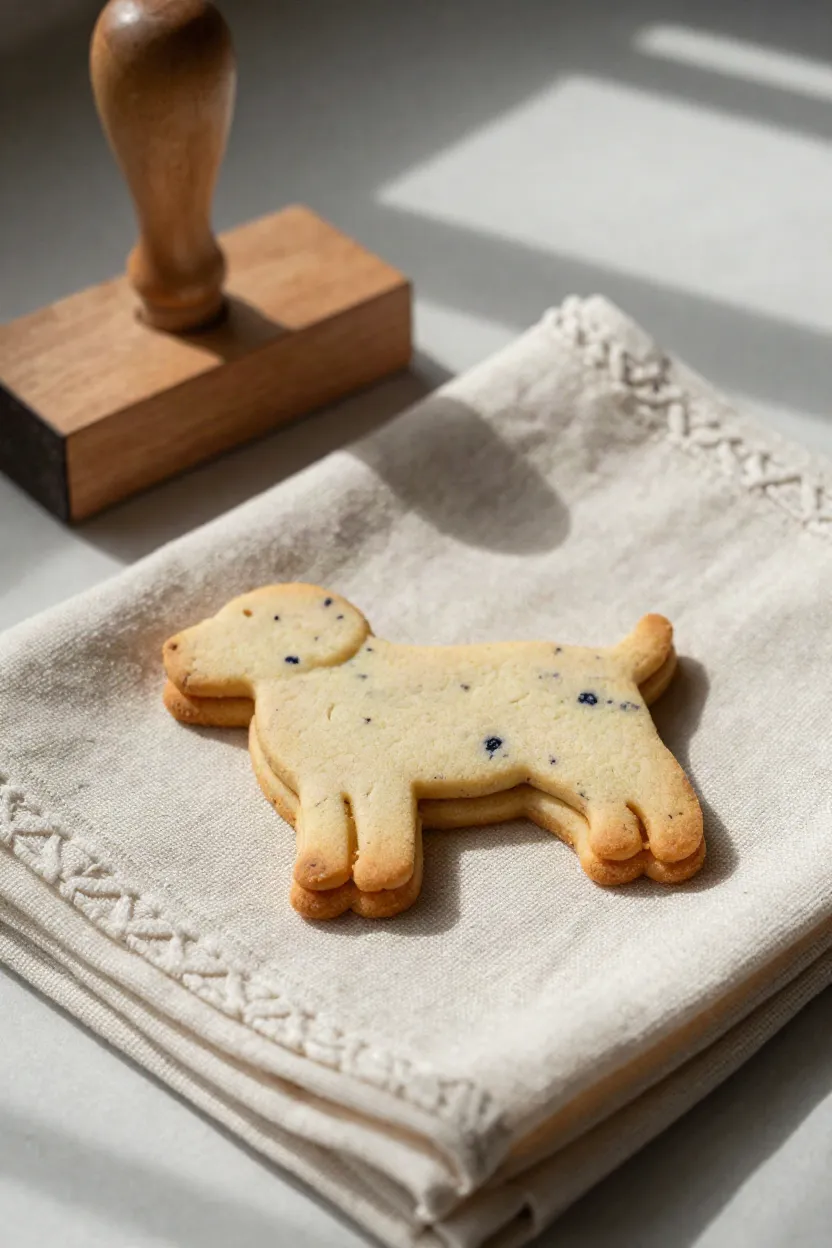
Framing a clean pet portrait with fine geometric fretwork brings a lovely heirloom feel to your baking sheet. When you press an artisan pet biscuit stamp into the rolled slab, you want a balanced hand feel that steadies the central design without crushing the outer rim. Applying uniform downward pressure of 4 to 5 pounds allows the raised grid to bite evenly into the dough, yielding crisp lattice border dog biscuits that hold their structural ridges. If your downward motion wobbles toward one corner, the delicate borders can shear away along the outer cutlines, so keep your palm centered directly over the handle.
When you transfer each retriever silhouette treat onto a baking surface, take a little extra care to protect those fine decorative ridges. Perforated silicone mats work wonders here because they permit trapped bottom steam to vent freely during the initial bake. Without that airflow, rising pockets of steam can push upward beneath the dough slab, puffing up the flat center and softening the crisp definition of your canine portrait. A ventilated baking surface keeps the underside flat, grounding the entire medallion so every diamond intersection stays sharp from oven to cooling rack.
Victorian Cameo Paw Print with Crimped Rims
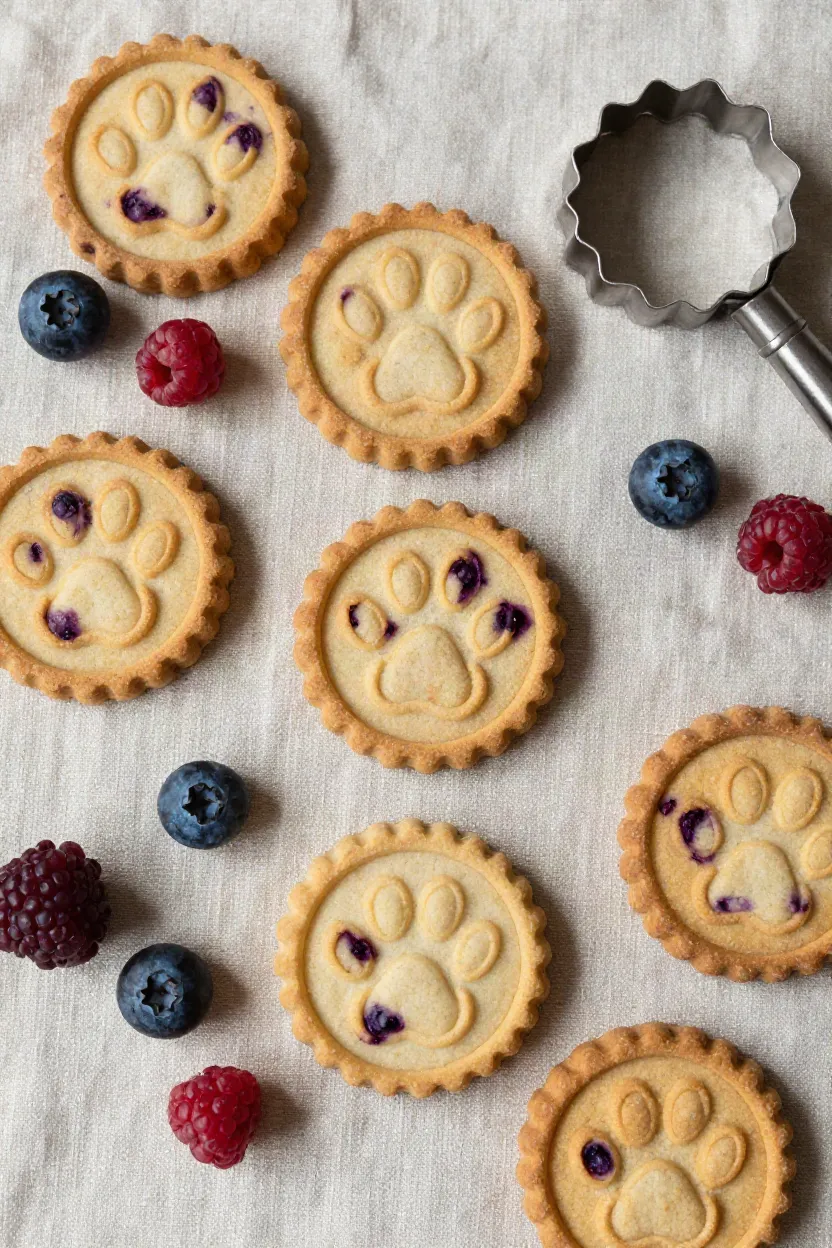
Recreating the refined charm of an antique pendant takes a dough that stretches smoothly rather than crumbling when the mould lifts away. Stamping a detailed victorian paw print biscuit into 2.5-inch rounds requires sufficient moisture to handle deep grooves while retaining clean perimeter ridges.
- Blend unsweetened applesauce with prepared flaxseed gel to create a flexible, cohesive binder that provides natural dough elasticity.
- Keep mixing times minimal once the wet and dry ingredients meet, since folding too vigorously whips tiny air pockets into the mixture that collapse or blister across the paw pad recesses during baking.
- Dust the mould lightly with fine coconut flour between pressings to produce cameo stamped dog treats that release freely without tearing the raised center.
- Firmly press your cutter straight down so the fluted perimeter of your crimped edge dog biscuits remains distinct around the central oval plaque.
A quick five-minute rest on the counter before stamping lets the flax gel fully hydrate the starches, ensuring each medallion lifts cleanly from your cutter with its vintage borders intact.
Scandinavian Folk Floral Motif on Thin Wafers
Delicate Nordic botanical patterns demand an exceptionally fine, porcelain-like dough surface to showcase every micro-engraved petal and leaf. When crafting thin wafer dog treats rolled to a slender 0.20-inch thickness, grain-free flours must be chosen carefully to prevent gritty tears across the hairline impressions.
- Combine finely milled stone-ground oat flour with silky cassava flour to build an ultra-smooth, velvety foundation that accepts crisp geometric lines without snagging.
- Simmer fresh wild blueberries into a concentrated puree reduction, cooling it before folding it into the bowl to tint the dough a gentle lavender shade while keeping total liquid hydration strictly under 22 percent.
- Roll the chilled sheet between two sheets of parchment paper, then press your carved wooden stamper firmly into the surface to transfer the nordic stamped biscuits design before cutting individual rounds.
Tight moisture control ensures these folk art dog treats bake into snappy, flat crisps where each tiny floral sprig remains clearly visible against the pastel berry backdrop.
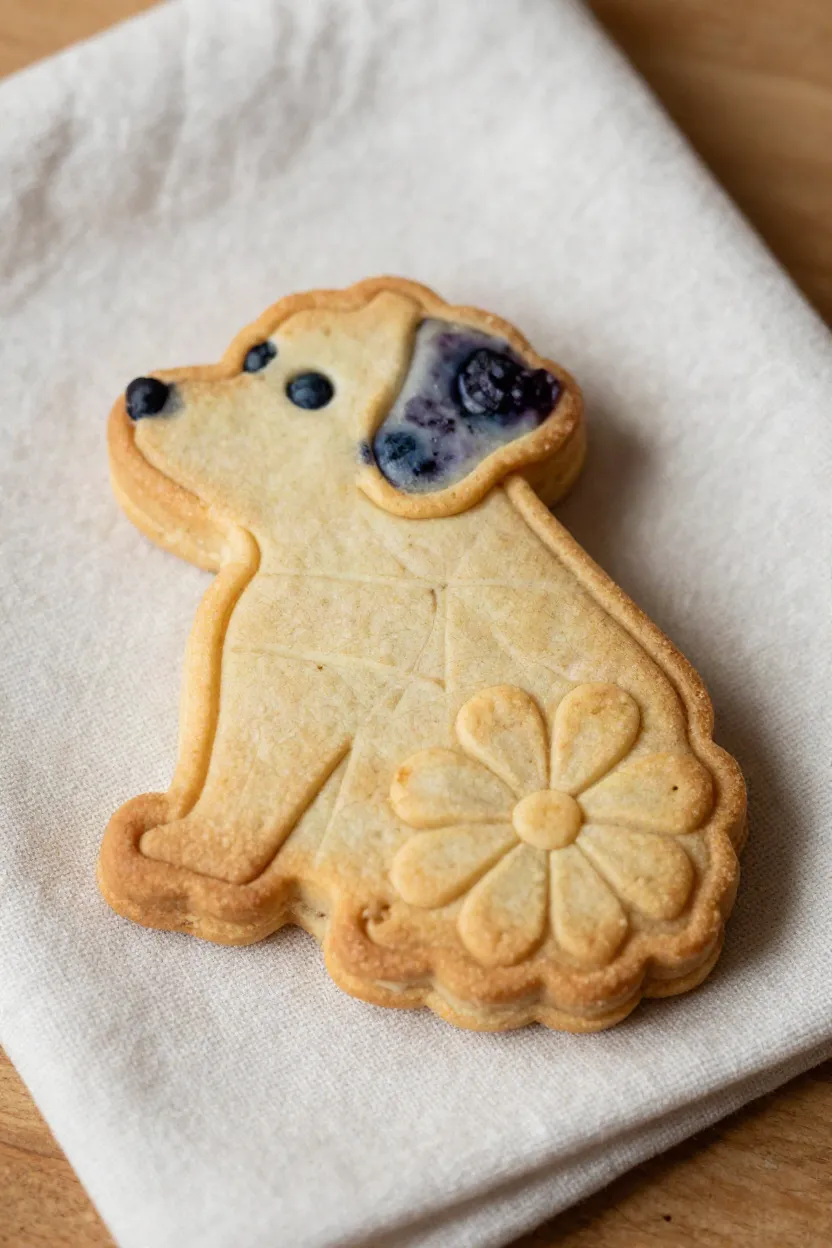
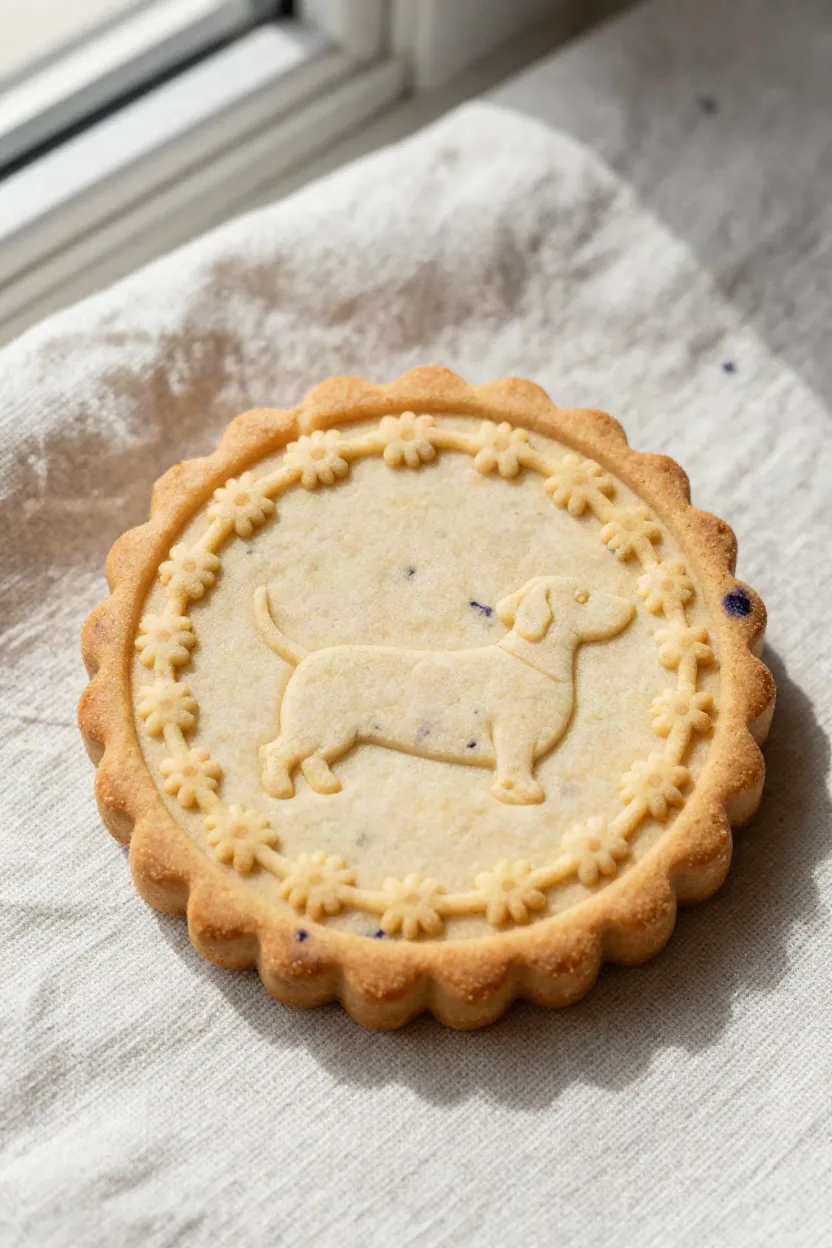
Scalloped Daisy Border with Recessed Dachshund Profile
A cheerful floral frame offers the sweetest contrast to an elongated hound silhouette, giving your homemade biscuits the look of garden stepping stones. Achieving that balance on your baking tray comes down to preserving the delicate scalloped rim pet treats feature along their outer edges. When you press the cutter into your rolled dough, the outer petals need crisp separation while the center holds a clean dachshund stamped biscuit impression, requiring firm, level pressure across the entire face.
A quick chill to set the dough fats right after cutting prevents the detailed edges from melting into a rounded blob under initial oven heat. Transfer your freshly stamped cutouts onto a parchment-lined tray and let them rest in the refrigerator for 15 minutes before baking. This brief cold shock firms up the virgin coconut oil, locking the fluted petals in place so your daisy edge dog treats maintain their playful vintage definition straight through to the final crunch.
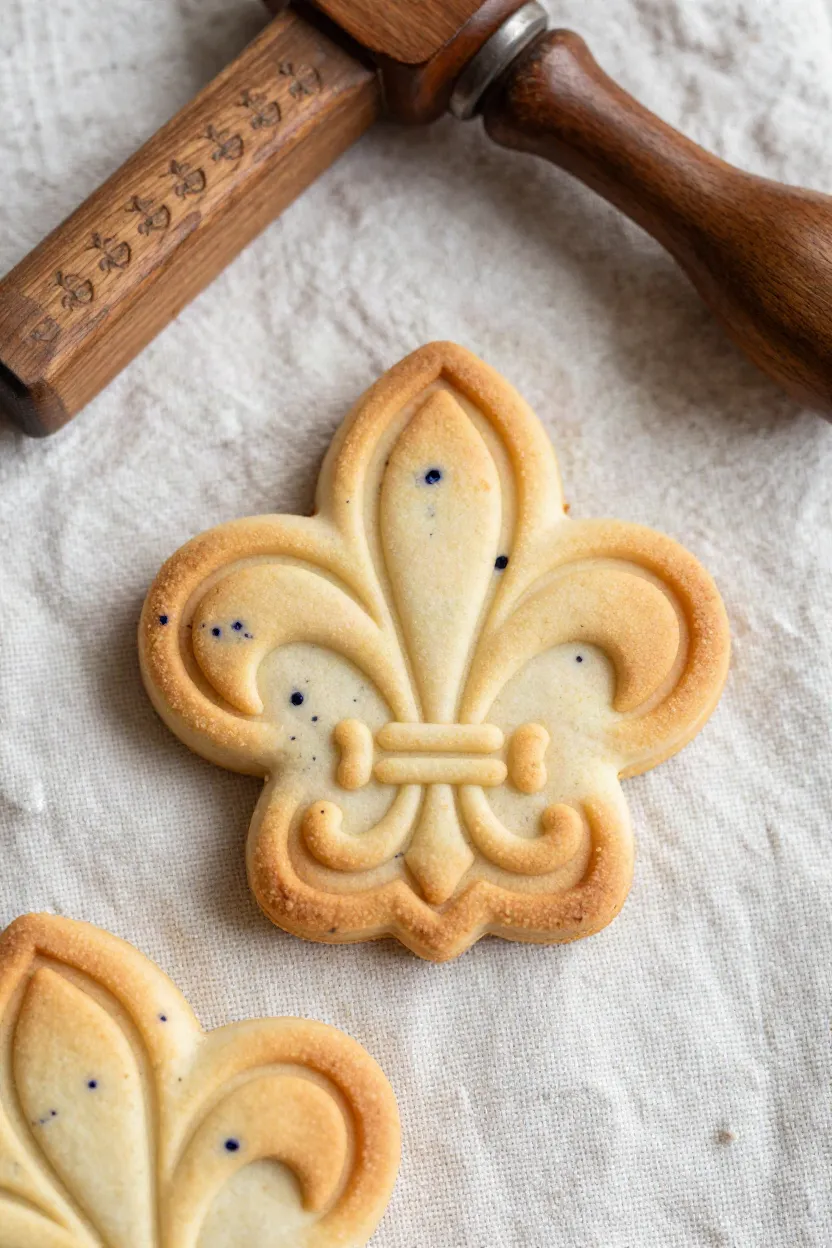
Heraldic Fleur-de-Lis Medallion with Notched Edges
When you want to treat your canine companion to something genuinely regal, pressing a classic French lily crest into firm grain-free dough delivers timeless charm. Achieving sharp ridges on fleur de lis dog biscuits comes down to selecting the right tool and keeping the dough mixture dense and unyielding.
- Heavy brass or nickel-plated stamps conduct ambient kitchen warmth smoothly, ensuring a clean thermal release so your heraldic pet treat stamp lifts away without snagging intricate grooves.
- Leaving out all chemical leaveners like baking soda or baking powder keeps the dough flat during baking, preventing trapped steam bubbles from blurring your detailed impressions.
- Pairing the central lily design with a notched edge dog biscuit perimeter creates a secure grip for small fingers while framing the decorative medallion with vintage bakery appeal.
Your four-legged friend will appreciate the hearty crunch, and you will love how cleanly every single petal holds its shape on the cooling rack.
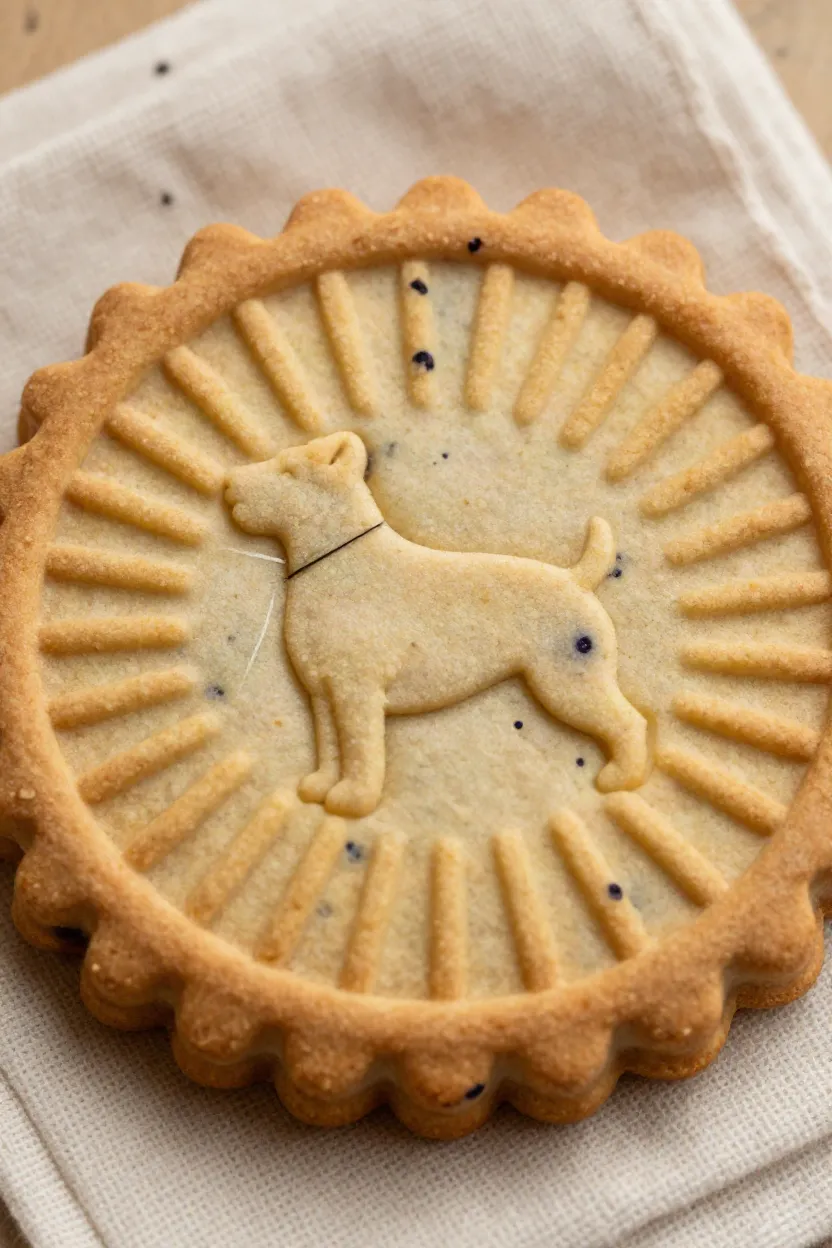
Sunburst Radial Ribs Framing a Terrier Silhouette
Fine linear patterns do more than simply dress up your baking sheet; they act as tiny heat channels that bake your treats evenly from edge to center. Combining outward spokes with a raised dog profile keeps the thinner perimeter sections from darkening before the center bakes through.
- Let your mixed dough rest covered on the counter for 20 minutes so the coconut flour and unbleached flax fully absorb moisture before rolling.
- Press your stamp straight down onto the chilled 6 mm sheet with steady, centered palm pressure to imprint the detailed terrier silhouette biscuit without tilting.
- Lift the mold straight upward to release the ribbed edge dog treats cleanly, keeping each delicate sunburst pet biscuit groove crisp and sharp for the oven.
These channeled grooves allow hot air to circulate freely across each piece, preventing burnt edges while your pup waits eagerly by the oven door.
Harlequin Diamond Lattice with Embedded Fruit Flecks
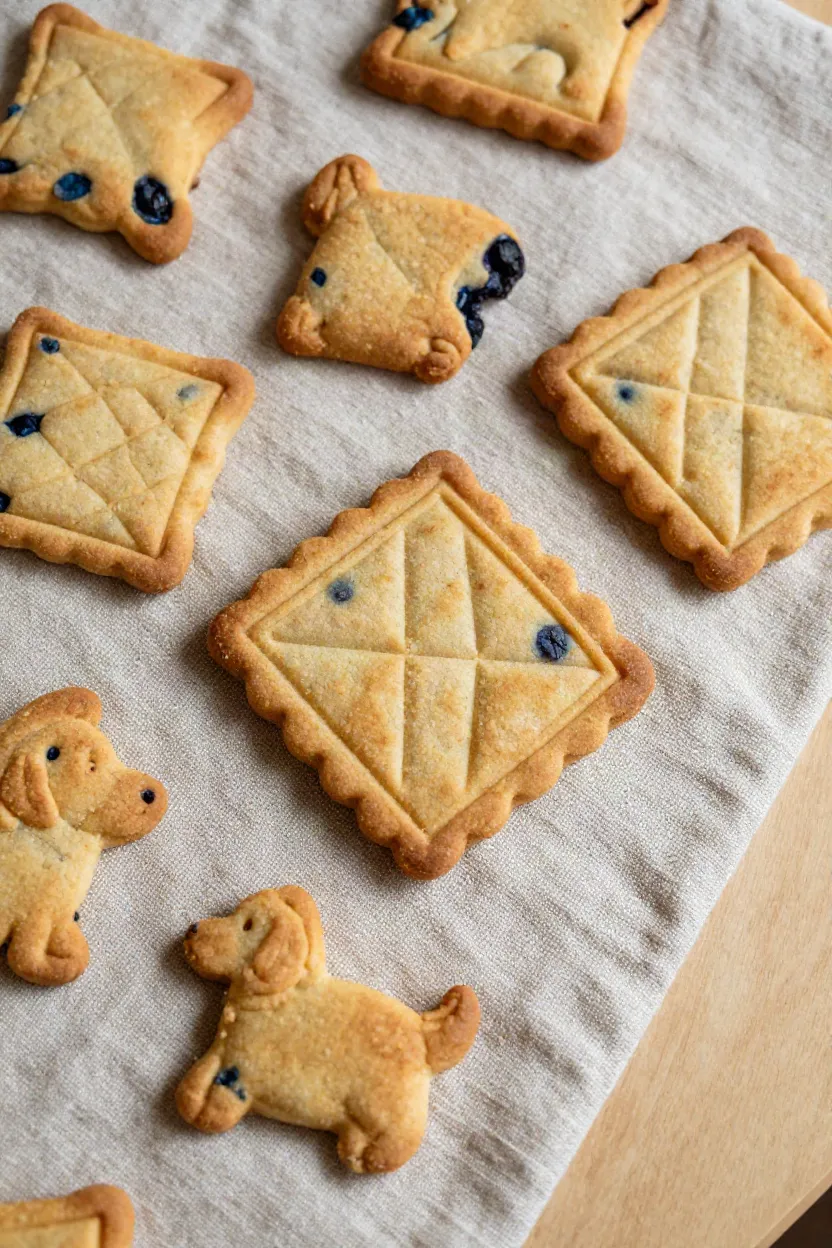
Geometric crisscross patterns offer an orderly, vintage aesthetic that highlights colorful fruit inclusions across every golden surface. Crafting balanced harlequin pattern dog treats requires careful dough leveling so every diamond holds its structural depth throughout a steady, low-temperature bake.
- Use rolling pin guide rings or thickness guides to maintain a uniform 6 mm plane across your work surface, eliminating thin edges that might scorch during a 35-minute bake at 325 degrees F.
- Finely chop dried wild blueberries and disperse the bits evenly so tiny dark jewels settle neatly into the grid intersections without snagging the stamping tool.
- Apply even downward force across the diamond embossed pet biscuit surface, embedding each fruity pocket flush with the surrounding grain-free dough.
Slow dehydration in the oven produces satisfying baked blueberry dog treats that stay delightfully crisp for weeks in your countertop treat jar.
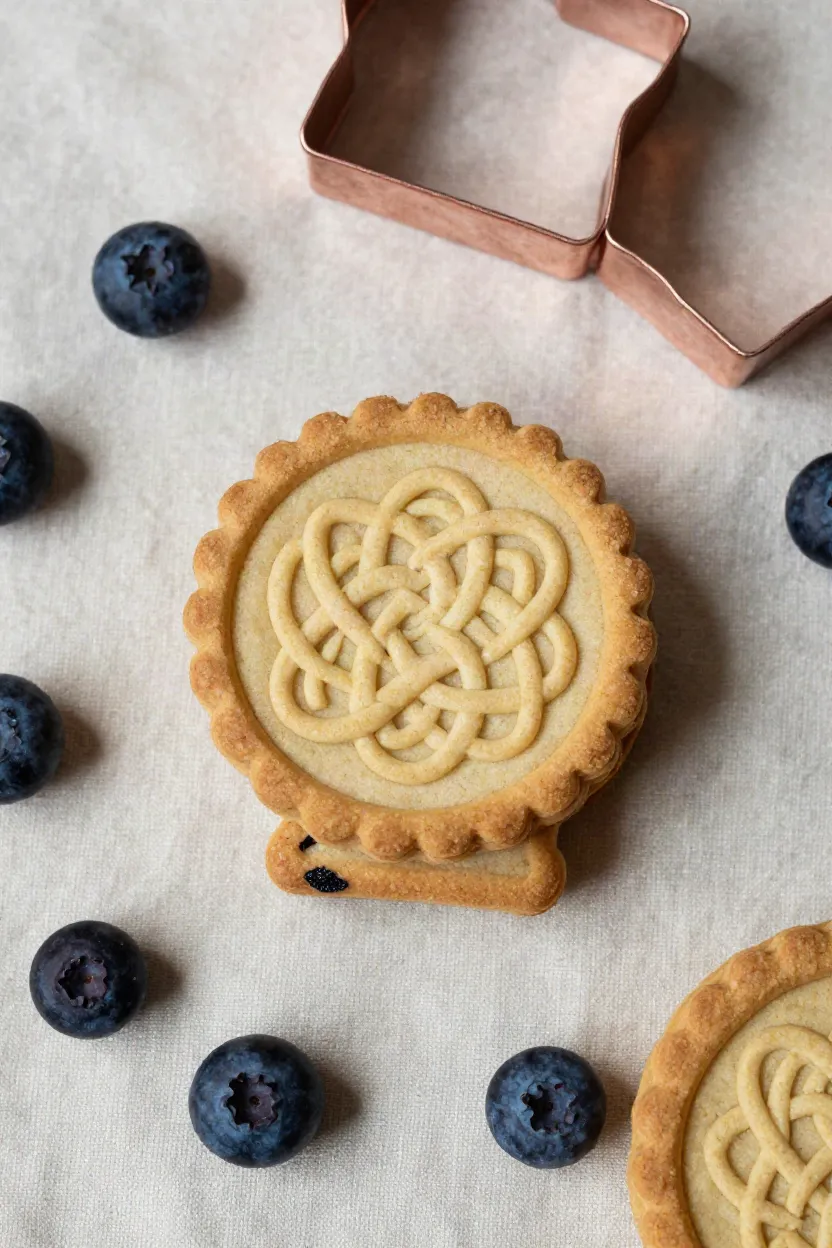
French Fluted Tartlet Rim with Celtic Knot Engraving
Deep pastry borders inspired by traditional bakery molds frame intricate interlaced rope patterns with remarkable distinction. Pairing a flared fluted rim canine biscuit perimeter with continuous knotwork requires a dusting medium that releases cleanly without clogging recessed details.
- Dust your stamp face lightly with fine tapioca starch instead of coarse coconut flour, ensuring the narrow grooves stay free of chalky buildup.
- Align the cutter over your rested dough, pressing down firmly so the central celtic knot dog biscuit pattern forms before the fluted outer edge cuts through.
- Transfer each cut french tartlet pet treat directly onto a parchment-lined baking sheet using a thin metal offset spatula to protect the delicate outer crimping.
Microscopic bits of wild fruit create a lovely speckled backdrop across the dough, offering rich visual contrast without snagging or blurring any continuous embossed lines.
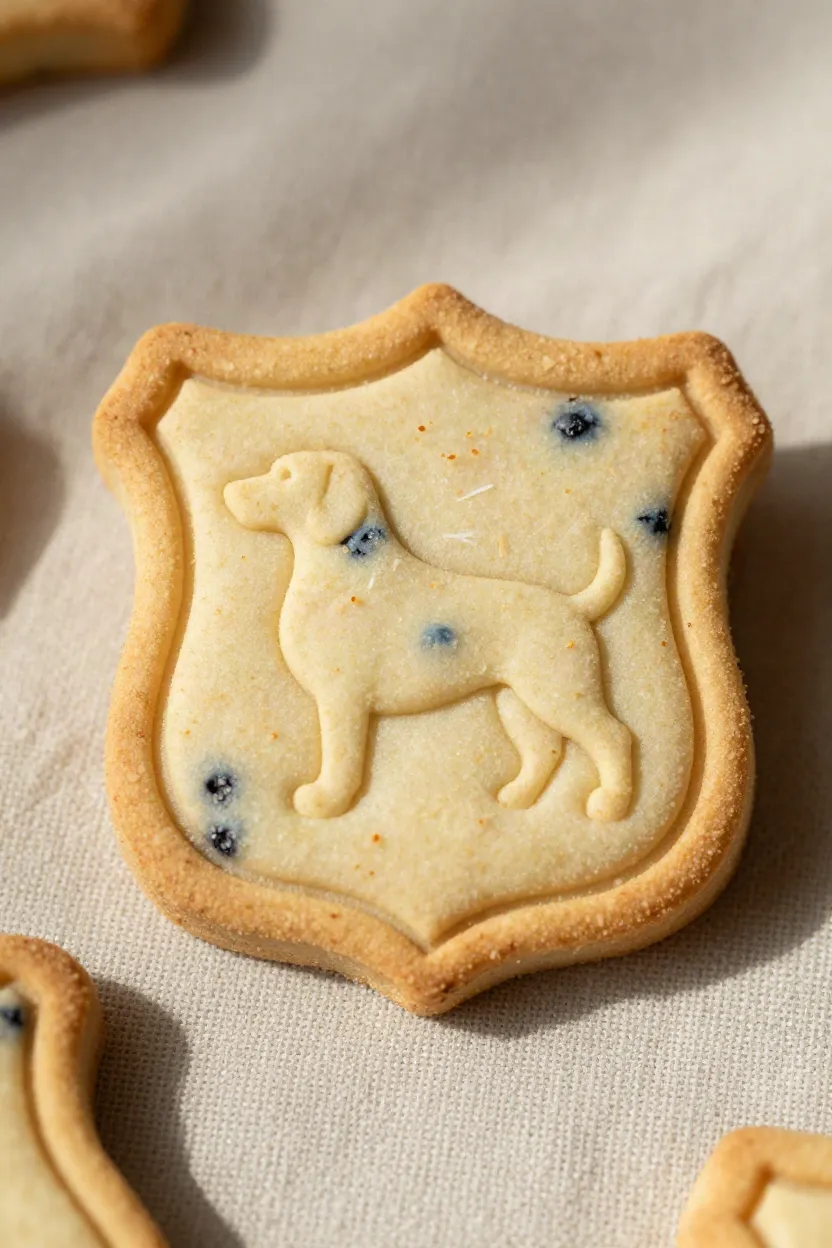
Beveled Shield Crest with Raised Spaniel Profile
Deep-relief cutters need extra perimeter protection so the delicate silhouette inside does not get crushed when you stack batches into treat jars. Combining an angled outer rim with an embossed centerpiece keeps your spaniel profile biscuit safe from everyday kitchen handling. To make sure the dough lifts out of intricate recesses cleanly without snagging, you will want a pliable base where pureed squash balances finely ground nut flour.
- Moisture regulation between smooth pumpkin puree and fine almond flour prevents sticky clinging while retaining sharp ear and muzzle outlines.
- The raised outer boundary acts as a protective buffer, turning your shield crest dog treat into a sturdy piece that withstands packing and pantry storage.
- Slanted interior walls on beveled edge dog treats help the dense grain-free blend pop loose immediately after pressing without tearing delicate contours.
Once you press your cutter straight down into the rolled sheet, a gentle tap against your parchment paper releases the embossed emblem with crisp, clean margins.
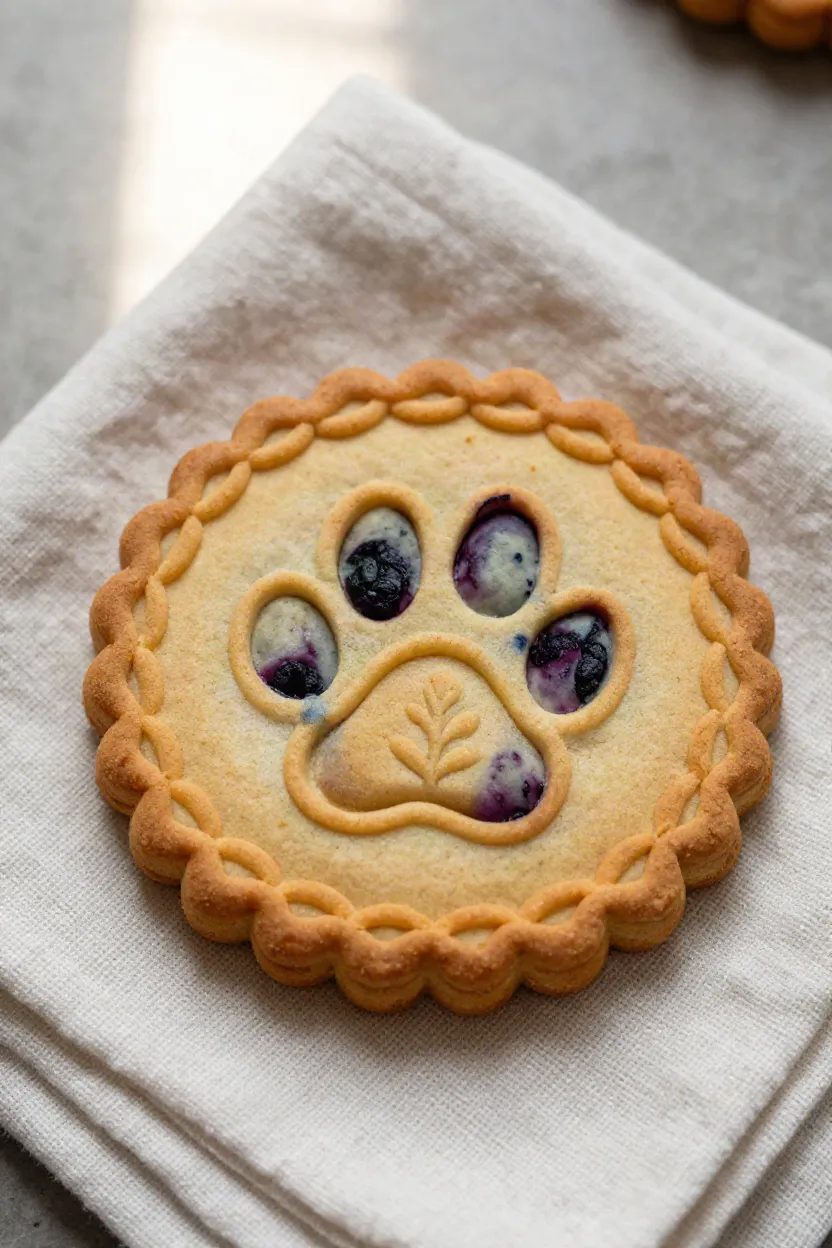
Braided Rim Disc with Botanical Sprig and Paw
Interlocking rope borders frame organic leaf patterns beautifully, creating an ornate finish that feels like a tiny piece of vintage pottery on your kitchen counter. Pressing this dual emblem requires dialed-in hydration to keep every twisted cord and leafy leaf vein intact. If the mixture runs too dry, the twisted rim cracks along stress lines, while excessive liquid causes the dough to gum up inside the brass cutter grooves.
- Target an overall hydration level between 20 and 24 percent by incorporating small drops of room-temperature water until the dough feels like firm modeling clay.
- Position your stamper directly over the chilled round and press down with steady, perpendicular force to seat the botanical paw dog biscuit emblem into the dough.
- Lift the tool straight upward in one continuous motion to ensure your braided rim pet treat emerges with every raised strand crisp and intact.
I find that chilling the stamped sheet for five minutes before baking freezes the tiny botanical sprigs and leaves in place. These traditional stamped biscuit motifs retain their handsome braided detail right through the oven cycle.
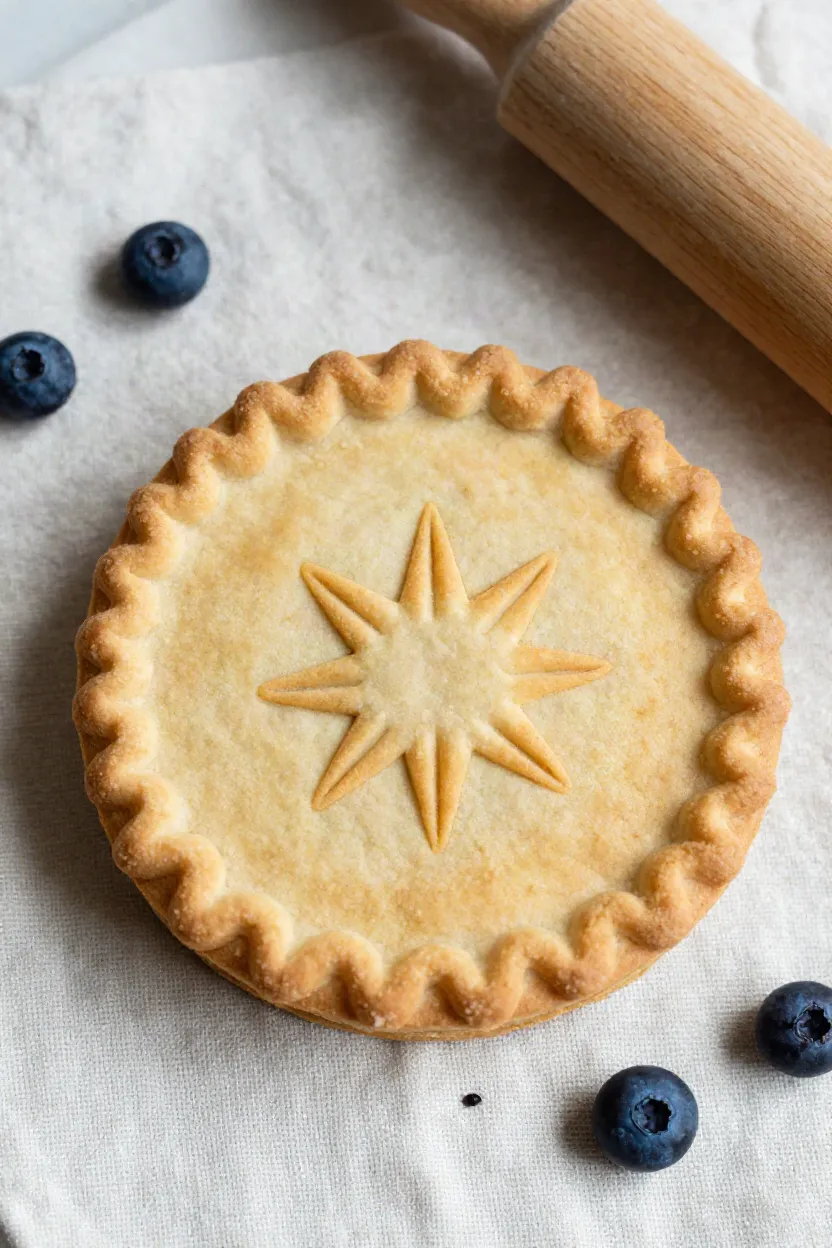
Ruffled Pie-Crust Edge with Radiant Starburst Center
Scalloped fluting paired with dynamic center geometry turns basic grain-free dough into charming bakery showstoppers. When you cut a ruffled edge dog treats silhouette, keeping the central relief razor-sharp comes down to surface tension across the dough disc. Whisked aquafaba works wonders here as an egg-free binder, creating a smooth, cohesive matrix that locks in the starburst lines without creating rubbery spots or brittle air bubbles during the bake.
The chickpea liquid forms a semi-glossy barrier across each pie crust canine treat as it bakes, preserving the intricate central rays from drying out or developing hairline fractures. Once the batch finishes in the oven, transfer each piece gently to a wire rack for thorough ambient cooling. As the biscuits cool to room temperature, these starburst stamped biscuits settle into a sturdy, snap-crisp texture that holds its radiant pattern without flaking or dulling when stored in your treat jar.
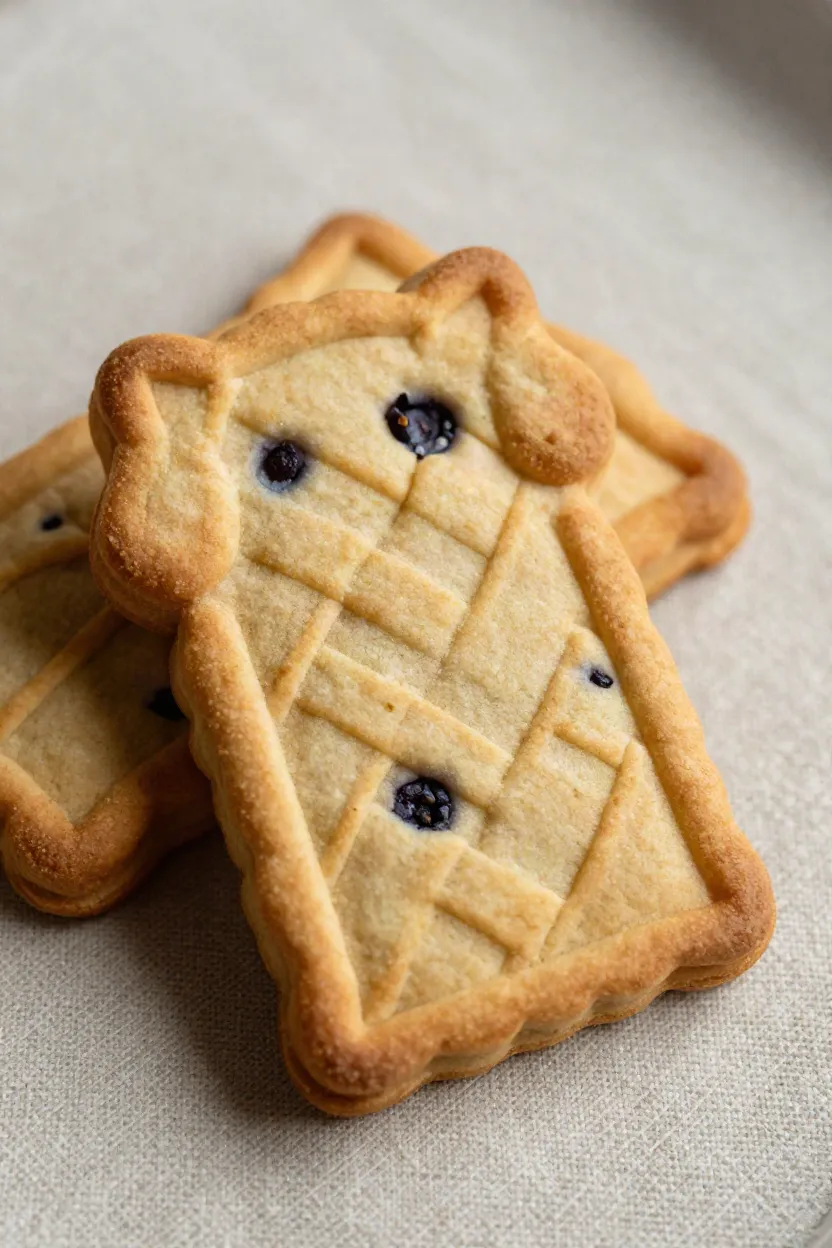
Farmhouse Plaid Weave with Crisp Scalloped Perimeter
Crisp intersections and undulating outer rims bring an irresistible homespun aesthetic to any batch of homemade rewards. Recreating this authentic farmhouse pet treat style requires careful control over pressing depth, because pressing too hard cuts through thin dough while pressing too lightly leaves a faint impression that bakes out in the oven. Low-moisture fruit inclusions help keep your grid lines sharp without introducing sticky wet pockets.
- Calibrating your hand pressure to produce an even 1.5 mm depression depth creates distinct grid channels without shearing through the rolled base.
- Finely crushed freeze-dried wild blueberries distribute tiny indigo specks throughout the plaid weave dog biscuits without releasing excess juice that could soften the geometric grooves.
- Cutting the perimeter with a wavy fluted ring supports the structure while giving each scalloped perimeter biscuit a charming country kitchen border.
When you slide the cut shapes onto your lined baking sheet, you preserve the straight lattice lines so your finished biscuits emerge from the oven looking bakery-fresh.
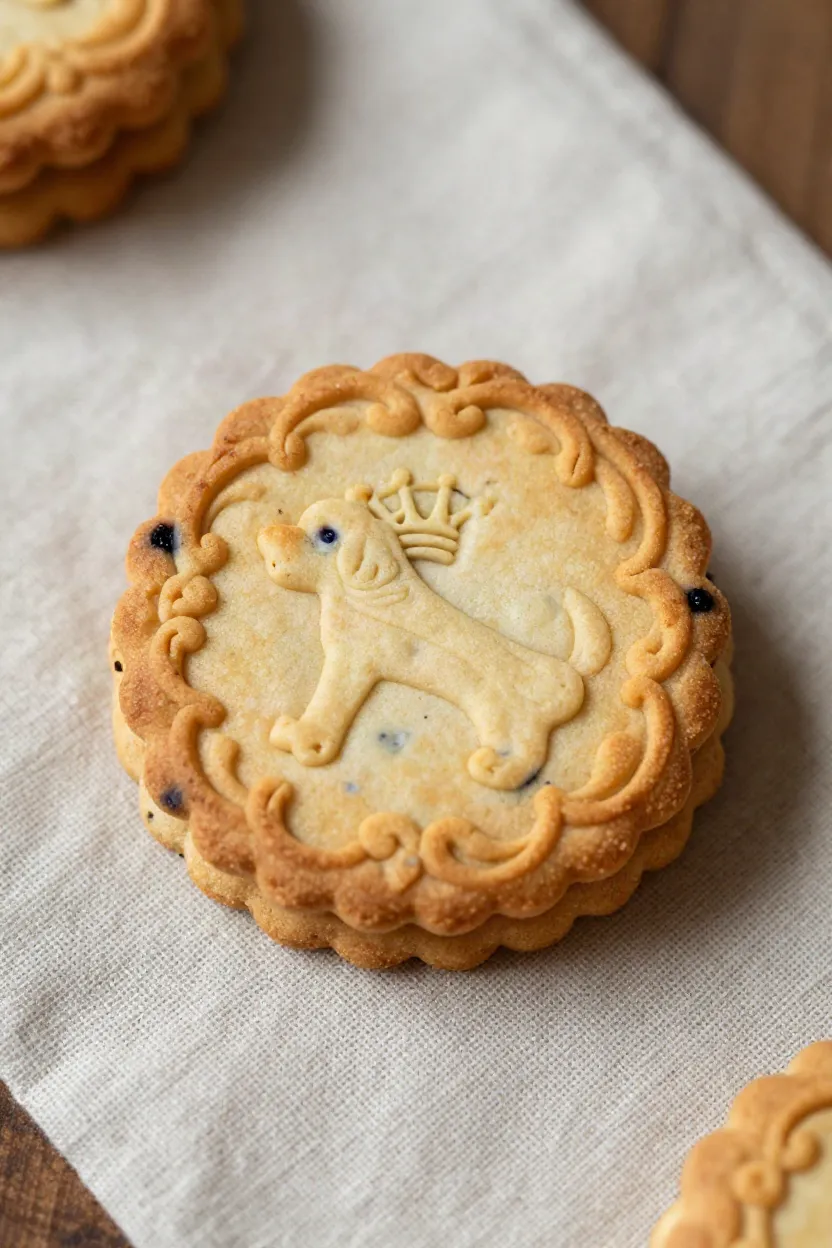
Baroque Scrollwork Round with Crowned Bone Motif
When you want to give your pup something truly regal for special occasions, turning to ornate dog biscuit motifs creates a striking impression on the treat platter. Pressing an intricate baroque dog biscuit stamp into a golden coconut base requires clean tool prep because those curling filigrees can trap soft dough if the wood is bone dry. Lightly seasoning your carved maple stamper with a drop of fractionated coconut oil, or selecting a flexible silicone-coated mold, lets every swirl release cleanly without tearing the edges.
Temperature control makes all the difference when you are stamping each crowned bone pet treat. Chilling your rolled dough sheets on a flat parchment tray for 30 minutes keeps the coconut oil and flour firm enough that delicate scroll flourishes pop free cleanly. If you notice any tiny crevice holding onto dough bits, simply dip the stamp face into fine arrowroot starch before your next press down to ensure crisp, clean outlines every single time.
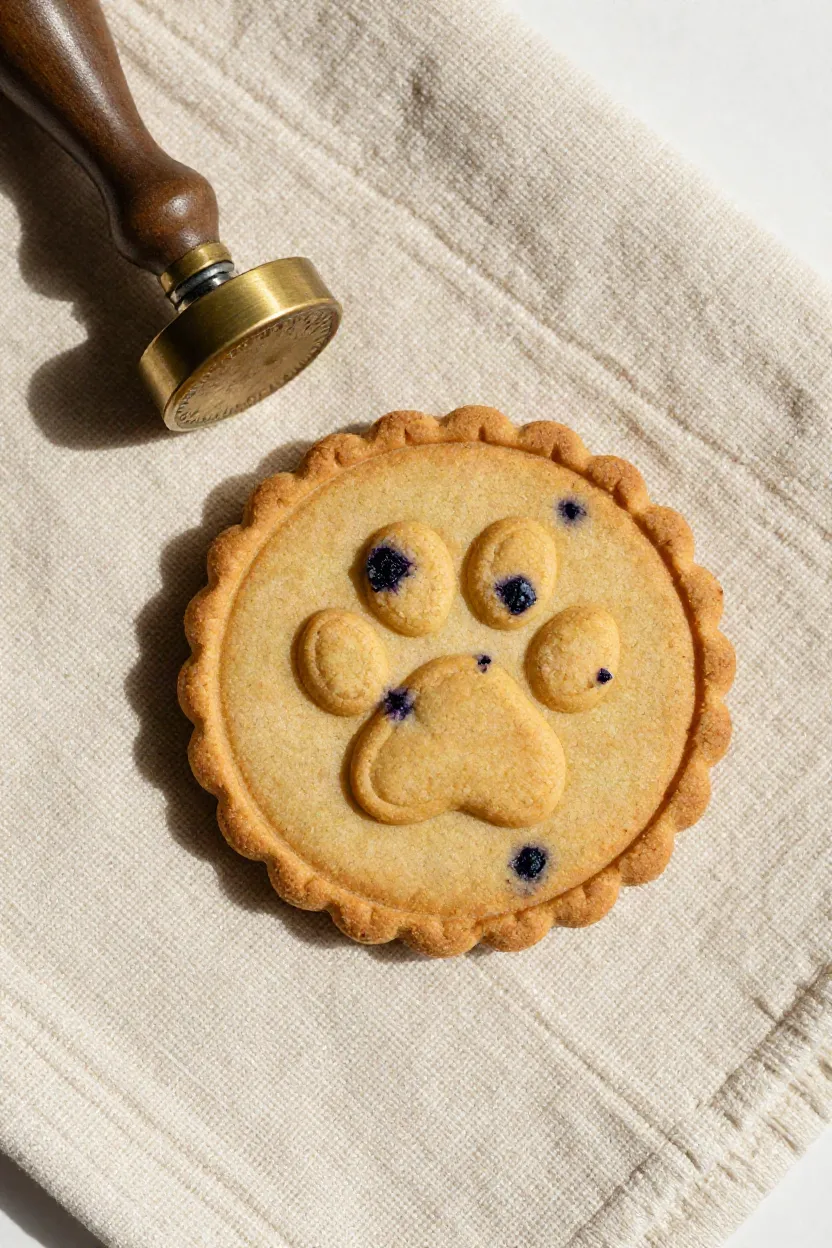
Fine Coin-Edge Medallion with Dual Micro-Paw Relief
For an understated antique finish that looks like a pocket keepsake, serrated borders paired with tiny center emblems offer wonderful visual contrast on your cooling rack. Crafting a coin edge dog biscuit requires minimal oven movement so those outer grooves stay sharp and uniform from rim to rim.
- Baking your grain-free starch blends at a gentle 315 degrees F keeps dough shrinkage under 3 percent, protecting the round geometry and exterior fluting.
- Sizing the dual pads to fit micro paw print treats ensures the shallow depressions hold their shape without collapsing during moisture evaporation.
- Pairing shallow relief carvings with a sturdy fluted cutter lets each vintage pet medallion slide off your spatula without warping the perimeter ridges.
A brief five-minute rest on the counter before moving the biscuits preserves the sharp ridges around the rim while they finish crisping up.
Dough Hydration, Thickness, and Chilling Parameters for Stamp Crispness
Getting bakery-level clarity on every homemade biscuit comes down to a reliable rhythm of hydration, slab height, and cold resting. Following balanced stamping hydration benchmarks prevents wet batter from gumming up your carvings while keeping baked edges from crumbling as they cool.
- Whisk your dry coconut and tapioca starches with liquid binders at a balanced three-to-one volume ratio, adding blueberry purée slowly until the mixture forms a smooth, pliable ball that leaves your mixing bowl clean.
- Roll the dough between two parchment sheets to a uniform dog treat dough thickness of 0.25 inch (or 6 mm), which gives sufficient depth for a bold stamp relief while allowing moisture to evaporate evenly without curling the corners.
- Follow standard grain free chilling guidelines by resting the rolled sheet for 25 to 30 minutes at 38 degrees F in your refrigerator, then transfer the cut discs straight onto perforated baking mats at 320 degrees F for even bottom airflow.
This steady sequence guarantees that every pressed disc maintains sharp details straight through the baking cycle.
Common Texture Failures and Edge Definition Breakdowns to Avoid
Baking homemade treats without grains can occasionally bring unexpected hurdles when temperatures drift or moisture levels spike on your counter. Practical biscuit stamp troubleshooting starts with watching your fruit prep, because thawing frozen blueberries directly into the mixing bowl releases pockets of excess water that soften the dough beneath the stamp face. Similarly, warm coconut oil causes rapid melting on the baking sheet, so keeping your fat solid during incorporation is essential for preventing dough spreading across the entire pan.
Chemical leaveners like baking powder can also puff up the biscuit surface and soften sharp stamp engravings, so leaving them out entirely keeps your decorative impressions clean and flat. If you experience surface tearing as you lift your wooden stamper, dust the tool face lightly with arrowroot starch and apply reliable crisp pet treat baking fixes like popping stamped trays into the freezer for ten minutes right before they hit the oven.
Selecting and Preserving Your Signature Heritage Biscuit Motif Collection
Once your freshly baked batches cool on wire racks, matching the right press depth to your pet's size keeps treat time fun and practical. When you're selecting dog biscuit stamps for different dogs, shallow folk patterns and light line designs work best for smaller companions who need a gentle, clean crunch without messy crumbs. For larger hounds with stronger bites, bold relief plaques create sturdy edges that hold up beautifully across thicker dough portions.
- Match delicate line etchings with dough rolled under a quarter inch for smaller jaws, while reserving bold carvings for half-inch slabs suited to bigger dogs.
- Let every tray cool on a bare wire rack for at least two hours so lingering moisture escapes before packing.
- Stack the cooled pieces between parchment sheets away from sunlight and oven heat to preserve crisp textures.
Reliable heritage canine treat care comes down to guarding that biscuit snap against kitchen moisture. Through attentive artisan dog treat storage inside an airtight ceramic canister, your stamped treasures remain fresh and delightfully crisp for up to three weeks.