Summary
- Why 3-Ingredient Peanut Butter Pumpkin Dog Biscuits Are a Game Changer
- The Magic Behind the Minimalist Recipe
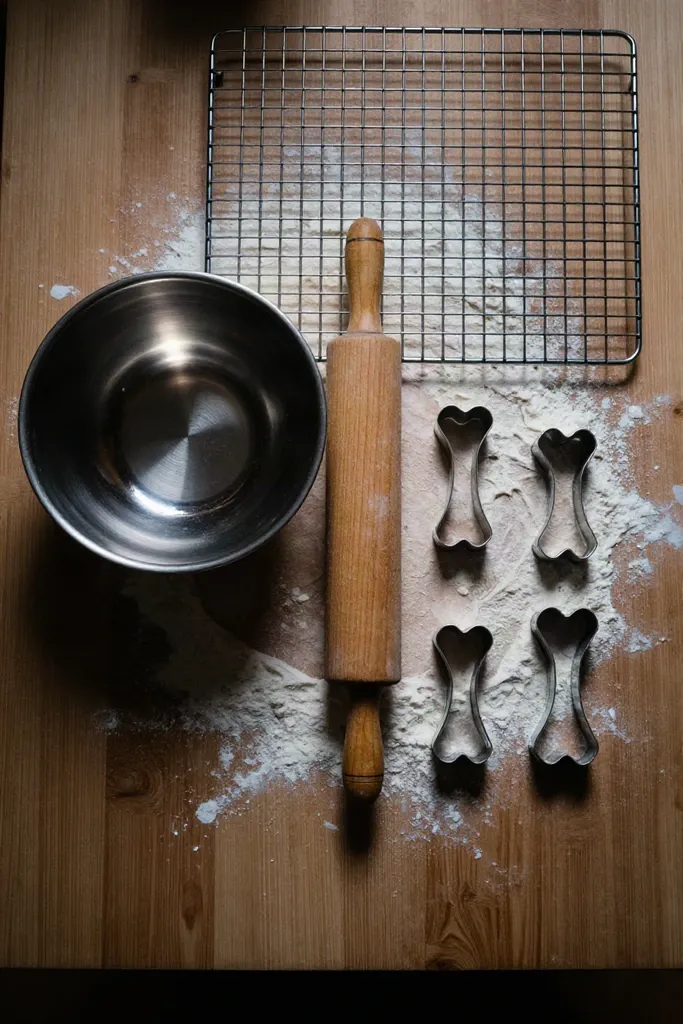
- Essential Baking Equipment for Pet Treats
- How To Bake Peanut Butter Pumpkin Dog Biscuits
- Proper Storage to Maximize Shelf Life
- Frequently Asked Questions About Homemade Dog Treats
- Final Thoughts: Spoil Your Pup the Healthy Way
Why 3-Ingredient Peanut Butter Pumpkin Dog Biscuits Are a Game Changer
Walking down the pet food aisle often feels like reading a chemistry textbook. Commercial treat bags are packed with artificial preservatives and unpronounceable fillers. More pet owners are trading factory-sealed packages for wholesome kitchen staples because you deserve to know exactly what goes into your dog's daily snacks. Preparing rewards at home puts you in direct control of every bite. This eliminates hidden sugars and chemical binders that can irritate sensitive canine stomachs.
A simple trio of wholesome kitchen ingredients cuts through the clutter of complicated pet recipes. The process requires zero baking experience and barely ten minutes of hands-on prep. You get a firm, nutrient-rich crunch packed with gentle fiber and healthy fats that your pup will eagerly work for during training. When wholesome baking stays this straightforward and quick, stocking your counter with clean treats is a highly practical habit.
The Magic Behind the Minimalist Recipe
Canine digestive systems thrive on simplicity because shorter digestive tracts process whole, recognizable foods far better than complex commercial blends loaded with artificial additives. By keeping the formulation lean, you lower the likelihood of gas and sudden allergic reactions. You also gain complete visibility over every calorie, ensuring your pup receives clean fuel without hidden sugars or chemical preservatives.
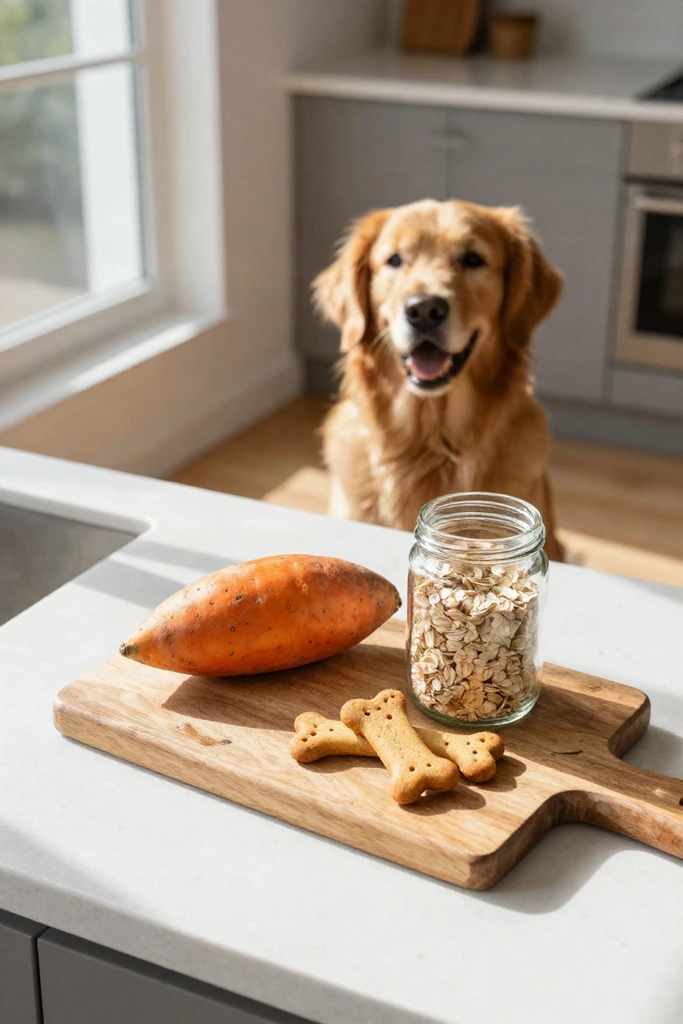
Three basic pantry staples form the entire foundation of these crunchy snacks. You will need creamy natural peanut butter and plain pumpkin puree combined with a gentle flour. Each ingredient brings distinct functional value, supplying gut-friendly fiber and clean carbohydrates without requiring artificial gums or stabilizers.
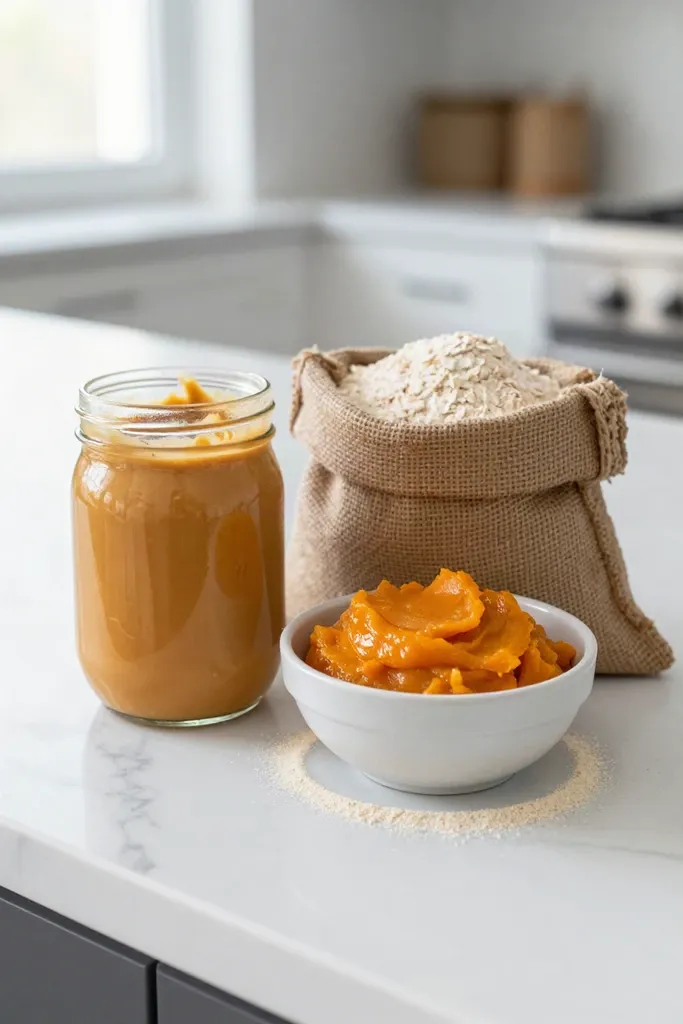
1. Dog-Safe Natural Peanut Butter
A quick inspection of the ingredient label is the most critical safety checkpoint before you measure out your spread. You want a jar containing only roasted peanuts, with zero hydrogenated oils or traces of xylitol, an artificial sweetener highly toxic to dogs. This pure spread delivers a rich dose of plant-based protein and healthy dietary fats that support lean muscle maintenance and a shiny coat.
In the mixing bowl, the dense consistency functions as an organic binder. It holds the crumb together so the rolled treats do not fracture before hitting the oven. The sticky texture integrates easily with dry flour, creating a pliable dough that holds clean cookie-cutter edges while baking into a firm reward.
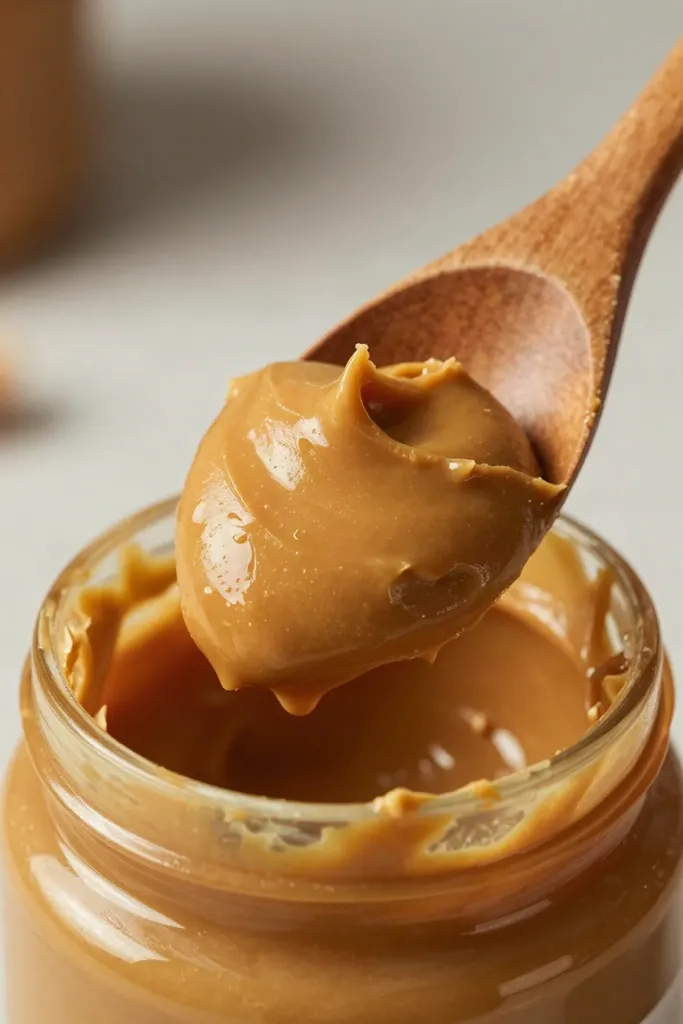
2. 100% Pure Pumpkin Puree
Your batch relies on canned squash to hydrate the dry mixture, but you must inspect the ingredient panel before scooping anything into your bowl. Standard pie fillings look nearly identical on grocery shelves yet contain refined sugars, toxic spices like nutmeg, and sometimes xylitol. Using unseasoned, plain pumpkin gives your biscuits structural moisture without introducing dangerous holiday additives.
- Soluble fiber absorbs excess water in the GI tract, helping soothe mild stomach upset and firm up loose stool.
- Prebiotic plant compounds feed healthy gut microbes, supporting regular bowel movements and nutrient absorption.
- Natural moisture binds dry flour quickly, allowing you to shape clean biscuits without adding heavy oils or fats.
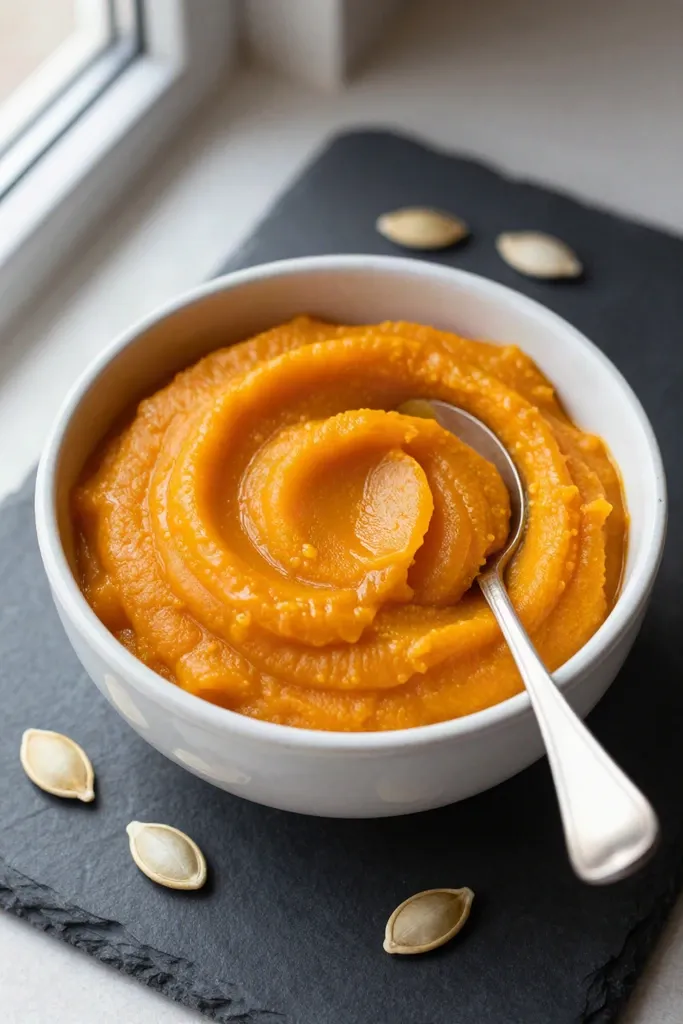
3. Oat Flour or Whole Wheat Flour
Finely ground rolled oats provide an easily digestible base if your pup struggles with digestive sensitivities or gluten intolerances. This fiber-dense option absorbs the moisture from the puree evenly, producing a pliable dough that holds clean lines under a cookie cutter. When food allergies are not a concern, traditional whole wheat supplies a heartier texture packed with natural wheat germ and roughage. Both varieties create the rigid structural matrix required to bake out moisture during cooking. This gives each treat a dependable snap that dogs love to crunch on.
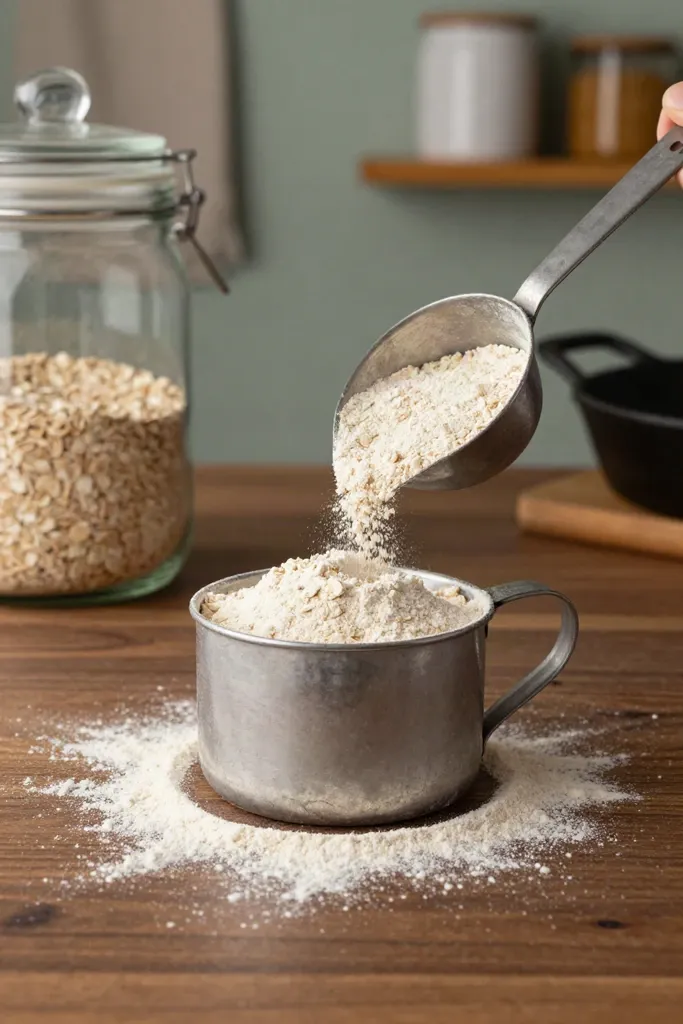
Essential Baking Equipment for Pet Treats
Before bringing those three base ingredients together on the counter, gathering a few standard kitchen items keeps the dense mixture manageable and cleanup fast. You do not need specialized appliances to turn out crisp biscuits. Dependable workhorses already sitting in your cabinets will do the job perfectly.
- A wide ceramic or stainless mixing bowl paired with a stiff spatula gives you the leverage needed to combine dense pumpkin and peanut butter easily.
- A solid rolling pin flattens the heavy mixture to a uniform quarter-inch slab without tearing the edges.
- Standard rimmed baking sheets lined with parchment paper stop sticking and ensure uniform heat distribution across every tray.
- Small bone or paw cookie cutters stamp out neat, bite-sized portions that bake evenly across the pan.
How To Bake Peanut Butter Pumpkin Dog Biscuits
Once your tools sit ready on the counter, bringing these wholesome ingredients together is straightforward. You don't need advanced pastry skills or culinary training to achieve crisp, dependable results. The entire process from initial measuring to sliding your tray into the oven takes less than 15 minutes of active hands-on time.
A tidy workspace helps you monitor dough consistency before shaping. Because the mixture handles cleanly without clinging to your rolling pin, you can move efficiently through each phase while your pup watches nearby. The first move is dialing in the right oven temperature.
Step 1: Prep the Kitchen and Preheat
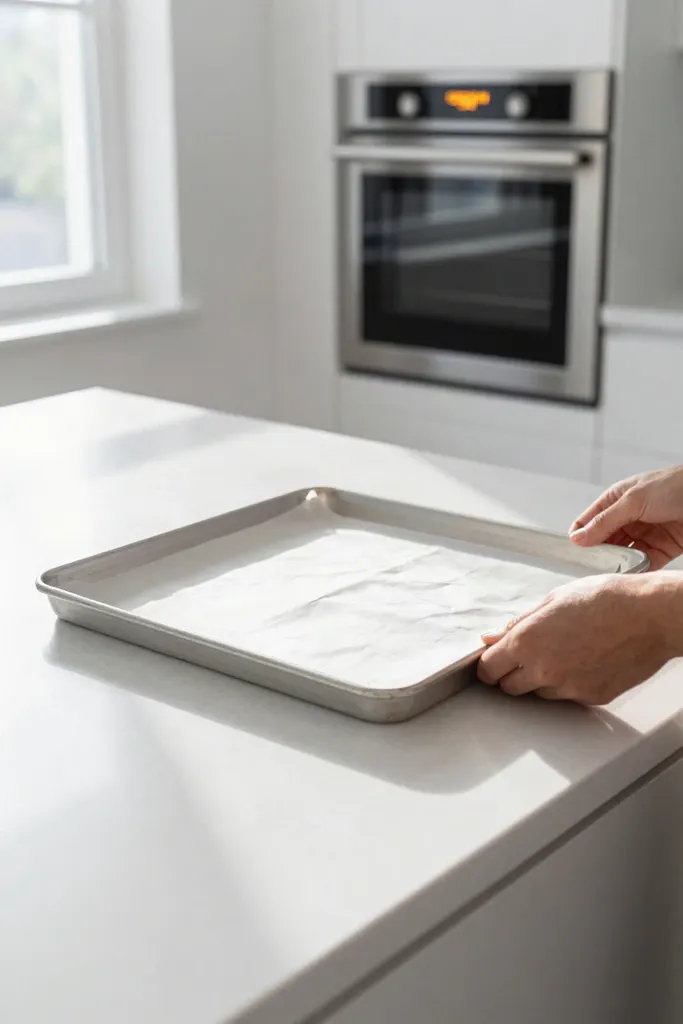
Turn your oven dial to 350°F (175°C) right away so the baking chamber reaches an even heat before the first tray goes in. Clearing a flat counter area now keeps your workflow smooth once the dough comes together.
- Line two large baking sheets with unbleached parchment paper or reusable silicone mats so the biscuits lift off cleanly without added oils.
- Position your oven racks in the center slots to let warm air circulate evenly around every treat.
- Set aside an extra sprinkle of flour nearby to dust your rolling surface once the mixture forms.
Step 2: Mix the Wet and Dry Ingredients
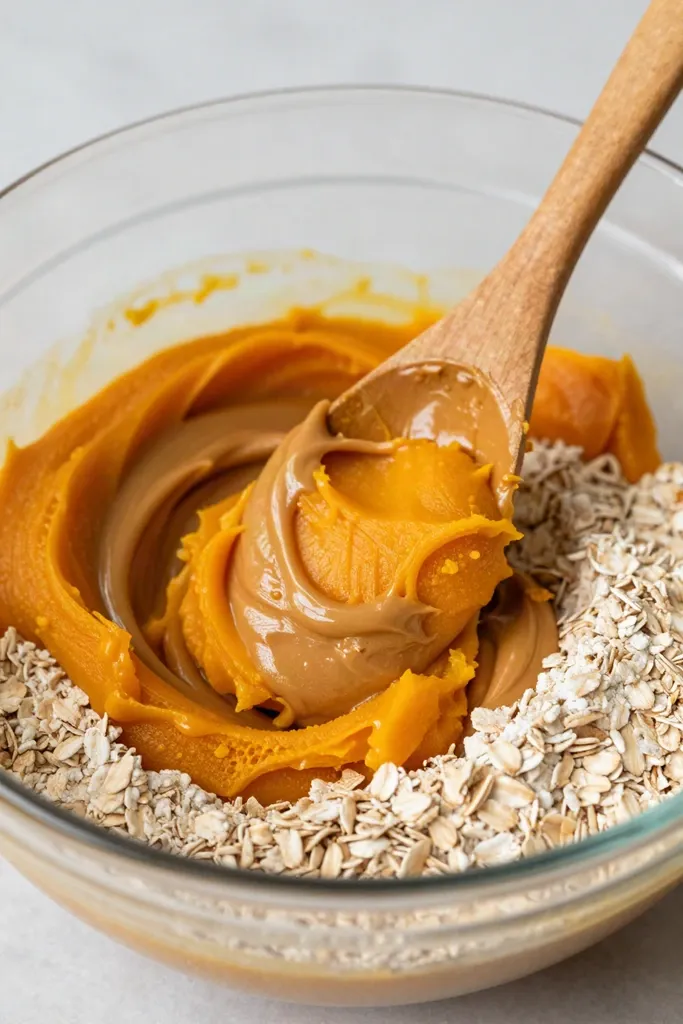
Stir the pure pumpkin and smooth peanut butter together in a wide bowl until completely blended before gradually incorporating the flour. Knead the mixture directly in the bowl with clean hands or a rigid wooden spoon until it gathers into a slightly tacky ball that holds together without clinging to your skin.
- If the mixture feels powdery or separates into dry flakes, drizzle in water one teaspoon at a time until the crumbs press together.
- If the mass feels overly wet or sticks stubbornly to your fingers, sprinkle in an extra tablespoon of flour and fold it in to absorb excess moisture.
- Once the dough reaches a firm consistency and pulls away cleanly from the bowl walls, you are ready to use your flat work surface.
Step 3: Roll the Dough and Cut Shapes
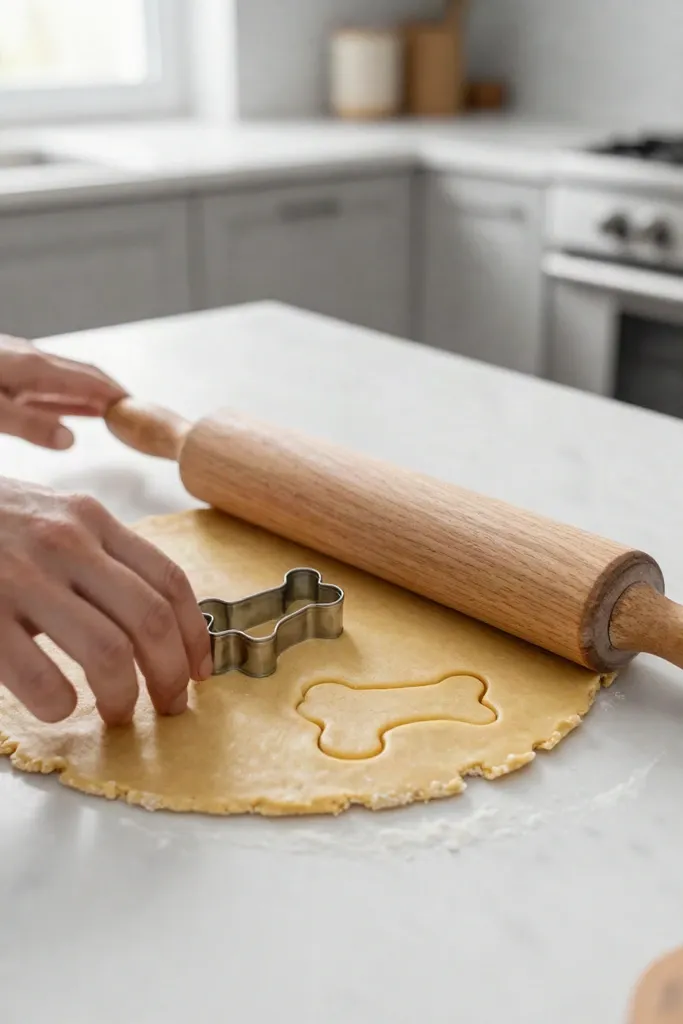
Dust your countertop lightly with extra flour or lay down parchment paper so the mixture glides smoothly under your rolling pin. Aim for an even quarter-inch thickness across the slab to ensure every biscuit crisps up uniformly in the oven without burning at the edges. Press your cookie cutters firmly through the flattened base and transfer each cutout directly onto your prepared baking sheet. Gather the remaining scraps, knead them back into a compact ball, and flatten them again until you have transformed every piece into ready-to-bake treats.
Step 4: Bake to the Perfect Crunch
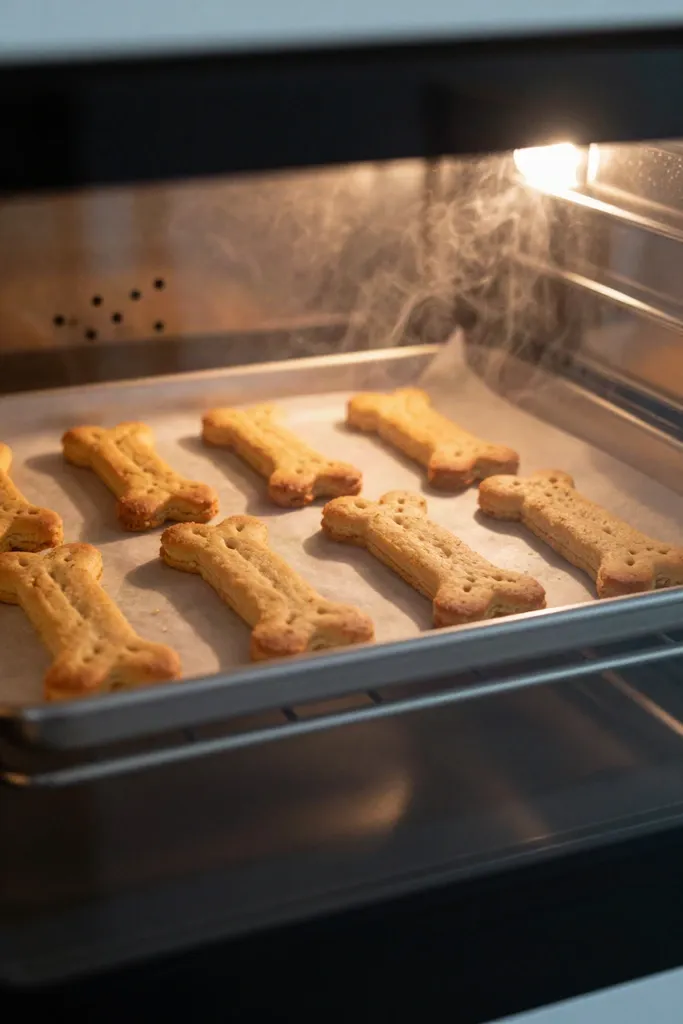
Slide the loaded baking sheet onto the middle rack of your 350°F (175°C) oven for approximately 25 to 30 minutes. Keep an eye on the edges, which will shift to a light golden brown once the moisture cooks out. A quick press to the center of a biscuit should feel firm with no spongy give, indicating the dough has baked through evenly. If your dog enjoys a brittle snap, leave the tray in the turned-off oven with the door slightly cracked for another ten minutes to draw out any remaining dampness.
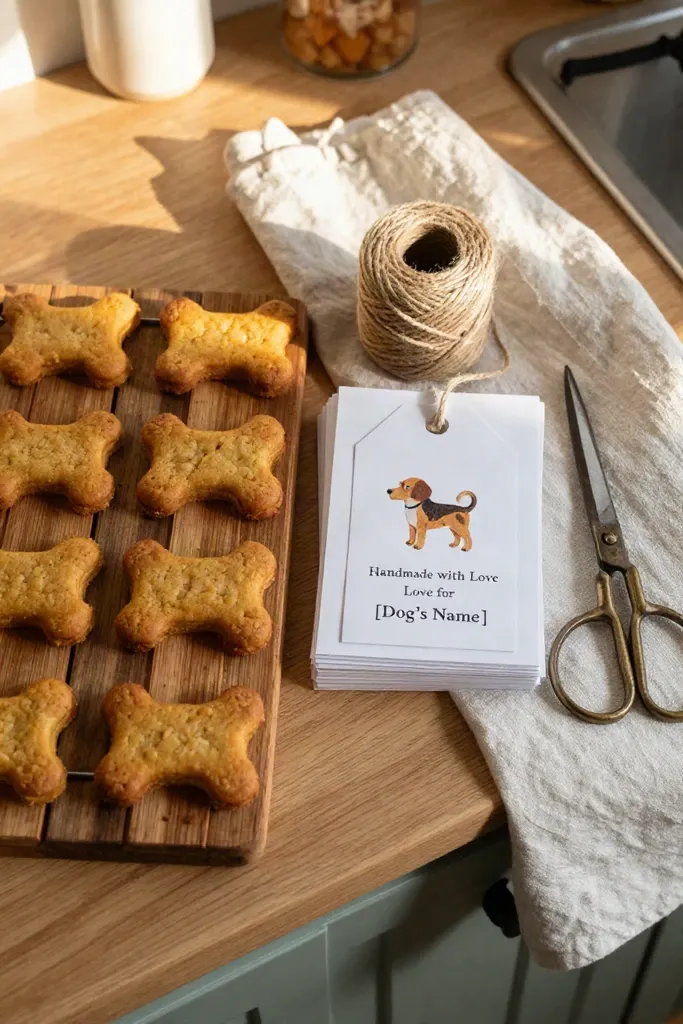
A wire cooling rack provides the circulation needed to harden the treats as they shed ambient heat. When biscuits cool completely on an elevated wire grid rather than a hot solid pan, they develop a crisp texture instead of retaining trapped steam. That firm density gives your dog a satisfying crunch that gently scrapes along teeth surfaces to reduce everyday plaque buildup.
Proper Storage to Maximize Shelf Life
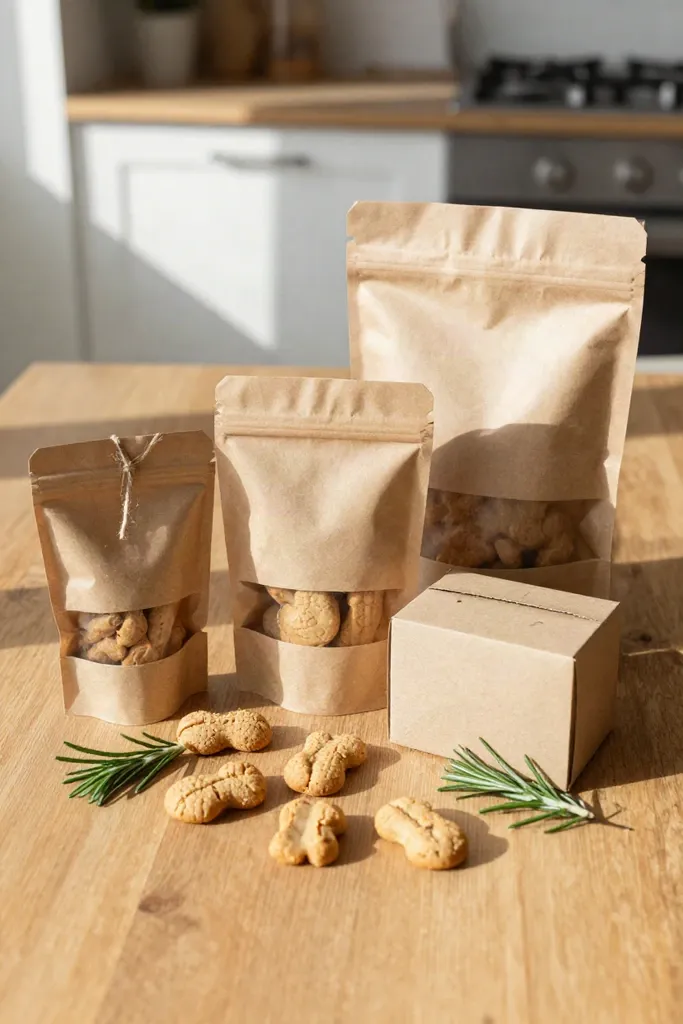
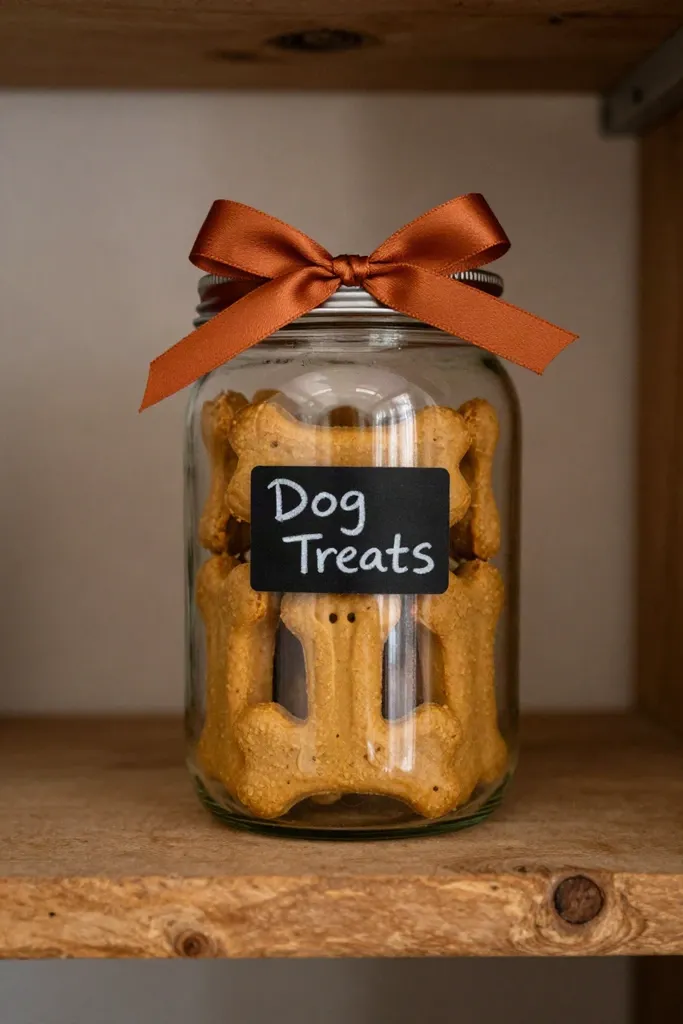
Once the baked batch cools completely on your wire rack, keeping residual moisture away protects the treats because they lack artificial preservatives. You can place the biscuits into a sealed glass jar or airtight tin on your kitchen counter, where they stay crisp and fresh for up to a week. If your kitchen runs warm or you live in a humid climate, storing the container in your refrigerator extends that freshness to roughly three weeks without losing texture. For larger batches, slip individual portions into freezer-safe bags and freeze them for up to three months. You can thaw a few pieces at room temperature whenever your dog deserves a wholesome reward.
Frequently Asked Questions About Homemade Dog Treats
You can readily swap oat or whole wheat flour for chickpea or brown rice flour if your dog needs a gentle, gluten-free alternative. You will just need to adjust moisture levels slightly to keep the dough workable. If peanut sensitivities are a concern, sunflower seed butter is an easy substitute that maintains the same reliable texture and rich taste. Young puppies over eight weeks old can safely enjoy these crunchy biscuits once they eat dry kibble, provided you break each piece down into small training bites. Balancing these rich additions against your dog's regular meals keeps their digestion settled while providing a firm crunch.
Final Thoughts: Spoil Your Pup the Healthy Way
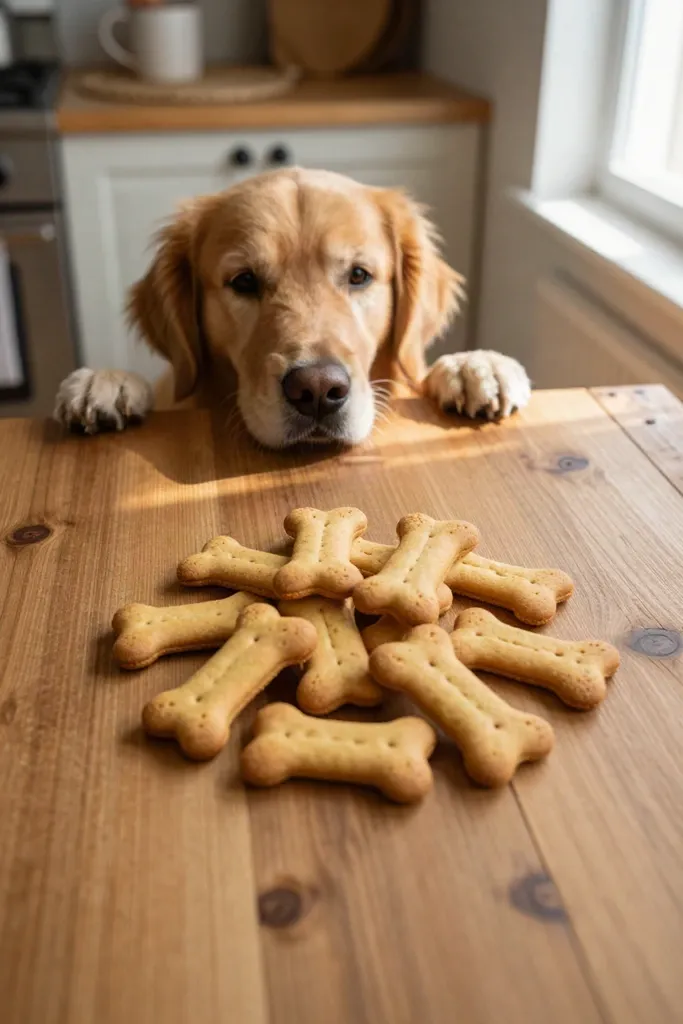
Taking control of your canine companion's snack routine eliminates the guesswork behind mysterious preservatives and filler flours found on commercial store shelves. Pulling a fresh sheet of golden, warm biscuits out of the oven gives you full confidence in what nourishes your dog every single day. The process takes less than thirty minutes from initial bowl mixing to the cooling rack, making it a sustainable kitchen habit you can repeat whenever the treat jar runs low. Snap a quick photo of your freshly baked batch to pin to your favorite pet board on Pinterest, then hand over a firm, crunchy biscuit as a clean reward for good behavior.