Summary
- Formulation Principles for Grain-Sensitive Canine Nutrition
- Stage One: Dough Architecture and Starchless Moisture Binding
- Stage Two: Precision Shaping, Convection Baking, and Crumb Dehydration
- Baking Matrix: Ingredient Ratios, Dehydration Times, and Shelf-Life Metrics
- Moisture Management Failures and Ingredient Safety Safeguards
- Batch Production Schedule and Long-Term Pantry Storage Protocols
Formulation Principles for Grain-Sensitive Canine Nutrition
Baking treats for a dog with a sensitive stomach requires balancing rich nut butter fats with absorbent, grain-free binders. Fresh fruit naturally releases moisture in the oven, which can soften the batch if left unchecked. Using the right binder balance gives the biscuits a crisp snap and keeps them pantry-stable for weeks.
Stage One: Dough Architecture and Starchless Moisture Binding
Working without wheat flour requires building a stable base of fat and protein before introducing absorbent plant fibers. Because grain-free flours drink up liquid rapidly, whisking your wet ingredients thoroughly prevents dry, brittle pockets.
Coconut flour pulls moisture from the eggs quickly to bring the dough together. That balanced hydration forms a smooth, workable ball that rolls cleanly across your cutting board without sticking or tearing.
1. Emulsifying Single-Ingredient Peanut Butter and Whole Eggs
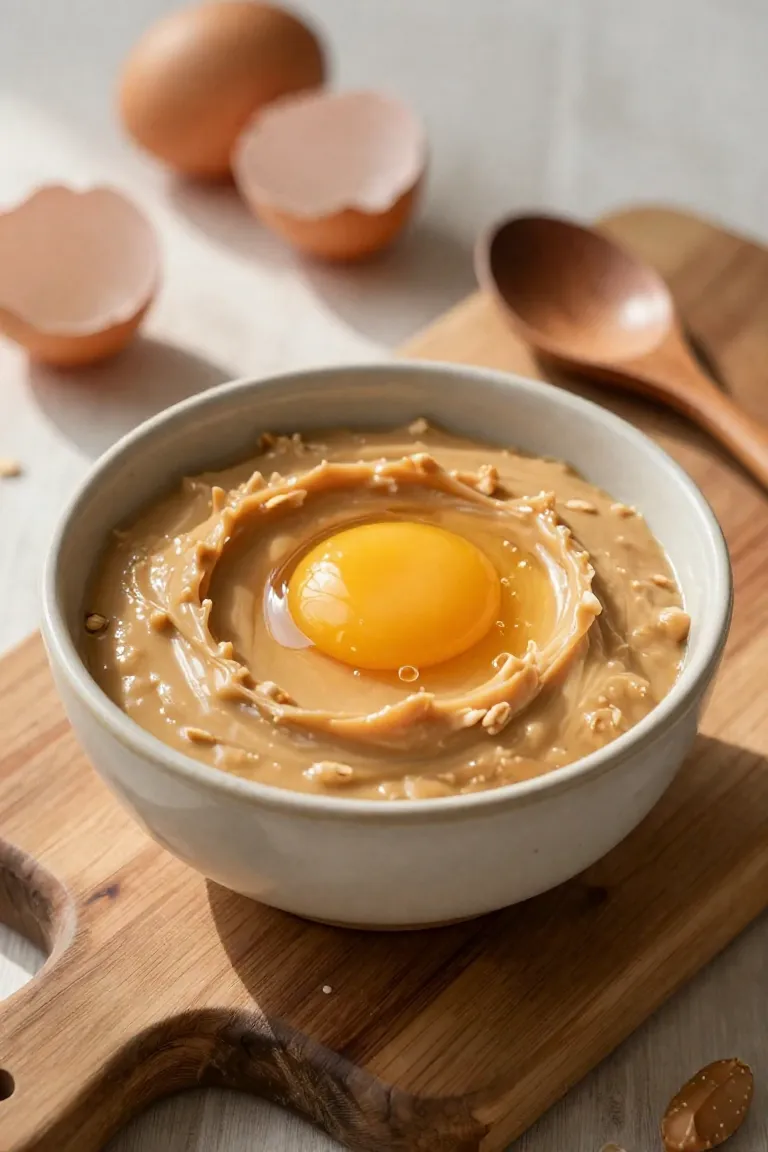
Start by bringing your primary fats and proteins to room temperature before mixing. Always check the label to ensure your peanut butter contains no xylitol, birch sugar, or hydrogenated oils, which can trigger digestive distress and cause greasy separation in the dough.
- Measure 1/2 cup (125 grams) of pure peanut butter and crack two large eggs into a wide mixing bowl.
- Whisk vigorously until the mixture thickens into a glossy, smooth paste that holds soft trails.
2. Sifting Organic Coconut Flour and Flaxseed Binders
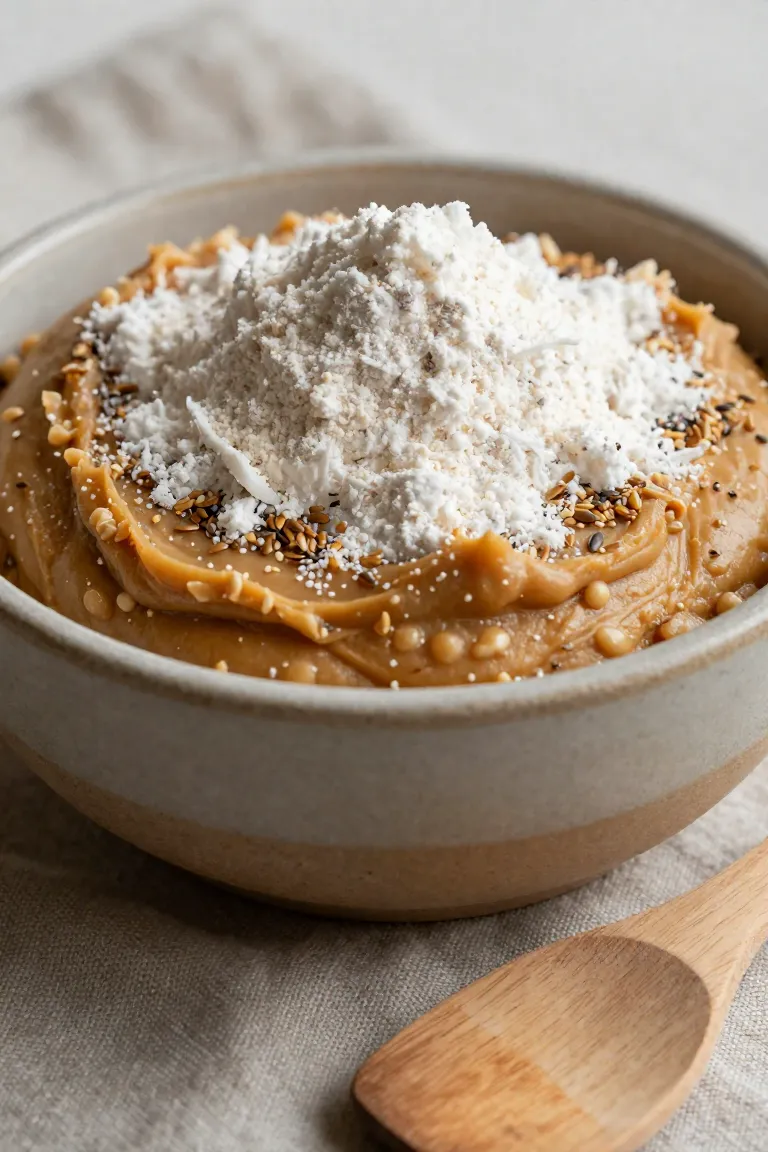
Once your wet base turns smooth, pass 3/4 cup (85 grams) of coconut flour through a fine-mesh sieve alongside 2 tablespoons of ground flaxseed meal. Working with alternative binders requires patience because these dry particles soak up liquid much faster than wheat flour. Sifting breaks stubborn clumps before they hit the wet mixture, ensuring an even distribution across the entire bowl.
Stir the dry blend into the glossy base and step away for three minutes. This brief pause gives the plant fibers time to absorb the liquids and natural fats from the eggs. Rushing this step often leads to brittle edges and cracked biscuits in the oven. Within minutes, the dough settles into a soft, clay-like consistency that yields under light palm pressure and holds its shape cleanly.
3. Folding Crushed Wild Blueberries for Controlled Hydration
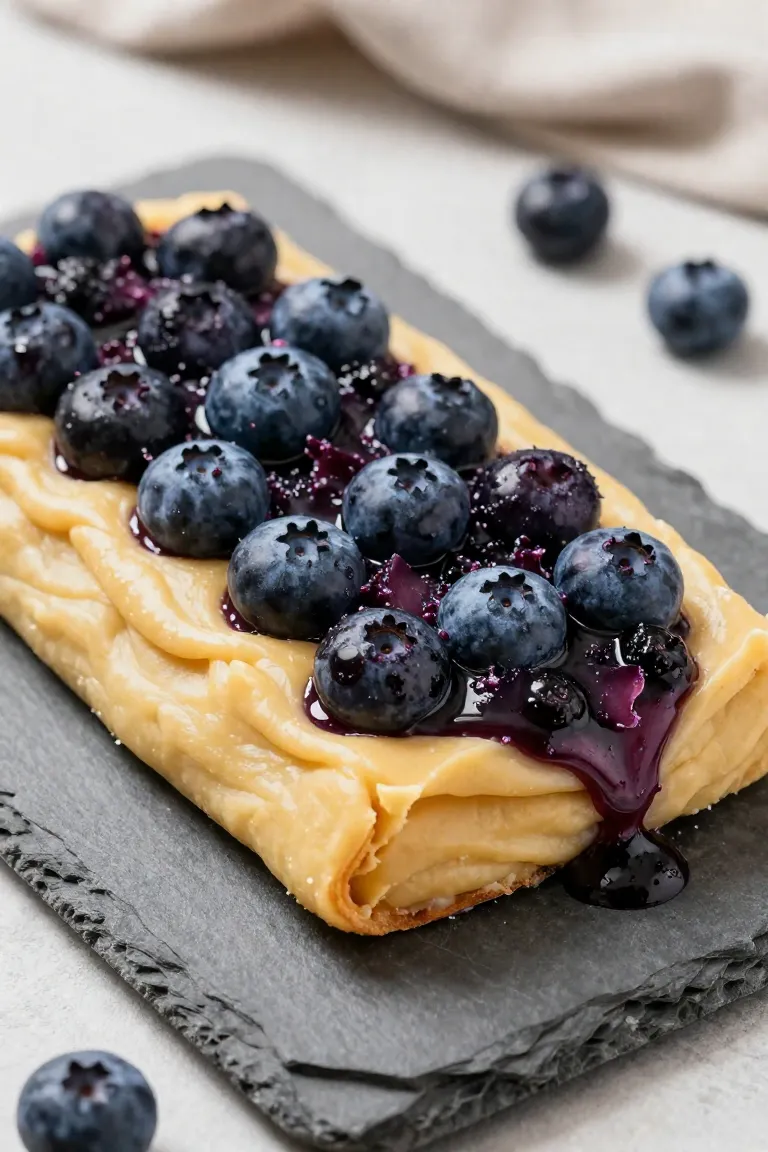
Take 1/2 cup (75 grams) of wild blueberries and crush them gently with the back of a fork on a cutting board. Whole berries burst under high oven heat, creating soggy pockets that weaken biscuit structure and encourage mold growth during storage. Pressing the crushed fruit between layers of paper towels lifts away excess juice while keeping the nutrient-dense skins intact.
- Scatter the blotted fruit pieces evenly across the surface of your prepared base.
- Turn the dough over itself using a silicone spatula to distribute berries throughout without overworking.
- Pat the mass together until the fruit rests securely inside the mixture rather than pooling on top.
Wild berries stay smaller and firmer than cultivated grocery store varieties, which keeps the dough sturdy and easy to cut into clean shapes. Fresh fruit incorporates cleanly into homemade dough as long as surface juices are blotted dry before your trays hit the oven.
4. Resting the Dough to Regulate Starchless Moisture Distribution
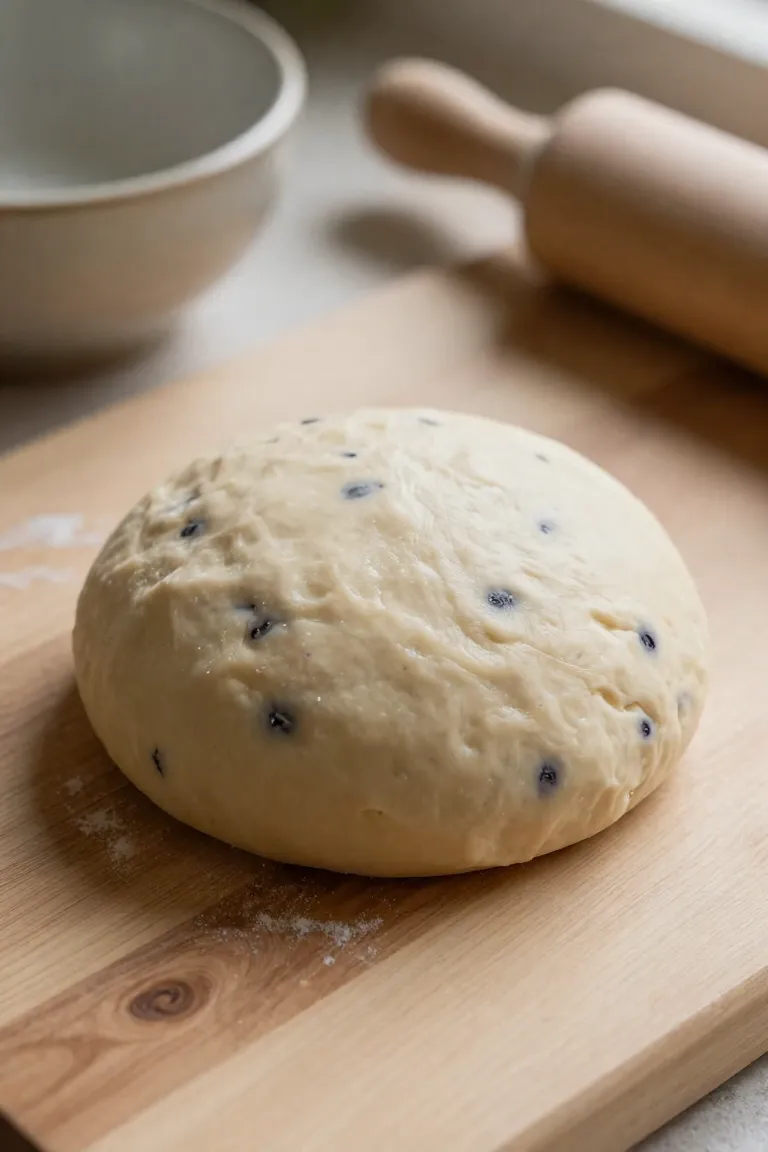
Gather the blueberry-studded dough into a compact ball and set it on your counter under a clean towel. Let the dough rest undisturbed for 15 minutes at room temperature, around 70 degrees F. Without gluten to form an elastic network, the coconut and flax fibers rely on steady moisture absorption to bind properly. This resting interval locks in free-floating liquid so your edges do not crack under the rolling pin.
Stylist Rule: Test readiness by pressing a clean fingertip into the center; the ball should feel cool, firm, and leave zero tacky film on your skin.
A rushed dough produces frayed rims and ragged cracks around your stamped cutouts. Giving the mixture this brief pause ensures the dough rolls out smoothly and bakes into a crisp, satisfying crunch.
Stage Two: Precision Shaping, Convection Baking, and Crumb Dehydration
Once the rested dough holds together, proper shaping and airflow ensure a clean, crunchy texture. Steady heat circulation draws out residual moisture trapped deep within each piece. Gentle low-temperature drying prevents mold and spoilage, leaving your dog with crisp treats that keep well in the pantry.
5. Rolling Dough Uniformly Between Parchment Sheets
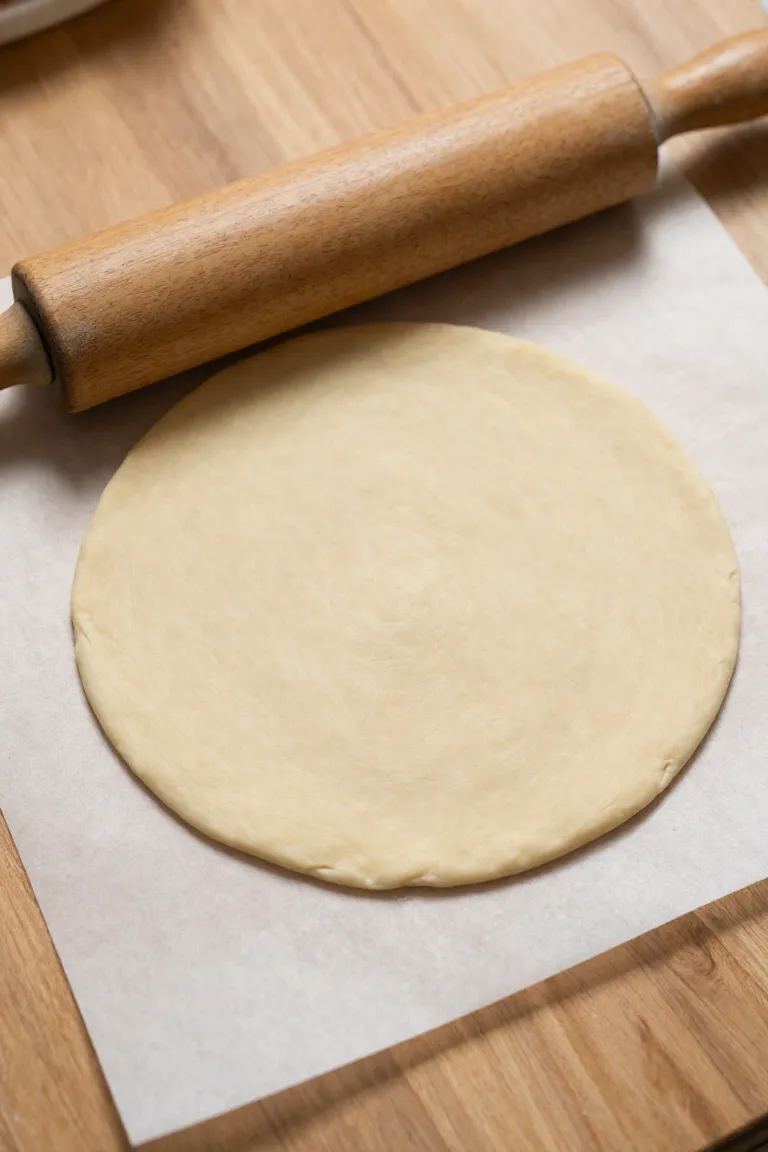
Sandwich the prepared dough between two sheets of parchment paper to roll it flat without dusting extra flour over your workspace. Guide your rolling pin outward from the center, using quarter-inch guide rings on the pin to maintain consistent thickness across the entire slab. An even thickness prevents scorched edges while allowing the centers to dry thoroughly.
6. Stamping Geometric Shapes and Scoring Steam Vents
Press your cookie cutter straight down into the rolled dough, spacing the cut biscuits about a half-inch apart on your lined baking tray. Puncture each shape twice with a bamboo skewer or fork tine so internal steam escapes freely without puffing or blistering the surface. Gather the leftover scraps for one gentle re-roll to keep the crumb crisp rather than dense.
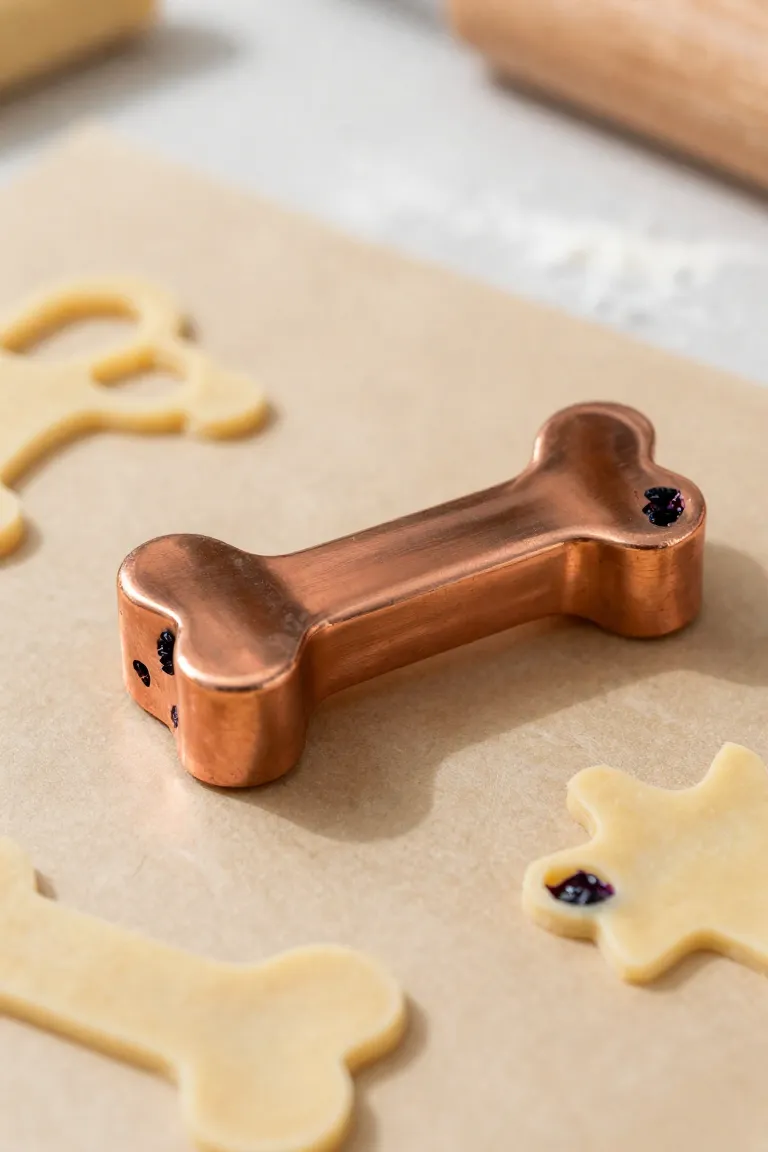
7. Calibrated Convection Baking for Structural Setting
Slide the baking sheet onto the center rack of your oven to set the biscuit shape without scorching delicate edges. An initial bake at 325 degrees F (165 degrees C) firms the egg proteins while the coconut flour binds remaining moisture from the berries. A 22-minute bake sets the dough evenly from rim to center.
Hot air circulation can brown the corners of the baking sheet faster than the middle. At the 11-minute mark, rotate the pan 180 degrees to promote even color and prevent the natural peanut butter oils from scorching. When pressed lightly at the center, the biscuits should feel firm and set, with no soft or spongy give.
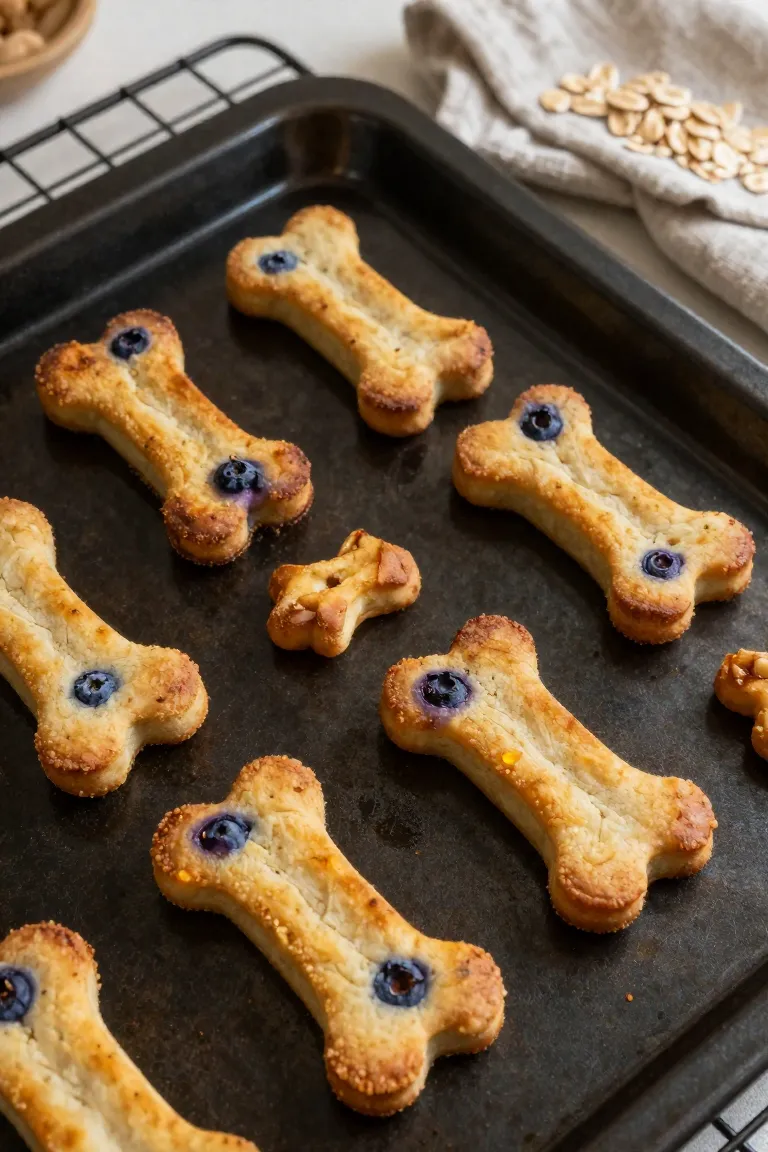
8. Low-Temperature Dehydration for Crisp Snap Longevity
Once the initial bake finishes, drop your oven heat to 200 degrees F (95 degrees C) to draw out deeper moisture from the center of each biscuit. Prop the oven door open about an inch with the handle of a wooden spoon so evaporating steam escapes freely instead of condensing back onto the tray. This low-temperature drying step creates a crisp snap and ensures long-term pantry freshness.
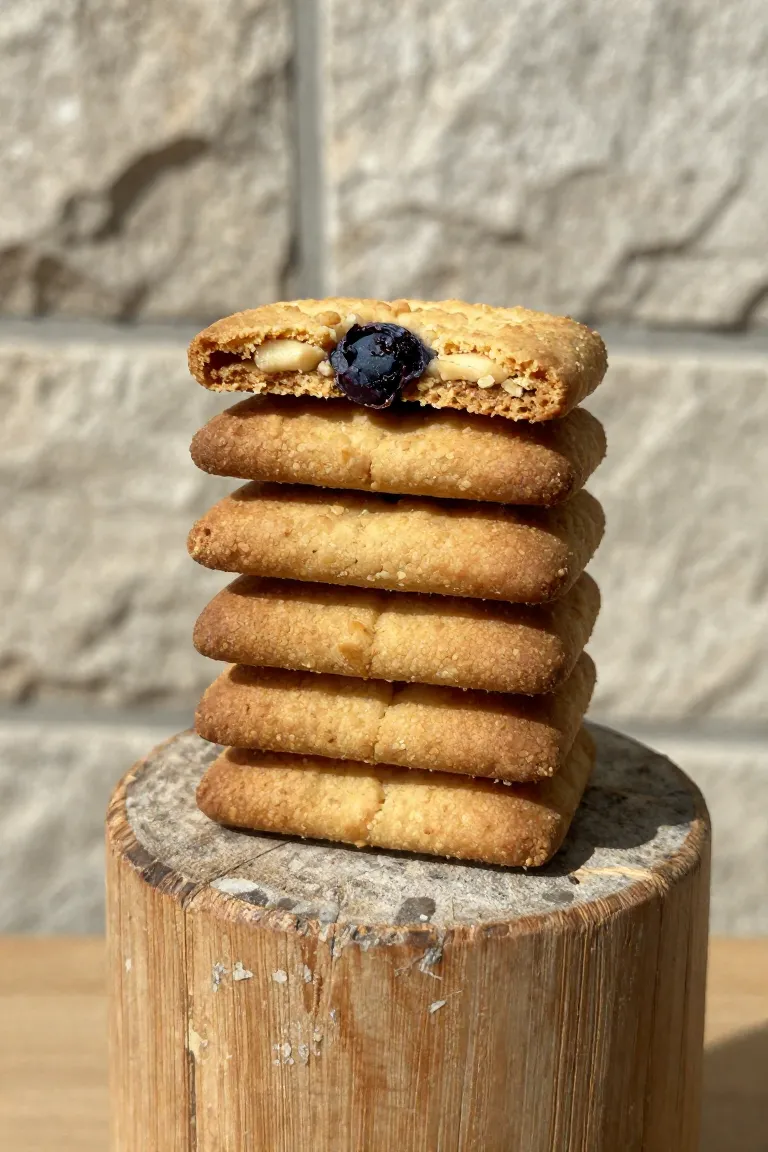
Leave the biscuits in this gentle airflow for 45 minutes to pull out residual humidity, keeping mold from developing down the road. Once cooled completely on a wire rack, snap a test biscuit in half. It should break with a clean, audible snap, showing zero bend or lingering moisture in the middle.
Baking Matrix: Ingredient Ratios, Dehydration Times, and Shelf-Life Metrics
Consistent results come from accurate measurements and thorough drying rather than guesswork. Measuring dry ingredients by weight keeps dough hydration balanced regardless of seasonal humidity in your kitchen.
| Baking Stage | Target Temperature | Hold Time | Primary Objective |
|---|---|---|---|
| Setting Bake | 325°F (165°C) | 22 minutes | Solidifies egg protein network; browns biscuit edges |
| Thermal Rest | Oven turned off | 10 minutes | Equalizes inner crumb steam before airflow drying |
| Dry Dehydration | 200°F (95°C) propped door | 45 minutes | Drops water activity below 0.60 for long shelf life |
Refer to this schedule whenever baking with fresh berries of varying moisture levels. Sticking to these temperatures and drying times preserves the natural fats and delivers a clean crunch that lasts up to four weeks in an airtight pantry container.
Moisture Management Failures and Ingredient Safety Safeguards
Excess berry juice can soften biscuit centers and lead to mold if moisture lingers in the jar. When reviewing your ingredients, always double-check peanut butter labels for artificial sweeteners like xylitol or birch bark extract, which are extremely toxic to dogs. Using pure, single-ingredient peanut butter keeps the batch safe, while blotting crushed blueberries on paper towels stops excess juice from weeping into the dough.
- To crisp up a soft center, return cooled biscuits to a 175°F oven for twenty to thirty minutes to finish drying.
- Cool every batch completely on an elevated wire rack so trapped steam does not condense along the biscuit bottoms.
- Store finished treats in airtight glass jars with a food-safe silica packet to absorb stray cabinet humidity.
Batch Production Schedule and Long-Term Pantry Storage Protocols
Baking a double batch every two weeks keeps your treat jar stocked without letting wholesome nut fats turn stale on the counter. Portion sizes should match your dog's body size, offering one small biscuit per day for toy breeds or up to three pieces for larger, active dogs.
A simple two-part storage routine keeps treats fresh for months. Store a one-week supply in an airtight glass jar tucked inside a cool, dark cabinet for daily training. Pack the remaining biscuits into freezer bags with the air pressed out, thawing a handful overnight on the counter whenever your pantry jar runs low.