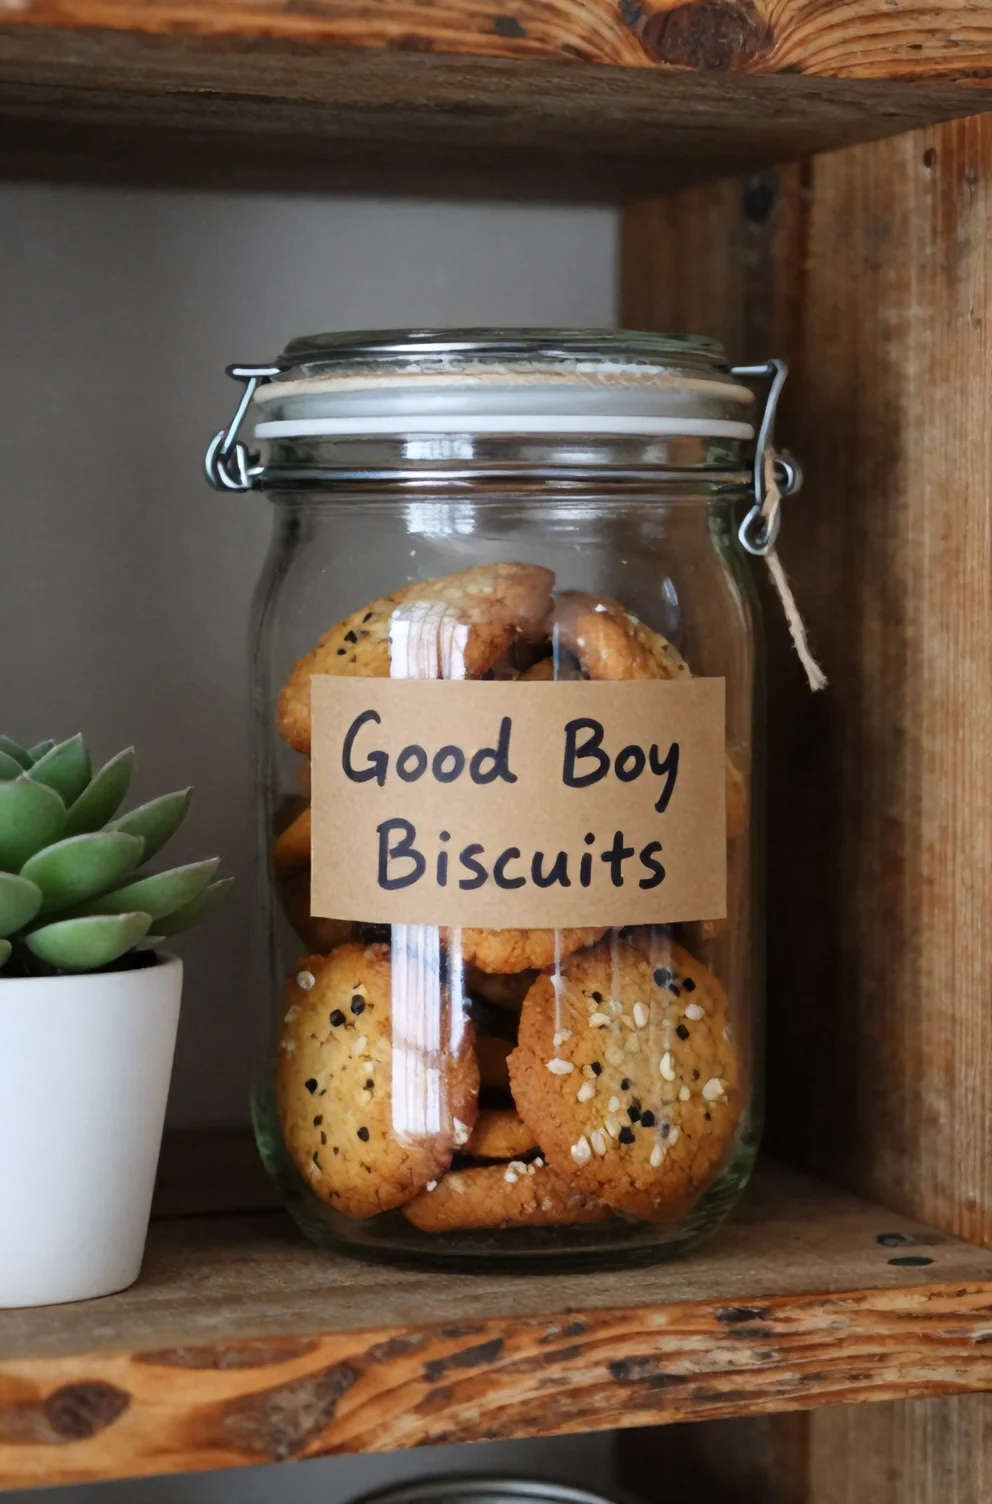
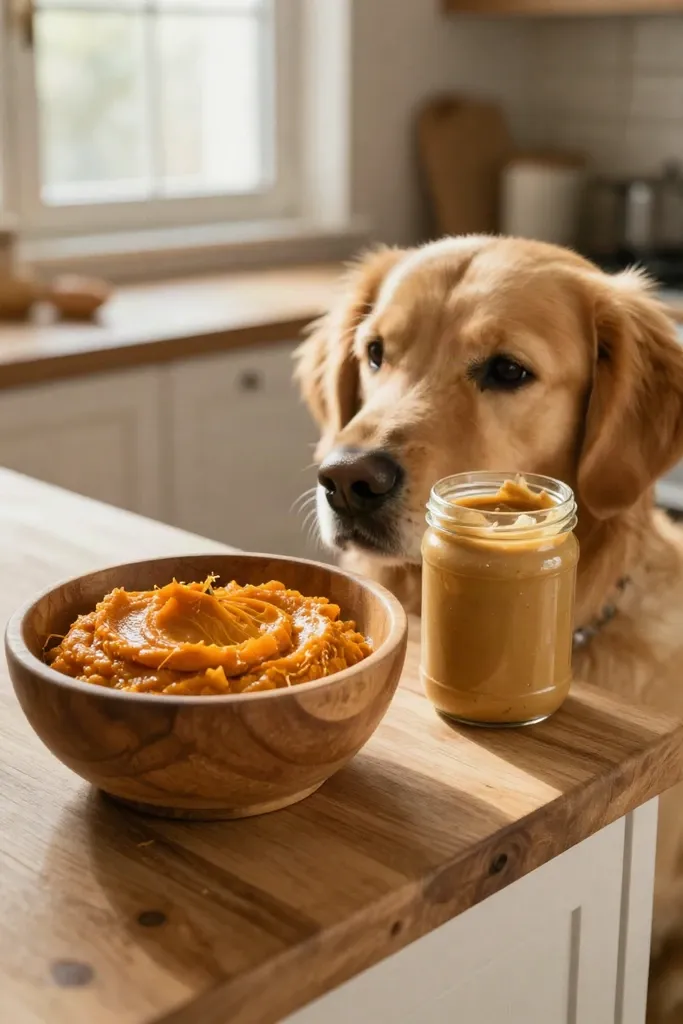
Introduction: Quick And Healthy Air Fryer Dog Cookies
Baking snacks for your pup at home gives you complete control over every ingredient that goes into their bowl. Combining dietary fiber from cooked sweet potatoes with gentle energy from rolled oats creates a nutrient-dense base that supports daily digestion. Instead of waiting for a full-sized oven to warm up your entire kitchen, circulating hot air crisps small batches in minutes with minimal cleanup.
- Digestible fiber and beta-carotene to support clean gut health
- Rapid convection heating that cuts baking time down significantly
- Wholesome pantry staples free from synthetic preservatives, salt, or mystery fillers
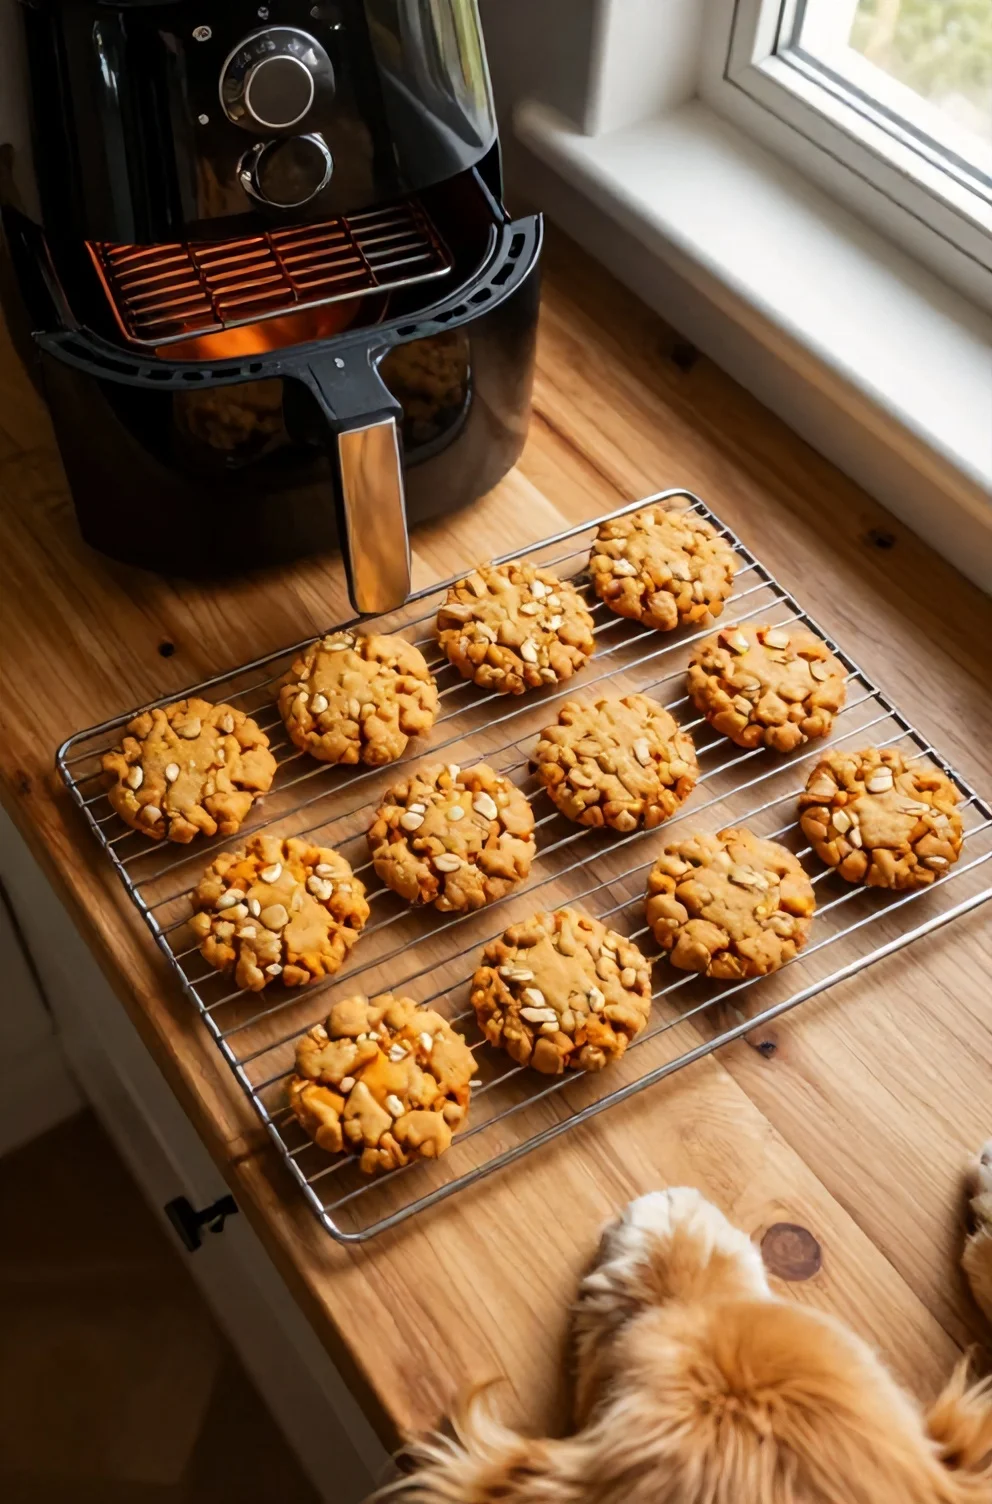
Why Use An Air Fryer For Homemade Dog Treats?
Heating a full-sized standard range to bake a dozen small biscuits often feels impractical when you have limited time. Compact countertop convection units circulate dry heat in a small enclosed chamber, allowing you to prepare fresh pet snacks quickly without warming up the entire house or waiting for preheating.
This compact appliance works well for weeknight routines without demanding hours of kitchen prep. You can turn simple pantry staples into fresh rewards in minutes, limiting your cleanup to a single basket.
Faster Baking And Preheating
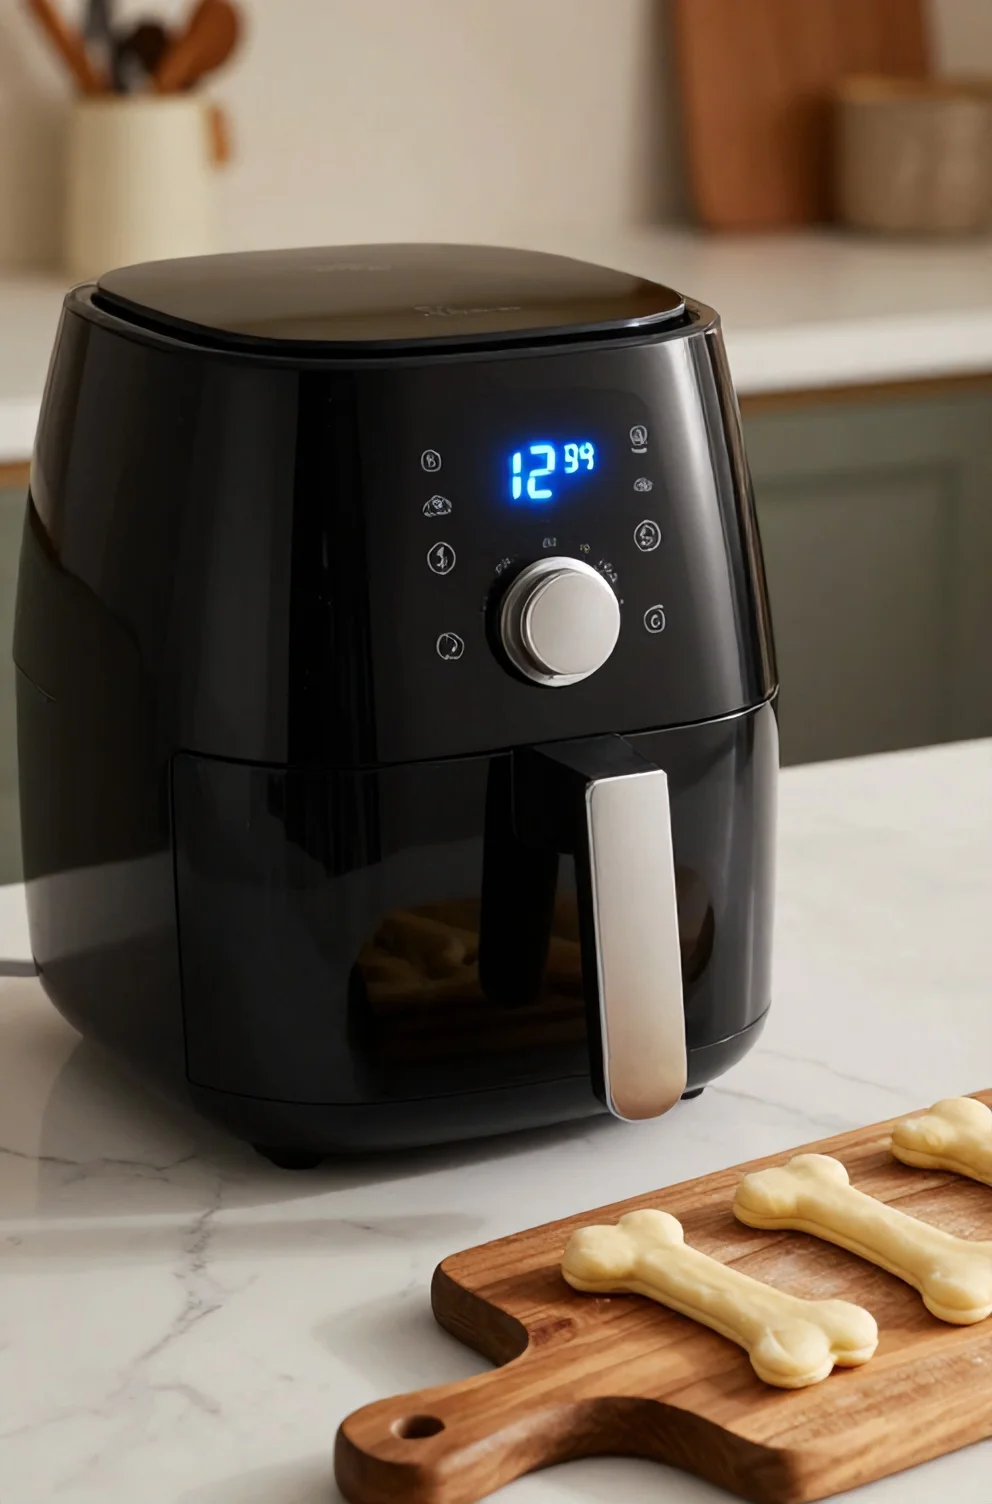
Standard kitchen ovens often require fifteen to twenty minutes just to reach cooking temperature, which uses excess electricity when preparing a small batch of pet snacks. A compact countertop unit reaches target heat in under two minutes, letting you skip the usual wait and load the tray immediately. Once running, a concentrated heating coil paired with a high-speed convection fan circulates hot air continuously around every piece of dough. This focused thermal transfer finishes your dog treats in roughly eight to ten minutes instead of the half-hour standard ovens demand. You don't have to wait around the kitchen, and the rapid movement of dry air steadily draws out internal moisture.
Perfect Crunchy Texture For Dental Health
That concentrated hot airflow quickly firms up the exterior of each biscuit, giving your dog a firm snap that standard baking rarely achieves in such short order. As your pup chews into the firm surface, the gentle friction works across tooth enamel to support oral care between regular brushings:
- The firm outer shell rubs along the gumline, helping dislodge soft food remnants and mild plaque before they harden.
- Chewing through a sturdy, dry biscuit stimulates saliva production, which naturally rinses the mouth and freshens breath.
- A dense, brittle bite keeps dogs engaged longer than soft treats, encouraging thorough gnawing rather than hasty swallowing.
Essential Ingredients For Sweet Potato Oat Cookies
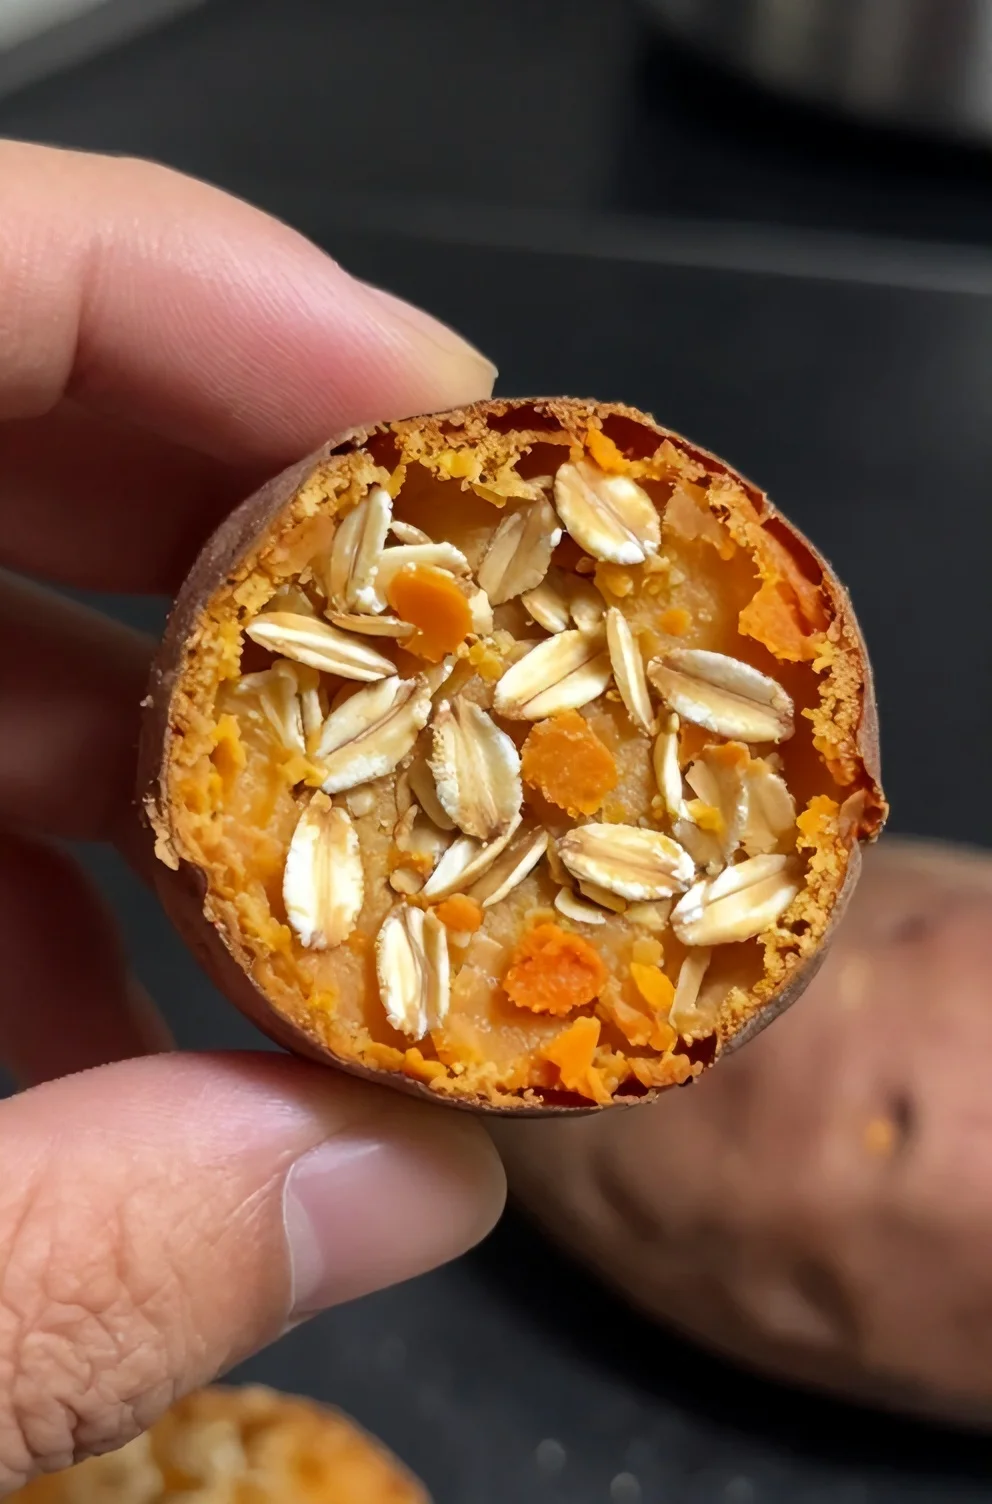
Achieving that firm snap starts with just a few basic kitchen items you likely already keep on hand. You don't need artificial preservatives or complex commercial binders to build a batch your pup will enjoy. Each element provides clear nutritional value while staying gentle on sensitive canine stomachs, giving you total peace of mind every time you bake.
In your pantry and fridge, whole foods supply all the moisture and binding structure needed for a workable dough. A minimal grocery list eliminates common digestive irritants and keeps prep under ten minutes while forming a nutrient-dense base.

Cooked Sweet Potatoes
This vibrant root vegetable supplies a steady stream of dietary fiber that supports balanced digestion and smooth gastrointestinal transit. The soft pulp contains vitamin A and potassium, delivering clean energy without triggering stomach sensitivities. Because raw spuds contain solanine and can prove tough on a dog's digestive tract, heat-softened flesh is essential for safe eating and smooth dough blending.
A quick steam on the stove or five minutes in the microwave softens the flesh until a fork slides right through the center. Once the skin loosens, peel it away and mash the warm interior in a shallow bowl until no large lumps remain. Letting the puree cool down to room temperature ensures the mixture binds cleanly with dry ingredients without creating excess steam.
Old-Fashioned Rolled Oats
Pairing that smooth vegetable base with whole oat flakes gives you a gentle, easily digestible foundation that bypasses the common digestive sensitivities linked to standard wheat flour. Because many dogs struggle with gluten, grinding these whole grains into a coarse meal provides plenty of soluble fiber to support steady digestion while soaking up moisture from the mash. The natural starches hold the dough together firmly, creating a pliable texture that won't crumble apart when you shape your biscuits.
Step-By-Step Air Fryer Recipe Instructions
Once your ingredients sit ready on the counter, you'll find that making these crunchy treats requires a few basic steps. You just need a mixing bowl, a fork or potato masher, a sheet of parchment paper, and a small cutter to keep the entire process tidy and manageable. Because the dough comes together quickly without sticky butter or flour dust, cleanup stays minimal from start to finish.
A clean, dry countertop gives you plenty of room to work through each phase without feeling rushed. Basic kitchen utensils and a flat tray keep everything organized, so you can move straight into combining your base components.
Step 1: Mashing And Mixing The Base
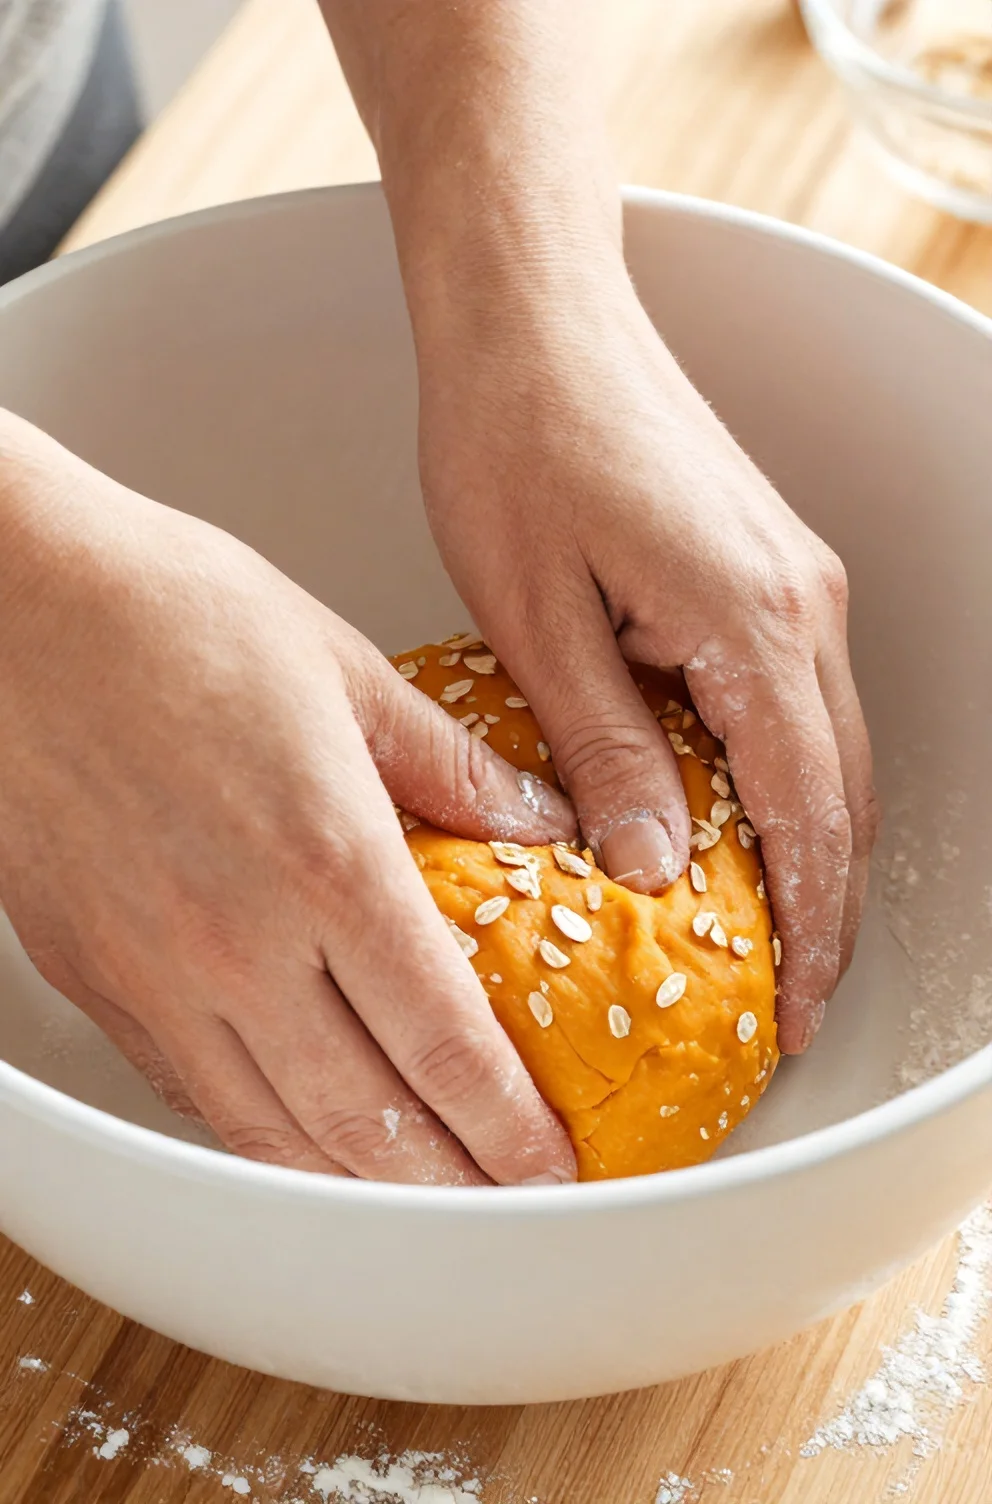
Start by transferring your cooled sweet potato into a wide mixing bowl and pressing it down with a sturdy fork until completely smooth. Stir in the rolled oats gradually, working the mixture so the dry flakes absorb the natural moisture of the puree. If the texture feels slightly dry or crumbly, beat in one fresh egg or add a tablespoon of water to bind everything together.
A firm silicone spatula helps you fold the mixture together until a pliable dough takes shape. The final texture should hold its form cleanly without sticking heavily to your fingers or crumbling into dry bits on the sides of the bowl. Once the dough pulls cleanly away from the edges, you'll have the exact consistency ready for your work surface.
Step 2: Rolling And Cutting The Dough
Turn the prepared mixture out onto a sheet of parchment paper lightly dusted with extra oat flour so nothing sticks. Flatten it gently with your hands, then press a rolling pin across the slab until you reach a uniform quarter-inch thickness from edge to center.
- Press small bone-shaped or paw-print cutters firmly straight down into the flattened sheet without twisting to keep the edges sharp.
- Lift each cutout carefully with a thin spatula so the shapes hold their form without stretching.
- Gather any leftover scrap pieces into a tight ball, flatten it out again, and stamp out remaining portions until you use up every bit.

Step 3: Loading The Air Fryer Basket
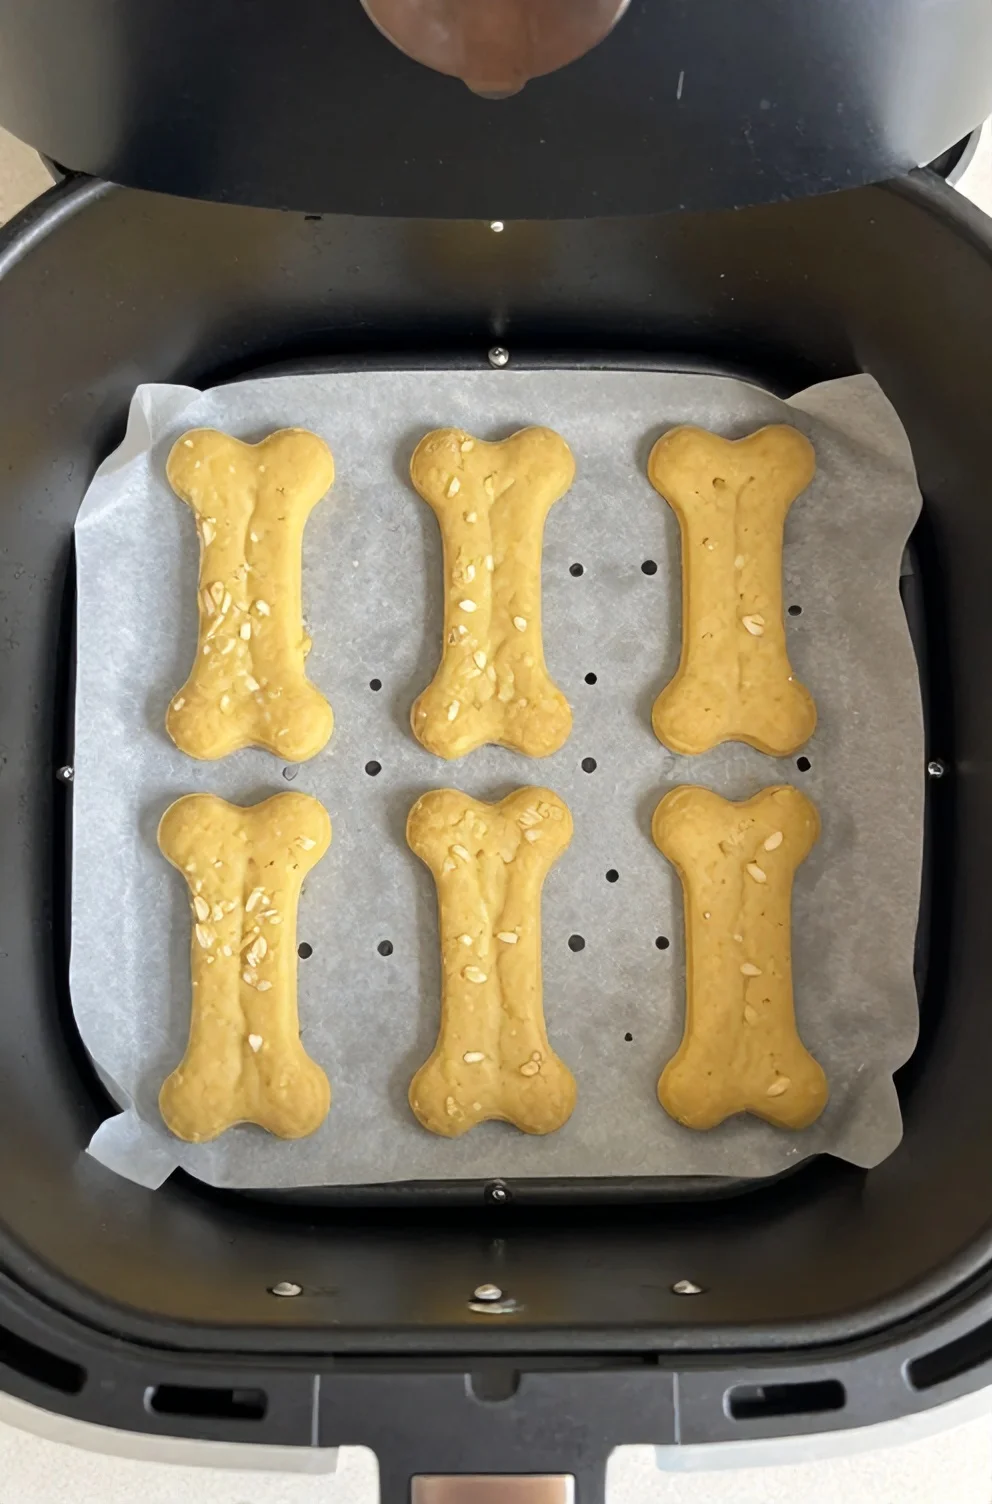
Transfer the cut shapes directly onto the wire tray, arranging each piece in a flat, single layer with at least a half-inch gap on all sides. Hot circulating currents need unhindered paths around every cookie to pull out moisture evenly, so crowding or stacking the dough means you'll end up with soft, soggy centers. If your metal grate tends to grip dough or has wide gaps where smaller pieces might slip through, line the base with perforated parchment paper made for air fryers. That specialty liner keeps the dough intact while letting air travel through its punched holes, keeping everything steady before the cooking cycle starts.
Step 4: Frying To Golden Perfection
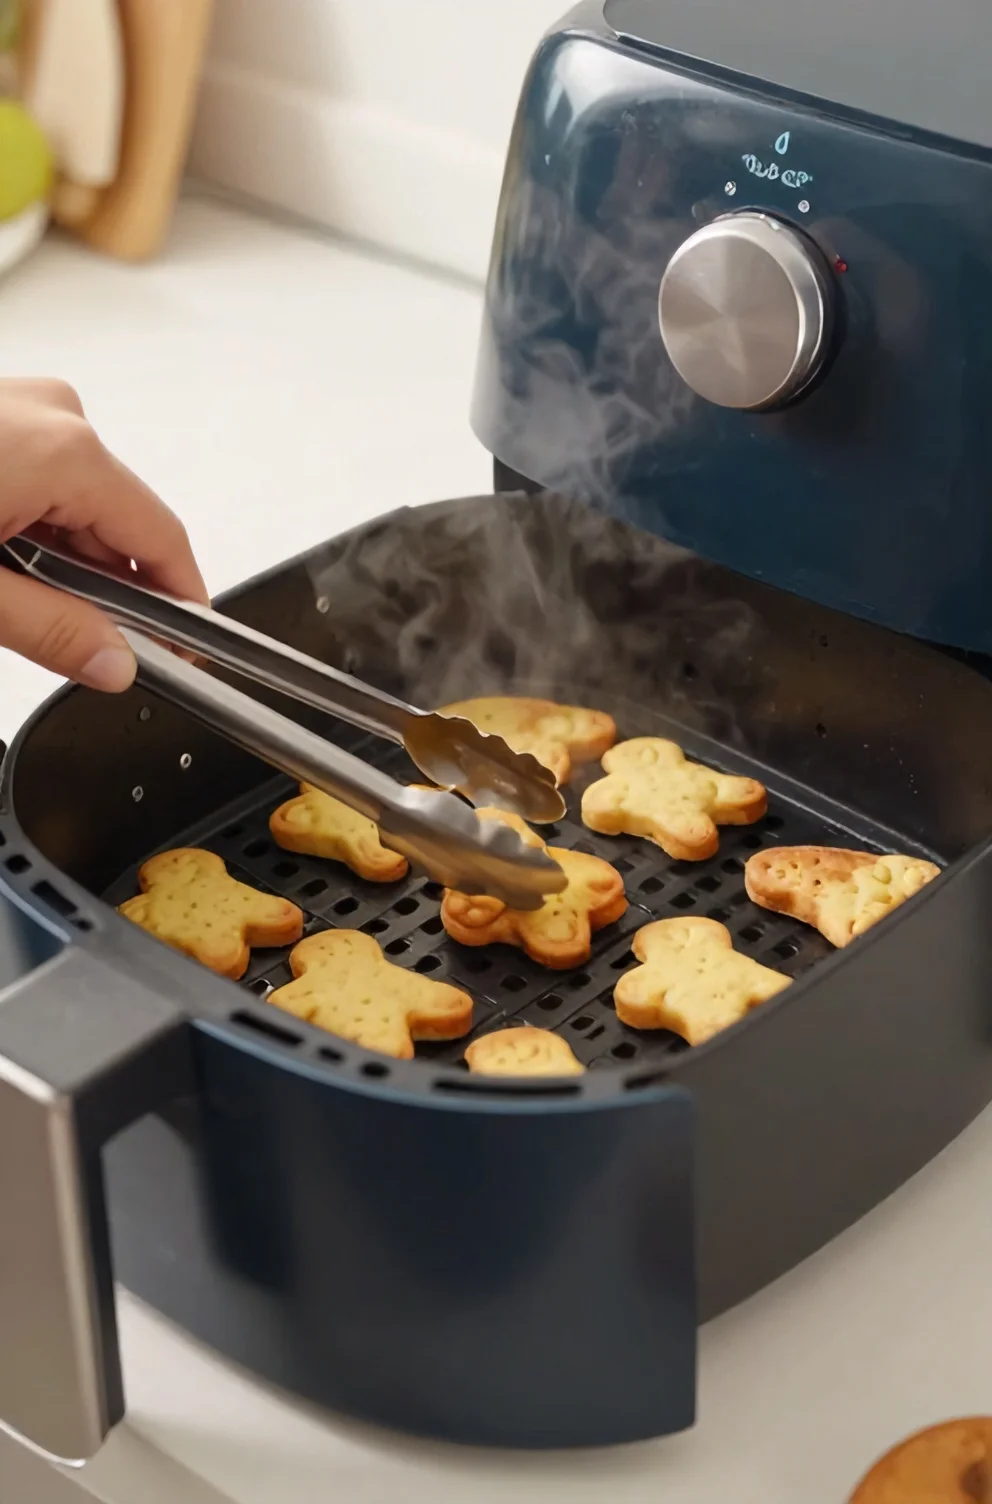
Dial the heat to 350 degrees Fahrenheit and set your timer for 8 to 10 minutes to draw out excess moisture while keeping the centers sturdy. Rapid air circulation crisps the dough evenly without scorching the outer rim, creating a dependable crunch in every bite.
- Pull the basket out around the four-minute mark to turn each treat over so both sides crisp evenly.
- Tap the cookie tops with a fork near the end of the timer to verify the surface feels firm rather than spongy.
- Leave the batch inside the chamber for two extra minutes with the power off if your pup prefers a harder biscuit.
Pro Tips For The Best Air Fried Dog Cookies
Once you have the basic texture established, you can customize the batch by mixing a spoonful of dog-safe peanut butter or a pinch of ground Ceylon cinnamon directly into the sweet potato purée before kneading. Always check nutrition labels carefully to verify that any nut butter used is completely free of xylitol and added sugars, or swap in unsweetened pumpkin purée if your dog thrives on a lower-calorie alternative. Keeping dough thickness uniform across the cutting board ensures every piece crisps evenly without leaving soft, undercooked spots before you move the biscuits to your storage counter.

How To Store Homemade Sweet Potato Treats
Let the freshly baked rewards cool completely on a wire rack for at least 30 minutes, as trapped residual warmth creates condensation that invites rapid mold growth. Once the biscuits feel entirely dry and firm to the touch, transfer them into an airtight glass jar or sealed silicone bag and keep them in the refrigerator, where they'll stay crisp and safe for up to two weeks. If you batch-prep larger quantities for your pup, slide the extra portions into a freezer-safe container separated by parchment paper, which keeps them fresh for up to three months without losing their firm texture.