Summary
- Introduction to Flawless Halloween Dog Biscuits
- Why Dough Consistency Matters for Spooky Shapes
- Essential Tools for Perfect Halloween Biscuits
- Common Rolling Mistakes That Ruin Your Shapes
- Cutting Mistakes That Cause Deformed Bats and Ghosts
- Baking Tips for Keeping Intricate Edges Crisp
- Frequently Asked Questions
Introduction to Flawless Halloween Dog Biscuits
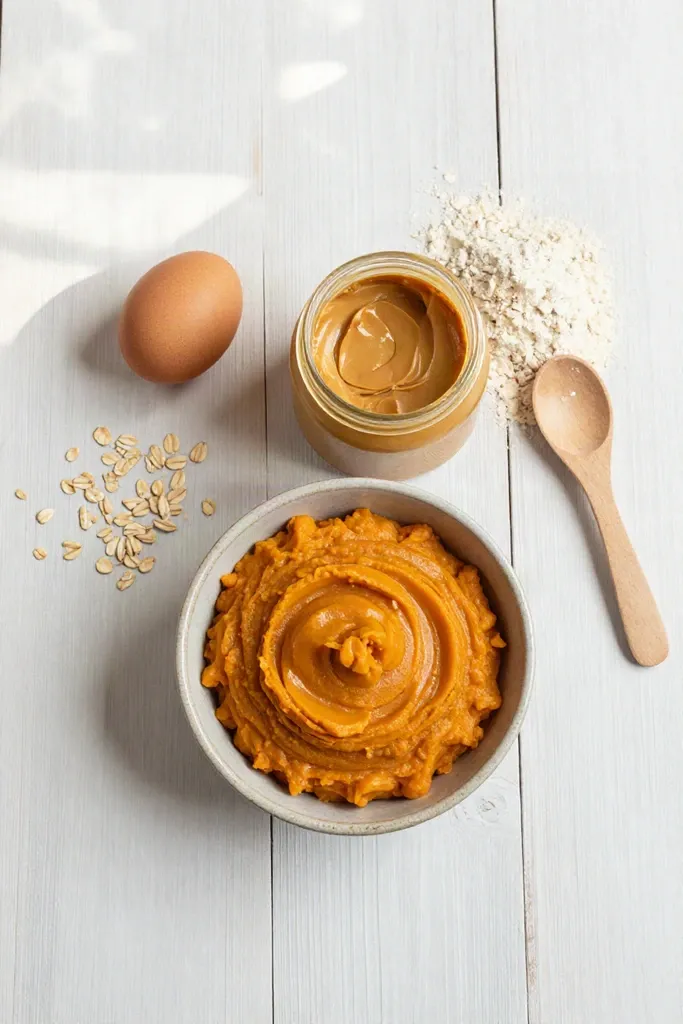
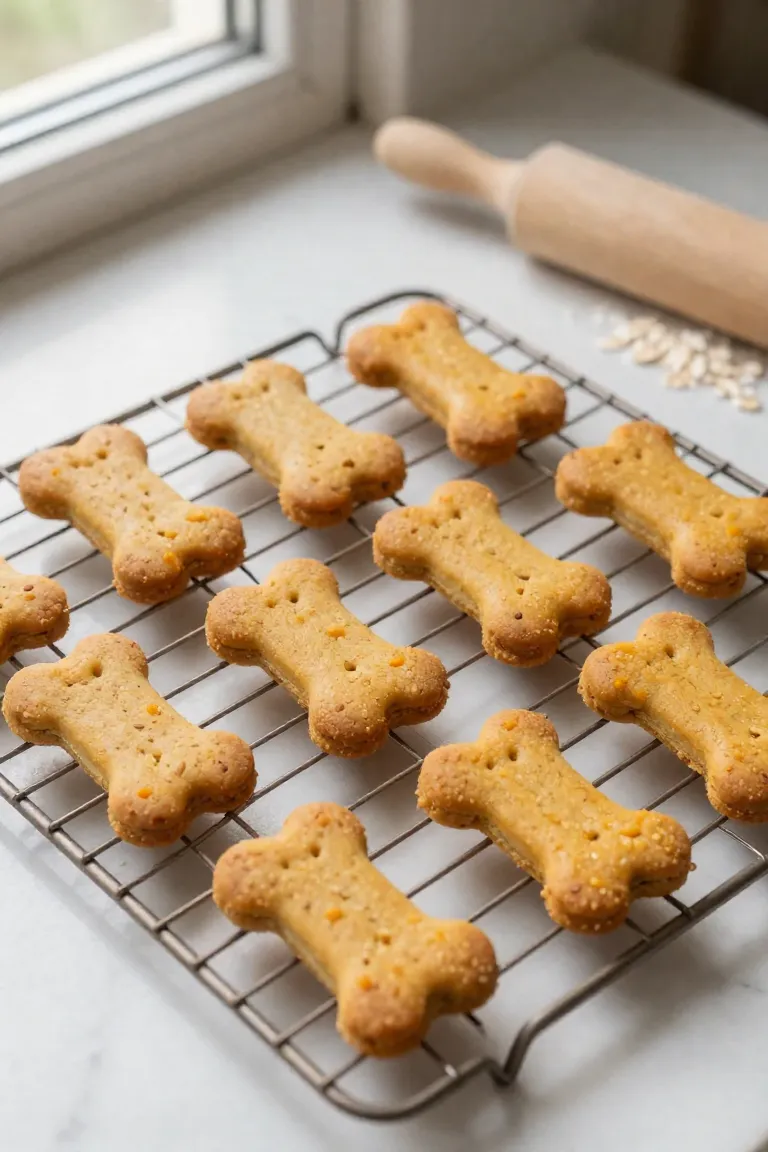
Baking homemade peanut butter pumpkin treats for your dog fills the kitchen with warm aromas, while your pup happily supervises every step from the floor. The fun quickly deflates, however, when crisp ghost outlines spread into round blobs and pointed bat wings snap off before they even make it to the baking sheet. It is frustrating to spend time mixing quality ingredients only to pull unrecognizable clumps out of the oven.
Most deformed shapes trace back to subtle errors during the rolling and cutting stages rather than a problem with your recipe. Simple adjustments to dough temperature, along with consistent rolling pressure, will keep every spooky outline clean straight onto the cooling rack.
Why Dough Consistency Matters for Spooky Shapes
Every clean ghost silhouette or crisp bat wing starts in the mixing bowl long before you touch a rolling pin. When your base mix holds the proper firmness, themed cutters slice cleanly through without warping or dragging fragile corners. Common canine-friendly ingredients like canned pumpkin puree and natural peanut butter pack dense moisture and oils, which can quickly turn your mixture slack. Balancing these wet staples with enough whole wheat or oat flour provides a firm, pliable base needed to hold sharp lines during prep.
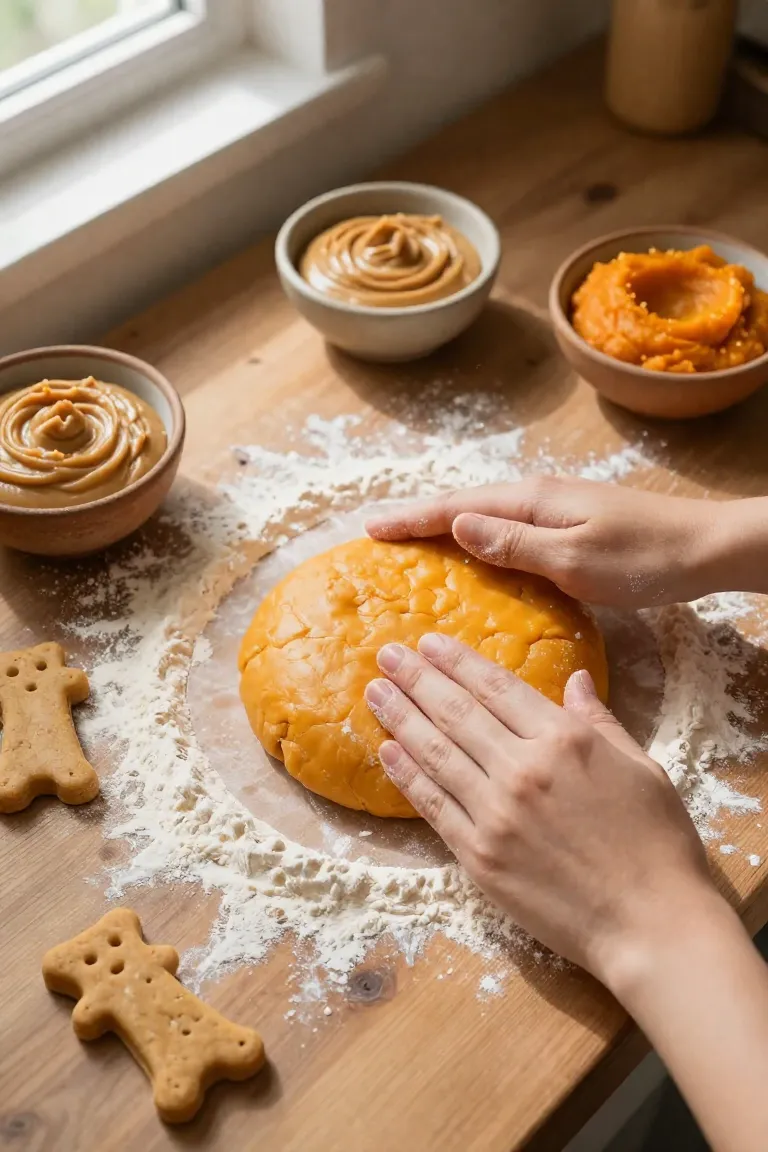
A quick tactile check tells you if your ratios are dialed in. If you press a finger into the surface, the indent should remain clean without leaving wet residue on your skin or crumbling around the edges. When the hydration level skews even slightly high, cutting sharp angles becomes an exercise in frustration as excess moisture creates stubborn cling.
1. The Problem with Too Sticky Dough
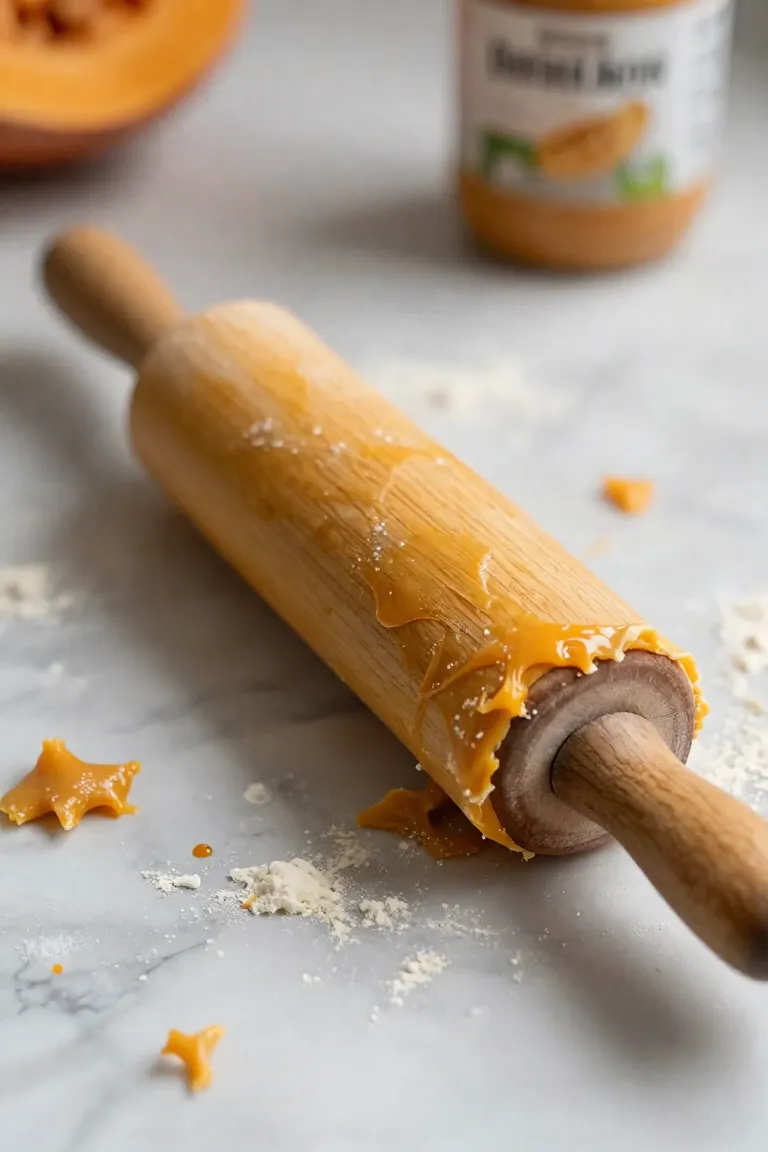
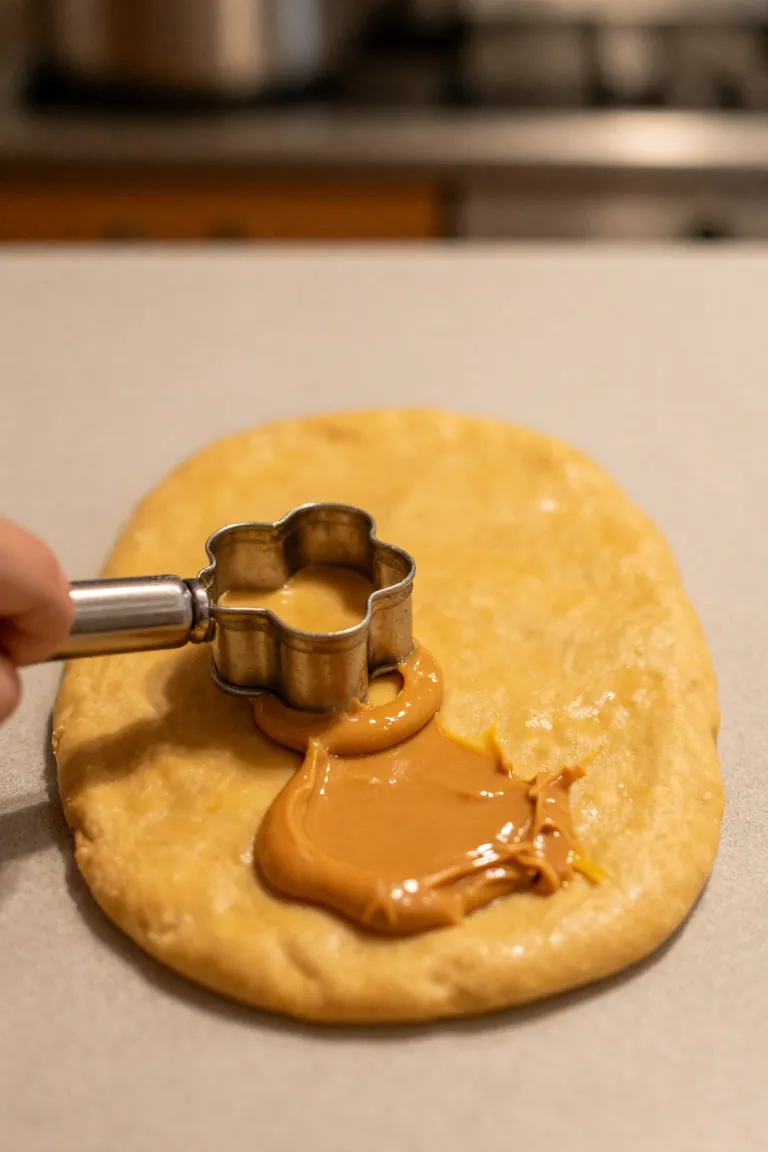
Pumpkin puree carries a heavy concentration of water that quickly turns your dry mixture into a tacky paste. When you press down on shapes with narrow outlines, that extra wetness acts like glue against your counter and cutter walls. Instead of releasing sharp lines, the wet mixture creates obstacles during preparation:
- Bat wings and thin spider legs cling to the cutting board, stretching out of proportion or snapping off when you try to lift them.
- Dough packs tightly into narrow crevices of your cutters, forcing you to poke the shapes free and flatten crisp edges.
- Moist residue builds up along cutting blades with every press, causing each subsequent cutout to drag and lose definition.
2. The Danger of Overworking the Dough
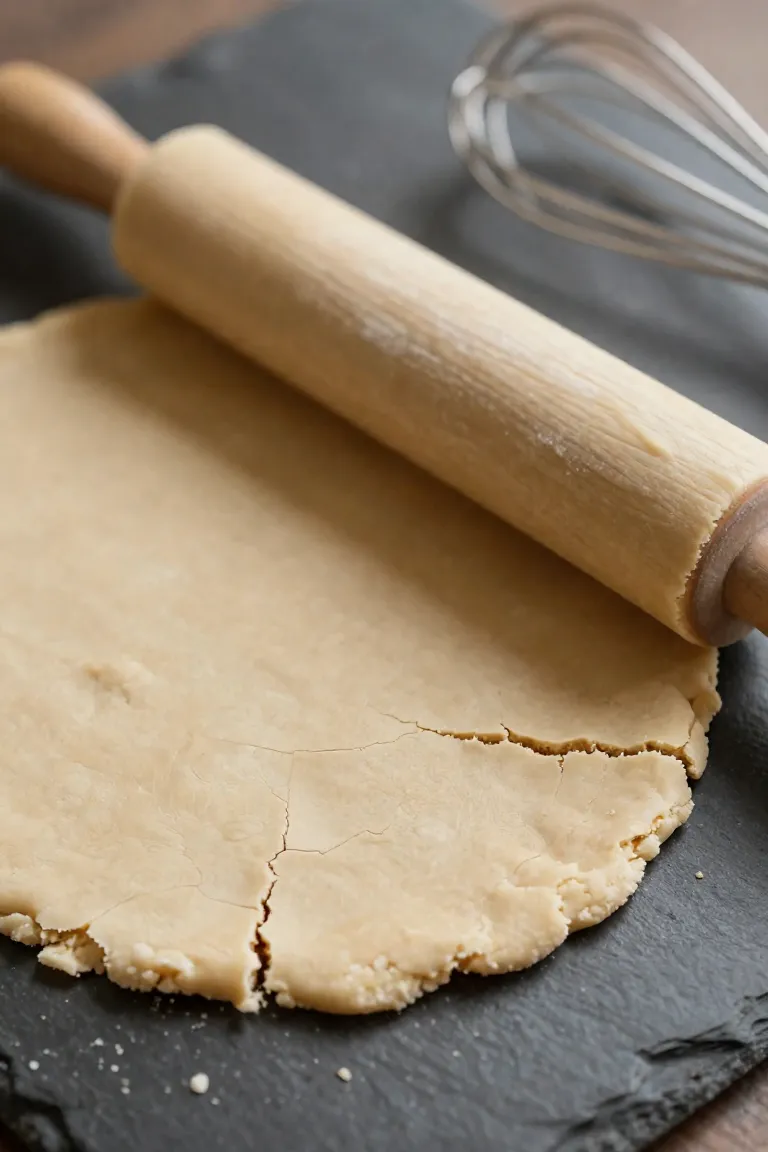
Compensating for stickiness by relentlessly kneading the mixture creates an entirely new set of problems on your counter. Handling treat dough past the point where ingredients just bond forces the flour to develop a dense matrix that fights your rolling pin. Instead of yielding a smooth sheet ready for cutter impressions, the mass tightens up, shedding moisture to the air while developing brittle edges that split under light pressure.
Dry fissures across the rolled slab directly ruin the structural integrity of your cutouts. Once cracks spread through the surface, cutters fail to create clean borders, leaving ragged margins that break away during baking. Your dog will still enjoy the batch, but the final biscuits turn crumbly and misshapen instead of holding clean silhouettes.
Essential Tools for Perfect Halloween Biscuits
Once you achieve a smooth, workable dough, preparing a dedicated setup makes all the difference between crisp canine treats and messy counter disasters. Dog-friendly flours lack traditional gluten elasticity, which means the raw slab can easily tear or stick without the right physical barriers. Using nonstick baking mats alongside a wide metal spatula lets you lift delicate outlines without warping their proportions. Keeping these basic supplies within arm's reach ensures the chilled mixture stays firm while you move through each pressing stage.
1. Choosing the Right Spooky Cookie Cutters
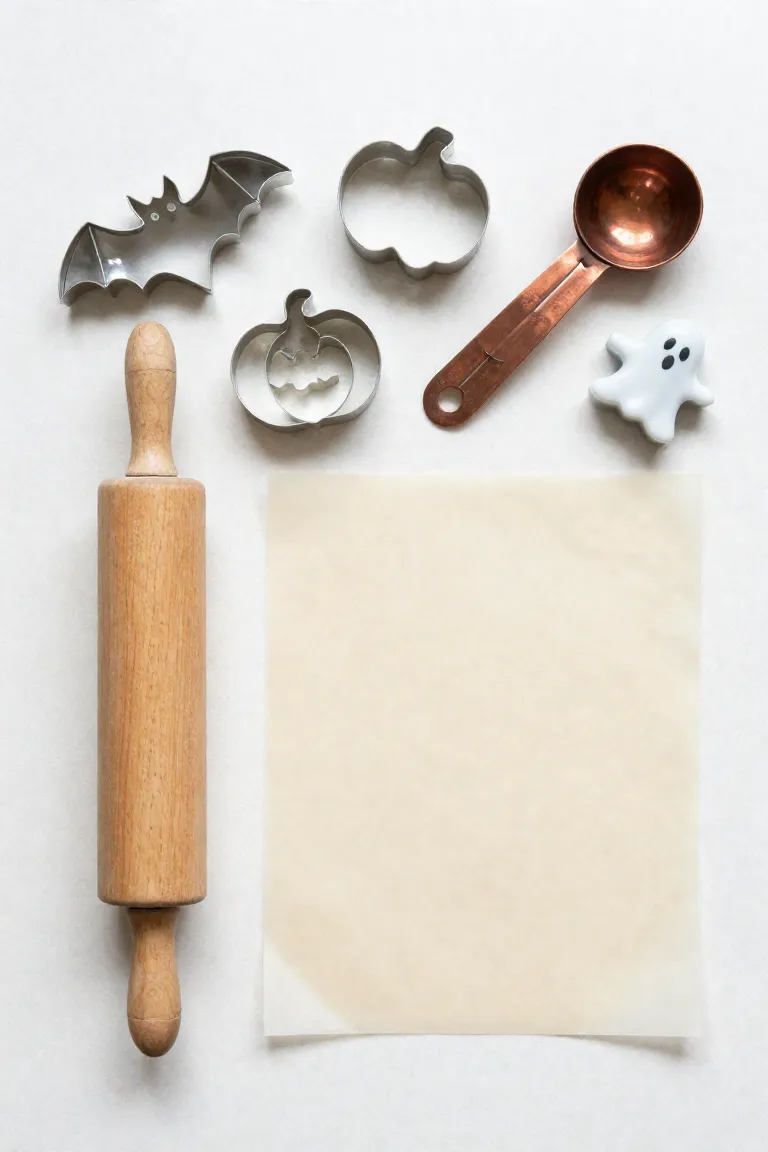
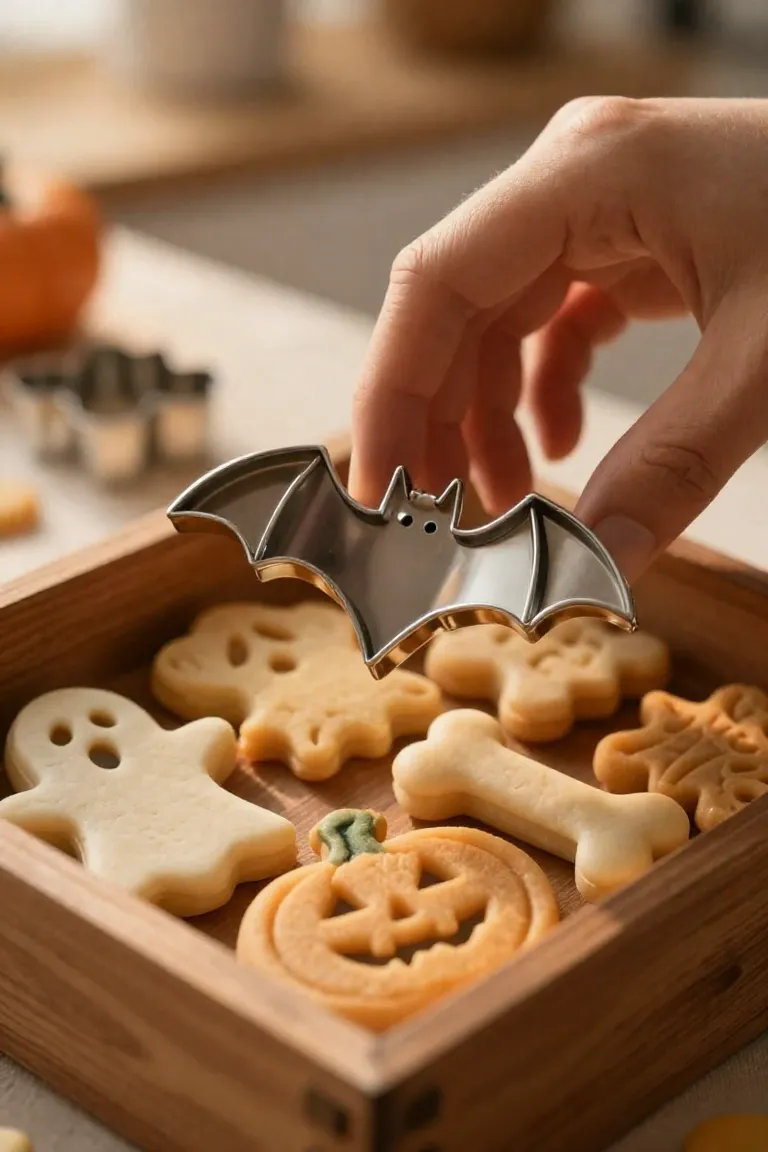
Stainless steel molds slice through dense dog biscuit dough with less resistance than dull plastic stamps. Sharp metal rims produce clean, defined borders that release smoothly without dragging or tearing your rolled dough. When picking holiday silhouettes for homemade dog treats, broad and sturdy outlines perform better during both cutting and baking.
- Choose solid metal rims that cut cleanly through stiff whole-wheat or pumpkin dough without flexing.
- Favor simple, compact figures like wide bat wings and rounded ghosts that hold their shape on the baking sheet.
- Steer clear of shapes with fragile projections, such as spindly spider legs, which burn quickly in the oven and break off as soon as your dog grabs a biscuit.
2. The Best Rolling Pins and Surfaces
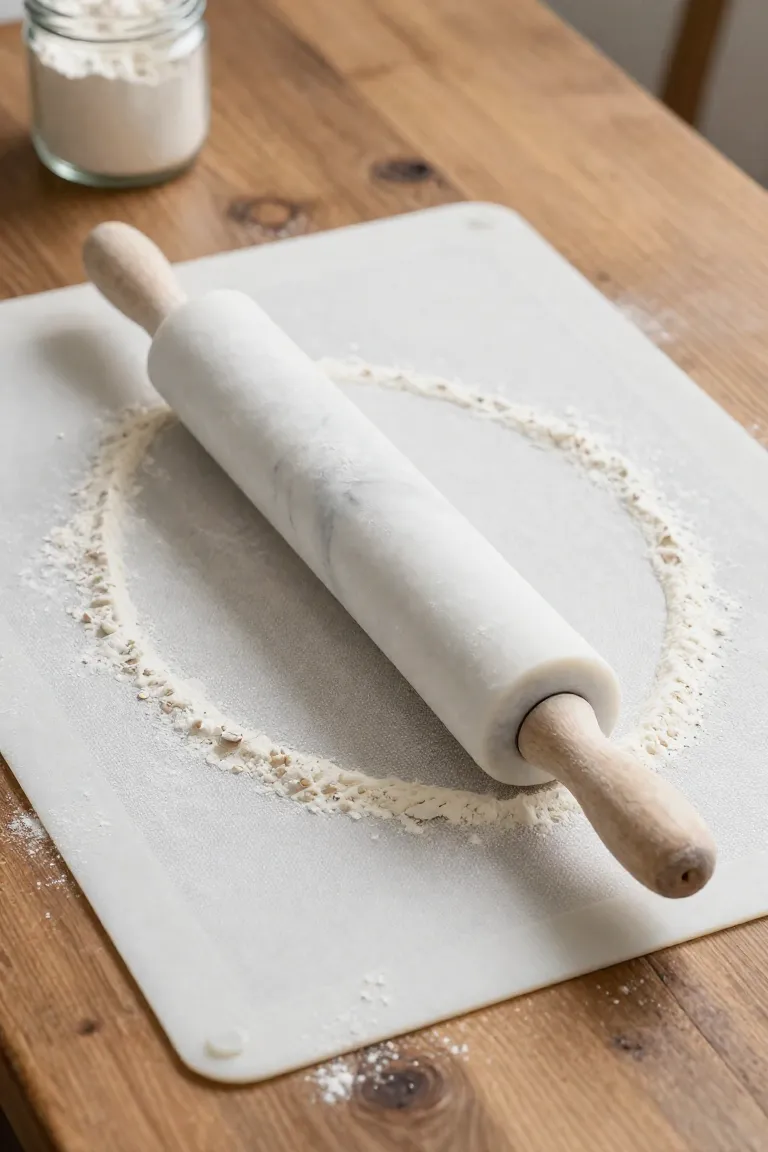
A heavy marble rolling pin flattens dense dog treat dough with minimal arm strain, applying uniform downward pressure so your cutouts bake at an even rate. Rolling the mixture directly onto a sheet of parchment paper or a textured silicone mat stops bottom sticking and spares you from peeling soft shapes off a floured counter. Once you stamp out your bats and pumpkins, you simply lift away the dough scraps and slide the entire liner straight onto your baking sheet, keeping every edge crisp and intact.
Common Rolling Mistakes That Ruin Your Shapes
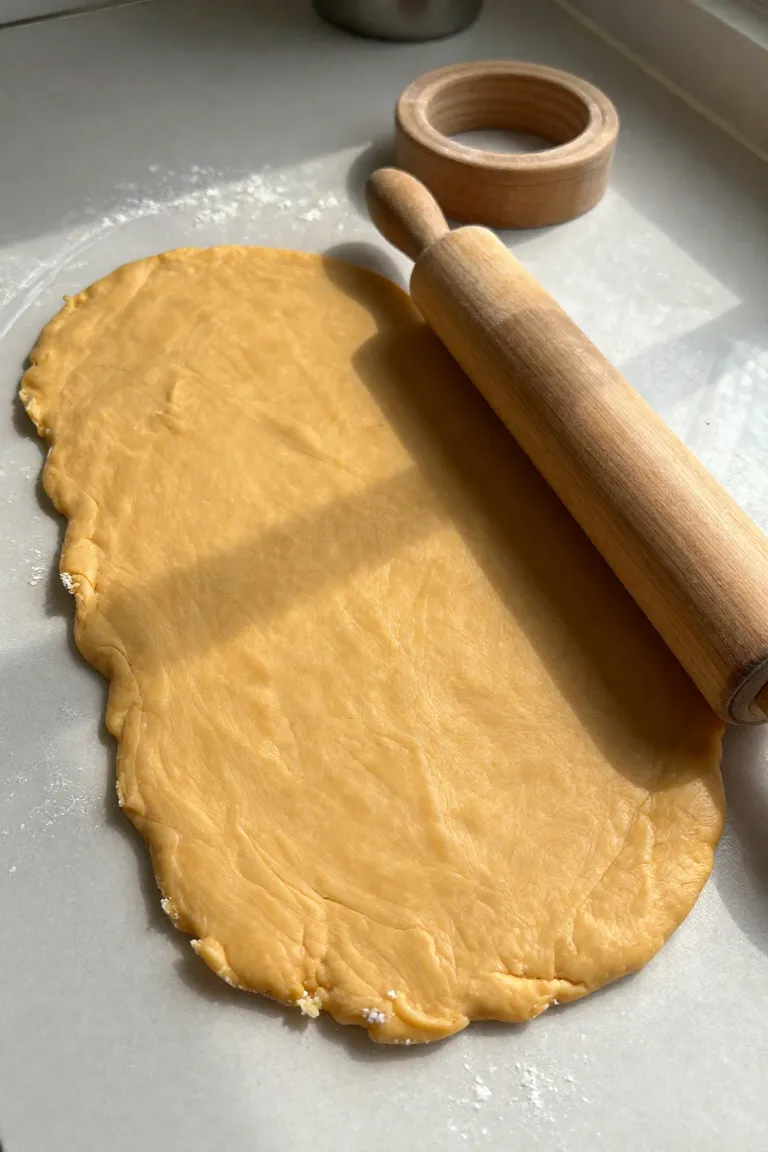
Even with the right mat in place, the way you handle the pin dictates whether your spooky silhouettes survive the oven. Dense pumpkin and peanut butter dough resists pressure differently than standard flour mixtures, making it easy to exert uneven force as you flatten the slab. When you rush through the motion or push down with varied elbow weight, you introduce micro-variations that compromise structural stability during the bake. Taking time to apply steady, uniform passes keeps the entire sheet level so every bat wing and ghost tail hardens at the exact same rate.
1. Rolling the Dough Too Thin
Flattening your base down like a pastry crust leaves detailed cutouts vulnerable once heat hits the baking tray. When pieces lack sufficient body, pointed bat wings and narrow ghost edges dry out within minutes, scorching around the perimeter while remaining pale in the center. Even if they survive the oven without burning, wafer-thin biscuits turn brittle almost immediately, crumbling into shards the moment you transfer them to a cooling rack or slide them into a treat jar.
A reliable quarter-inch thickness provides the structural heft required for clean handling and an appealing crunch. This depth allows heat to bake the biscuit evenly from edge to core without warping the silhouette. You get firm, durable shapes that withstand handling straight off the pan, giving your pup a satisfying bite that stays intact until snack time.
2. Uneven Dough Thickness Across the Batch
Varying the pressure as you press down creates subtle valleys and ridges on your work surface. When heat hits the baking sheet, thinner cutouts scorch into dark crisps while heavier pieces stay gummy and raw in the center. To eliminate this issue, slide silicone guide rings onto both ends of your rolling pin, or rest the cylinder on two quarter-inch wooden dowels placed alongside the mixture. These physical spacers keep your pin gliding along a uniform height, producing a level sheet so every spooky cutout bakes at the exact same rate before you reach for your cutters.
Cutting Mistakes That Cause Deformed Bats and Ghosts
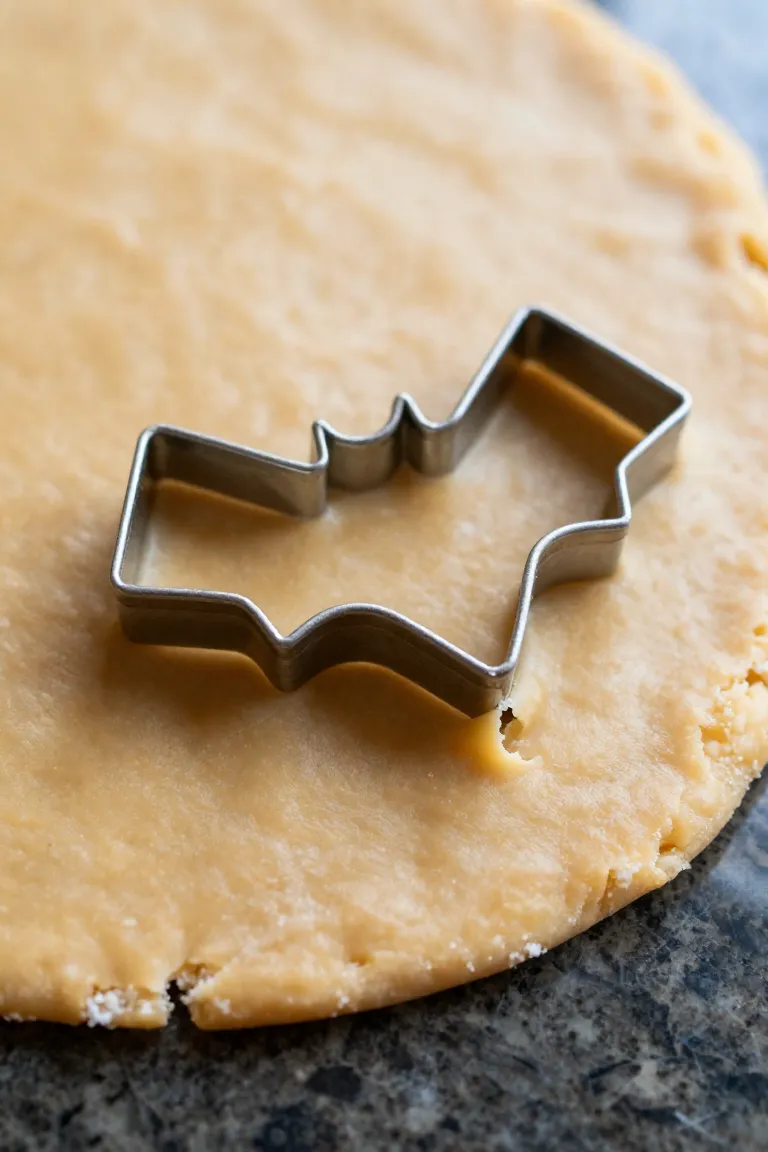
Once your dough rests flat and even on the counter, the way you stamp into the surface dictates whether those wings and tail points hold their definition. Thin extensions like sharp bat ears or tapered ghost outlines snap or warp easily if the mold shifts against the parchment. A hurried strike pulls the mixture out of alignment, creating lumpy figures that lose their recognizable lines before reaching the baking sheet.
- Uneven downward force thins out delicate borders while leaving the center overly heavy.
- Twisting the metal or plastic rim stretches wet dough fibers and dulls crisp points.
- Lifting cutters before clearing the base tears away fragile tips and leaves dough behind.
1. Dragging the Cookie Cutter Instead of Pressing
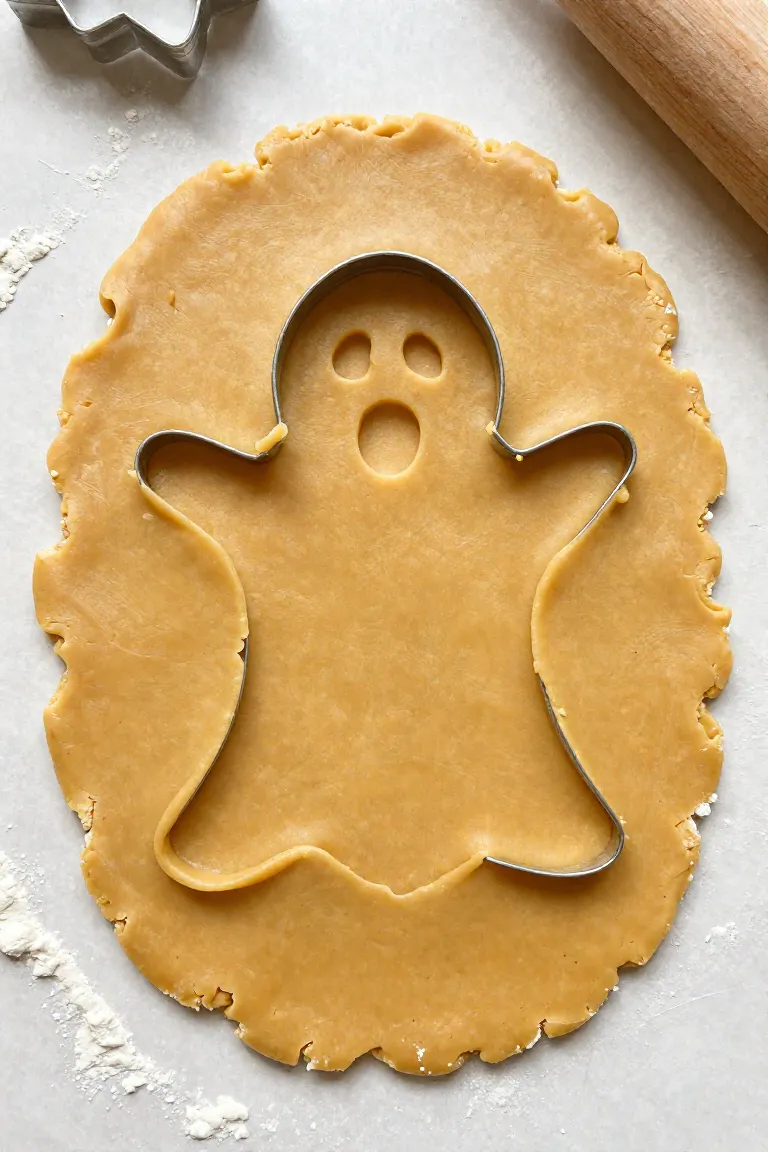
Securing clean silhouettes on bat wings or ghost tails comes down to the direction of your hands. When you position the tool over your rolled slab, push straight down with even palm pressure until metal touches your work surface, then pull straight back up without sliding sideways. Any lateral movement tugs at wet dough grains, stretching clean edges into distorted blobs before your treats ever reach the baking sheet.
- Twisting the mold rounds out sharp corners, turning pointy bat ears into dull nubs.
- Wiggling the frame side to side widens the perimeter gap, which thins the borders and causes thin edges to burn during baking.
- Dragging across the work surface pulls excess flour into the seams, creating rough tears along delicate ghost outlines.
2. Skipping the Dough Chilling Step
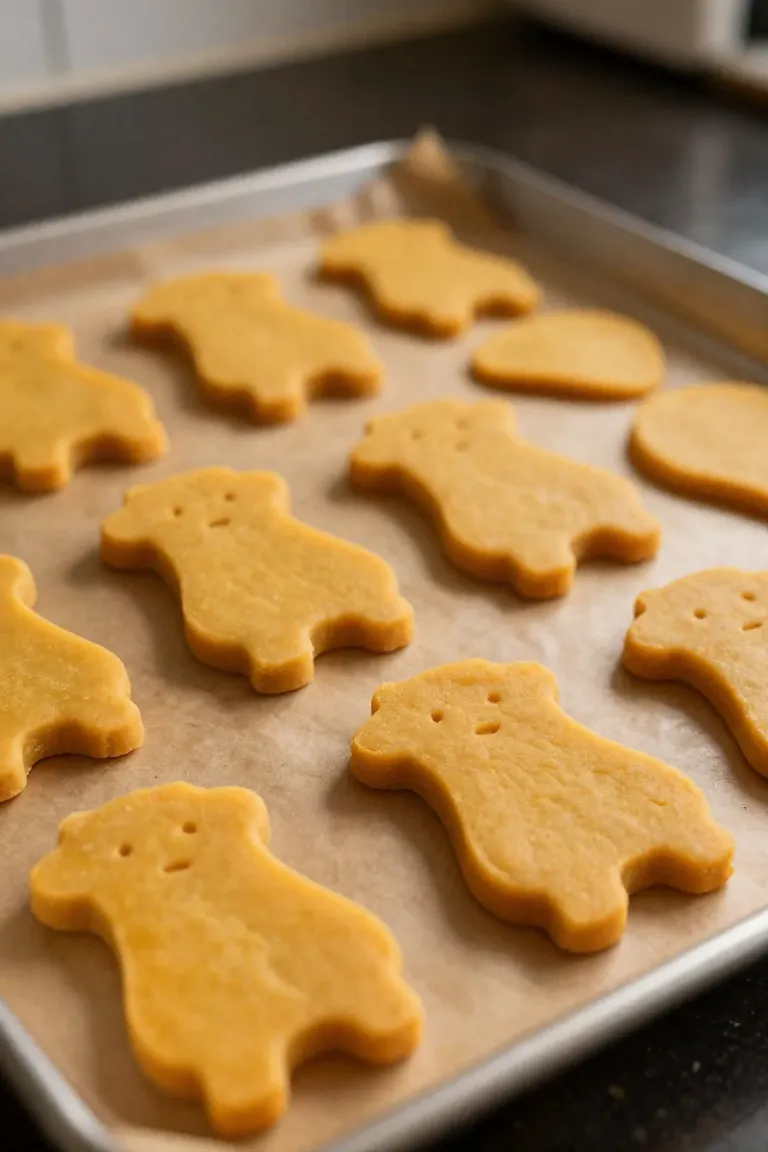
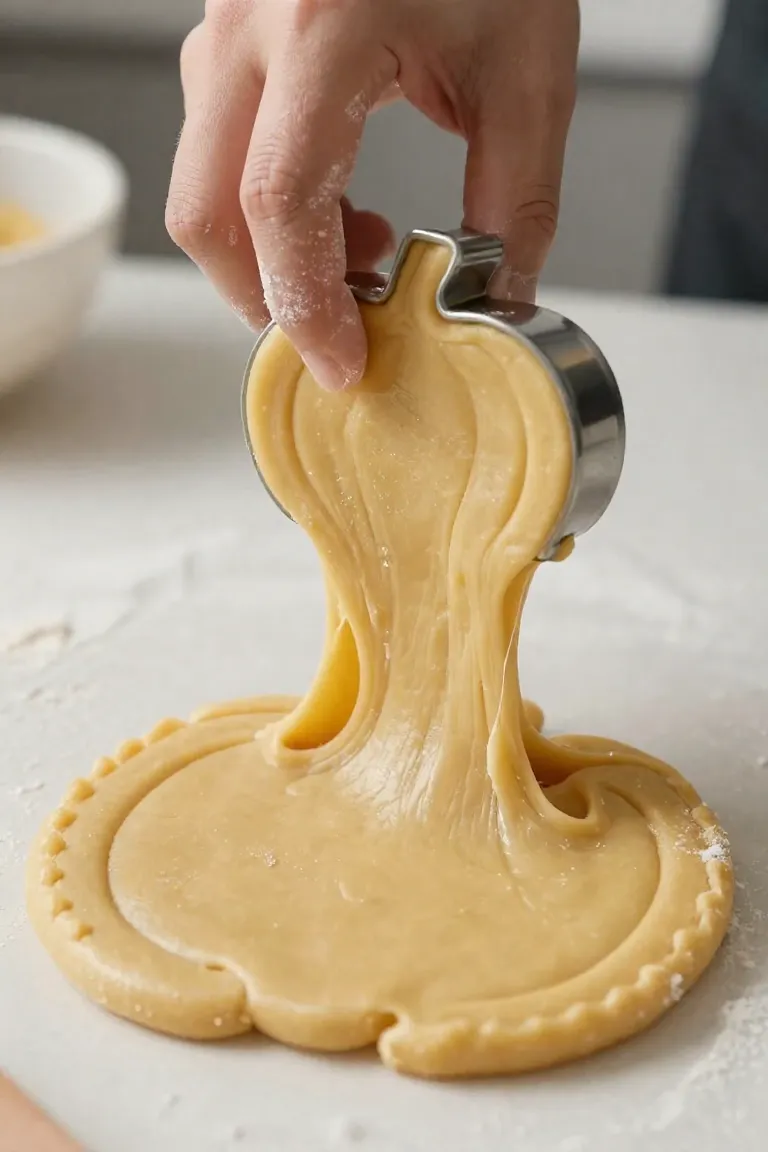
Even with a clean vertical press, natural peanut butter warms quickly at room temperature and softens the entire mixture. When the natural oils slacken, the dough loses its structural firmness, causing bat wings and pumpkin stems to slump or spread into indistinct blobs. Sliding your freshly rolled sheet directly onto a parchment-lined tray and resting it in the refrigerator for twenty to thirty minutes allows those fats to firm up. That brief cooling window gives the slab enough rigidity to release cleanly from metal edges without tearing in narrow corners.
A chilled slab also holds its form when you lift cutouts over to your baking pan, preventing slender ghost tails and pointed ears from stretching out of proportion. You get crisp outlines that survive the transfer, along with clean surface impressions if your tools have detailed face stamps. Keeping everything cold right up to the moment of baking sets a solid foundation for the heat that follows.
Baking Tips for Keeping Intricate Edges Crisp
Direct heat locks the cut shapes into place before any fats begin to spread across the baking sheet. Slide your chilled trays directly into an oven preheated to 350°F (175°C) on the middle rack so the circulating air crisps bat wings and ghost points evenly. If your oven tends to run hot toward the back, turn the pan halfway through the bake time to prevent delicate borders from overbrowning while the thicker centers bake through.
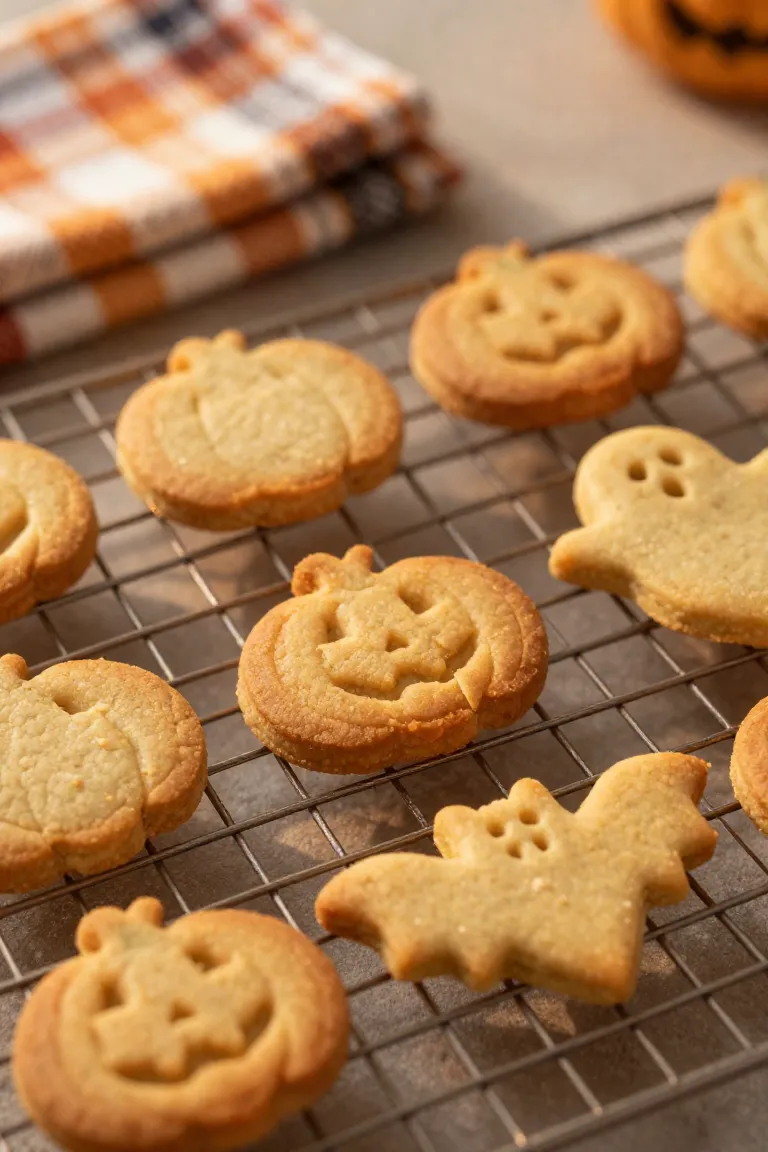
A five-minute rest on the hot pan straight out of the oven allows residual heat to firm up fragile corners without scorching the undersides. Moving warm treats to a wire cooling rack too quickly can snap narrow tail ends or crack ghost points that haven't firmed up yet. Once the biscuits lift cleanly with a metal spatula, you can transfer them to finish cooling on the counter before filling up your treat jars.
Frequently Asked Questions
If your crumbly mixture tears apart while rolling, work in an extra teaspoon of pure pumpkin puree or warm water until the crumbs bind smoothly without turning sticky. When warm biscuits puff up and lose their sharp outlines on the baking sheet, you can gently press your metal cookie cutters straight down through the hot dough immediately after pulling the tray from the oven to reshape the edges before they firm up. For storage, let the snacks cool down fully until no residual steam remains, then seal them in an airtight container on your pantry shelf for up to two weeks, or keep them in the freezer for three months of crunchy rewards.