Celebrating Your Pup With Peanut Butter Pumpkin Dog Biscuits
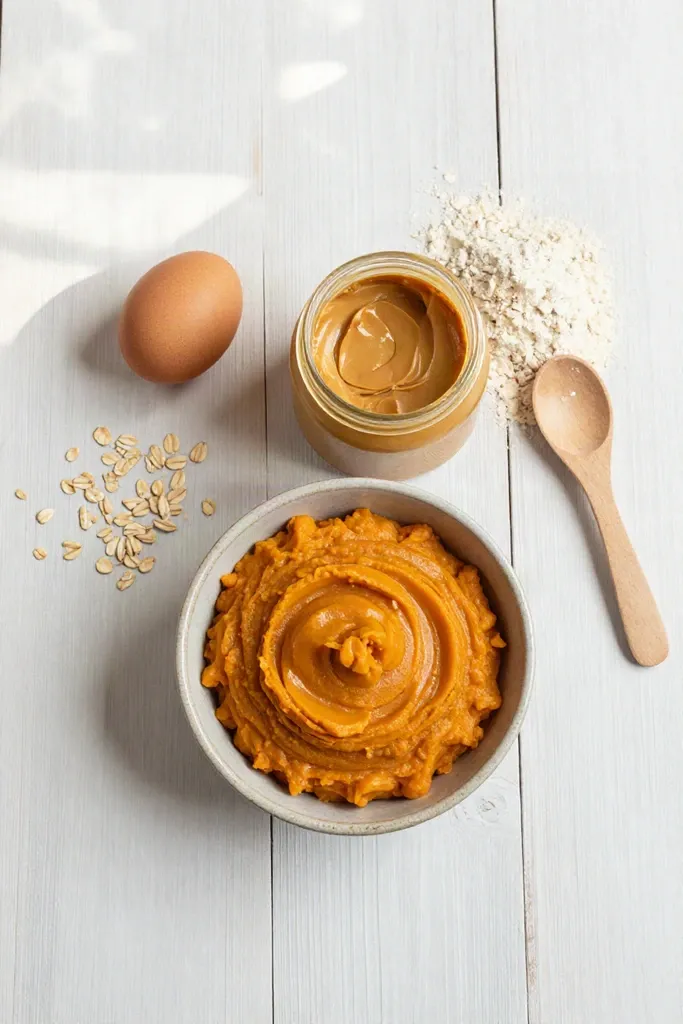
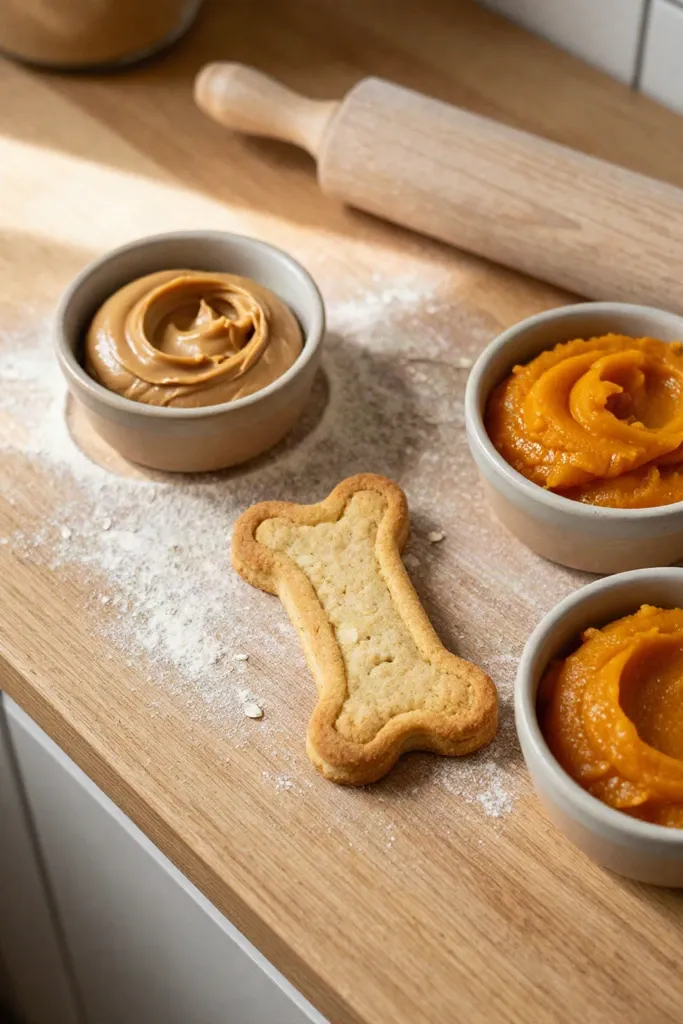
Marking your canine companion's milestone with an oven-warm batch of baked snacks gives you total control over every wholesome ingredient. Canine birthday gatherings have quickly turned into a favorite tradition, bringing pet parents together to craft nourishing rewards right from the kitchen. Pure pumpkin puree paired with dog-safe peanut butter creates an aroma hounds adore while remaining gentle on digestion. Preparing this foundational recipe at home lets you skip artificial additives and establish a dependable base ready for party-worthy decorative styles:
- Abundant soluble fiber calms the digestive tract and keeps sensitive stomachs settled.
- Natural peanut butter supplies healthy plant-based fats and protein that satisfy eager appetites.
- A sturdy baked texture holds clean edges for custom cookie cutters and layered party designs.
Easy & Natural Dog-Safe Icing Methods
Once those crunchy treats cool down, decorating them requires everyday kitchen staples that respect a canine digestive tract. Standard bakery frostings rely on confectioners' sugar, heavy butter, and chemical food dyes that can trigger pancreatitis or acute stomach distress in dogs. Skipping processed sugars, artificial coloring, and toxic sweeteners like xylitol keeps the celebration safe while still producing a spreadable, silky paste that coats every biscuit evenly.
Whole-food bases provide all the workable structure you need for piping and spreading. Plain cultured dairy, smooth vegetable purees, and unsalted nut pastes create pliable mixtures that cling to biscuit surfaces without turning into a runny mess at room temperature. Natural color infusions from simmered roots and crushed berries yield soft pastel tones that brighten each festive design.
1. Greek Yogurt and Carob Swirls
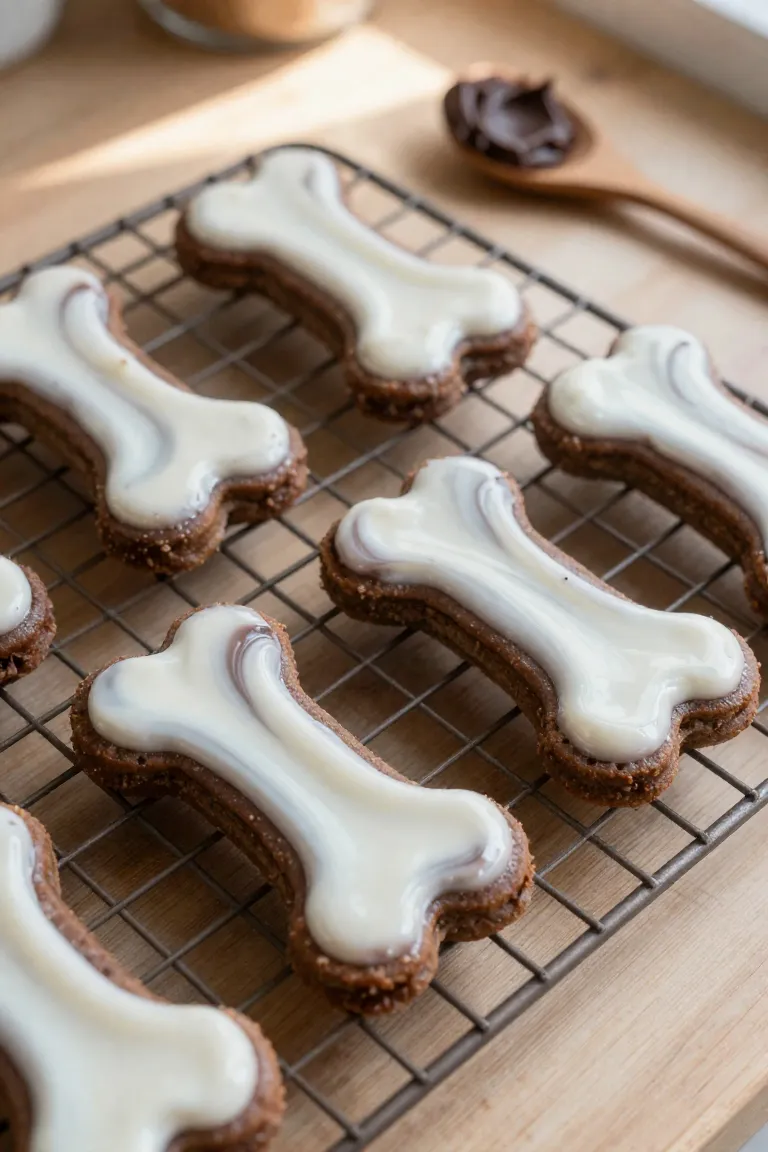
A dense, strained dairy base provides a smooth canvas that glides easily across the flat surface of cool baked treats. Spread a thin foundation of plain, unsweetened Greek yogurt to coat the biscuit evenly. Melt dog-safe carob chips slowly with a touch of coconut oil until glossy, then dot tiny brown beads directly over the wet white layer. Dragging a clean toothpick through each droplet creates delicate marbled ribbons that hold their shape as the topping cools.
For the cleanest definition, chill the decorated treats on a parchment-lined sheet in your refrigerator for twenty minutes. Cold temperatures help the dairy solidify and prevent the contrasting tones from bleeding together before party time. Because carob contains no toxic theobromine or caffeine like chocolate, you get an attractive two-tone contrast that remains completely gentle on sensitive canine bellies.
2. Peanut Butter Drip Glaze
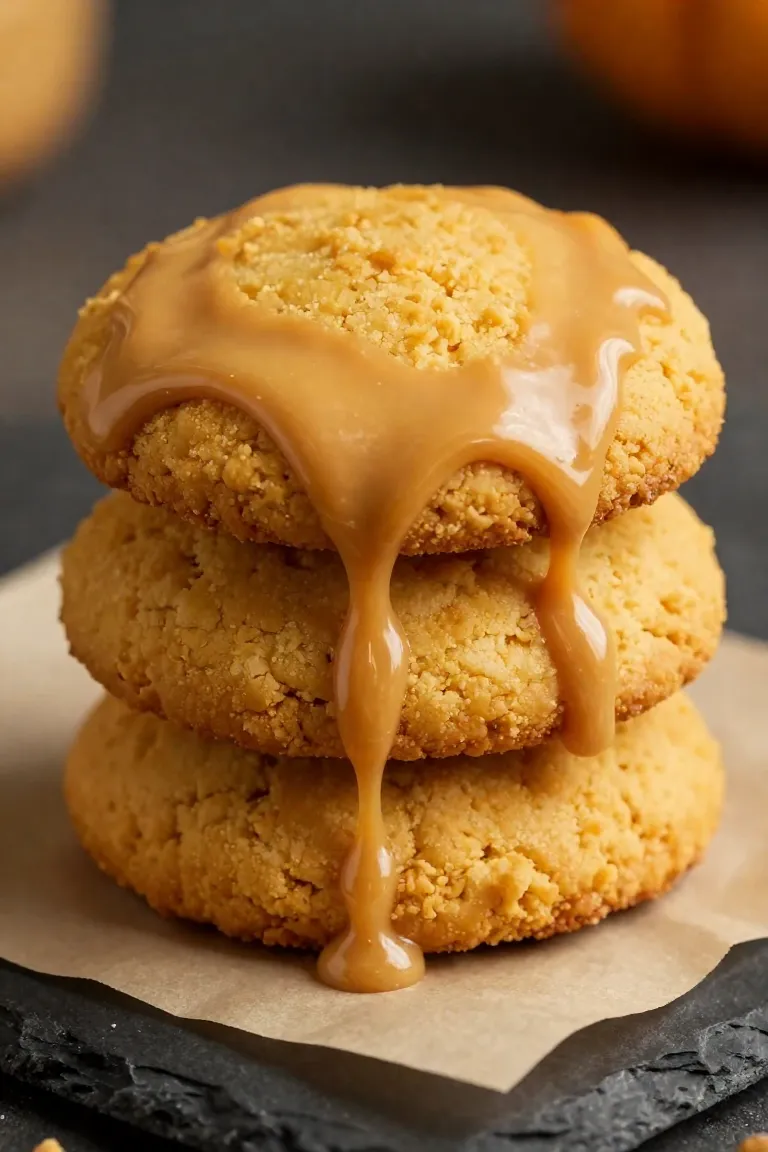
For an appetizing finish that carries a rich roasted aroma, a warm nut glaze gives your baked treats a glossy bakery shine. Melt two tablespoons of pure, smooth peanut butter, confirming first that the jar contains zero xylitol or artificial sweeteners, alongside half a teaspoon of unrefined coconut oil in a heat-safe dish. Low, gentle heat thins the mixture into a silky, pourable stream that settles across the top of your pumpkin biscuits without making the crumb soggy.
A standard teaspoon or squeeze bottle lets you guide thin ribbons across the crust so small drips run down the sides before setting. Ten minutes of resting on parchment paper in your refrigerator allows the coconut oil to firm up, creating a neat, mess-free topping that holds its shape when your dog takes that first eager bite.
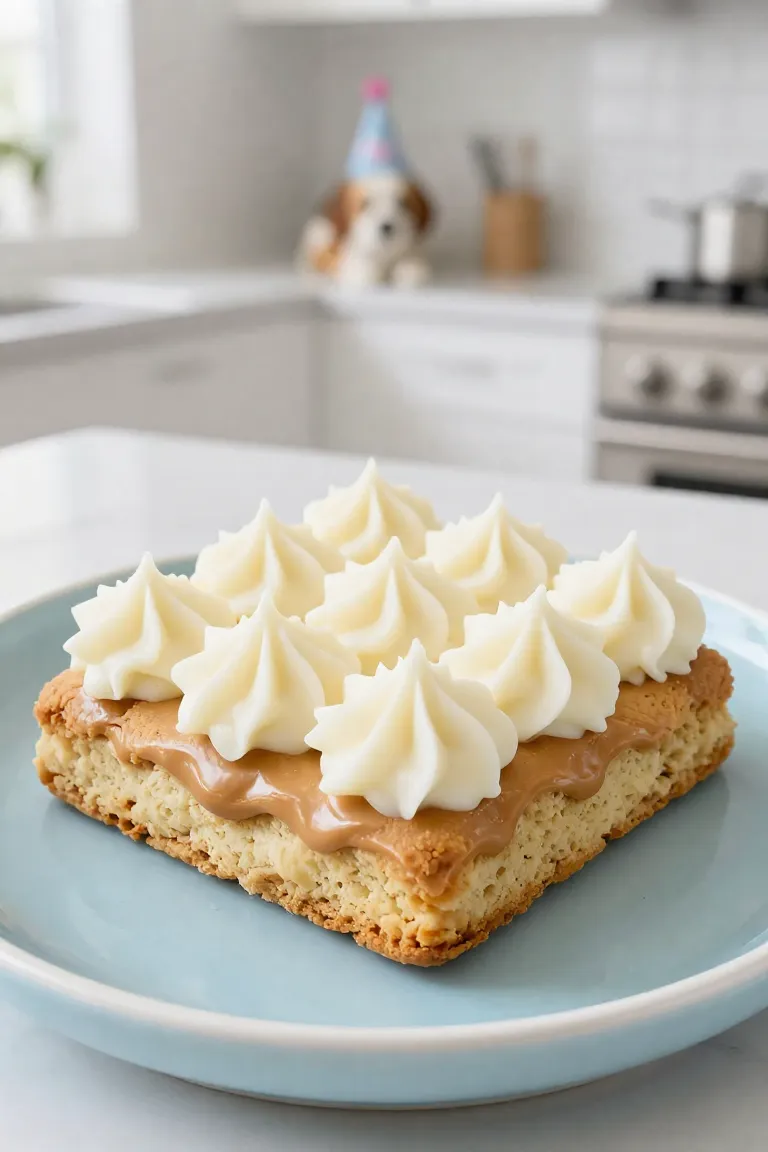
3. Mashed Potato Frosting Peaks
A savory alternative brings dense, sculptural volume to your pup's treat without any dairy or added sugars. Boil peeled russets in plain water until fork-tender, then mash and whip them thoroughly with a splash of warm water or unsalted broth until the mixture is silky smooth and clump-free. The natural starch creates a firm, stable base that holds sharp decorative ridges without sagging or melting at room temperature.
A standard open star tip fitted onto a pastry bag gives you clean control over every ridge. Hold the bag perpendicular to the biscuit, apply steady pressure to build a rounded mound, and pull your wrist upward with a quick flick to leave tall, defined points that mimic classic bakery swirls. These fluffy crowns firm up slightly as they cool, creating sturdy rosettes that welcome further toppings or colorful accents.
4. Cream Cheese and Beet Juice Pink Frosting
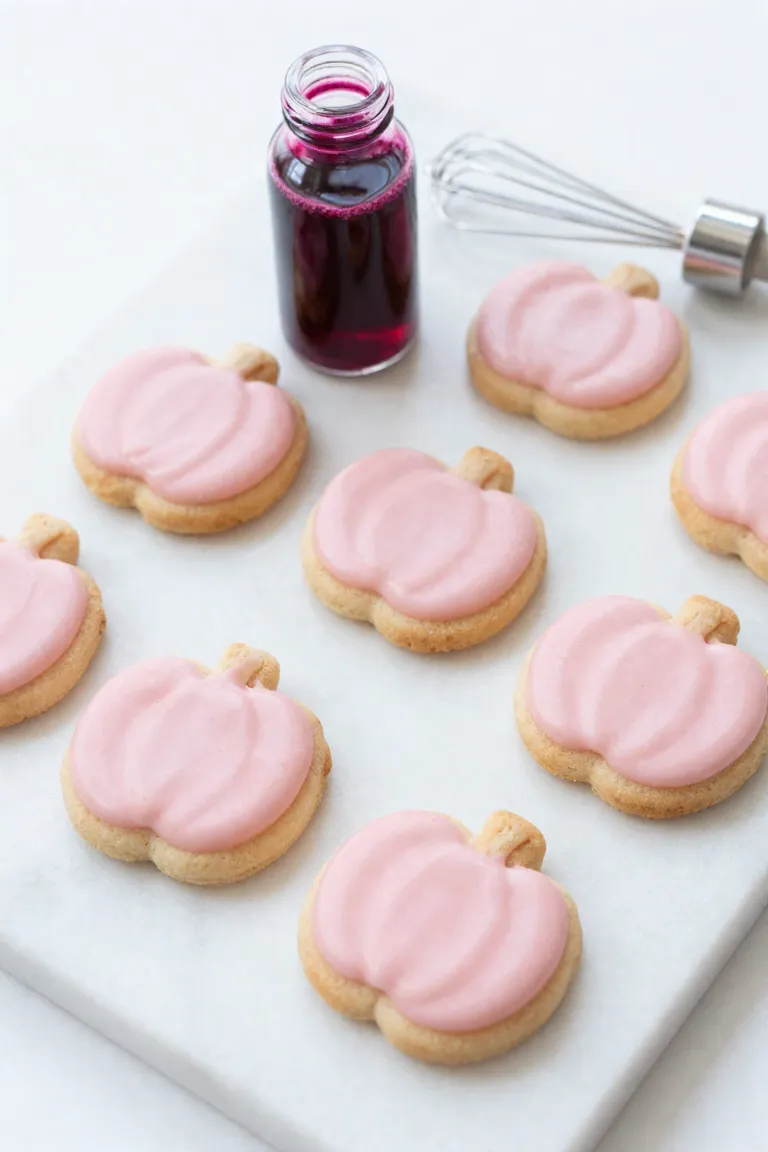
A gentle splash of color transforms plain baked cutouts into celebratory party treats without synthetic dyes. Whisk a block of softened, low-fat cream cheese in a mixing bowl until completely smooth, then stir in two or three drops of natural beet juice. The rich vegetable extract blends quickly into the dairy base, yielding a warm blush tone that you can deepen with an extra drop or two. Because whole-milk dairy can sometimes upset sensitive canine stomachs, choosing a reduced-fat version keeps the mixture light while delivering a smooth, spreadable consistency.
A small offset spatula or silicone piping bag helps you distribute the rosy spread across pumpkin biscuits with clean precision. If your kitchen feels warm, set the decorated snacks in the refrigerator for twenty minutes so the dairy firms up before serving. You get a tidy finish that stays intact on a celebration platter, giving your dog an enticing birthday bite that stays completely pet-safe.
Creative Shapes and Plating
Beyond spreadable toppings, the geometry of the baked dough builds character across a dog's party spread long before any frosting hits the surface. Working with varied cutter dimensions allows you to construct balanced patterns across a shallow serving board, turning basic peanut butter pumpkin dough into freestanding party accents. You can arrange wide discs, stars, or crisp arches in concentric circles around the food bowl, giving the setup deliberate visual rhythm while keeping individual portions easy for your dog to grasp. A thoughtful tray arrangement gives the treat table an intentional celebration feel, keeping each crunchy piece accessible for quick snacking throughout the festivities.
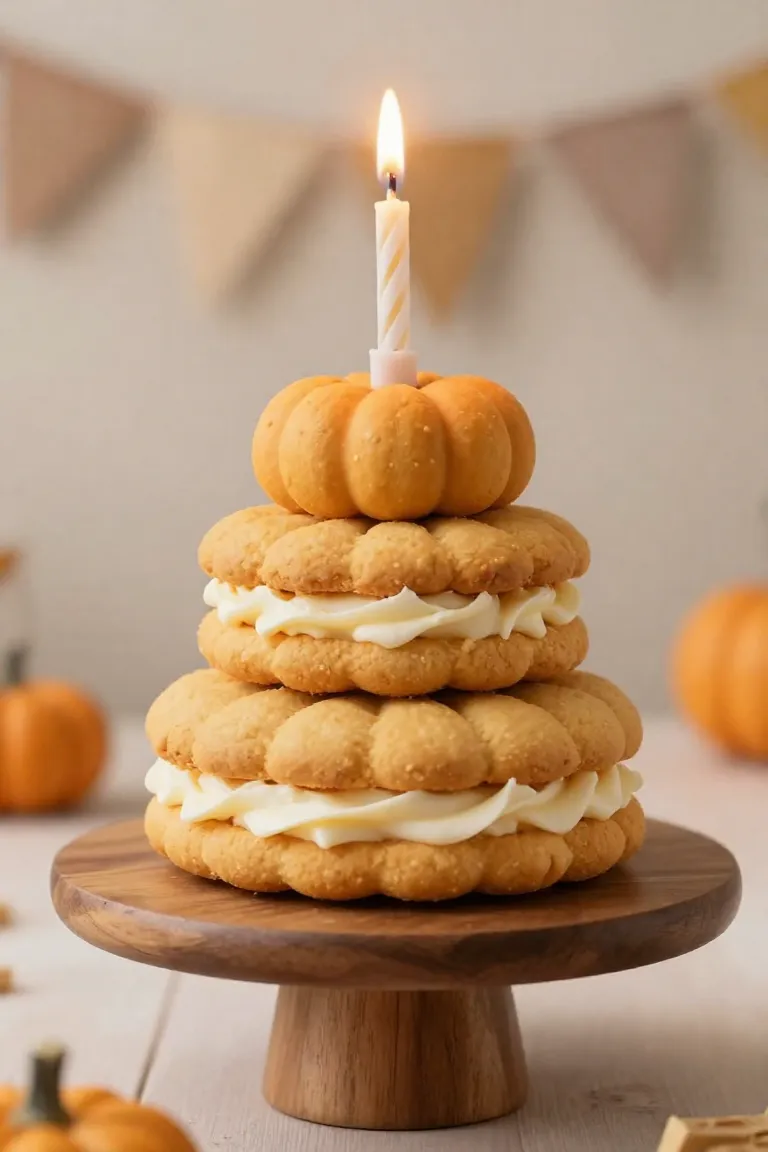
5. Stacked Biscuit Birthday Cake
To build a vertical centerpiece for the party table, cut your rolled pumpkin dough using three or four graduated round rings, starting with a broad three-inch base and tapering up to a one-inch top. Bake these discs until firm and golden, then let them cool completely on a wire rack so residual warmth doesn't loosen your edible mortar. Sandwich each biscuit tier with a thick smear of smooth pumpkin puree, plain unsweetened Greek yogurt, or dog-safe peanut butter with zero xylitol. Press each disc gently to anchor the foundation without snapping the crisp edges, creating the convincing silhouette of a tiered celebration pastry. A tiny dollop on the summit holds the whole structure firm, preparing the base for decorative top accents.
6. Paw Print Stamped Tops
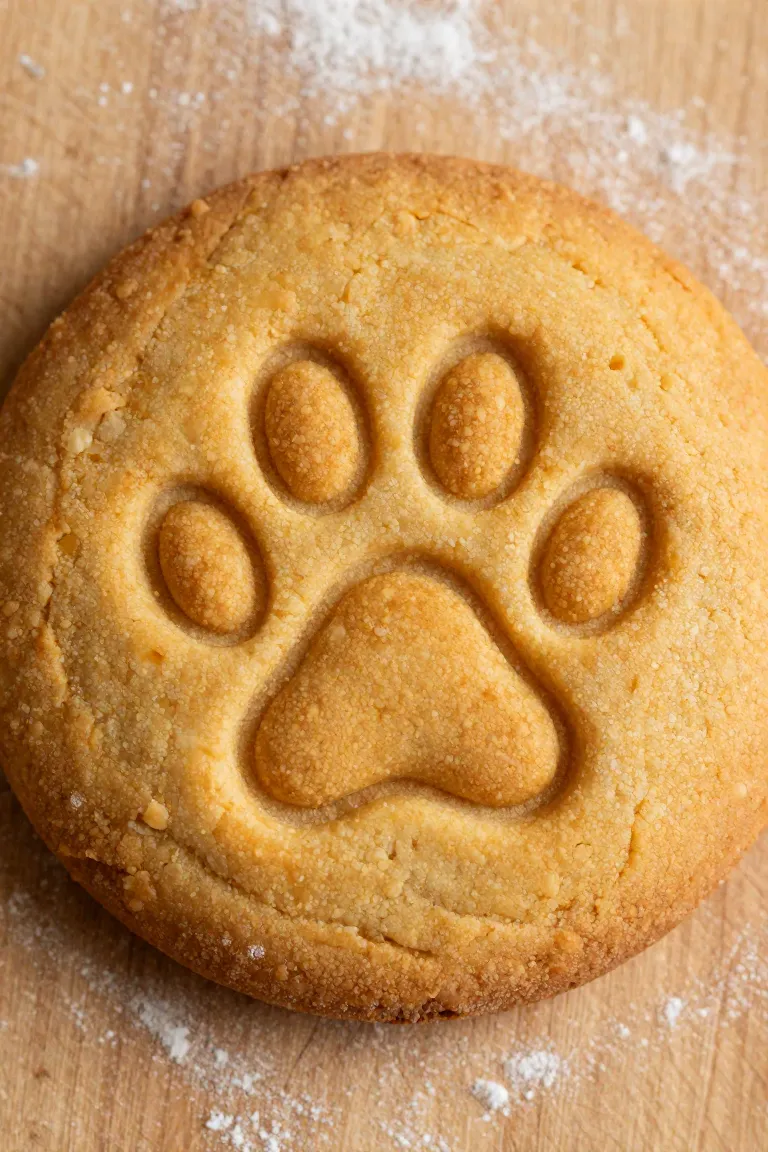
Adding textured surface details directly to raw pumpkin dough creates permanent, charming marks that bake right into the treat. A food-safe silicone stamp gives you crisp, repeatable impressions across every piece when you dust the pad lightly with oat flour before pressing. If you prefer a hands-on approach without specialized kitchen tools, your own fingers work just as effectively. Press the flat pad of your thumb into the center of each cut round to form the main heel cushion, then use the tip of your pinky to press four small round indentations in a gentle curve along the top edge.
Cold dough holds these sculpted grooves much better under heat than room-temperature dough. Popping the stamped baking sheet into your refrigerator for ten minutes prevents the natural moisture in the pureed pumpkin from blurring the shallow ridges as the biscuits expand in the oven. The finished impressions bake into clean, distinct pockets that can catch a light dusting of safe powders or simply shine on their own.
7. Mini Bone Biscuit Confetti
Rolling out your leftover dough to a scant eighth of an inch lets you cut out dime-sized bone shapes using a miniature plunger cutter or micro cookie mold. Because these bite-sized morsels bake through in just eight to ten minutes at 350°F, you can easily pull a crisp batch before the main tray finishes. Once cooled, scatter a generous handful across wet Greek yogurt or peanut butter frosting on your centerpiece biscuit. The miniature pieces nestle securely into the soft layer, giving your dog a layered textural contrast between creamy spread and crunchy biscuit with every bite.
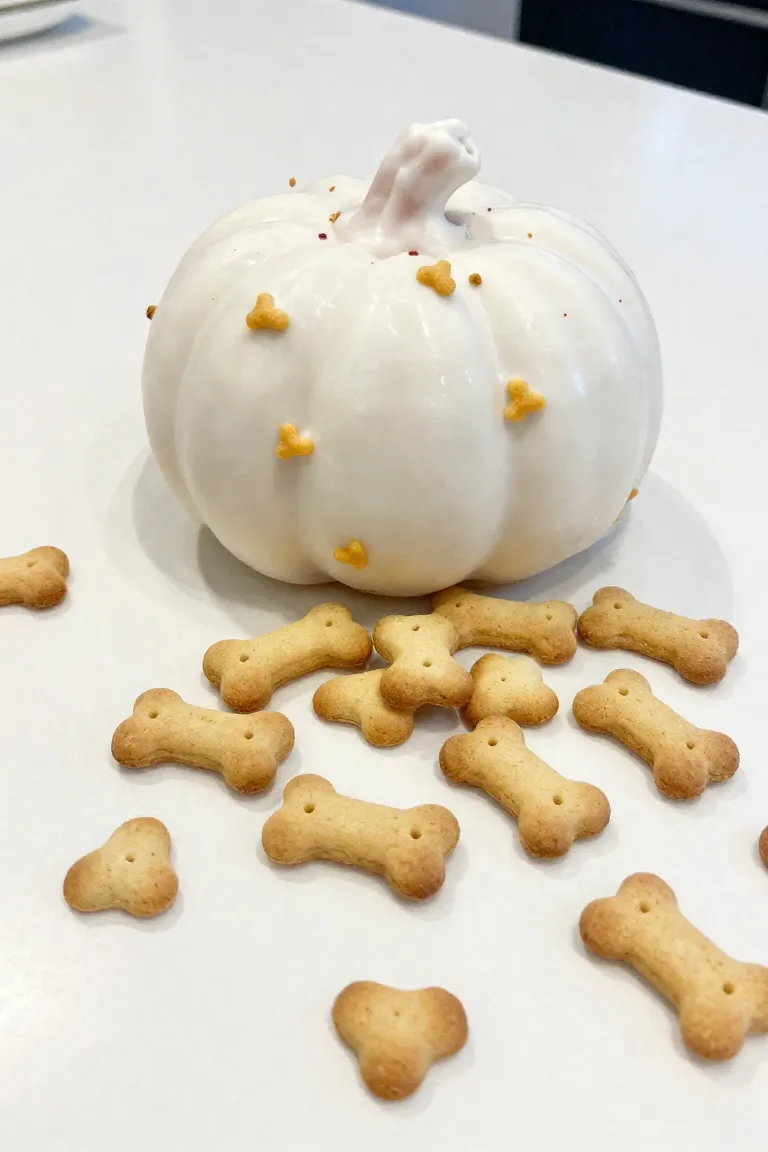
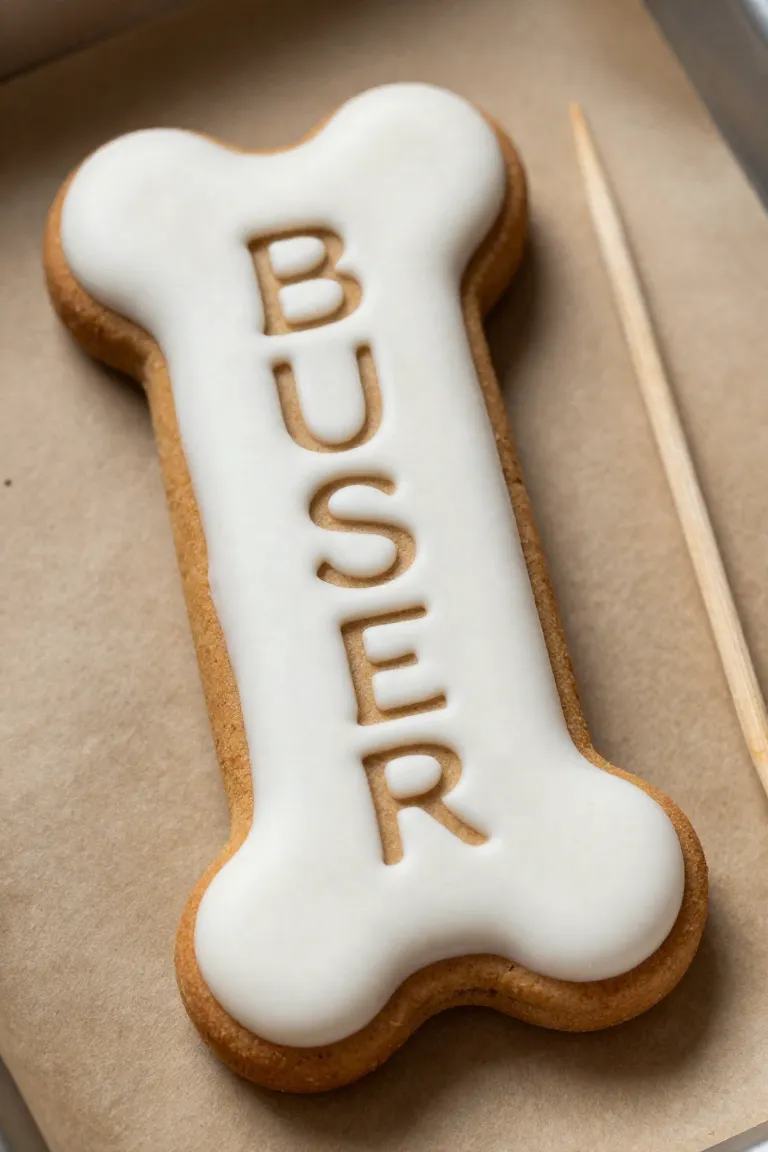
8. Personalized Name Etching
While that smooth yogurt surface remains pliable, you can add custom hand lettering using basic household tools before the treat sets in the fridge. Working with a light, steady touch keeps the glaze from tearing or dragging across the baked crust.
- Lightly carve letter grooves into semi-firm glaze with the tip of a clean wooden toothpick, wiping off build-up between strokes.
- Draw clean lines directly across the surface with an all-natural, dog-safe edible food pen made without xylitol or synthetic dyes.
- Chill the finished biscuit for twenty minutes to lock the etched design firmly into place.
Healthy Sprinkles and Toppings
Standard confectionary garnishes packed with processed sugar, xylitol, and artificial colorants have no place in your dog's diet, but you don't have to sacrifice visual flair. Swapping out synthetic decorations for nutrient-dense whole foods gives each baked biscuit a lively pop of color along with satisfying texture. Finely chopped seeds, dehydrated fruits, and savory pantry staples press neatly into damp frosting, offering dietary fiber and essential minerals while keeping the celebration safe for sensitive canine stomachs.
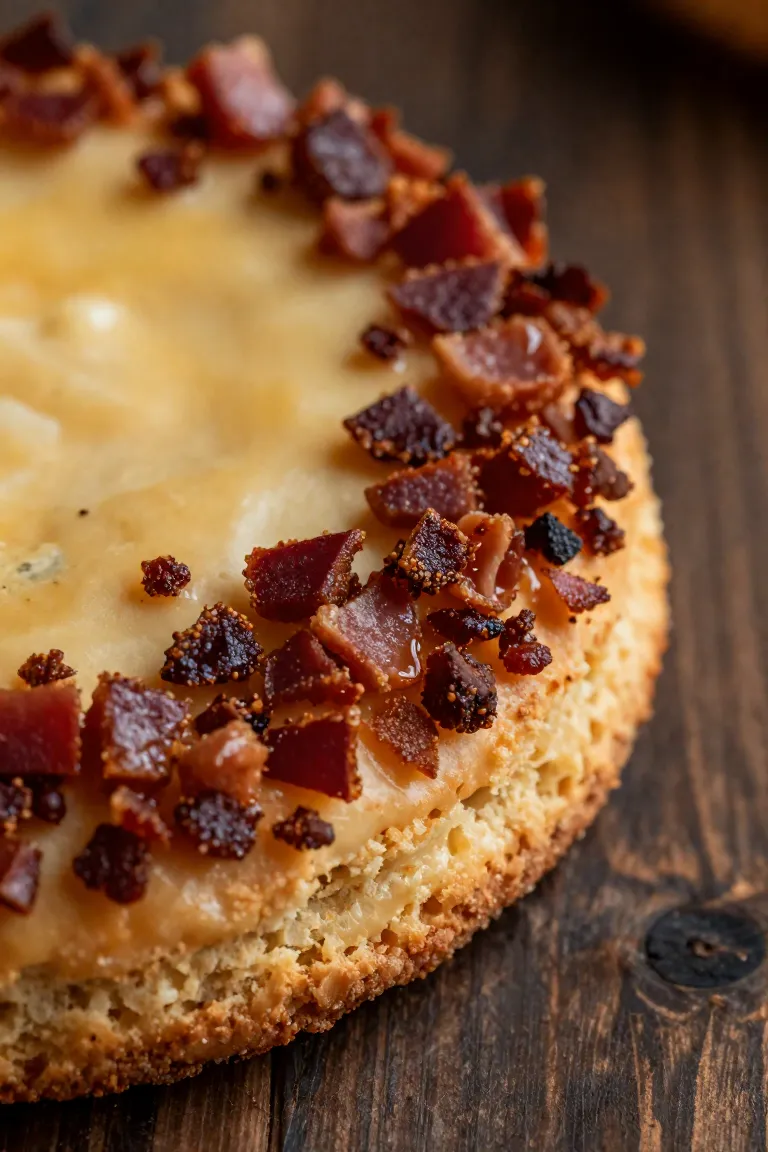
9. Crumbled Bacon Bits Crust
Baking unseasoned pork or turkey strips until firm and crunchy creates a rich contrast against smooth toppings. Once the meat cools, blot it with dry paper towels to lift away residual oil before mincing everything into tiny morsels.
- Roll the outer rim of each treat through a shallow dish filled with the prepared bits right after frosting.
- Press any sparse spots gently with your fingertips so the pieces lock cleanly into the wet base.
- Chill the finished batch on parchment for fifteen minutes to firm the perimeter and prevent loose flakes.
10. Shredded Carrot and Zucchini Confetti
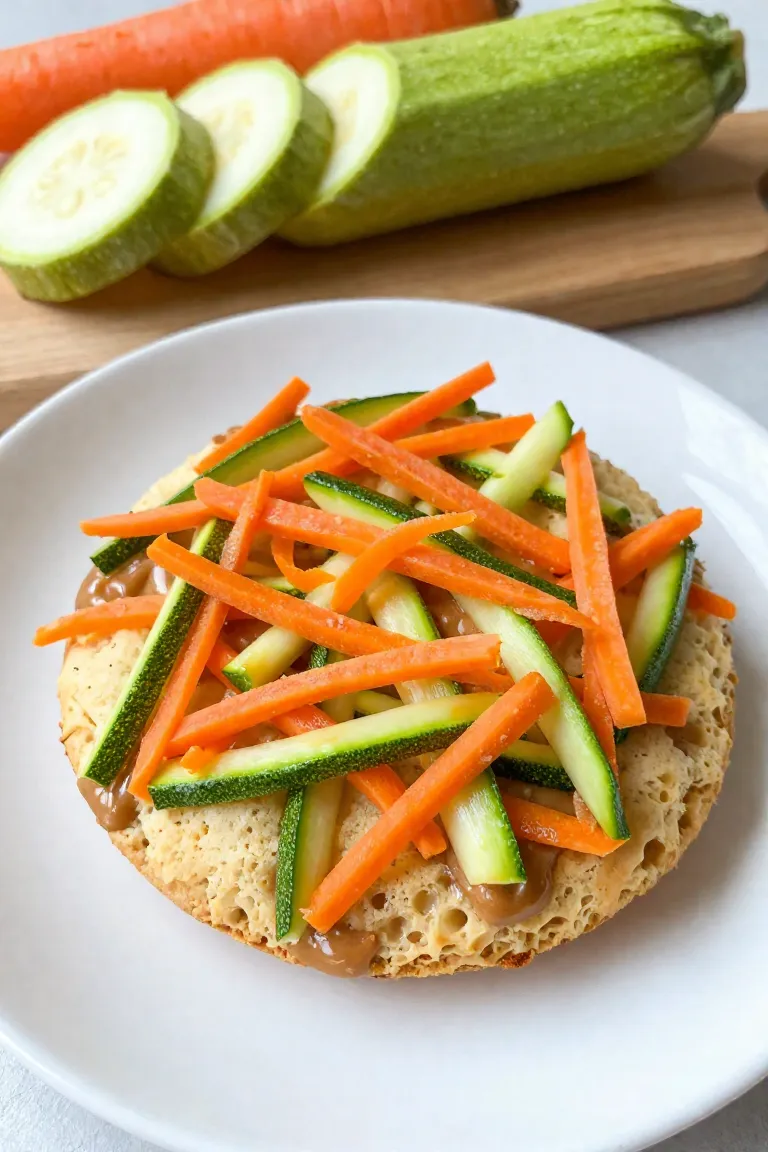
If you want a colorful look without artificial dyes, raw garden produce delivers a crisp, vitamin-rich finish across frosted treats. Grating the vegetables into featherlight strands lets them mimic traditional bakery sprinkles while providing natural fiber and antioxidants. Pat the pulp dry before decorating so excess moisture does not thin out your glaze.
- Use the finest teeth on a box grater so the delicate strands stick neatly to tacky icing without sliding off.
- Press the shreds between paper towels for twenty seconds to absorb surface water and keep the frosting firm.
- Scatter the vegetable flecks over wet peanut butter or yogurt bases immediately so they lock into place as the layer sets.
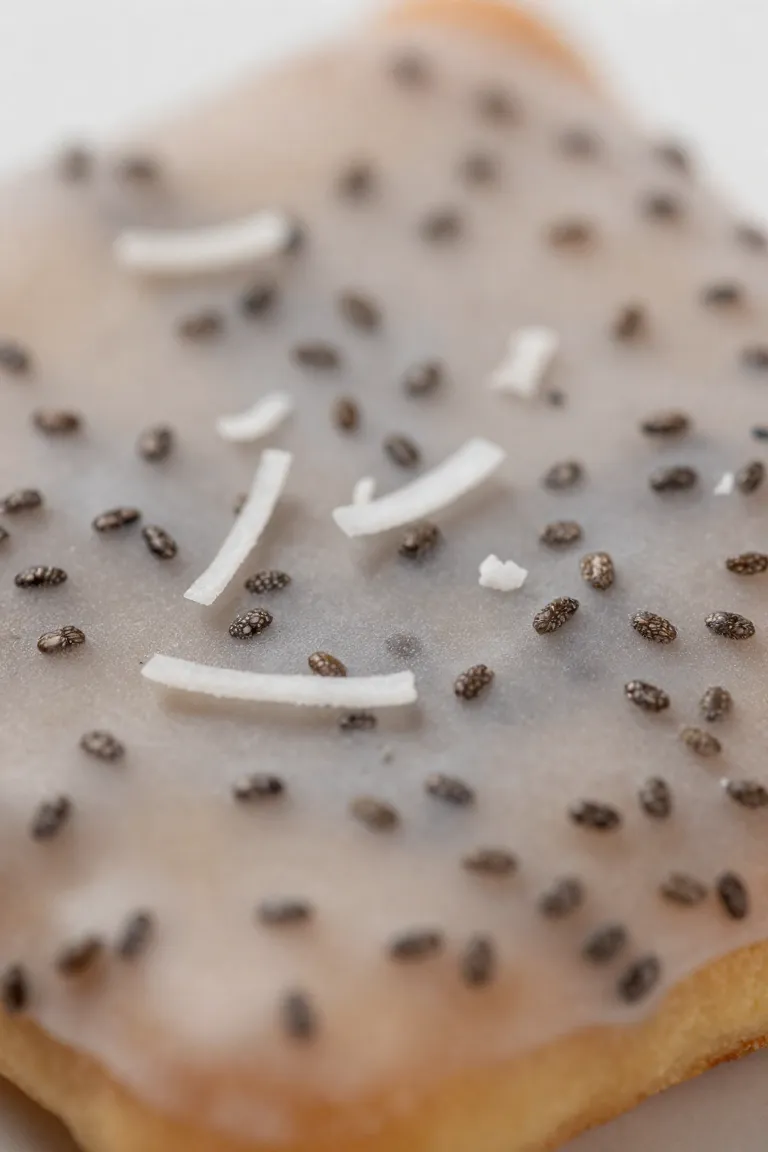
11. Chia Seed and Coconut Flake Dusting
A crisp, speckled topping gives homemade treats a polished look without relying on artificial food coloring. Brushing a thin sheen of raw honey or plain Greek yogurt over the baked biscuit creates a tacky surface that grips dry particles securely. When you mix equal parts tiny black chia seeds with unsweetened, desiccated coconut flakes, you'll get a sharp monochrome contrast that mimics artisan confectionery. Scatter the dry blend from several inches above the glazed treats so the pieces fall uniformly across the sticky foundation. The dried coconut provides a gentle, nutty scent that appeals to canine palates, while the seeds add a subtle crunch as the glaze firms up on the counter.
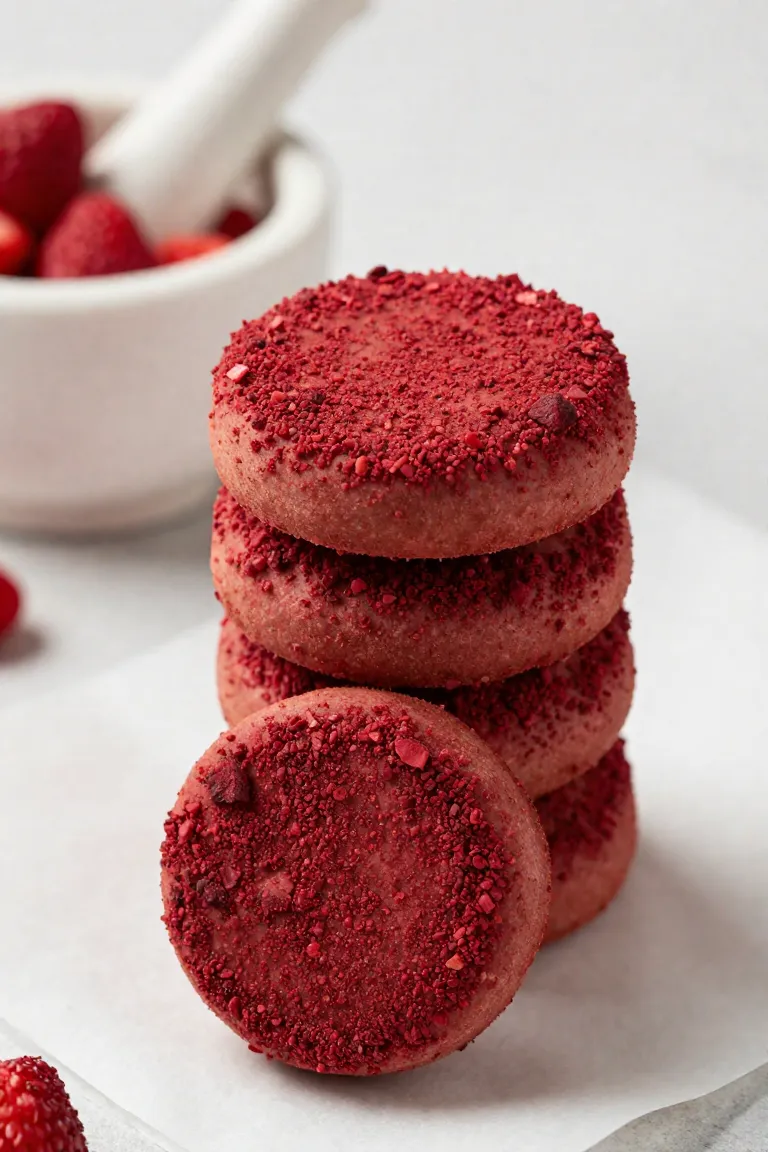
12. Freeze-Dried Strawberry Powder Coating
For a punch of color and a tart aroma that contrasts with rich peanut butter, plain unsweetened berries dried without additives offer an ideal crumbly base. You can seal a handful of these crisp pieces inside a small storage bag and crush them with a rolling pin until they break into a fine dust. A quick spin in a clean spice grinder creates an even smoother consistency that clings evenly to damp edges without leaving large, coarse chunks.
A thin border of wet glaze along the biscuit perimeter acts as edible glue for the red dust. Once you brush yogurt or warmed glaze along the sides, roll the treat across a shallow dish filled with the berry powder so the particles adhere cleanly. The crimson rim sets firmly against the baked crust, creating a crisp, colorful contrast that holds its shape as the treats settle on the cooling rack.
Themed Birthday Presentation Ideas
Once your finished treats cool completely on the wire rack, staging them on rustic wooden boards or slate platters transforms individual snacks into an eye-catching party spread. You can arrange lighter pumpkin shapes alongside richer, colored glazes to build contrasting layers that immediately draw attention on the party table. Group batches by texture or height across flat-rimmed ceramic trays, keeping everything at a comfortable sniffing distance while you snap your celebration photos. Setting up a dedicated treat station with wipeable mats also keeps crumbs under control when excited canine guests gather around for their party portions.
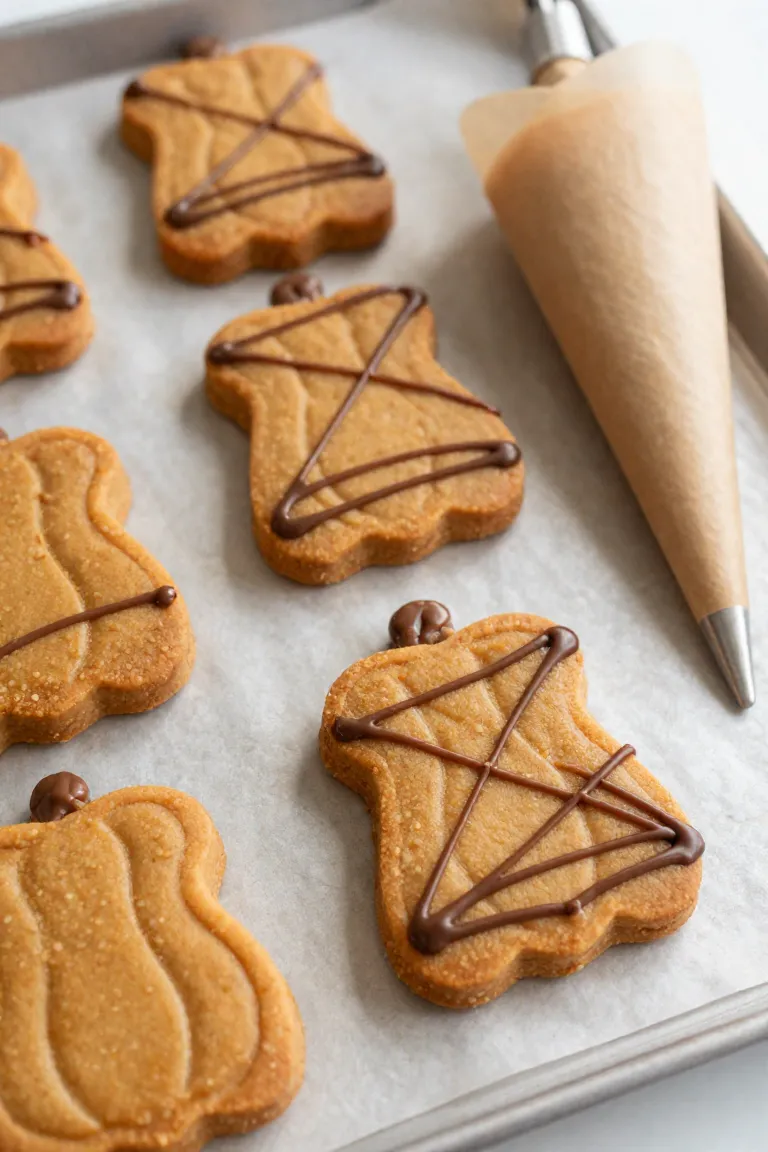
13. Pup-Safe Carob Drizzle Art
Melting unsweetened dog-friendly carob chips with half a teaspoon of unrefined coconut oil over low heat produces a silky glaze that handles just like melted chocolate without any toxic theobromine. Once the mixture cools slightly so it does not run too thin, spoon it into a piping bag fitted with a fine round tip, or simply snip a millimeter-wide corner off a sturdy sandwich bag. Arrange your cooled pumpkin biscuits on parchment paper and guide your hand across them in steady, rhythmic motions to lay down thin zig-zags, angled crosshatch grids, or concentric geometric lines. The carob sets into crisp, dry ribbons after ten to fifteen minutes in the refrigerator, giving each piece a polished bakery finish that holds up well when handled or arranged onto presentation stands.
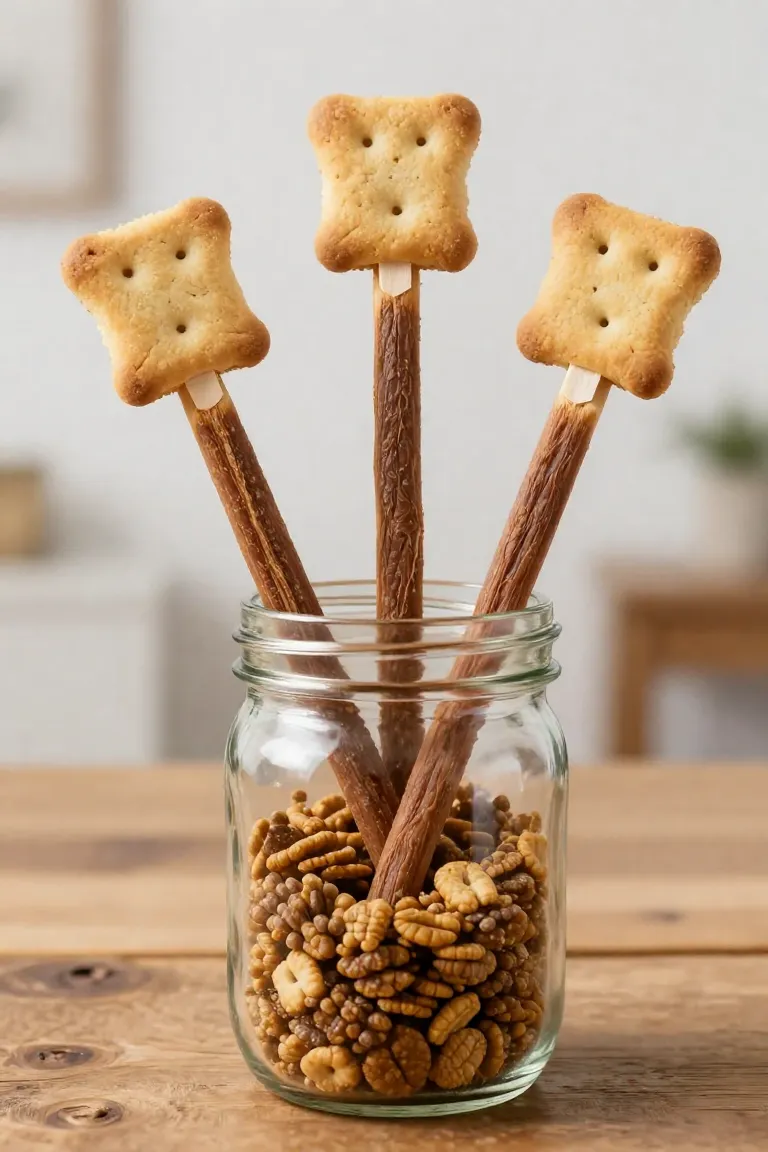
14. Biscuit Pops on Bully Sticks
If you want extra height on your party table, you can anchor raw pumpkin dough onto natural chews before sliding the baking sheet into the oven. Pressing the dough firmly around a sturdy chew creates an edible handle your dog can enjoy from top to bottom without wooden skewers or plastic sticks.
- Pick pencil-thick beef chews or collagen sticks that hold their shape under moderate oven heat.
- Mold roughly two tablespoons of dough around the top third of the stick, pinching the seams tightly so steam does not crack the outer crust.
- Lower your oven heat to 325°F and bake on parchment paper until the outer biscuit dries completely without charring the chew handle.
15. The 'Pupcake' Biscuit Tower
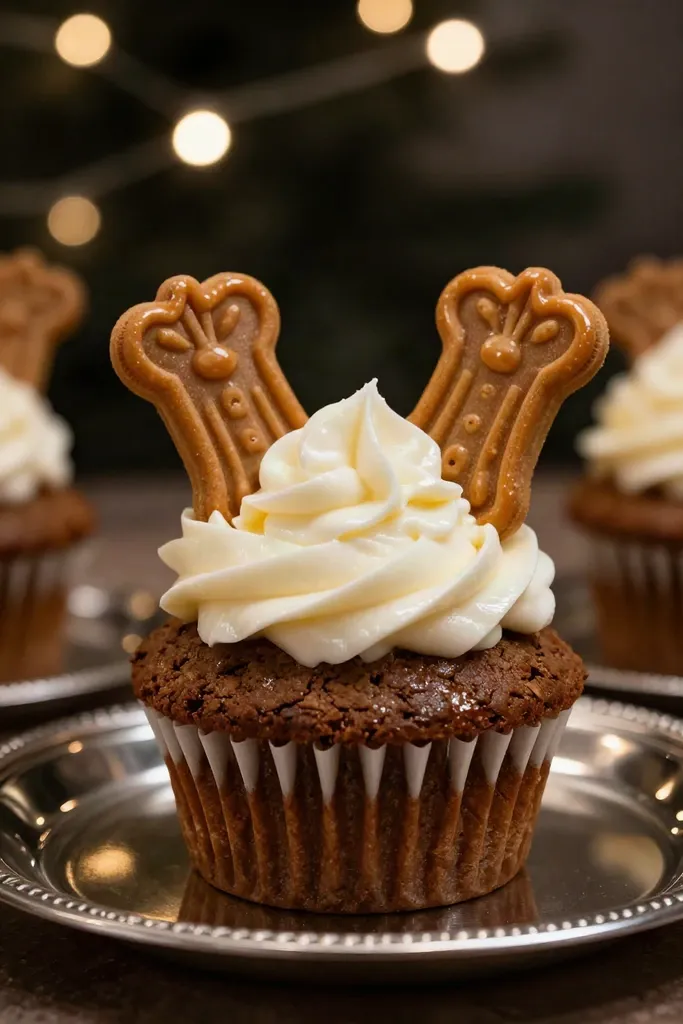
A dense oat flour and pumpkin muffin provides the sturdy foundation you need for vertical presentation on a party plate. Once this edible base cools completely, spread a thick layer of stiff Greek yogurt or whipped sweet potato across the crown to act as structural mortar. You can push the bottoms of several decorated bone treats deep into the center so they stand upright in an overlapping, tiered formation. The heavy batter prevents tipping, while the firm puree anchors each piece securely without requiring skewers or wooden dowels.
Around the perimeter of the pastry, pipe additional rings of chilled puree to hide the insertion points and create extra ledges for smaller snacks. Flat pumpkin stars or miniature round pieces press neatly into the sides of the mound, building a layered tier effect that catches the eye on a serving platter. You give your dog a varied mix of crunchy baked dough and creamy topping in every portion, leaving plenty of room to tuck fresh fruit accents into the remaining gaps.
16. Blueberry and Banana Slice Toppers
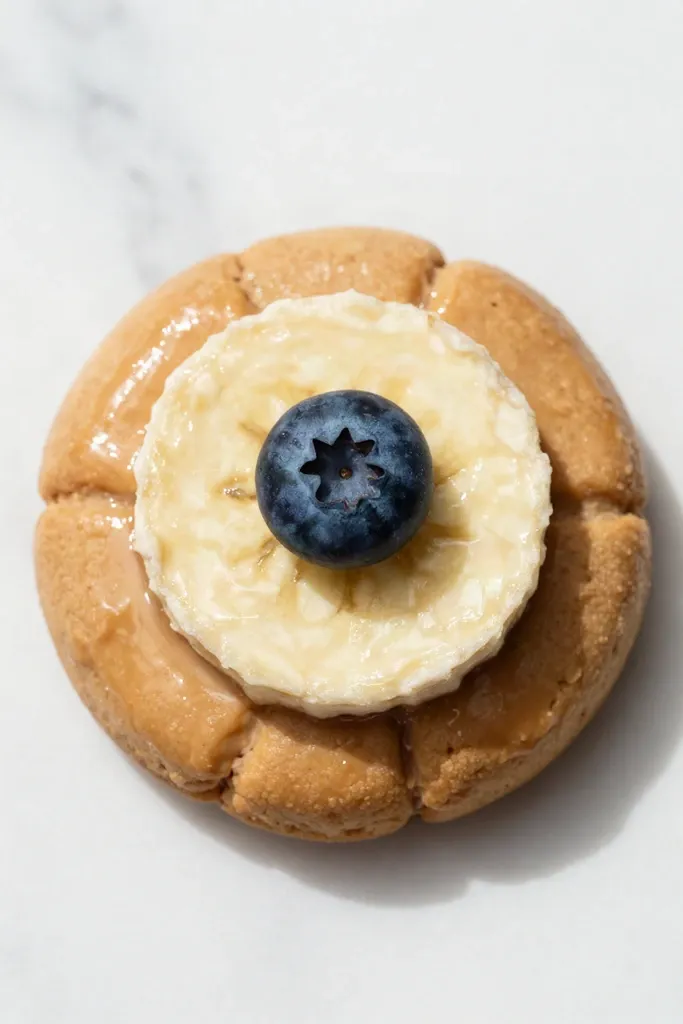
A neat round of ripe banana pressed directly into the damp icing anchors your garnish while providing a soft, sweet contrast to the crunchy pumpkin base. Set a single plump berry right at the center of the fruit wheel, applying light pressure so it embeds firmly without cracking the underlying glaze. The deep indigo hue contrasts with the pale yellow fruit and smooth frosting, giving each biscuit a polished, bakery-inspired finish without relying on artificial food coloring. Because cut produce releases moisture over time, assemble these fresh pieces shortly before serving so the treats keep their crisp texture and clean look on the party platter.
17. Edible Floral Petal Garnish (Dog-Safe)
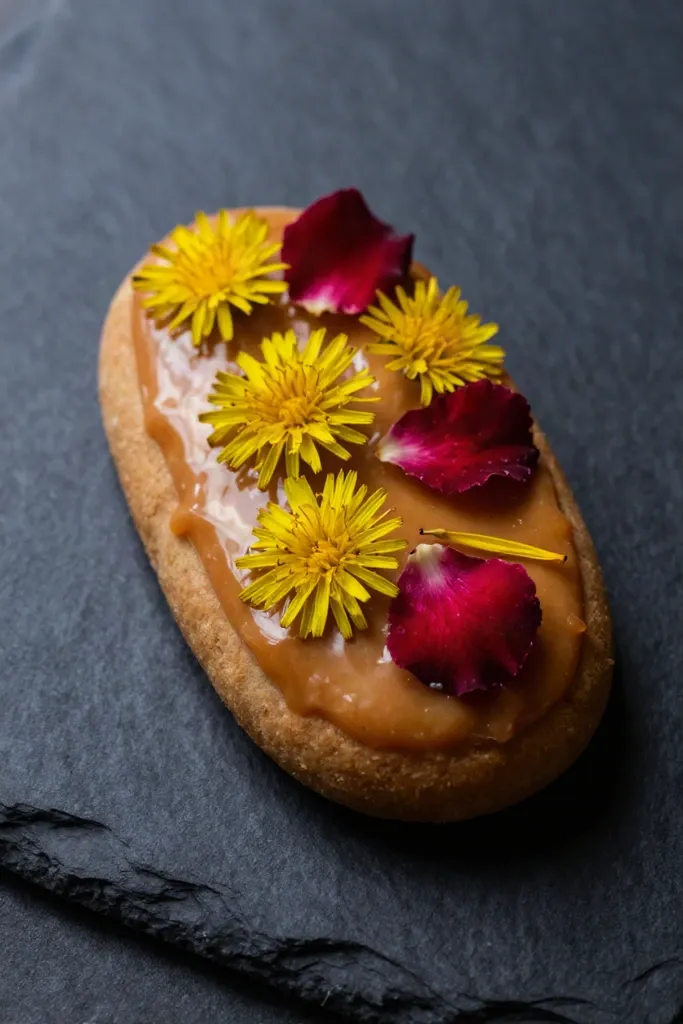
Sprinkling clean, botanical accents over a wet icing layer brings a colorful, garden-inspired finish to homemade biscuits without adding heavy sugars or synthetic food dyes. Sourcing strictly untreated, food-grade plants ensures every piece remains gentle on sensitive canine stomachs. Rinsing the fresh heads under cool water and patting them completely dry prevents excess moisture from breaking down your underlying glaze.
- Dandelion petals offer a bright yellow contrast and mild earthy flavor while remaining completely non-toxic when gathered from chemical-free yards.
- Organic rose petals provide subtle blush tones that press cleanly into soft cream cheese bases without bleeding.
- Calendula blossoms supply rich orange flakes that resist wilting on the platter throughout your celebration.
Making Your Dog's Birthday Unforgettable
Those colorful garnishes and layered towers create great photos, but your dog cares most about the familiar crunch and peanut butter aroma waiting on the plate. Whether you spent an afternoon piping neat carob swirls or simply tossed together a rustic stack with a quick drizzle, your companion feels the joy and dedicated attention behind every bite.
A quiet moment shared over a crunchy snack and an extra belly rub matters far more than visual perfection. Snap a few candid pictures to save on your favorite celebration board, and let your pup happily clear the crumbs from the plate.