Summary
- Introduction to Fall-Themed Dog Cookie Decorating
- Essential Tools for Decorating Dog Treats
- Crafting Dog-Safe Icings for Fall Colors
- Fall Decorating Techniques for Sweet Potato Oat Cookies
- Styling and Storing Your Masterpieces
- Frequently Asked Questions About Dog Treat Icing
- Conclusion: Sharing Autumn Joy with Your Pup
Introduction to Fall-Themed Dog Cookie Decorating
Autumn weekend mornings feel cozier when your four-legged companion shares in the seasonal fun. Instead of plain crunchy biscuits, baking customized fall dog treats brings festive warmth straight to your kitchen baking sheet.
A simple sweet potato oat base takes on a charming look once you add dog-safe icing. With everyday pantry ingredients, these homemade dog cookies turn into colorful seasonal snacks your pup can safely crunch.
Essential Tools for Decorating Dog Treats
Gathering your workstation gear takes very little preparation since most everyday items already rest in your kitchen drawers. You do not need specialized culinary tools to achieve clean designs on pup biscuits. A standard rolling pin with adjustable thickness rings ensures a uniform crunch, and silicone spatulas make mixing dense yogurt glazes clean work. Reusable silicone squeeze bottles or standard sandwich bags with snipped corners function effectively when outlining playful shapes. Keep parchment paper sheets on hand to prevent sticking during the drying stages, along with a fine toothpick for nudging glaze into corners or feathering autumn accents. Having these practical dog treat baking tools lined up before you begin keeps your workspace clear as you mix the glazes.

1. Cookie Cutters and Stamps
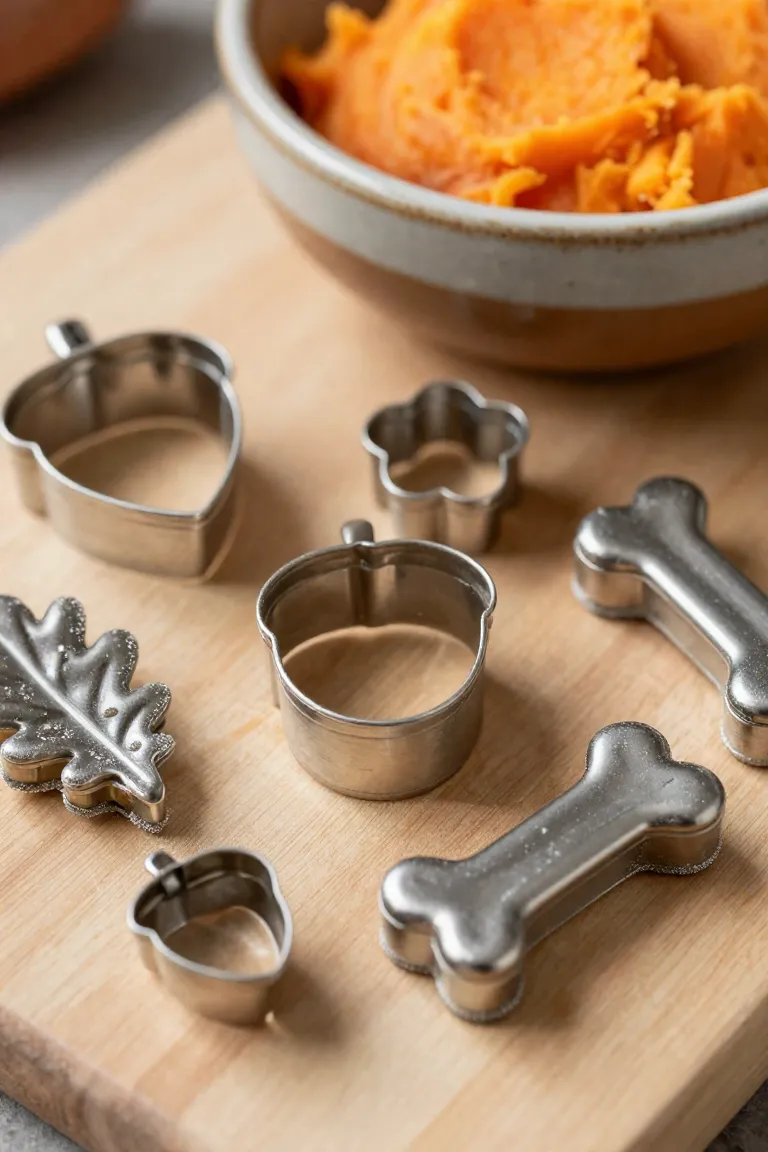
Selecting recognizable shapes brings immediate seasonal character to your treat platter. Maple leaves and plump acorns capture the harvest season while maintaining comfortable portion sizes for medium and large dogs. Stainless steel fall cookie cutters work far better than dull plastic molds because coarse oat flour blends can drag along softer edges. Sharp metal rims slice cleanly through fibrous sweet potato dough, preventing ragged borders that crumble once the biscuits hit the oven sheet.
If you prefer extra texture, an embossed dog bone cookie stamp creates crisp impressions that hold runny yogurt icing well. A firm press into chilled dough leaves distinct ridges where tinted glazes settle naturally, forming structural depth without complicated piping maneuvers. A quick dusting of oat flour between cuts keeps the surface clean and ensures each piece pops out intact.
2. Piping Bags and Decorating Tips
Once your baked cutouts cool completely on the rack, pairing the right icing applicator with your treat dough helps you create sharp designs. Thick, grain-free mixtures require sturdy tools that will not burst under steady hand pressure, making textured disposables or heavy-duty silicone pouches far more dependable than makeshift plastic baggies.
- Small round nozzles: A standard number two or three round opening gives you total control when drawing fine pumpkin ribs and crisp border outlines.
- Closed star nozzles: Swirling a wider fluted opening creates textured dollops that mimic miniature autumn rosettes on larger biscuits.
- Selecting piping bag tips: Look for stainless steel attachments that handle chilled, dense purees without clogging or warping mid-squeeze.

Crafting Dog-Safe Icings for Fall Colors
Decorating canine biscuits calls for a different approach than whipping up standard human confectioneries. Traditional frostings rely on powdered sugars and potentially lethal additives like xylitol, which should never touch your pup's bowl. Developing a reliable dog safe icing recipe means replacing empty additives with pure whole foods that nourish your dog while holding a firm shape.
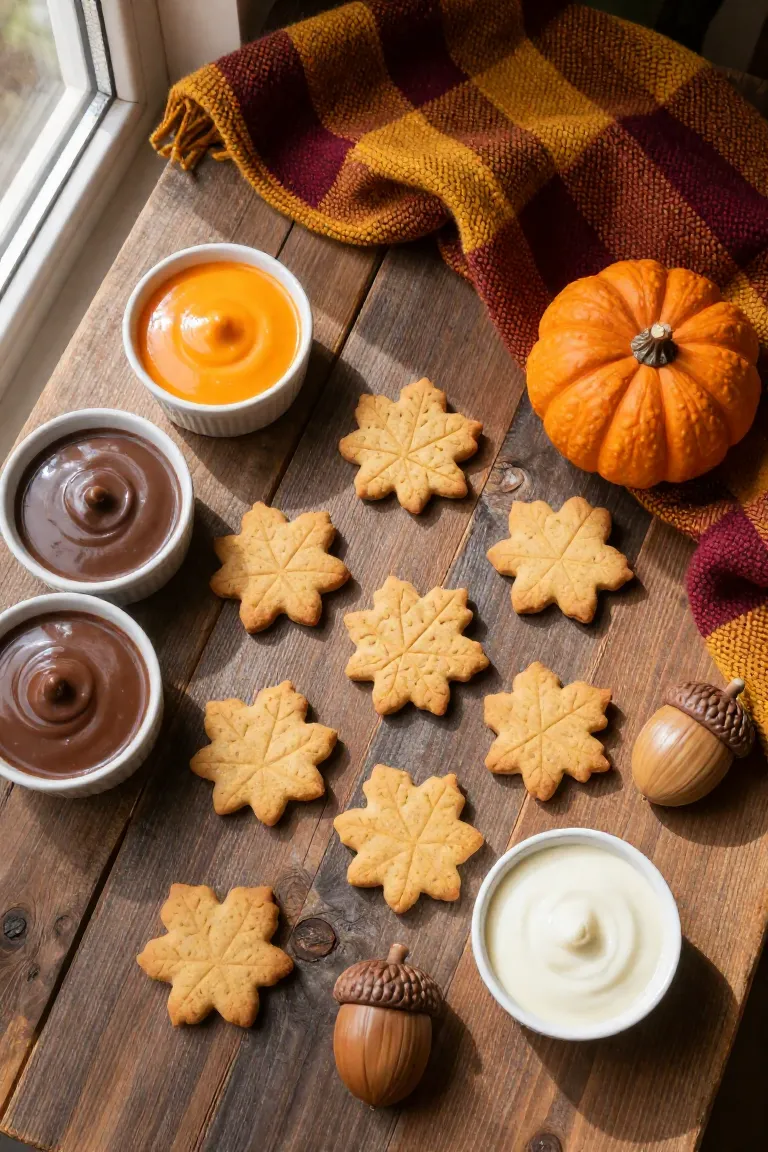
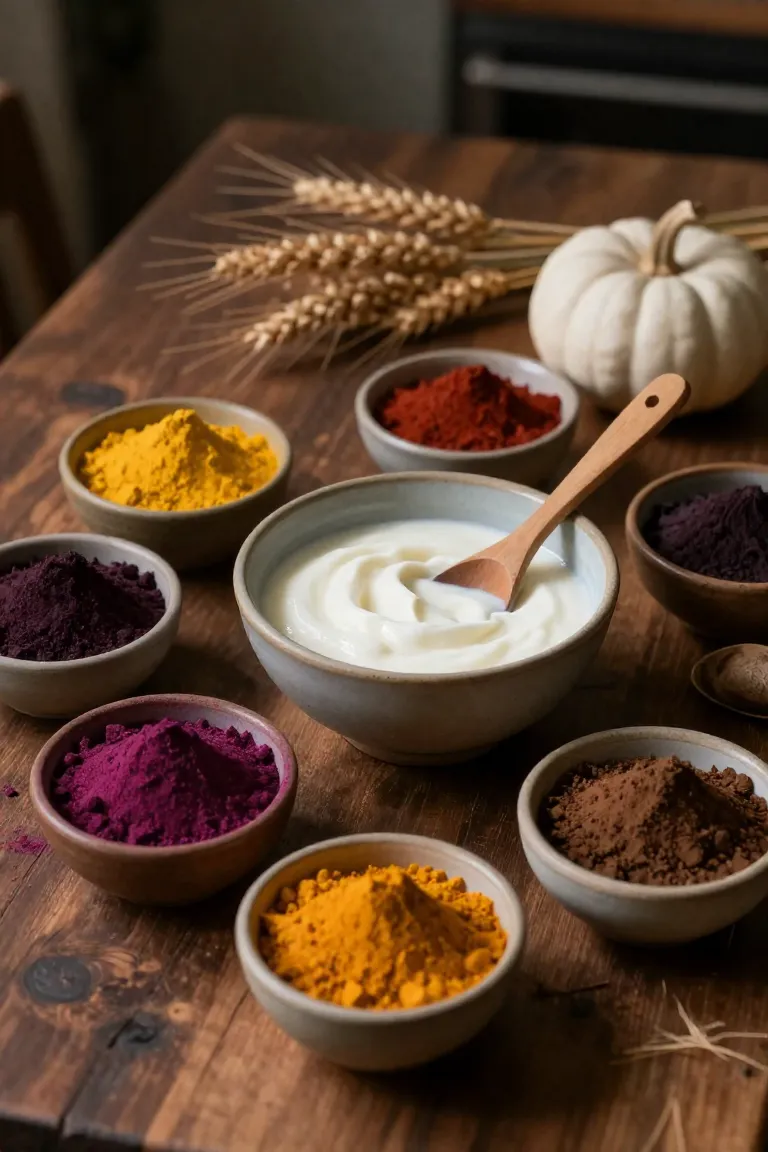
In your kitchen pantry, gentle vegetable purees and botanical powders double as natural food coloring for dogs. Steamed squash and ground golden spices impart warm, seasonal hues across every batch without upsetting sensitive digestions. The resulting mixtures spread evenly across crunchy crusts, allowing you to achieve rich colors using whole ingredients.
1. The Classic Yogurt and Tapioca Base
Achieving a glossy coat that sets firm without sticky residue begins with two simple pantry staples. Whipping thick, unsweetened Greek yogurt with fine root starch creates a dependable yogurt dog icing that dries smooth at room temperature, making finished tapioca starch dog treats easy to stack and pack.
- Ingredient proportions: Stir two tablespoons of tapioca starch or cornstarch into one-half cup of strained Greek yogurt until the mixture turns silky and lump-free.
- Consistency adjustment: Add a few drops of warm water if the batter feels too stiff, or dust in extra starch a pinch at a time to hold crisp piped lines.
- Drying timeline: Let decorated biscuits rest on parchment paper for two to three hours until the surface forms a dry, smudge-resistant crust.

2. Creating Natural Autumn Orange with Pumpkin or Turmeric
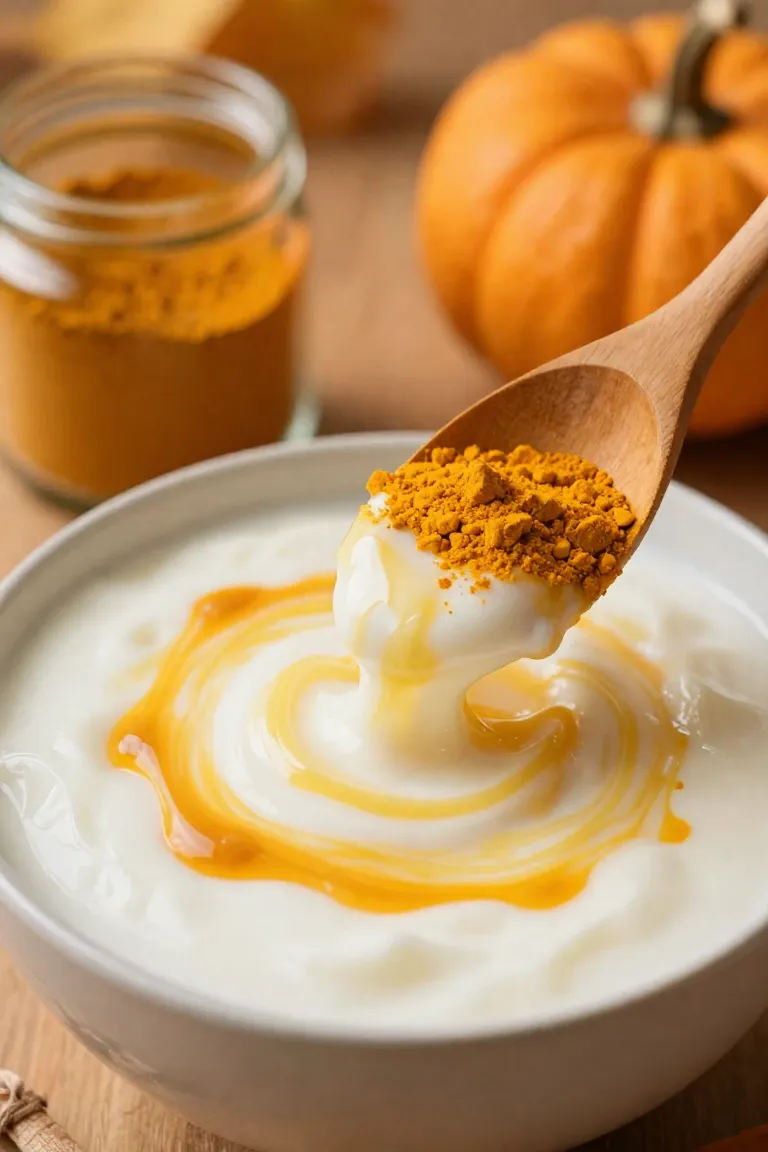
To paint classic harvest tones onto your biscuits, turn directly to canine-safe pantry staples that deliver rich color without artificial dyes. A spoonful of smooth canned pumpkin puree yields a warm, muted shade while gently thinning your mixture. For a brighter golden hue that mimics turning leaves, stir in a tiny dust of turmeric for dogs, adding no more than an eighth of a teaspoon at first. Because pumpkin introduces extra moisture, counter each teaspoon of puree with an extra half-teaspoon of tapioca starch so your pumpkin dog icing stays firm enough to hold clean shapes.
Under high humidity, ground turmeric offers a clear advantage by boosting saturation without diluting the base starch matrix. A small pinch dissolved in three drops of warm water disperses cleanly through the frosting, eliminating yellow streaks before you load your piping bag. If you want a deeper terracotta tone, fold a teaspoon of strained pumpkin into the spiced base to achieve a darker autumn color while keeping your outline work sharp.
3. Achieving Earthy Browns with Carob Powder
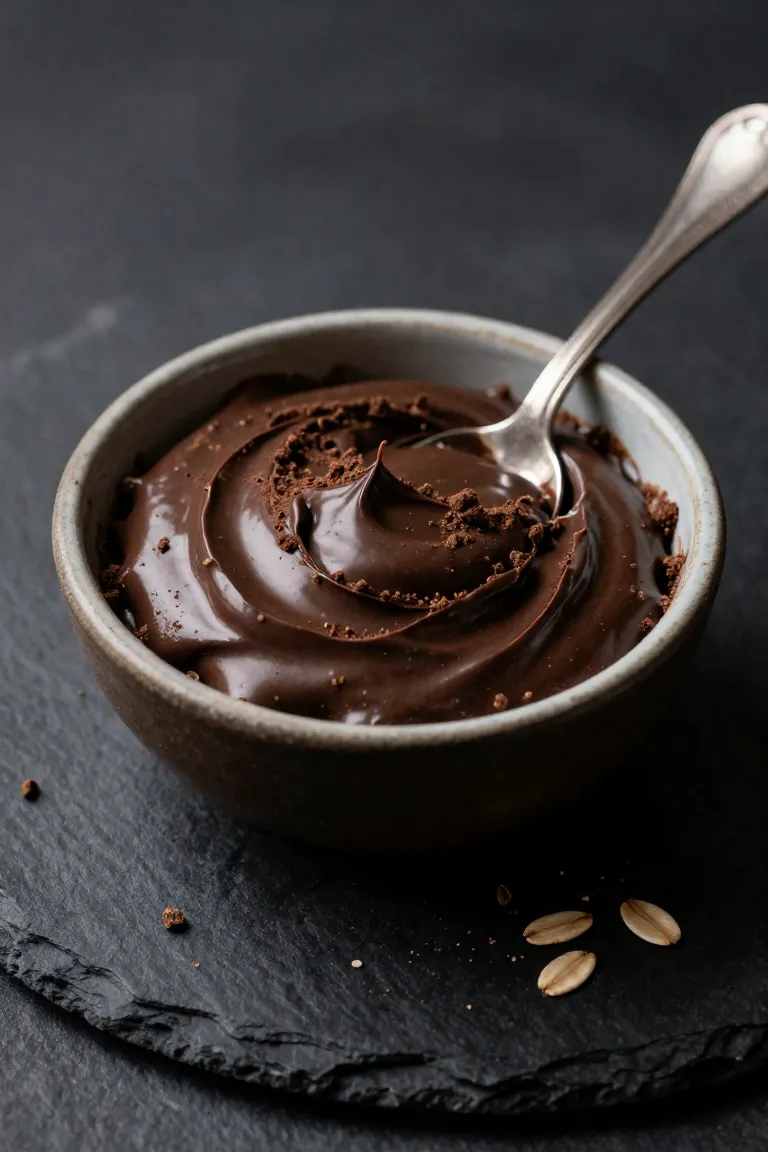
When your designs call for deep woodland tones, roasted carob powder provides the ideal dog safe chocolate alternative. Unlike cacao, which contains toxic theobromine, carob is naturally sweet and packed with fiber that agrees with sensitive canine tummies. To mix a smooth carob dog icing, whisk one teaspoon of finely sifted carob into two tablespoons of the prepared yogurt-tapioca base. Sifting prevents dense clumps from clogging narrow nozzles, ensuring your dark lines glide onto the crunchy biscuits with crisp precision.
For darker shades suited for acorn caps or delicate leaf veins, increase the carob to two teaspoons and add three to four drops of warm water to balance the powder's natural absorption. The resulting paste dries to a clean semi-matte finish that holds fine detail without spreading across your base layer. This earthy hue provides a distinct contrast against pale pumpkin cookies, highlighting the borders of your biscuits.
Fall Decorating Techniques for Sweet Potato Oat Cookies
Once your colored frostings sit ready in piping bags, speed makes a practical difference when decorating dog cookies at home. Because tapioca and yogurt mixtures develop a light surface skin within minutes of room-temperature exposure, arrange your chilled sweet potato oat biscuits on a wide parchment-lined tray before you begin piping. Using different dog cookie techniques lets you customize every crunchy biscuit with specific patterns. Outline your shapes along the cookie perimeter first, then fill the centers while the edges remain wet to maintain a steady working pace before the glossy mixture sets into a firm crust. If the frosting thickens slightly between biscuits, squeeze a test line onto parchment to clear the nozzle tip.

1. The Dipping and Drizzling Method
For quick coverage that creates a flat base layer, hold each baked biscuit by its edges and gently submerge the flat top into your prepared yogurt glaze. Lift the biscuit vertically, letting excess glaze run off for five seconds, then invert it onto a parchment-lined cooling rack so the surface settles into a uniform layer. Once this initial coat forms a dry skin after ten to fifteen minutes, dip a small fork or spoon into a contrasting autumn shade, like deep carob or golden turmeric, and swiftly flick your wrist diagonally across the tray. This rapid motion deposits a fine icing drizzle across your dipped dog treats without pooling or sliding off the edges. Letting these freshly patterned cookies rest at room temperature produces a crisp finish that keeps your hands clean during treat time.

2. Piping Autumn Leaves and Pumpkins
Mastering a few bag angles turns simple sweet potato cutouts into detailed seasonal biscuits. Piping dog icing requires steady hand pressure and two distinct thickness levels: a firmer paste for structural borders and a slightly looser formula for the center fill.
- Outline and fill: Trace the perimeter of your pumpkin shape with a small round tip, then apply a smooth cookie flooding technique to glide the thinner icing evenly across the interior.
- Pumpkin segment ridges: Allow the base flood coat to set for twenty minutes, then pipe curved vertical lines from stem to base using a deeper orange hue to create distinct dimensional ribs.
- Leaf vein patterns: For maple and oak shapes, draw a central spine from stem to tip with brown carob icing, then pull light diagonal strokes outward while the glaze is still tacky.

3. Adding Texture with Dog-Safe Sprinkles
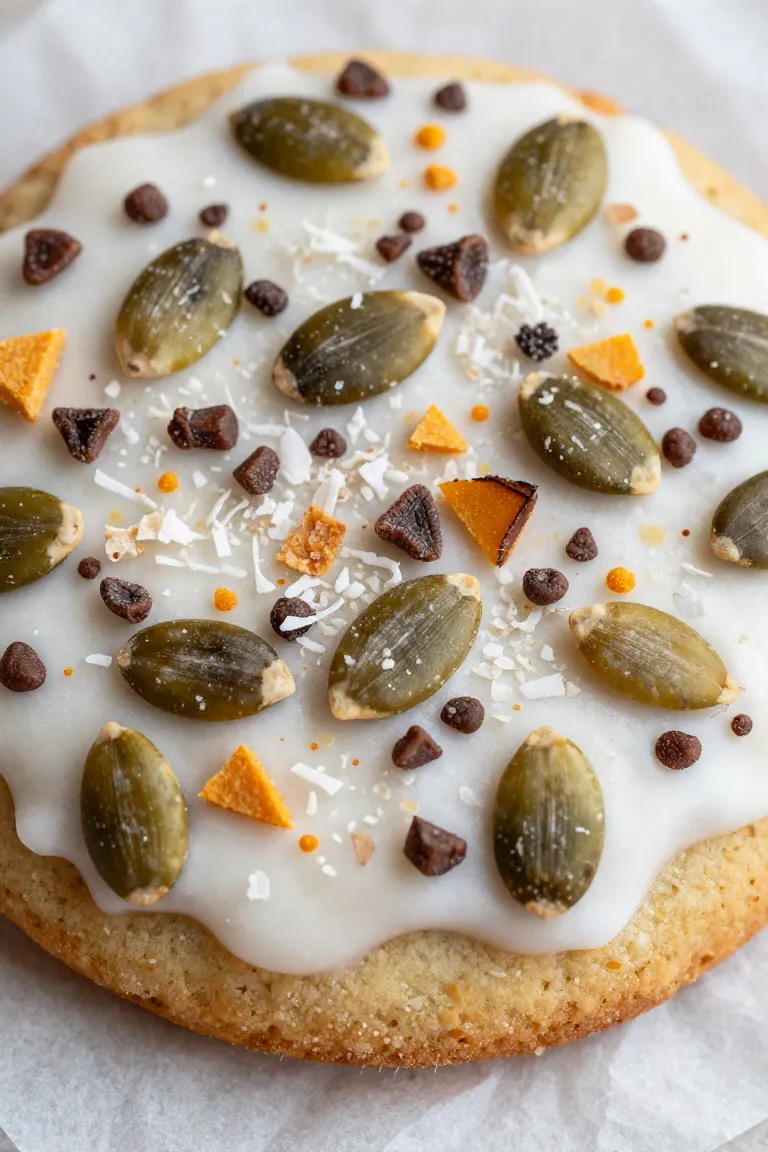
Before your glaze forms a protective crust, scattering wholesome pantry staples across the surface builds visual texture and adds physical crunch for your pup. Pressing homemade dog safe sprinkles directly into the wet base ensures every garnish bonds firmly to produce solid textured dog treats ready for autumn packing.
- Unsweetened shredded coconut: Dust fine coconut shreds over the wet orange glaze to offer healthy dietary fats.
- Crushed roasted pumpkin seeds: Scatter finely chopped, unsalted pepitas along the cookie borders for an earthy green accent and a nutrient-dense bite.
- Pure peanut butter dots: Place tiny dabs of xylitol-free peanut butter onto the setting frosting, drawing a clean toothpick through each point to form miniature hearts.
Styling and Storing Your Masterpieces
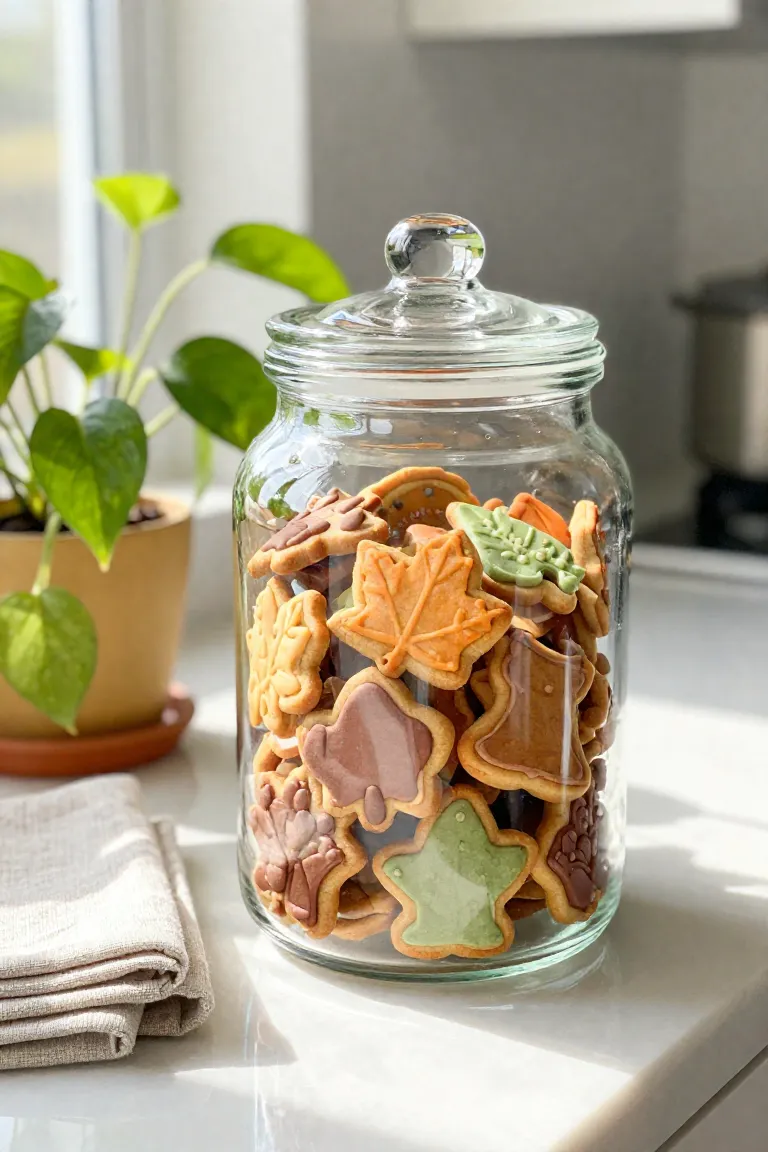
Once your final design touches settle into place, arrange the biscuits on elevated wire cooling racks in a cool, well-ventilated room for six to eight hours so the decorative glaze sets firm to the touch without smudging. Because fresh Greek yogurt and starch-based coatings retain active moisture, proper technique for storing dog treats is required to keep every batch crisp and safe for your canine companion. Layer the completely dried cookies between sheets of parchment paper inside an airtight glass container, then tuck them directly into the refrigerator where cold circulation prevents mold growth. Under proper refrigeration, the typical decorated dog treat shelf life spans seven to ten days, keeping the crusts firm and preventing bacterial spoilage.
Frequently Asked Questions About Dog Treat Icing
When home bakers begin this process, practical questions arise regarding ingredient safety and glaze stability during autumn baking sessions. Standard synthetic food colorings formulated for humans should stay out of your dog bowls, since artificial dyes can trigger digestive upset in sensitive pups. Sticking to whole-food pigments like pure pumpkin puree and carob maintains distinct colors while protecting your dog's gut health. If your piping mixture seems to run or melt during application, excess ambient kitchen warmth or watery yogurt is usually the cause.
To fix runny glazes quickly, whisk in an extra teaspoon of arrowroot or tapioca starch to restore a stiff, workable texture within minutes. Managing moisture determines the longevity of your frostings, as fully hardened glazes remain intact in the fridge for up to ten days or freeze safely for up to three months. Thaw the frozen biscuits overnight on a paper-towel-lined plate in your refrigerator so the surface condensation evaporates before treat time.
Conclusion: Sharing Autumn Joy with Your Pup
Baking handmade seasonal goodies offers a practical way to feed your dog wholesome ingredients. Pack a handful of your finished sweet potato oat biscuits into a reusable pouch and head outdoors for autumn activities like trail walks or neighborhood romps. You can snap a flat-lay photo of your decorated canine treats against the foliage and save your visual references to Pinterest. These homemade cookies provide a safe, sturdy snack that travels easily in your coat pocket during cool afternoon walks.