Summary
- Introduction to Gifting Homemade Dog Treats
- Why Peanut Butter Pumpkin Dog Biscuits Make the Perfect Gift
- Rustic and Natural Packaging Ideas
- Holiday and Seasonal Gifting Ideas
- Creative and Unique Presentation Methods
- How to Best Utilize Your Free Printable Labels
- Conclusion: Spreading Joy One Biscuit at a Time
Introduction to Gifting Homemade Dog Treats
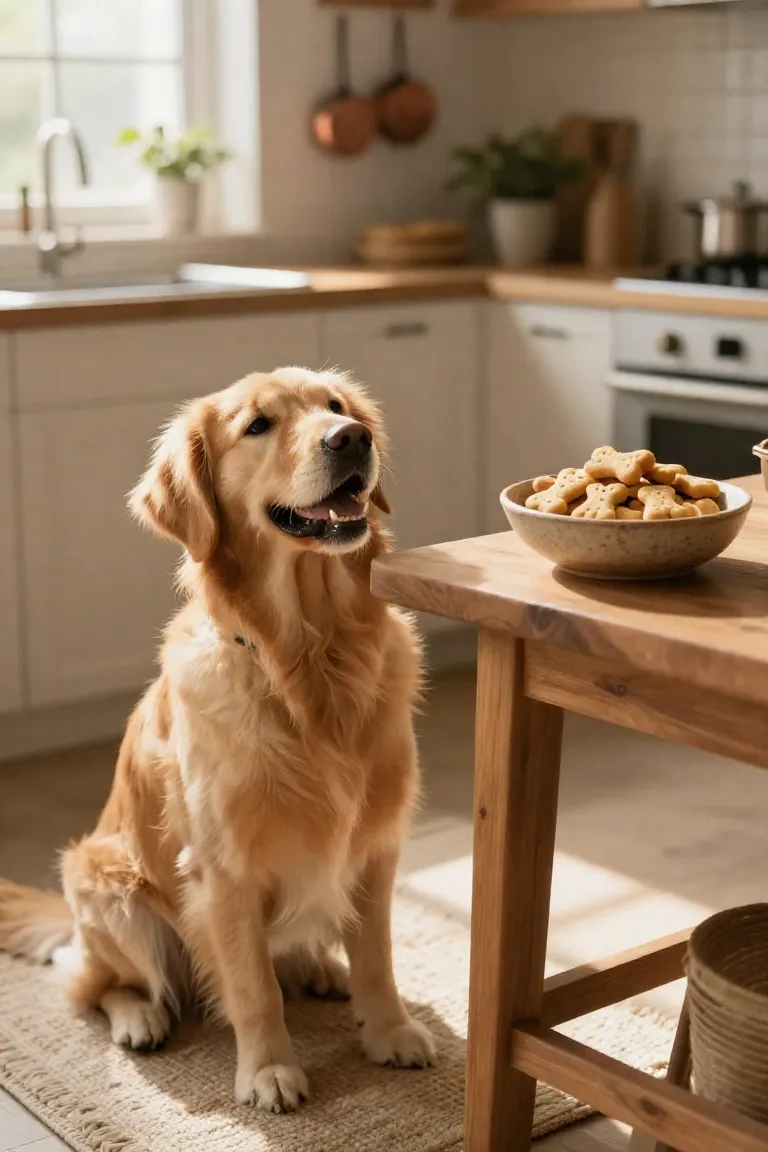
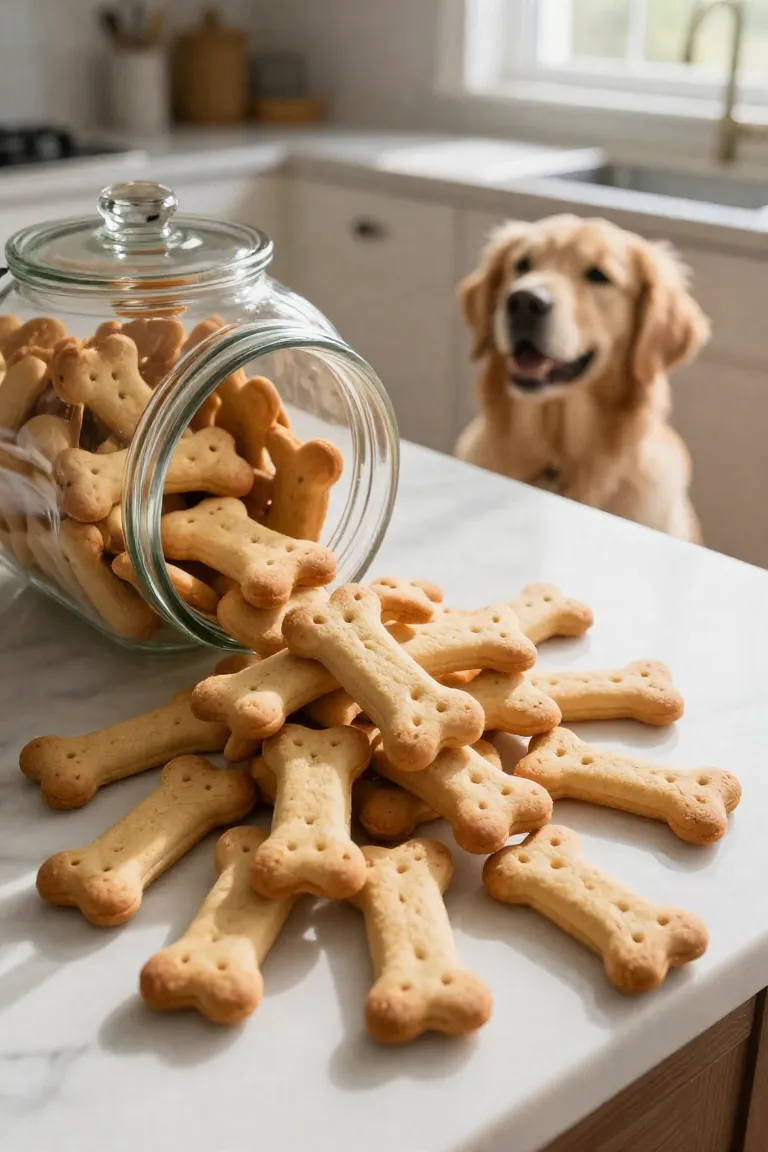
Baking a fresh batch of canine snacks fills your kitchen with warm aromas while giving you full control over every ingredient in the mixing bowl. Sharing a jar of oven-baked goodies with a neighbor or friend offers a personal gesture that shows thoughtful care for their dog.
The addition of a clean printable label gives basic wrapping a polished presentation without requiring complicated crafting skills. A well-designed tag provides room to note down the baking date and ingredient list, reassuring pet parents about what goes into the dish.
Why Peanut Butter Pumpkin Dog Biscuits Make the Perfect Gift
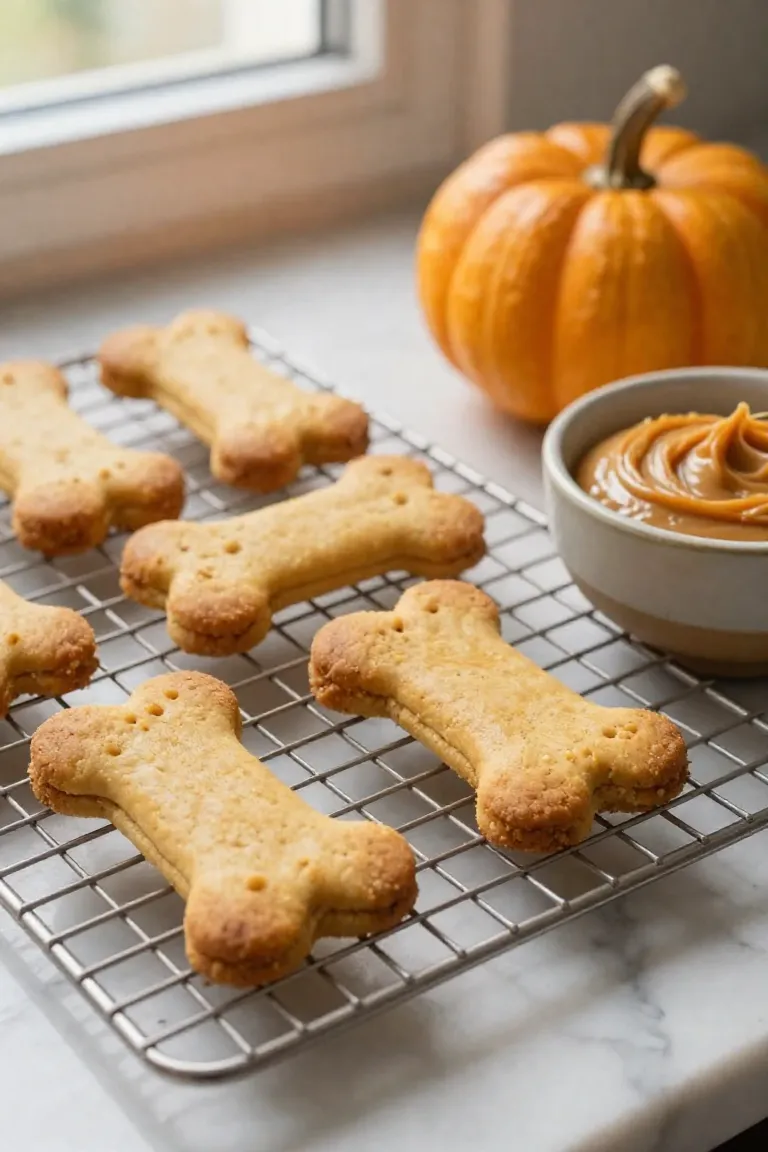
That transparency gives pet parents real peace of mind, especially when you choose wholesome ingredients that provide genuine nutritional value. Canned pure pumpkin supplies soluble fiber that aids digestion and settles sensitive canine stomachs. Unsalted, xylitol-free peanut butter delivers protein and healthy fats along with a rich scent that dogs love. From a baker's perspective, this combination creates a dense, workable dough that holds clean cut-out edges through the oven bake without puffing or cracking. The finished bake has a firm, low-moisture crunch that produces few crumbs, so the treats hold their shape when you stack and pack them for gifting alongside your custom printed labels.
Rustic and Natural Packaging Ideas
Because these crunchy treats hold up well without crumbling, pairing them with unbleached, compostable materials highlights their kitchen-baked roots. Raw fibers, muted cardstock, and plant-based wraps reflect the honest ingredients inside the dough while keeping excess plastic out of household trash bins. You'll give dog owners something that looks thoughtful on a kitchen counter and decomposes safely after the last snack disappears.
Simple textural accents give your parcel a polished feel without requiring elaborate craft supplies or synthetic films. Breathable fiber wraps protect the dry texture of the biscuits during handoffs, ensuring moisture will not get trapped and treats stay crisp for visiting pups.
1. Mason Jars with Twine and Kraft Paper Tags
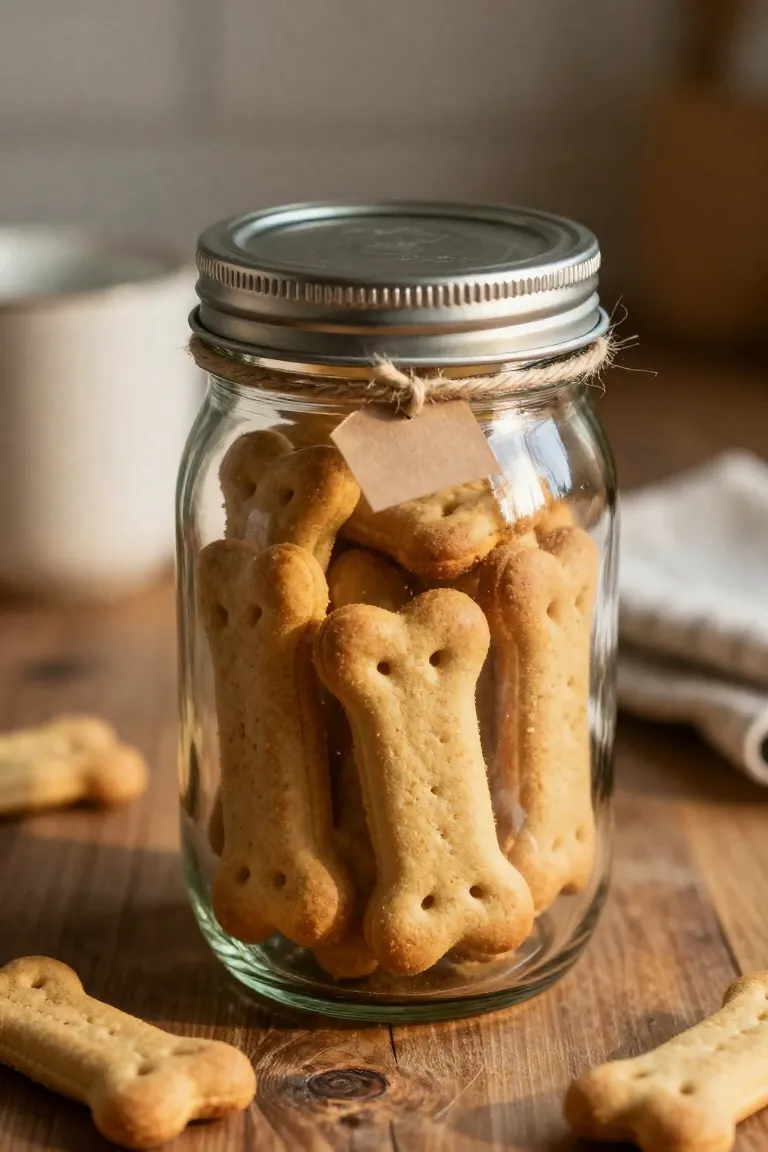
Wide-mouth glass containers give you a clear view of golden-brown biscuits while sealing out humid room air to maintain a firm crunch. You can stack the baked treats vertically or fan them in concentric rings along the interior wall so every bone-shaped edge shows cleanly through the surface. Placing a small square of unbleached parchment at the base absorbs any stray oils from the peanut butter without clouding the glass walls.
Natural jute cord wrapped around the metal collar anchors the rustic look without requiring complex craft tools. After winding the strand a few times around the threaded rim, slip both ends through a hole-punched kraft paper tag bearing your printable label. A tidy double knot secures the card flat against the glass, leaving clean space to jot down the baking date and simple ingredient notes right below the printout.
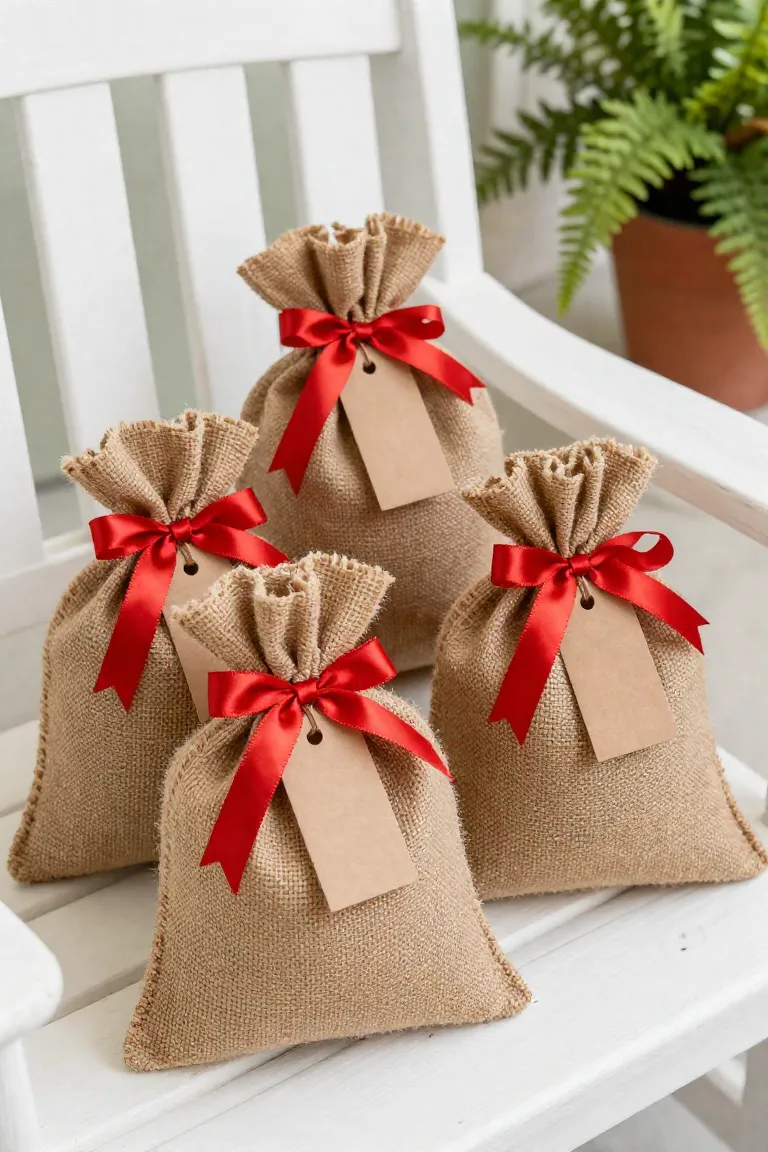
2. Burlap Sacks Tied with Ribbon
Switching to rough, woven plant fibers gives your baked batches an earthy, tactile feel that fits right into an autumn gift exchange or casual front-porch drop-off. Small jute pouches let the warm scent of baked pumpkin and peanut butter seep through while keeping the crunchy treats secure inside. You can slide six to eight biscuits into food-safe wax paper liners first to prevent natural oils from marking the coarse exterior.
- Fasten the gathered opening tightly with a strip of crimson or deep emerald ribbon to create a bold color contrast against the plain tan weave.
- Punch a clean hole through the top margin of your printed paper label and slide it directly onto the strand so it sits flat against the front.
- Trim the cut ends at a clean diagonal angle to keep the edges crisp and give pet owners an easy spot to untie the closure.
3. Wooden Berry Baskets with Excelsior
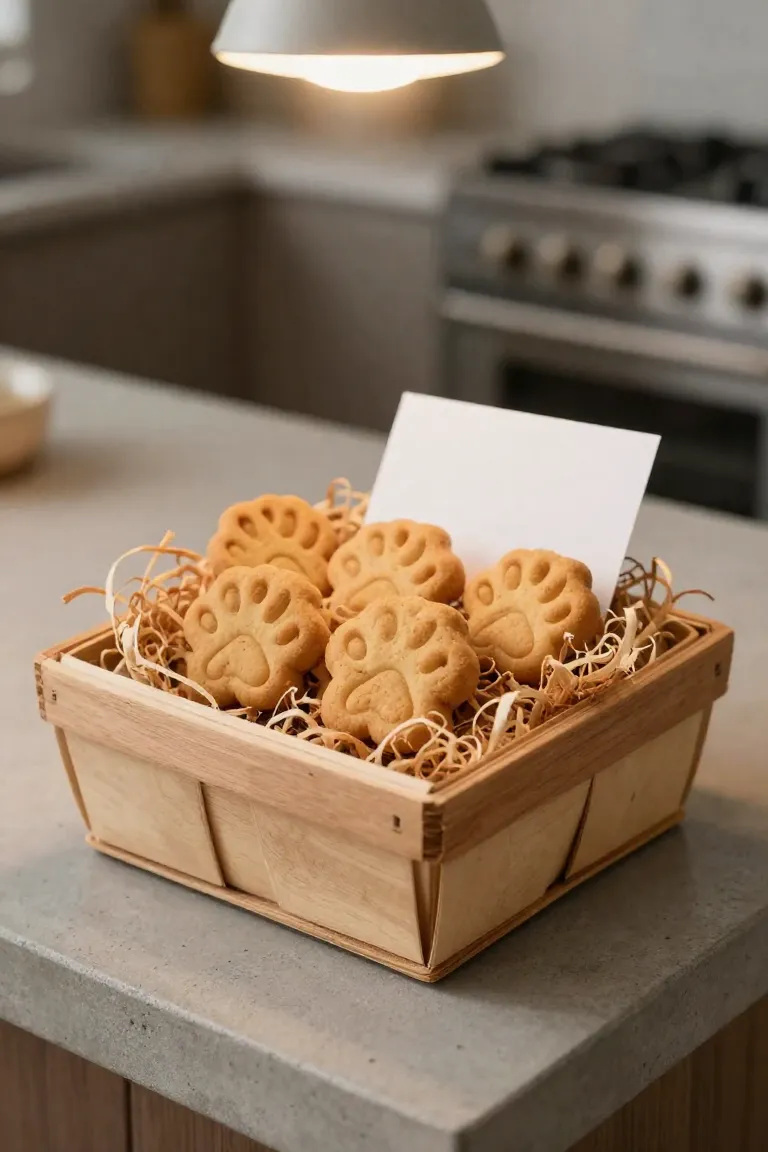
Slatted pint containers bring an authentic farmstand feel to your homemade biscuit presentation while providing sturdy support for heavier batches. Fluff a handful of untreated aspen wood shavings or crinkled kraft shred between your fingers to create a soft, shock-absorbing cushion across the bottom. A small square of parchment paper placed over the bedding keeps natural pumpkin oils from seeping into the fibers. Stack your cooled biscuits upright in overlapping diagonal rows so the baked edges catch the light, leaving the crisp shapes clearly visible over the rim.
A printable gift label slips smoothly into the front rim, propped slightly against the wood edge so pet parents spot the ingredient list right away. You can punch a small hole in the top corner of the card and loop a short strand of jute through the slatted side vent if you want extra security during transport. This open-top arrangement shows off the rustic shapes immediately and makes a warm presentation piece for neighborhood dog walks or casual doorstep drop-offs.
4. Brown Paper Bakery Bags with Folded Labels
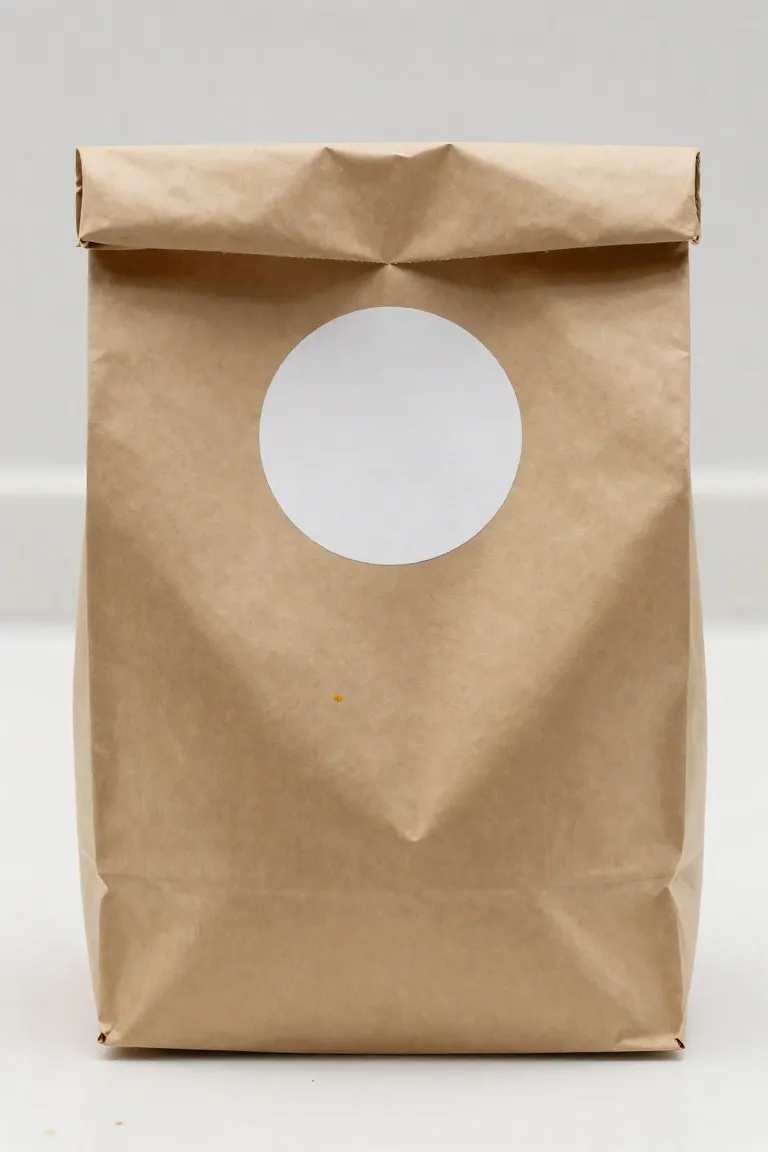
Standard glassine-lined pastry sacks provide a clean, practical way to bundle several crunchy biscuits together without grease marks showing through the paper. These lightweight sacks hold a generous dozen treats, keeping each piece protected while you carry them along on your visits. After slipping the biscuits inside, fold the top lip down two times by about an inch to create a crisp, flat edge across the top.
A printed label centered over this folded edge works as an immediate seal while giving you space to write the dog's name or baking date. You can attach the paper tag with a strip of double-sided tape, smooth down an adhesive sticker version across the seam, or fasten it with two small staples on each end. This simple setup keeps the top firmly shut, turning a plain paper pouch into a neat takeaway packet ready for gifting.
5. Reusable Cotton Muslin Drawstring Pouches
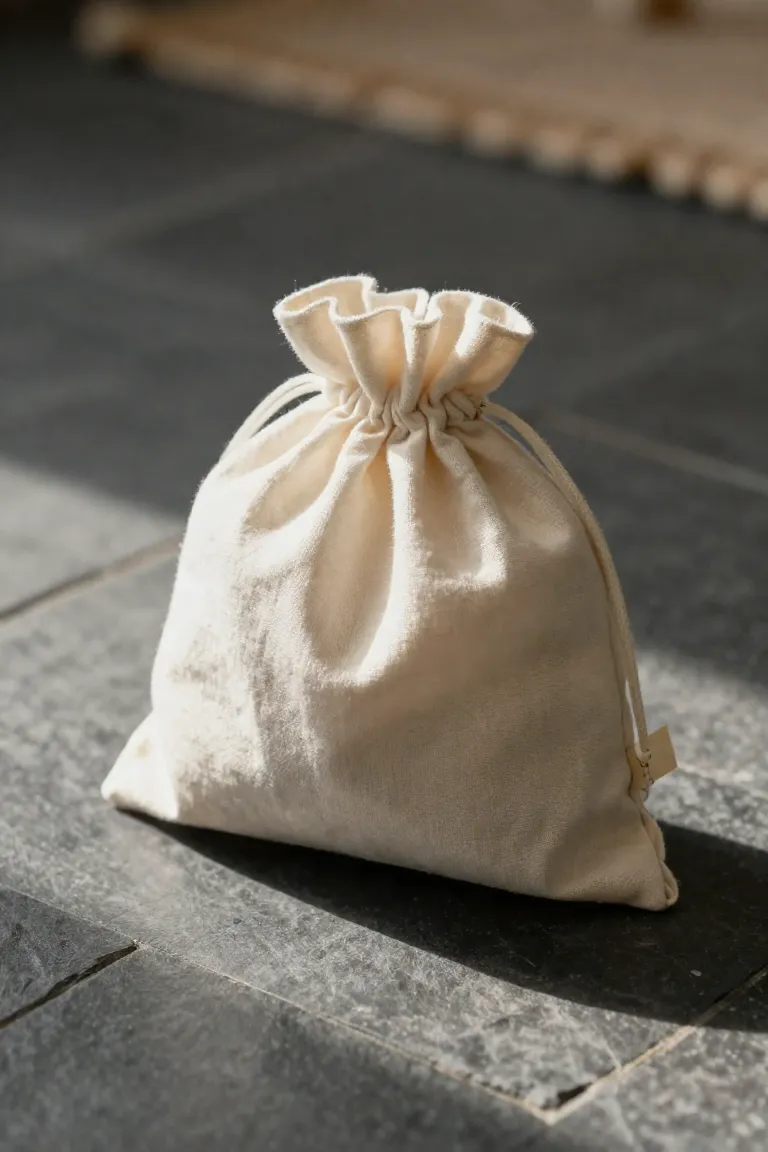
Switching to washable fabric parcels gives pet parents a zero-waste container they can repurpose for daily park walks or training treats. The unbleached weave breathes naturally, which stops trapped humidity from softening the crisp texture of dry pumpkin biscuits. Thread your printed paper label through one of the dangling cords before pulling the top taut and tying a basic knot. Securing the card this way keeps it resting flat against the front instead of crumpling into the gathered fabric, producing a tidy package that stands up to handling.
Holiday and Seasonal Gifting Ideas
Switching from everyday rustic wraps to calendar-focused themes lets you refresh the exact same biscuit recipe without reworking your baking schedule. Because pumpkin and peanut butter naturally carry warm golden hues, you can easily shift their mood by changing ribbon weights or choosing containers that reflect specific festive occasions. Deep autumn tones pair organically with the baked biscuit shade for fall gatherings, while bright pastels or polished tins recontextualize the treats for spring mornings and winter exchanges. Focusing on food-safe inner liners keeps natural oils from bleeding into decorative wraps, keeping your presentation crisp on the outside while locking in crunch until celebration day arrives.
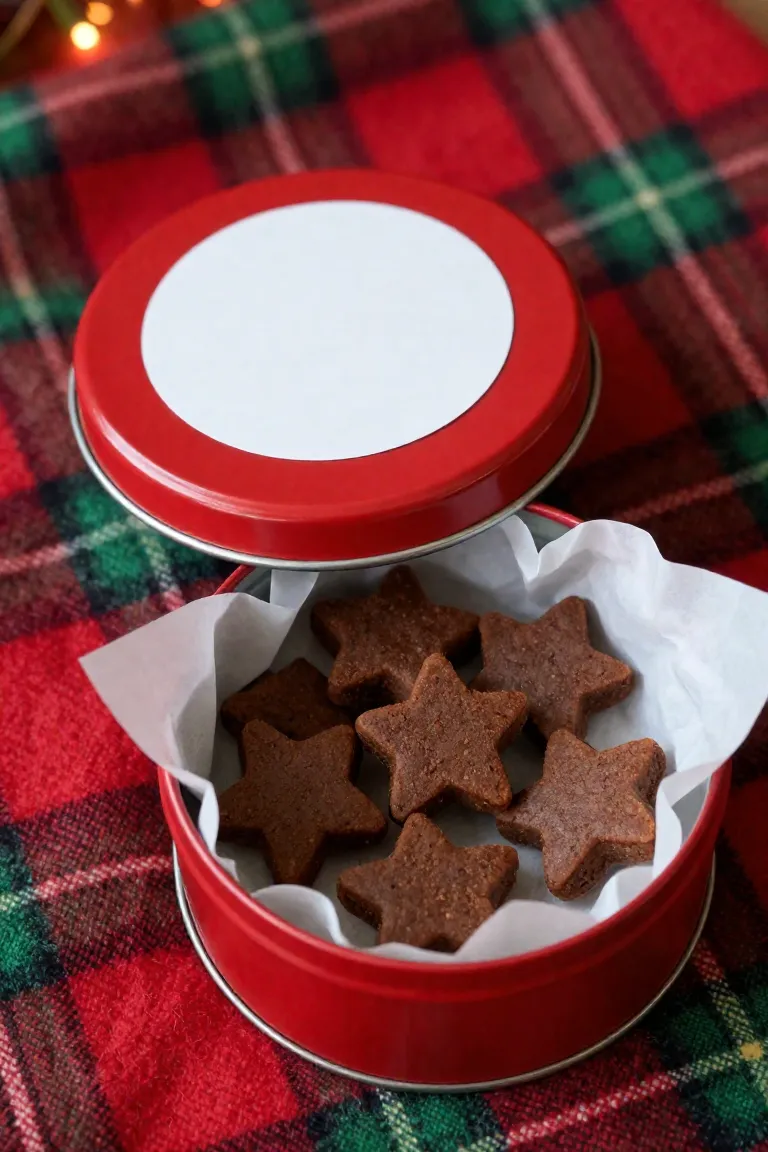
6. Festive Holiday Tins with Round Labels
Sturdy metal containers provide a classic feel while shielding brittle treats from getting crushed in transit during the busy winter gifting season. Cut a circular sheet of food-grade wax paper to fit flush against the bottom, stack your pumpkin biscuits neatly in concentric rings, and lay another paper circle across the top before closing the rim. This protective barrier blocks humidity and prevents natural oils from contacting the metal interior, ensuring every piece emerges crisp and fresh when your recipient opens the container.
On the exterior lid, a circular printable emblem creates a clear focal point that lets pet parents know what waits inside. Print your template onto heavy matte sticker paper, align the graphic with the center point of the lid, and press outward firmly toward the perimeter to eliminate air pockets against the flat surface. If you print on standard cardstock, thin strips of double-sided tape or an even coat from a craft glue stick will hold the paper flat against cold metal without curling at the corners.
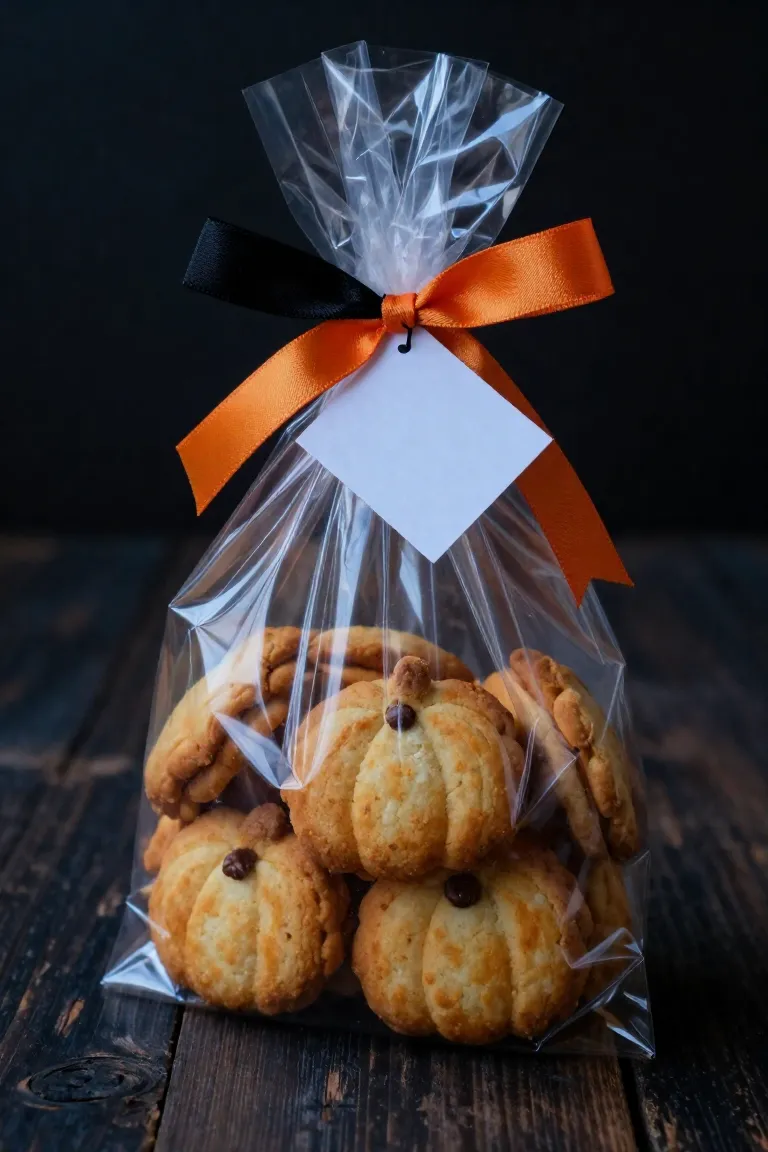
7. Halloween Trick-or-Treat Goody Bags
When neighborhood evening walks bring costumed pups to your front porch, clear cellophane cones let the warm amber tones of pumpkin biscuits shine through immediately. The tapered silhouette naturally stacks larger treats near the wide top while cradling smaller bites at the base, ensuring biscuits do not rattle or snap during lively doorstep greetings.
- Drop three or four biscuits inside each sleeve, alternating the angles of bone-shaped treats to fill empty pockets and reduce shifting.
- Twist the excess cellophane two inches above the treats, then cinch the plastic tightly using layered strands of black satin and orange twill ribbon.
- Punch a small hole near the corner of your printable label, loop it onto the ribbon ends, and jot down simple allergy notes or baking dates for cautious owners.
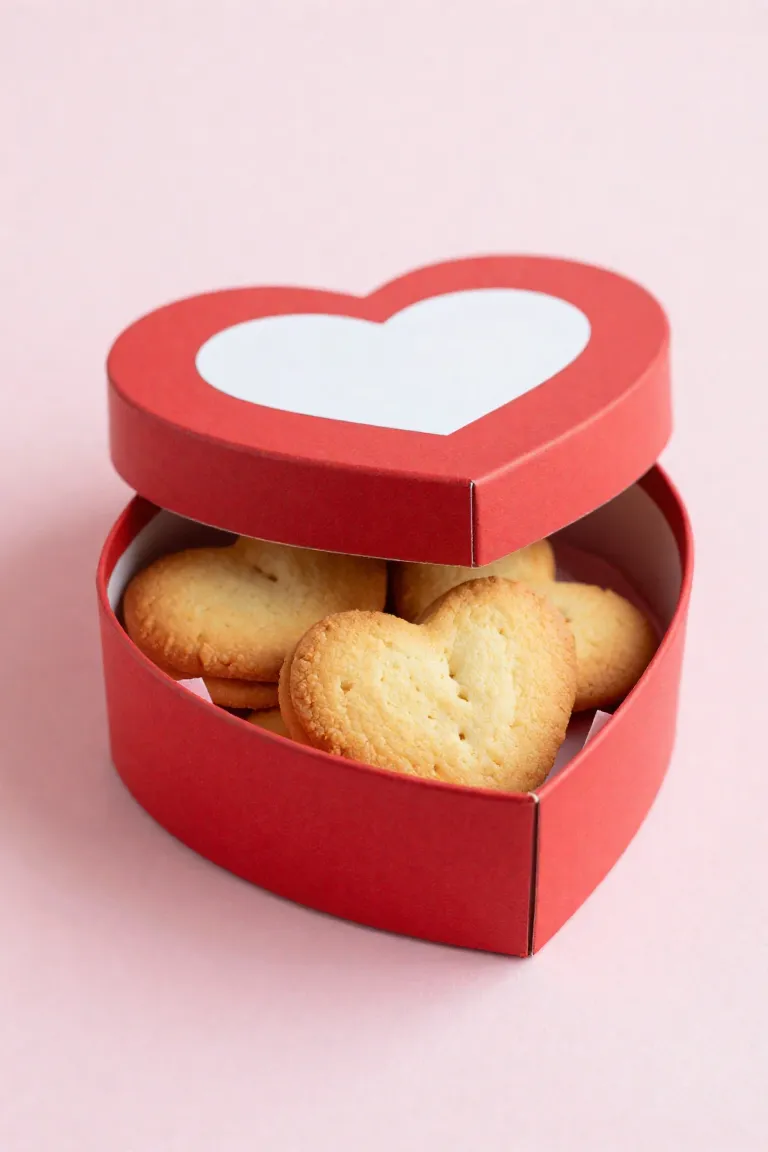
8. Valentine's Day Heart-Shaped Treat Boxes
Transitioning toward February celebrations, compact cardboard containers pressed into heart contours and finished in matte rose or crimson tones offer a tidy presentation. Stamping your rolled dough with a matching cutter ensures the baked treats sit flush against the box interior without rattling or chipping during handoff. Adding a square of wax paper beneath each layer keeps any lingering moisture from softening the paperboard base. Securing a circular printable label across the top lid establishes a clean focal point while giving dog owners immediate confirmation of simple ingredients and fresh bake dates.
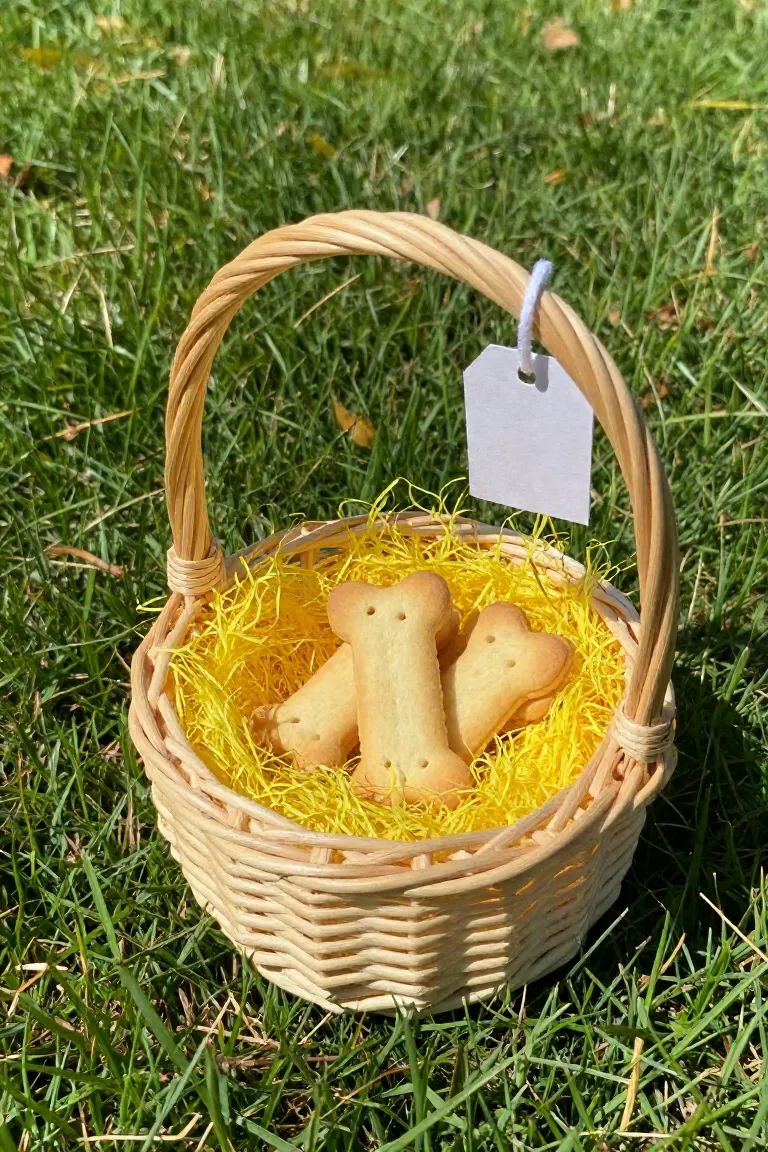
9. Springtime Easter Baskets for Pups
Warmer spring months invite a lighter approach to packaging, and tucking crunchy treats into shredded paper grass creates a bright seasonal display. A compact woven container keeps the biscuits upright so their stamped shapes stay visible without sliding around during a backyard visit.
- Pack the base of a miniature split-willow basket with pastel crinkle paper to cushion the treats and hold them securely in place.
- Wrap four to six biscuits together in clear glassine before nestling them into the bedding so natural pumpkin oils do not seep into the wood.
- Punch a clean hole through the top corner of your printable label and knot a strand of cotton twine around the arched handle with a simple bow.
10. Thanksgiving Hostess Gifts in Glass Canisters
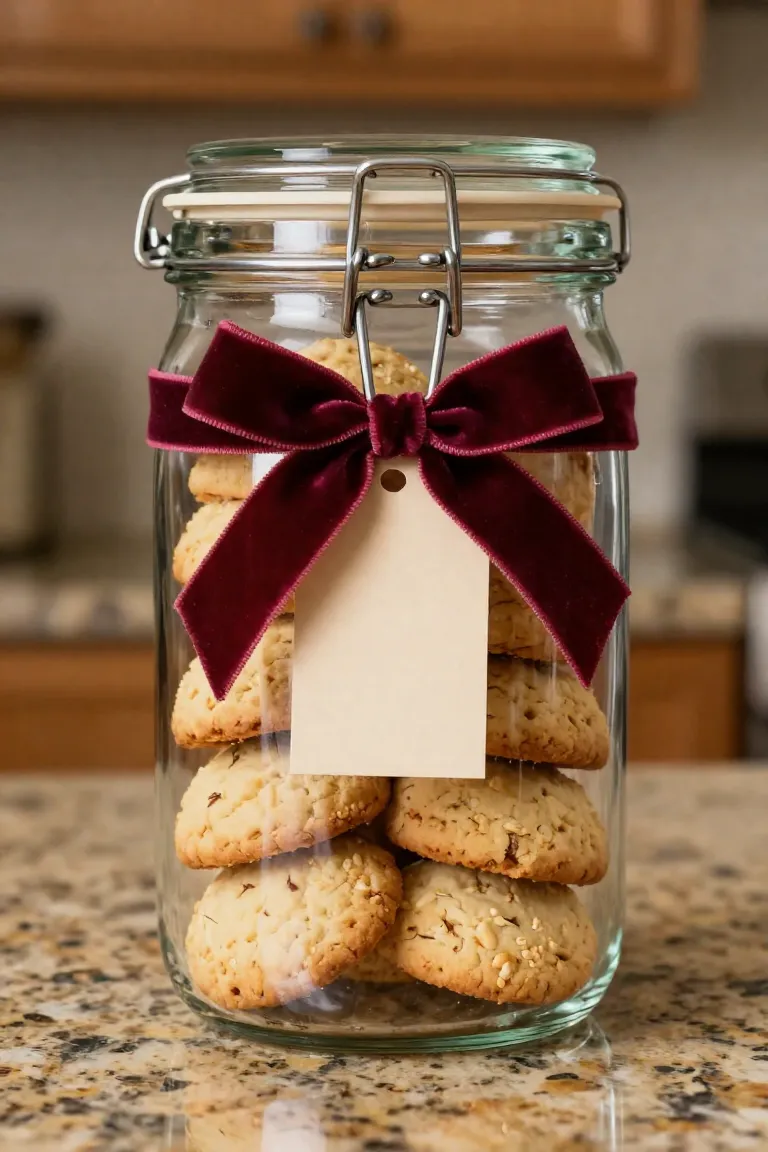
Autumn gatherings call for a thoughtful gesture that includes your host's four-legged companion, especially when you bake with fragrant pumpkin and hearty oats. Stack the biscuits inside a thick glass pantry canister with a metal clamp lid and silicone gasket, which seals out humidity and keeps every treat thoroughly crunchy. Clear sides put the warm amber color of the biscuits on full display, fitting naturally into a November dinner setting. Thread a strip of satin or crushed velvet ribbon in forest green or copper through your printable label, tying it firmly beneath the rim so the lid opens without untying your work. Your hosts get a durable countertop container for their pantry, while their pup enjoys a seasonal bite during the holiday meal.
Creative and Unique Presentation Methods
Beyond standard seasonal gatherings, everyday gifting gives you room to experiment with unexpected shapes or playful paper tags on repurposed materials. Swapping out standard jars for unconventional containers lets the rustic texture of your homemade batch shine while giving fellow dog parents a package they will want to keep on display.
- Selecting food-safe materials like patterned cardboard, clear tubes, or metal tins to safeguard biscuit corners from crumbling.
- Matching your printed label accents directly to cotton twill tape or jute cord for a cohesive color scheme.
- Layering tags onto sliding sleeves or windowed cutouts so owners get an immediate peek at the crunchy snacks inside.
11. Clear Cellophane Bags with Decorative Toppers
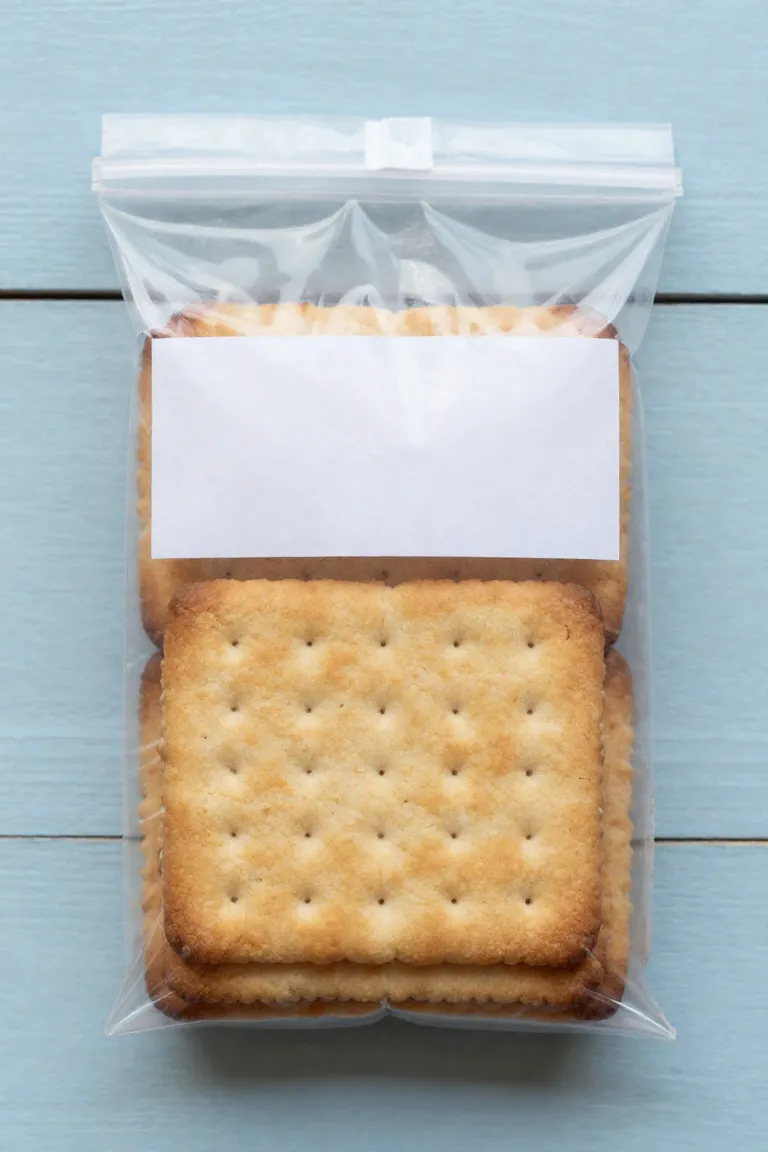
Showing off the golden-brown color of your baked treats gives dog owners an immediate look at the crunchy texture inside. Slide a stack of pumpkin biscuits into flat cellophane bags, pressing out excess air and leaving two inches of clearance at the opening. Fold a rectangular piece of heavy cardstock in half over the top of the bag, slipping the crease firmly over the open plastic rim. Staple the cardstock shut with two quick presses along the lower edge to secure the seam and keep moisture out. Finish by gluing your printable label right onto the cardstock topper, which neatly conceals the metal staples while keeping the packaging crisp and upright on any gift table.
12. Upcycled Glass Jars with Painted Lids
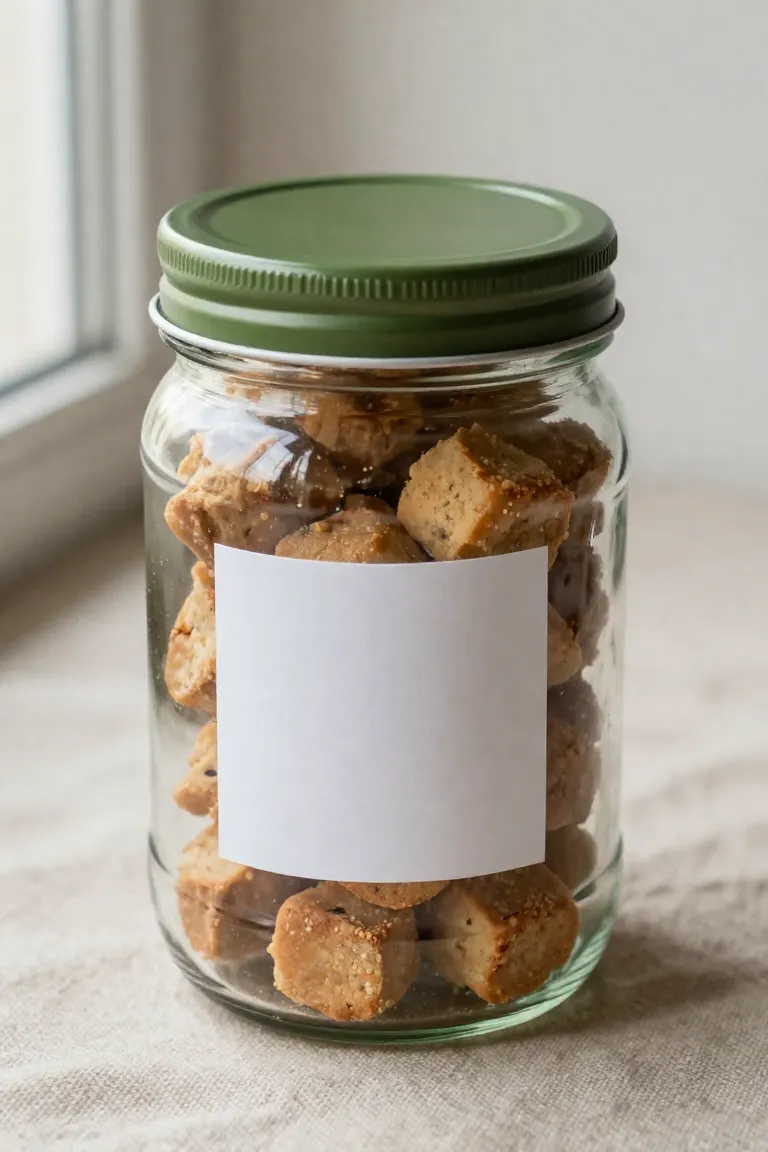
Repurposing empty condiment and preserve containers from your pantry gives durable storage a second life while keeping baked goodies safe from accidental crushing. A quick soak in warm water with vinegar or baking soda removes stubborn paper labels and eliminates residual food scents, leaving a clean surface ready for a simple makeover.
- Coat the metal tops with two light layers of matte spray paint in a neutral tone like sage or warm cream, allowing adequate drying time between coats.
- Smooth your printed paper label directly against the clean container wall, rubbing firmly across the center to avoid trapped air pockets.
- Stack your baked pumpkin snacks vertically inside so the shapes remain visible through the clear exterior while keeping the presentation neat.
13. Personalized 'Doggy Bag' Takeout Containers
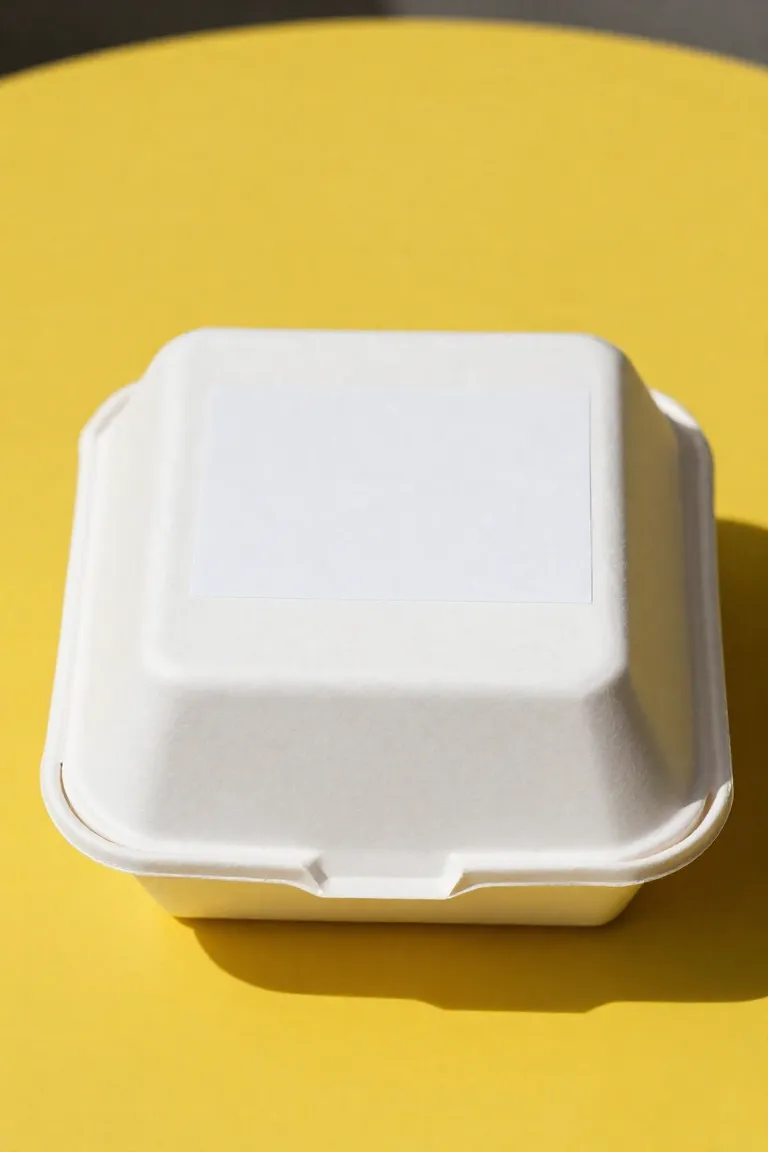
Classic wire-handled paper cartons offer a clever packaging choice that puts a playful spin on packing leftovers for a pup. The sturdy cardboard walls keep your baked pumpkin biscuits safe from crumbling, while the tuck-in flaps secure the contents without fussy ties. A quick square of parchment paper inside ensures peanut butter oils will not mark the outer paperboard during transport.
On the broad front panel, smooth down your printed label using double-sided craft tape or adhesive backing so it lies completely flat against the cardstock. Centering the label right below the wire fold keeps the dog's name and storage details readable at a glance. You can clip a mini ingredient card to the top wire with a tiny wooden peg for an extra handmade touch.
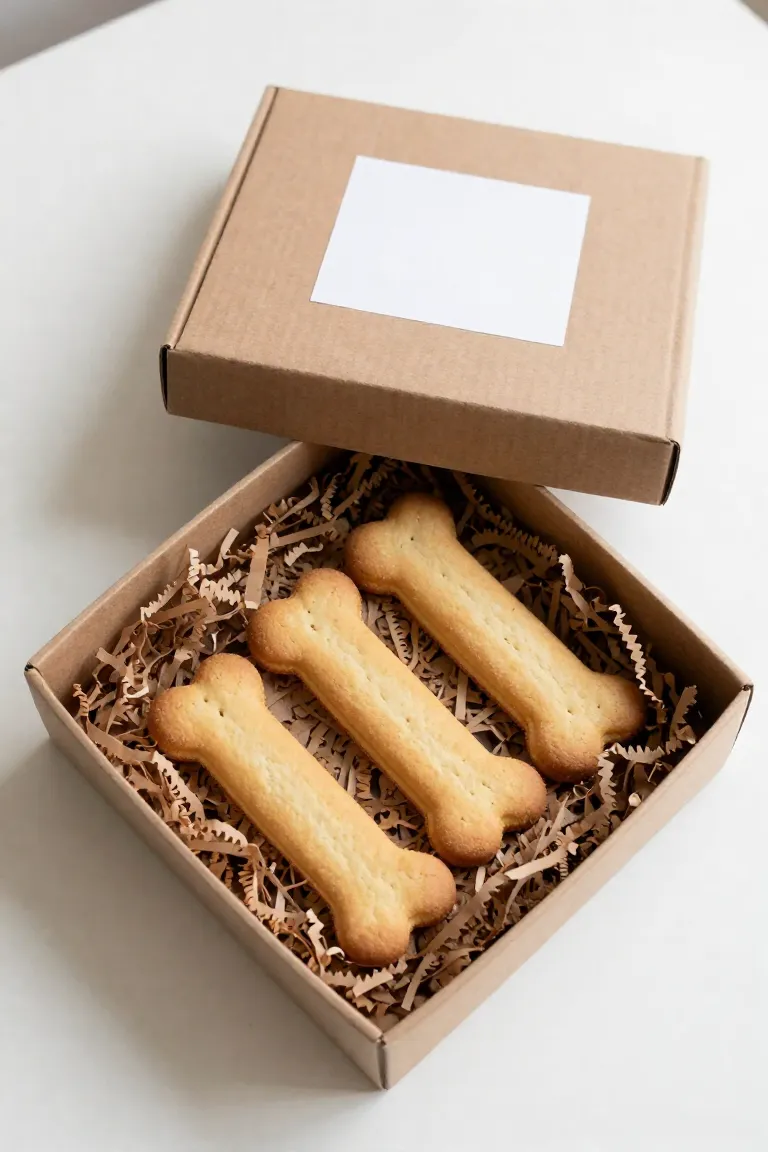
14. Nested Kraft Paper Boxes with Crinkle Cut Shred
For presents that travel by car or mail, rigid packaging keeps brittle baked goods from rattling around and snapping on the road. Sturdy, brown kraft paper gift boxes with removable lids give you deep, solid walls to protect thick pumpkin biscuits against accidental drops. A generous layer of paper crinkle shred across the bottom adds protective padding that cushions irregular bone shapes and absorbs jostling during transport. You can set the treats over a square of parchment directly above the bedding, then smooth your printable label across the top lid to display ingredient notes and feeding guidelines clearly.
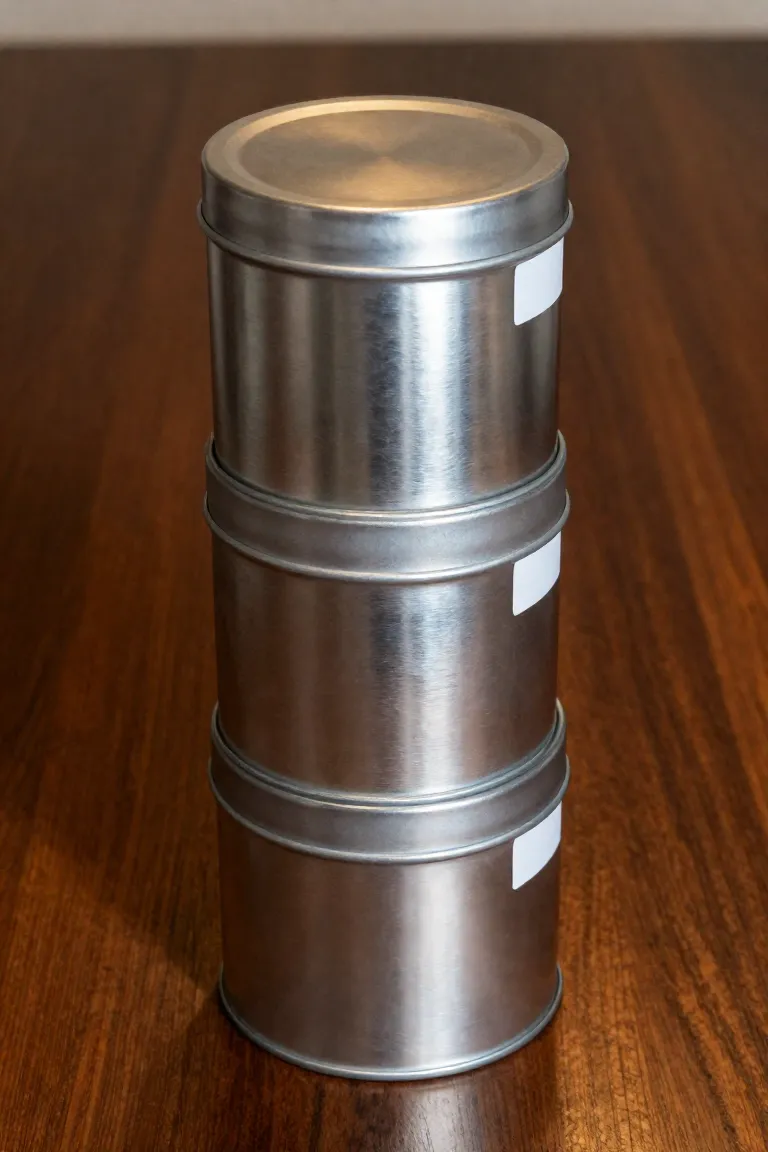
15. Tiered Cookie Tins for Multiple Dog Households
When your gift recipient cares for pups of different sizes, stacking round metal canisters vertically turns a simple treat delivery into an organized feeding station. You can pack the wider base with large, crunchy pumpkin biscuits meant for big breeds, while filling the smaller upper tiers with bite-sized training morsels suited for smaller jaws. Slipping a round sheet of parchment paper between the layers keeps crumbs contained, and affixing a narrow printable label along the rim of each individual level clarifies which pet gets each portion. Securing the entire tower with a wide cotton ribbon keeps the tins aligned during delivery while letting the owner unstack them straight onto the kitchen counter.
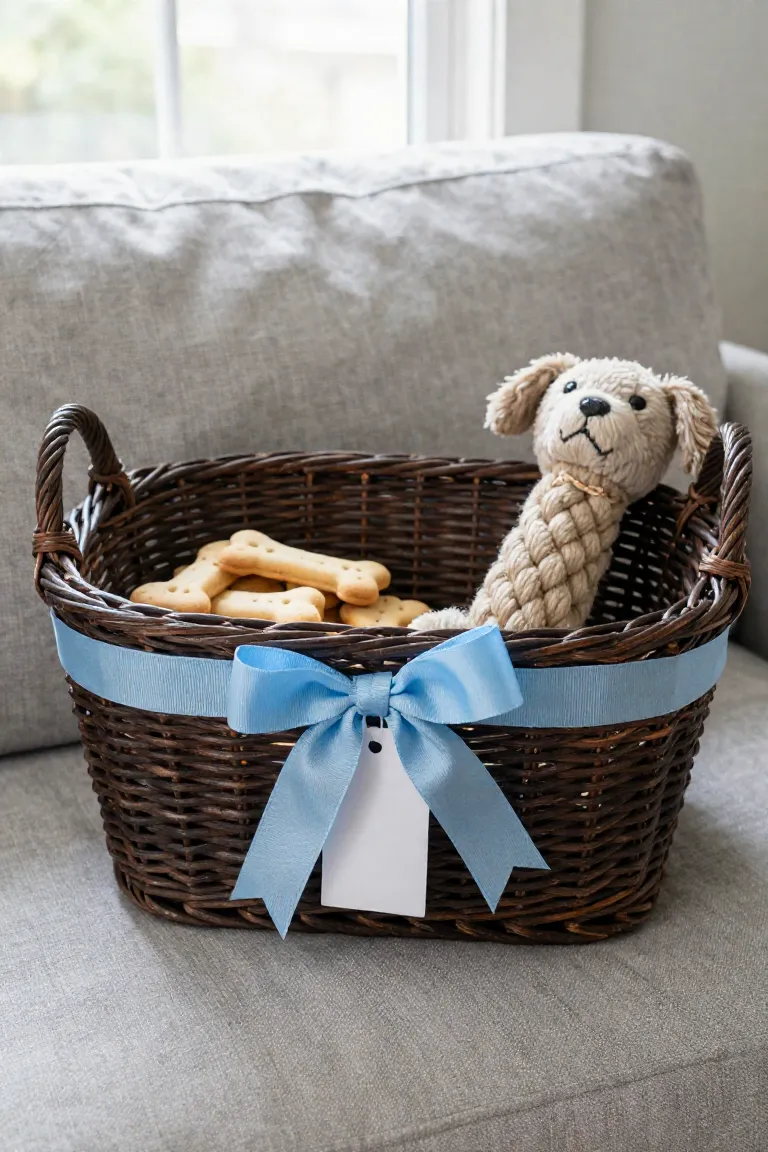
16. Woven Wicker Baskets for Ultimate Puppy Hampers
When you want an open display that showcases multiple goodies at once, a shallow willow tray provides a clean, sturdy foundation. Line the base with shredded unbleached paper or a folded plaid dish towel to cushion the contents and give the gift extra height.
- Nestle your bagged biscuits directly against a soft plush toy or a durable rope tug so everything stays upright during travel.
- Loop a wide grosgrain ribbon around the rim to anchor your printed card with a generous fabric bow.
- Tuck a handwritten ingredient card behind the treats so the owner knows every wholesome component inside the batch.
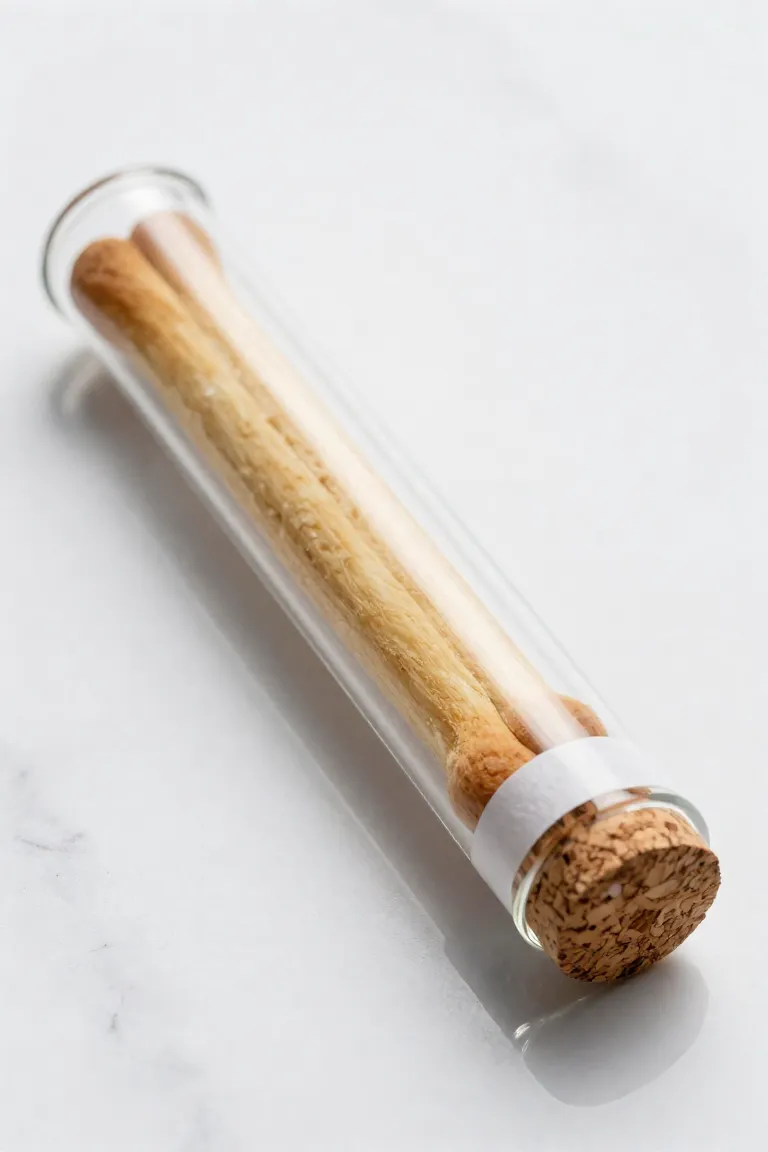
17. Minimalist Glass Tubes for Single Large Biscuits
A wide display cylinder sealed with a natural cork stopper creates an uncluttered showcase when you have one oversized, hand-stamped treat to highlight. Transparent walls keep the biscuit's golden ridges and peanut butter drizzle visible from every angle while guarding against humidity and broken edges.
A scaled-down version of your printable tag ties neatly around the neck with thin jute thread. You can write the pup's name across the back of the tag so the recipient immediately recognizes the custom bake you made just for their dog.
How to Best Utilize Your Free Printable Labels
Getting crisp, neat tags begins with choosing the right paper stock for the packaging style you selected. Heavy cardstock around 80 to 100 pounds gives you sturdy tags that hold their shape against ribbon and twine without curling at the corners. If you plan to mount labels directly onto glass canisters or bakery bags, full-sheet matte sticker paper saves time and creates a smooth bond. Run a quick test print on plain scratch paper first to verify that your printer scale is set to one hundred percent so the borders print cleanly.
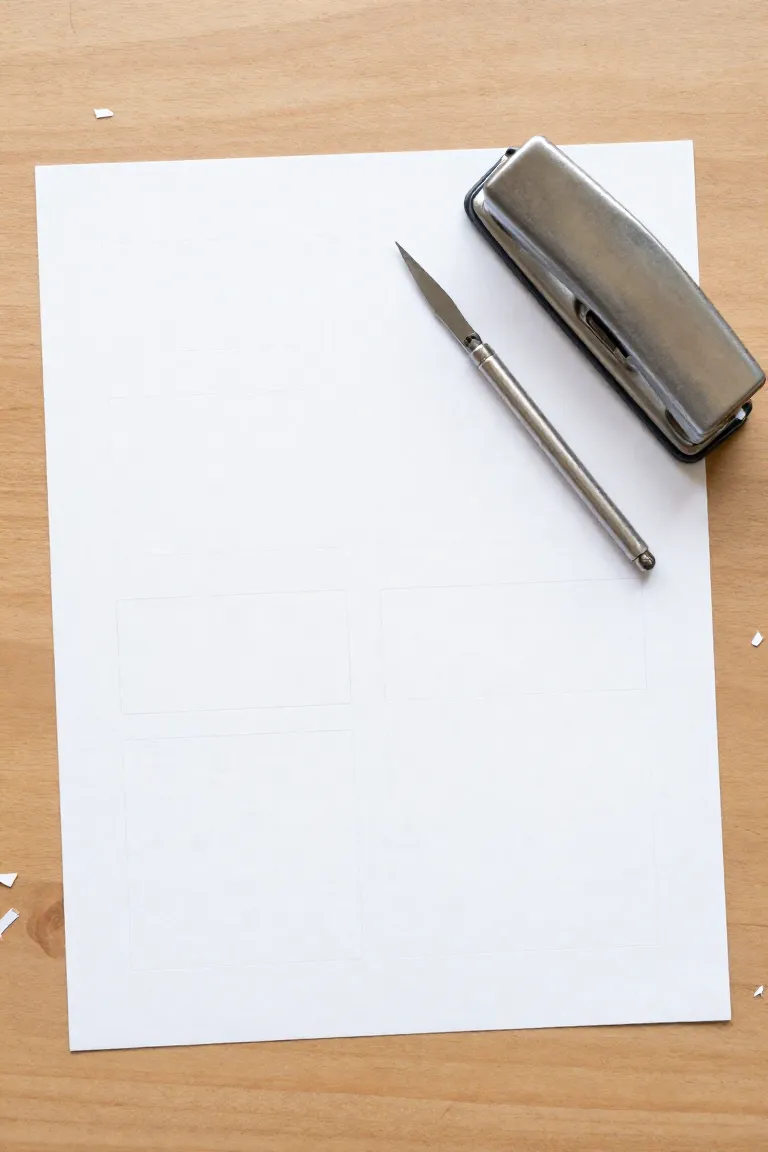
A rotary paper trimmer produces straight, uniform edges much faster than hand scissors, especially when you have multiple sheets of borders to divide. For curved designs, small craft scissors or a two-inch circle lever punch will keep the lines clean and prevent jagged notches along the perimeter. A standard single-hole punch placed a quarter-inch from the top margin leaves enough paper buffer so the tag will not tear when you thread your jute twine through.
Conclusion: Spreading Joy One Biscuit at a Time
Once those final tags are secured, the extra attention to detail turns a warm batch of homemade dog treats into something memorable for fellow pet owners. A few extra minutes spent tying a clean knot or tucking biscuits into a lined tin shows real consideration for both the dog and their human. While dogs focus squarely on the rich peanut butter aroma, owners always remember the personal care behind the gift.
Before you preheat your oven, grab your printable sheets from the download link so you have tags ready to trim while the baking trays cool down. You can pin your favorite packaging setups to Pinterest to save for upcoming holiday prep, or show off your finished jars to inspire other dog lovers. Your ingredients are set, your cookie cutters are laid out, and the oven is ready for the first batch.