Summary
- Introduction: The Joy of Baking for Your Best Friend
- Why Bake Your Own Dog Treats?
- Essential Ingredients for Peanut Butter Pumpkin Biscuits
- Necessary Baking Equipment
- Step-by-Step Baking Walkthrough
- Proper Storage and Shelf Life Tips
- Frequently Asked Questions (FAQ)
- Conclusion: Rewarding Your Pup with Healthy Bites
Introduction: The Joy of Baking for Your Best Friend
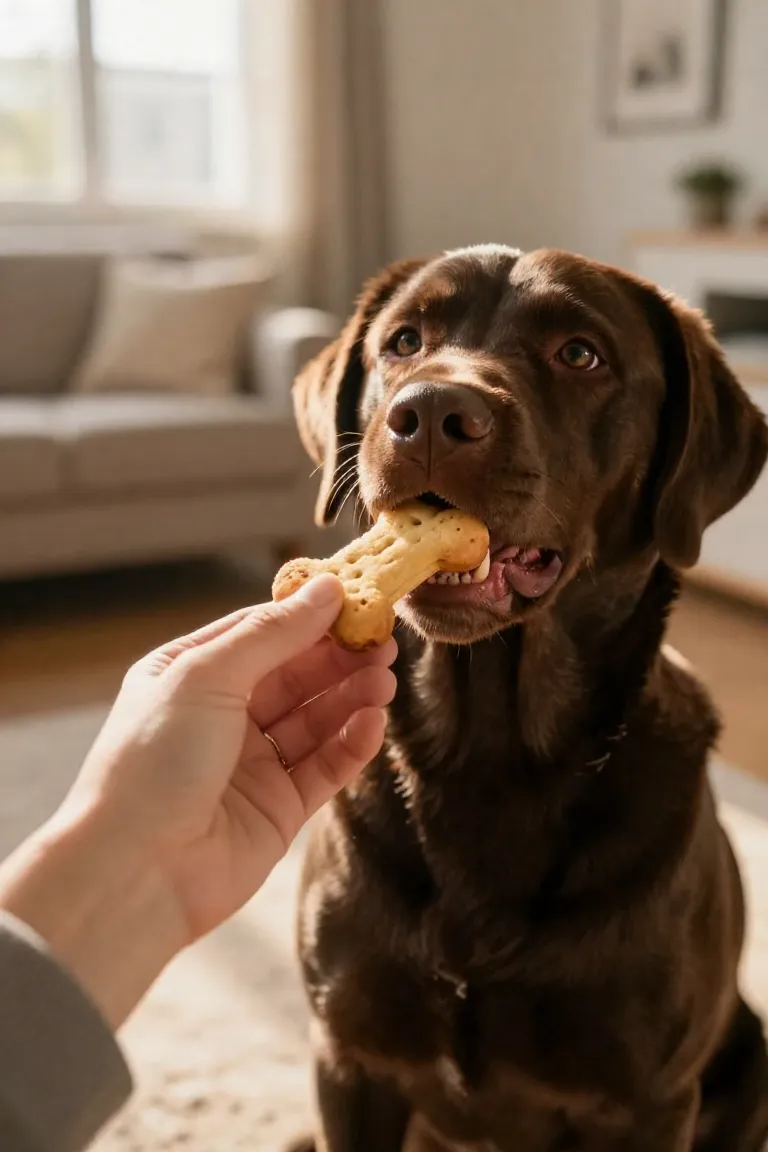
Baking a tray of fresh biscuits at home gives you direct control over what goes into your companion's bowl. Making wholesome dog treats with pure pumpkin puree and creamy peanut butter lets you skip artificial additives while rewarding your pet with healthy ingredients.
- How to select dog-safe peanut butter free from artificial sweeteners
- The digestive benefits pure pumpkin puree provides for your dog
- Straightforward steps to prepare and bake the dough for a satisfying crunch
- Practical storage methods to keep every batch fresh on the counter or in the freezer
Why Bake Your Own Dog Treats?
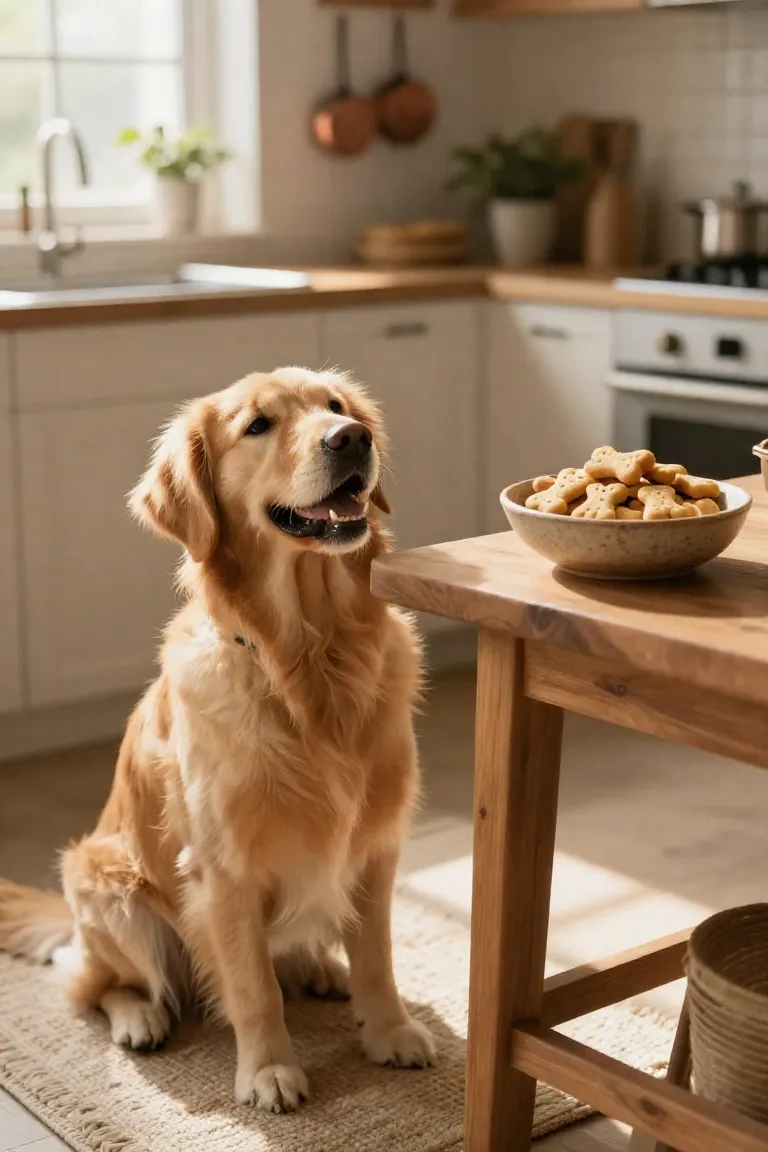
Taking full control of your mixing bowl lets you eliminate the mystery fillers and chemical stabilizers that often hide inside commercial pet snacks. Preparing snacks in your own kitchen allows you to select every component firsthand, protecting sensitive canine stomachs from hidden sugars and synthetic preservatives. Standard pantry staples cost significantly less than premium boutique boxes, yielding dozens of rewards from a single grocery run. You know exactly what your companion consumes with every bite, which helps trim your monthly pet budget while maintaining consistent dietary standards.
Essential Ingredients for Peanut Butter Pumpkin Biscuits
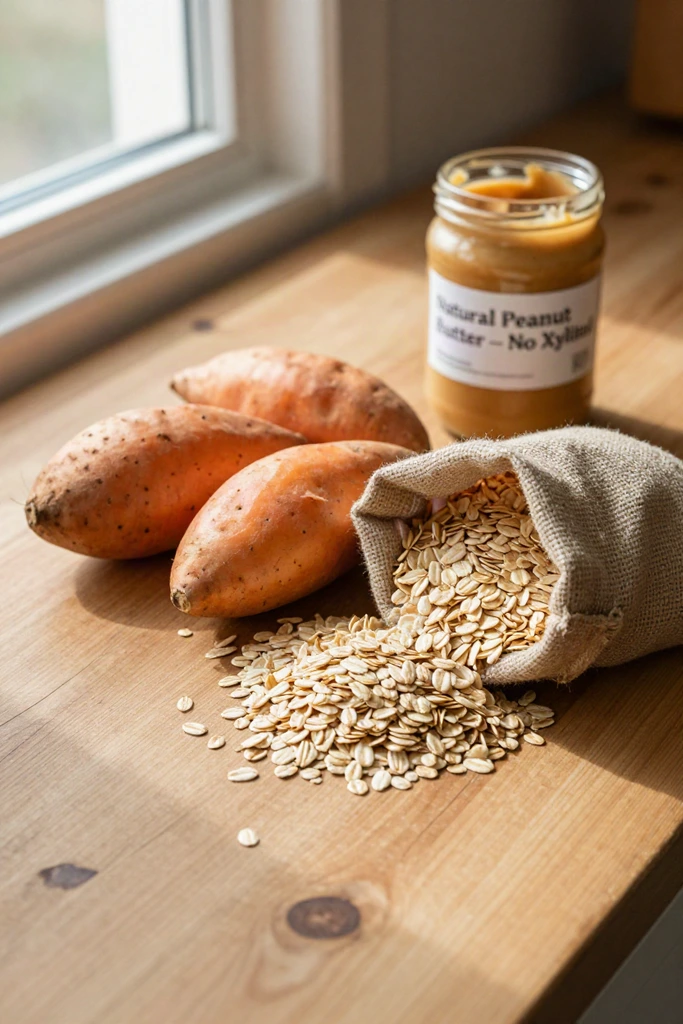
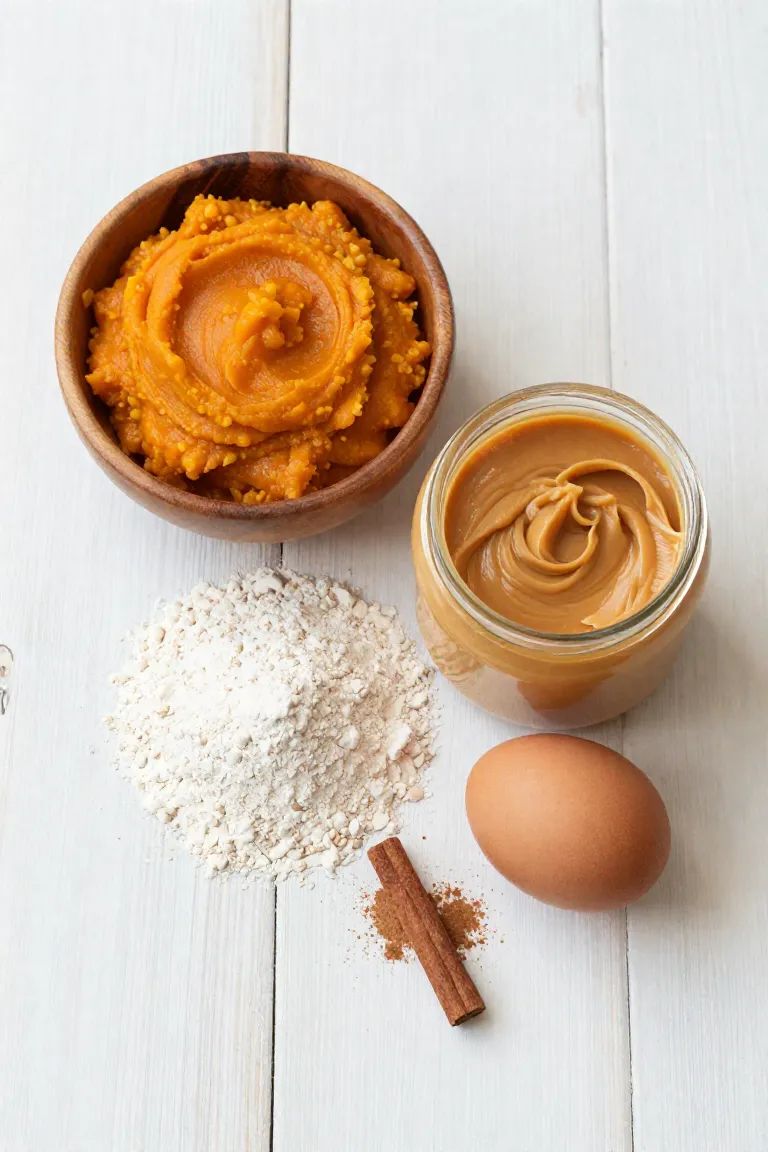
Putting together a fresh batch relies on four basic staples you probably already keep on your kitchen shelves. The base centers on whole wheat flour, pure pumpkin puree, unsalted peanut butter, and fresh eggs to bind the mixture. Because there are no artificial preservatives or synthetic dyes, each component provides straightforward nourishment without complicating your baking prep.
These supplies mix easily to form a workable dough that holds its shape on a baking sheet. You can adjust the moisture balance with a small splash of water if the mixture feels crumbly. Checking your product labels before cracking open any containers ensures your pantry picks stay entirely safe for your pup.
1. Choosing the Right Peanut Butter
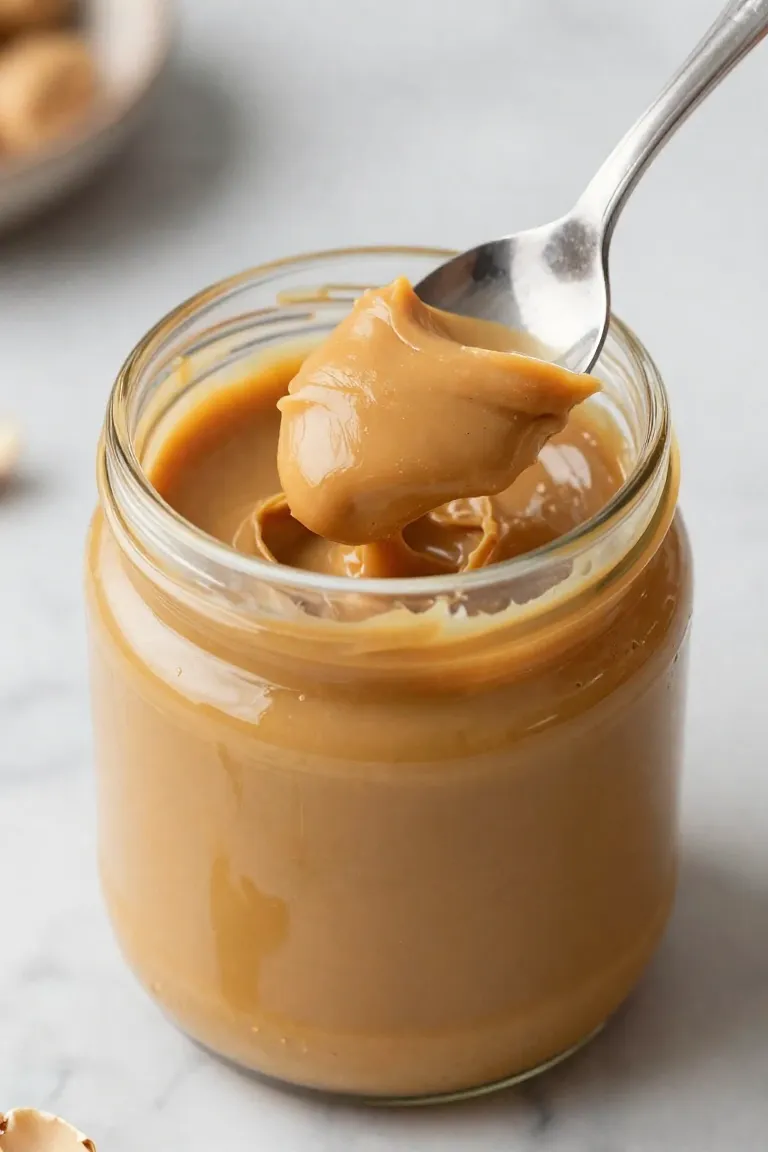
A quick scan of the ingredient panel reveals everything you need to know about the jar sitting in your grocery cart. Commercial brands frequently pack their spreads with extra palm oil and sugar alcohols that irritate sensitive canine stomachs. Sticking with pure, unsalted pastes gives your biscuits rich flavor and healthy fats without any dangerous additives.
- Verify that the ingredient list contains only dry-roasted peanuts, completely omitting hydrogenated oils and table salt.
- Inspect the nutrition facts closely to prevent xylitol toxicity, as this artificial sweetener triggers rapid insulin surges in canines.
- Opt for a smooth, natural texture so the mixture incorporates easily into your dry base alongside other moisture-rich staples.
2. The Nutritional Benefits of Pumpkin for Dogs
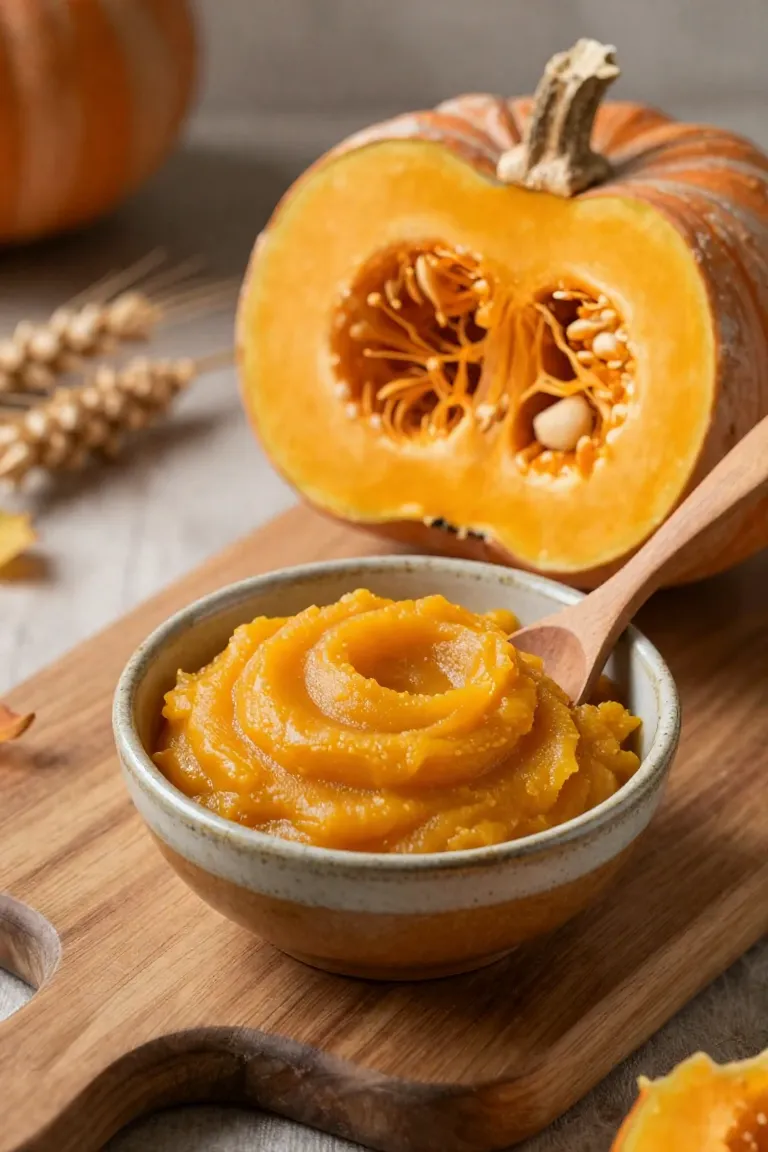
Canned pumpkin puree supplies the moisture your dough needs while delivering generous amounts of soluble fiber. This plant fiber absorbs excess water in the gut to calm loose digestion, while also keeping bowel movements regular when your pet feels backed up. Beyond digestive balance, this simple squash provides solid doses of vitamin A and potassium to help maintain healthy skin and immune defenses. You give your dog real nutritional value without relying on artificial fillers or added sweeteners.
Plain puree remains the only safe option here, so always inspect the label to ensure canned pumpkin pie mix never slips into your cart. Pie fillings contain toxic spices like nutmeg and dangerous sugar substitutes such as xylitol that harm canine organs. In your mixing bowl, this thick mash binds dry flour cleanly, helping you shape firm treats without pouring in extra oils or heavy fats.
Necessary Baking Equipment
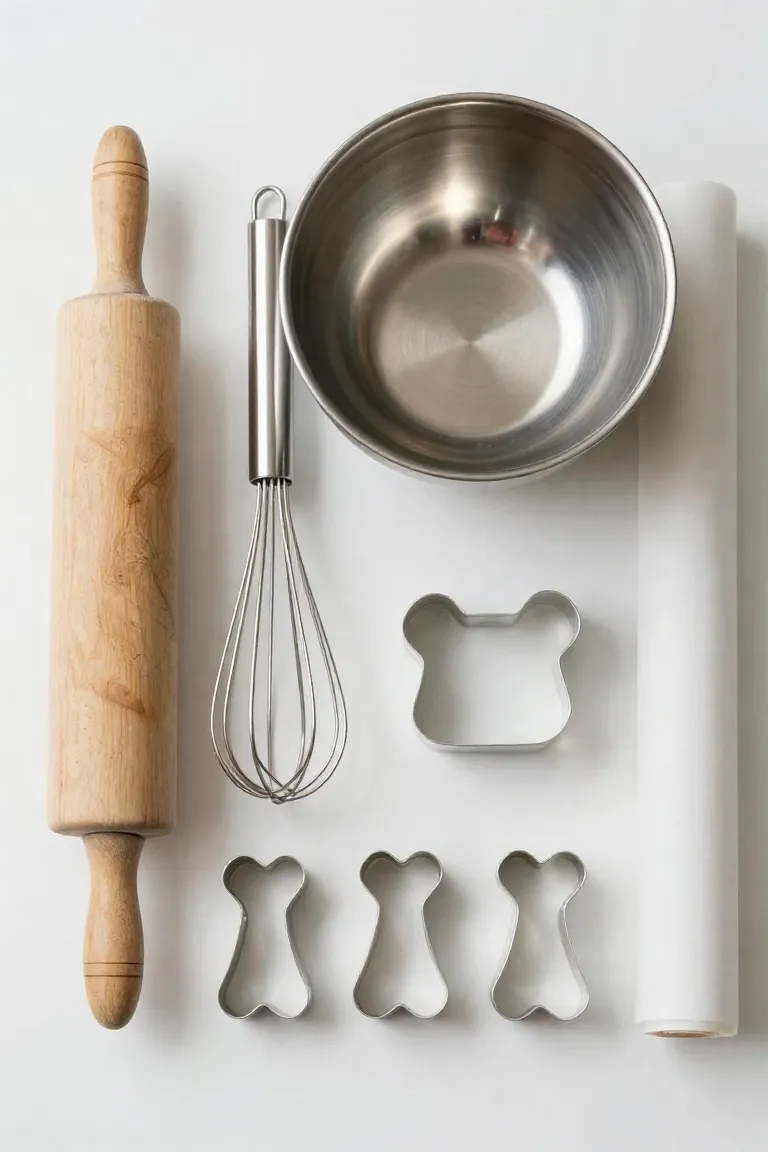
You do not need specialized culinary gear to turn pumpkin puree and peanut butter into crunchy biscuits. A sturdy mixing bowl paired with a wooden spoon or silicone spatula gives you plenty of leverage to work the dense dough without straining your hands. Alongside your bowl, grab a rolling pin and a rimmed baking sheet lined with parchment paper so the dough releases cleanly without any added grease.
A standard dog-bone cookie cutter provides classic biscuit outlines and ensures consistent thickness across the pan. If you do not own specialty cutters, an everyday drinking glass or a clean pizza wheel stamps out bite-sized portions just as easily. These few basic utensils keep the process practical and contained to one area of your kitchen.
Step-by-Step Baking Walkthrough
With your bowls and sheet pans on the counter, making a batch of fresh dog biscuits requires only basic mixing. You do not need professional pastry skills or complicated kitchen techniques to create crunchy snacks. The process relies on standard measurements that turn common pantry staples into wholesome rewards.
A comfortable pace keeps the experience practical, even if you rarely bake. The clear visual cues in the dough help you monitor texture and moisture throughout the preparation.
Step 1: Prepping Your Workspace and Oven
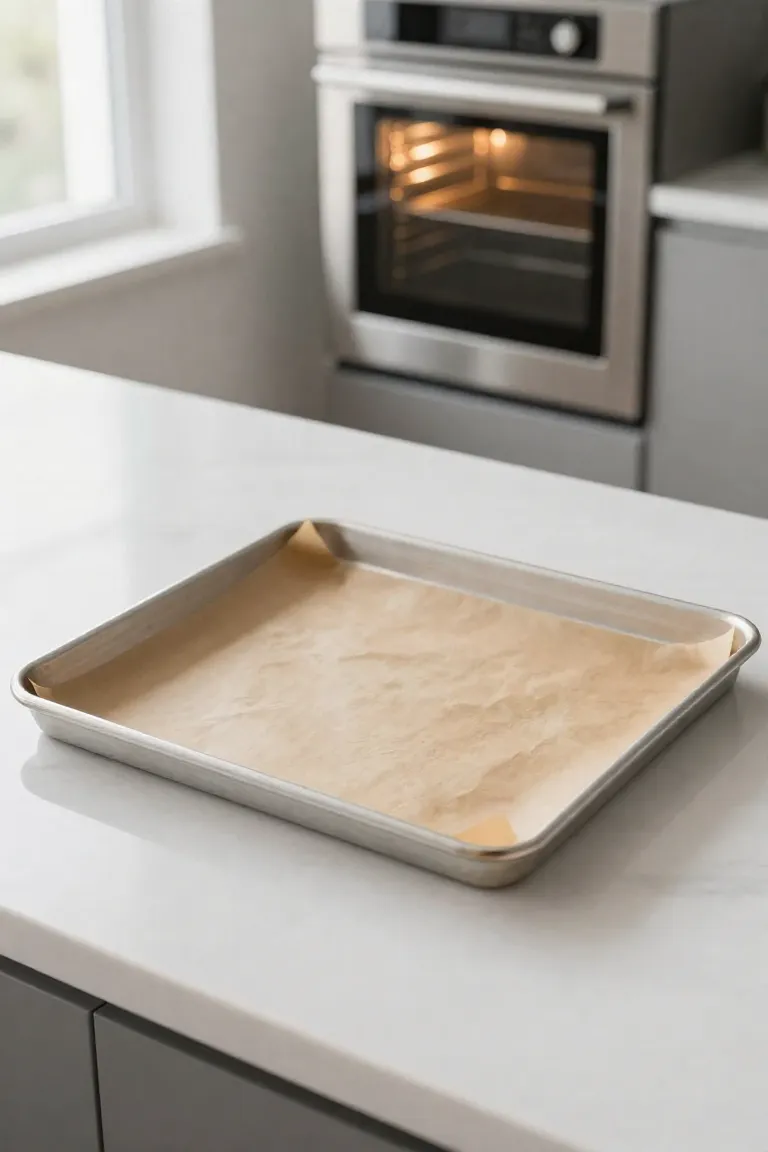
Setting your oven to 350°F (175°C) gives it ample time to reach a steady baking temperature while you arrange your tools. Clear off a generous stretch of counter space so you have plenty of room to knead and cut shapes without knocking over stray utensils. Lining two flat baking sheets with unbleached parchment paper or reusable silicone baking mats prevents sticky pumpkin residue from fusing to hot metal and ensures even heat distribution. Keeping your rolling pin and measuring cups organized within arm's reach isolates flour dust to one zone and speeds up dough assembly.
Step 2: Mixing the Dough to Perfection
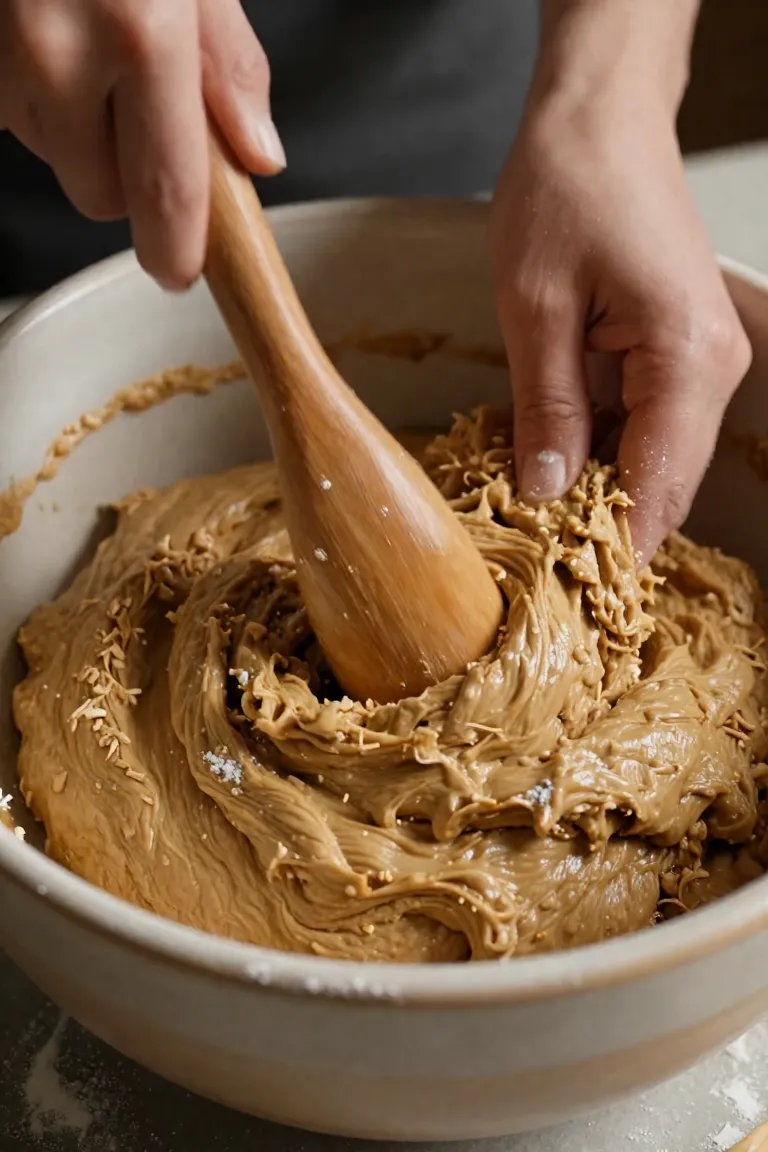
Whisk the pumpkin puree and peanut butter with the egg in a large bowl until the blend turns glossy and uniform. Gradually fold in the flour one cup at a time, using a sturdy spatula or your hands as the resistance builds. Aim for a firm, pliable texture that feels like modeling clay. The dough should be dry enough not to cling to your skin, yet cohesive enough to hold together without crumbling. If the batch feels damp, sprinkle an extra tablespoon of flour across the surface so it stays manageable on the counter.
Step 3: Rolling and Cutting Fun Shapes
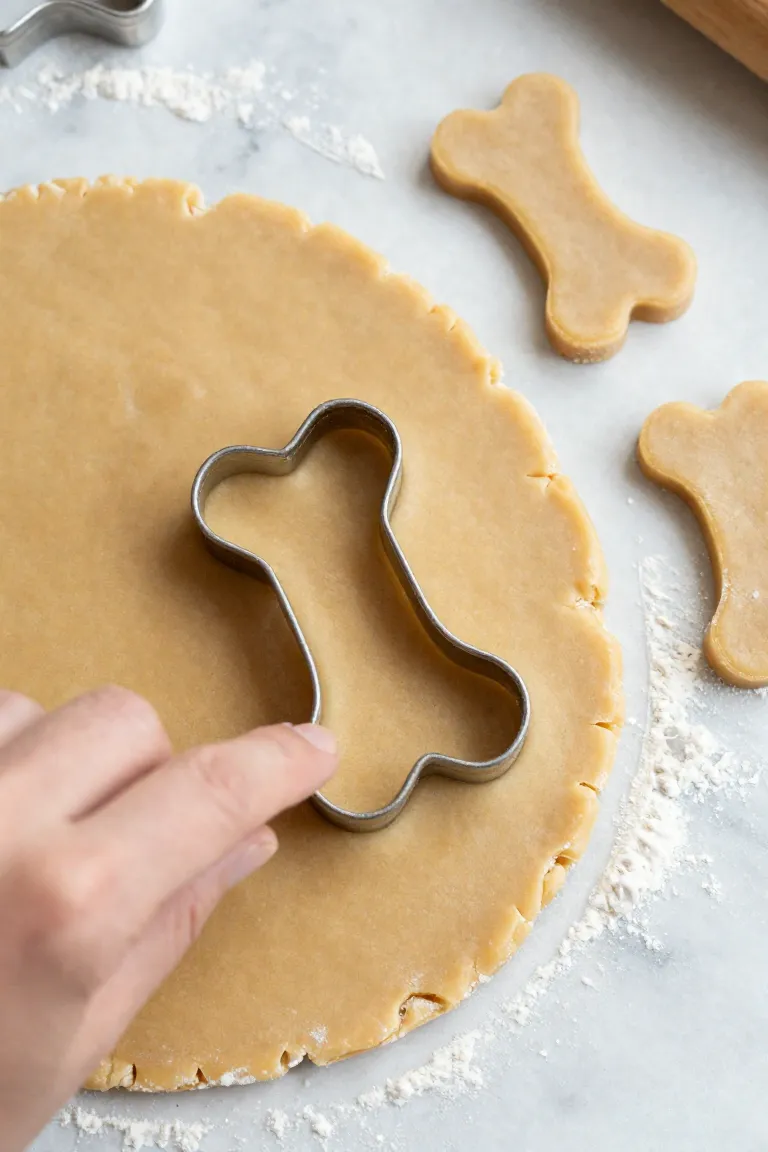
Dust your clean work counter and pin with a thin layer of flour to keep the firm mixture from sticking. Press the dough flat with your hands first, then glide the pin outward from the center until the entire slab reaches an even quarter-inch thickness. A uniform height across the board guarantees that every single biscuit bakes at the exact same rate, preventing charred edges or undercooked centers.
To maximize your yield, align your cutter right against the outer perimeter of the flattened sheet and press straight down without twisting. Nestle each consecutive cutout directly against the previous outline, leaving only small margins across the dough. Gather the leftover scraps into a tight mound before flattening the dough again to stamp out the rest so no ingredients go to waste.
Step 4: Baking and Cooling for Maximum Crunch
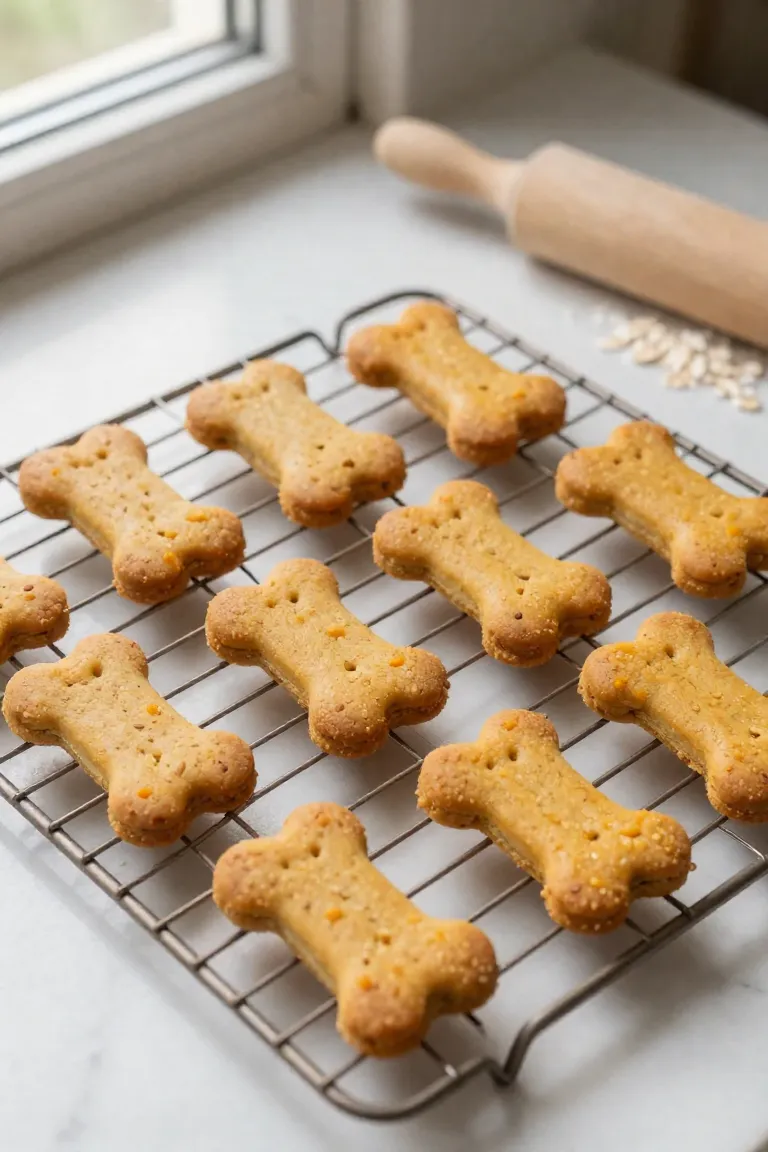
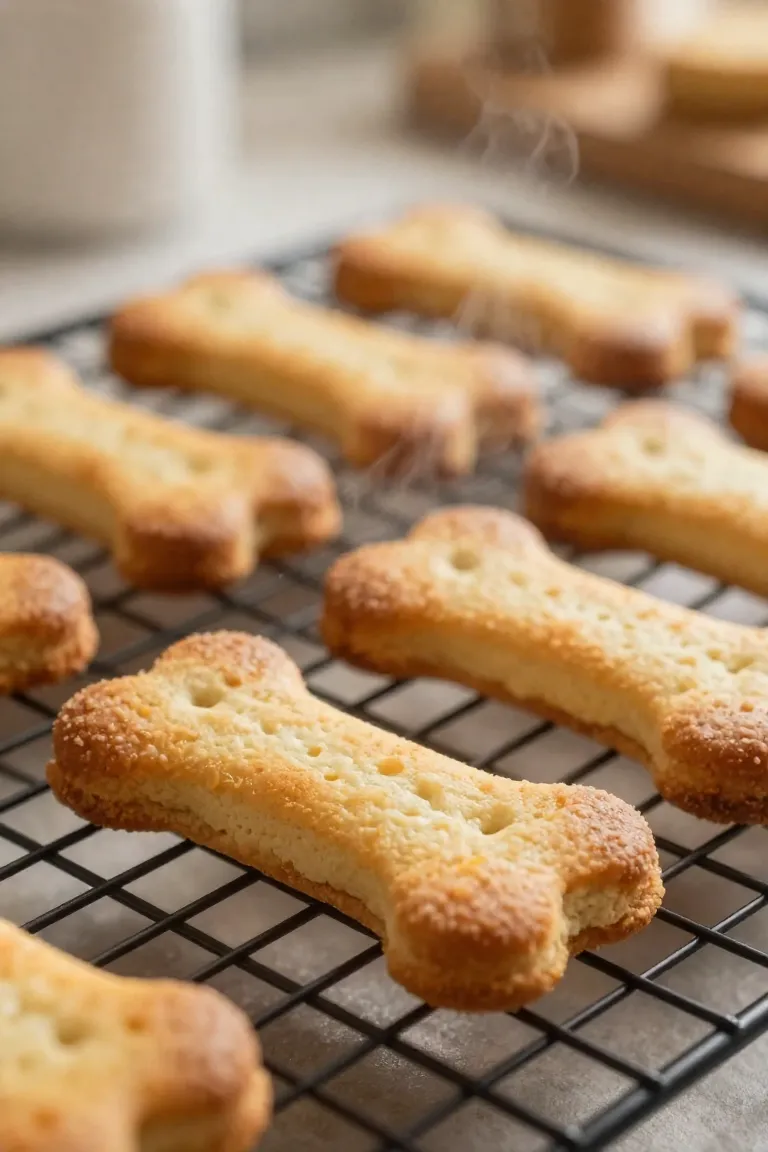
Slide the baking sheet into an oven preheated to 350°F (175°C) and bake the cutouts for 25 to 30 minutes until the edges turn golden brown. Once finished, transfer the biscuits immediately to a wire cooling rack so circulating air draws out lingering moisture from the center of each treat. Complete cooling allows the treats to reach a firm, crunchy texture that helps gently scrape tartar from your dog's teeth during chewing. Verifying that every biscuit is cold to the touch prevents trapped condensation from softening the batch before you pack them into the pantry.
Proper Storage and Shelf Life Tips
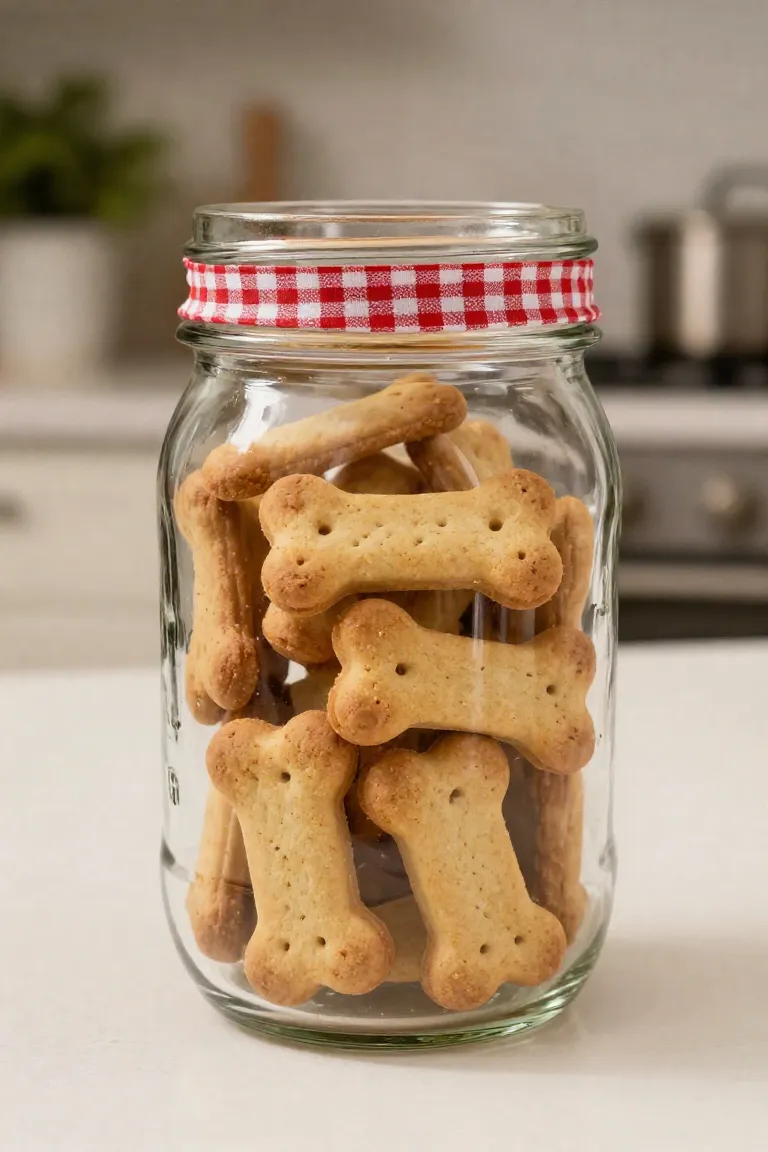
Storing the cooled biscuits in a glass jar or airtight tin keeps ambient moisture out, preserving their crisp texture for up to two weeks on your kitchen counter. Because these homemade treats lack commercial preservatives, any residual steam or damp pantry air can soften the bite, making a tight seal essential. For longer storage, stack the biscuits in a freezer-safe bag with parchment paper between the layers so they do not freeze into a solid block. They retain their quality in the freezer for up to three months, and you can pull out individual treats to thaw on the counter for ten minutes before serving.
Frequently Asked Questions (FAQ)
After building a steady supply in your freezer, you might want to modify the recipe to match specific texture preferences. Every dog has unique chewing habits and digestive sensitivities, which means you can adapt baking times for an older dog needing a softer bite or adjust moisture if the dough feels too stiff. Small preparation tweaks in the oven help ensure your homemade batches remain safe and tailored to your dog's specific dietary needs.
Can I use different types of flour?
If your pup struggles with digestive sensitivities or itchy skin, swapping traditional grains for dog-safe flour alternatives helps keep homemade treats gentle on their stomach while holding the dough together.
- Oat flour blends easily at a direct one-to-one ratio, offering soluble fiber and a smooth texture that keeps dough pliable during rolling.
- Coconut flour is dense and absorbs liquid rapidly, meaning you only need about a quarter of the standard amount alongside a splash of water or extra pumpkin.
- Brown rice flour delivers a crisp, firm bite that holds up well during storage while staying free of wheat gluten.
How many biscuits should I feed my dog per day?
Even with wholesome ingredients, daily snacks require sensible limits to keep your companion at a healthy weight. Most veterinarians suggest keeping extras under ten percent of a dog's total daily calorie intake, leaving the vast majority for complete, nutritionally balanced meals.
- Small breeds under twenty pounds do best with half a biscuit or small broken crumbs across the day.
- Medium and larger dogs can handle one to two whole biscuits spaced between their regular feeding times.
- Dogs with lower activity levels or sensitive stomachs benefit from smaller sample nibbles rather than full servings.
- Your veterinarian can help you determine the exact calorie target tailored to your dog's age and health history.
Conclusion: Rewarding Your Pup with Healthy Bites
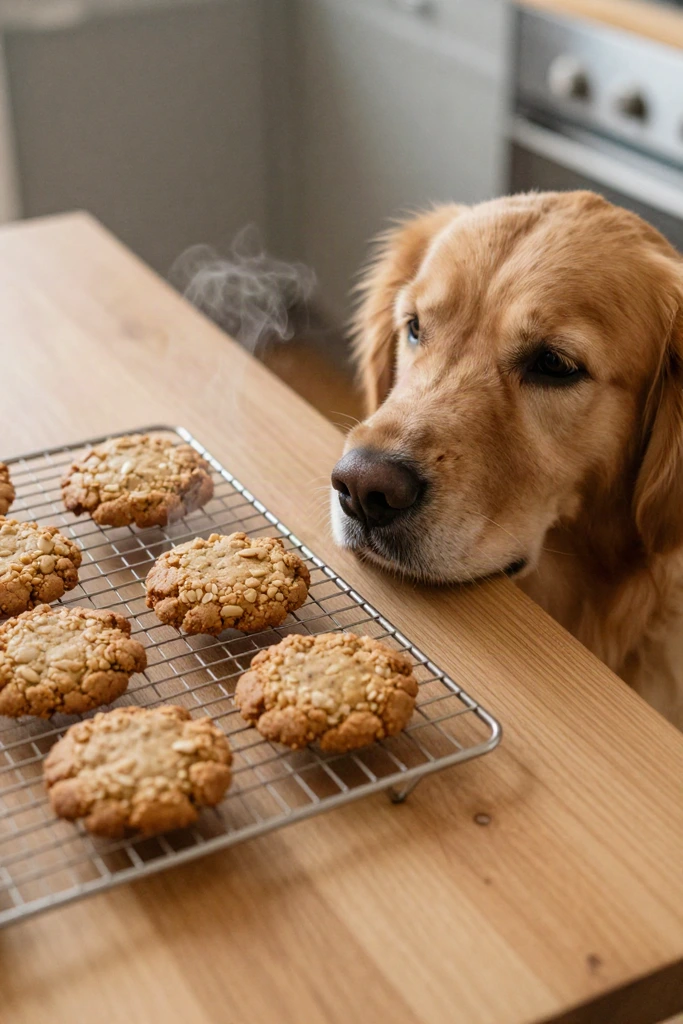
Baking a fresh tray of biscuits gives you clear control over every ingredient while turning an ordinary afternoon into quality time with your dog. Watching your pet wait by the kitchen counter as the warm peanut butter aroma fills the house makes the effort of rolling and cutting worthwhile.
This straightforward dough mixes quickly using basic pantry staples, creating an accessible project for bakers of any experience level. Once your batch cools, store them securely in the pantry or share your favorite dog-bone shapes in the comments below.