Introduction: The Joy of Baking for Your Dog
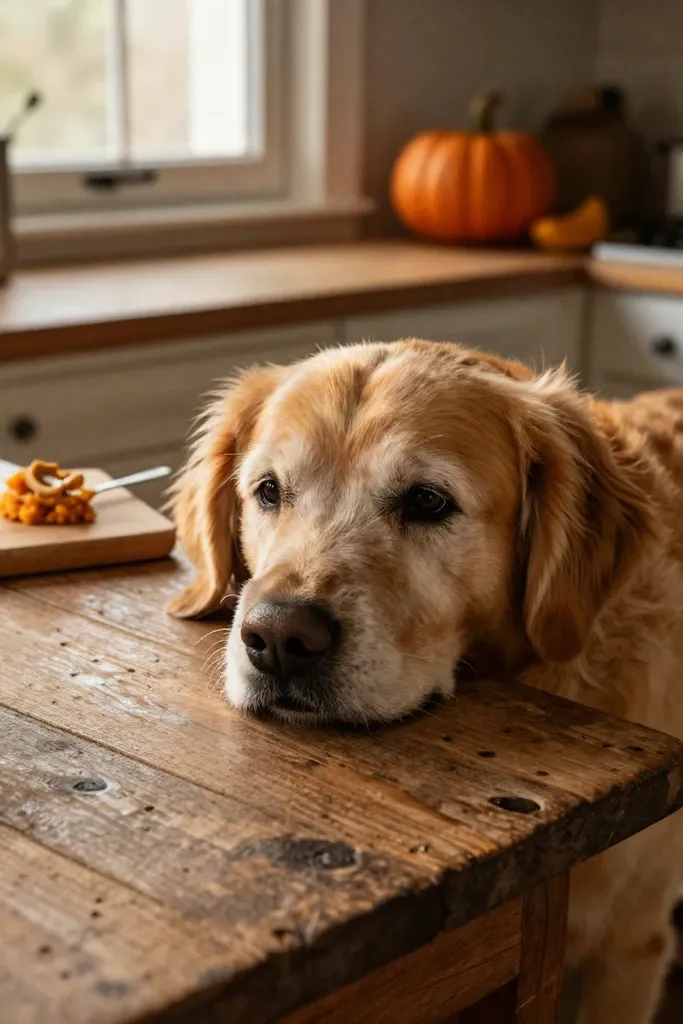
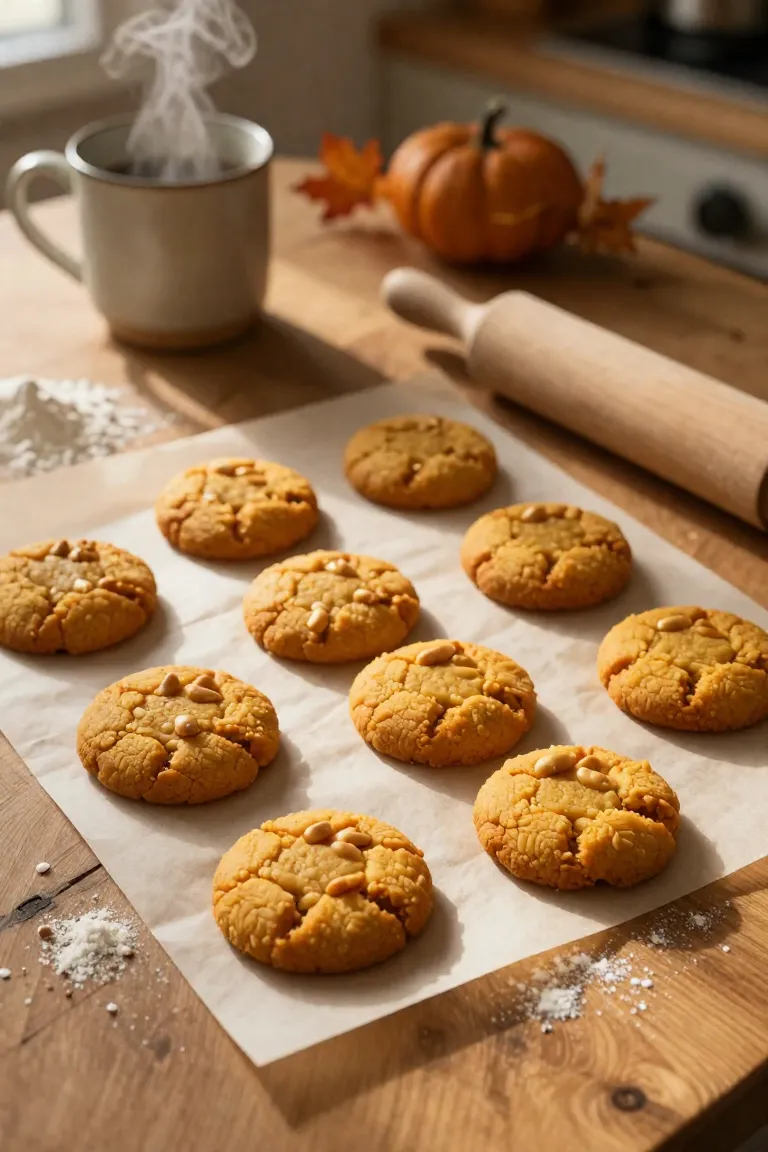
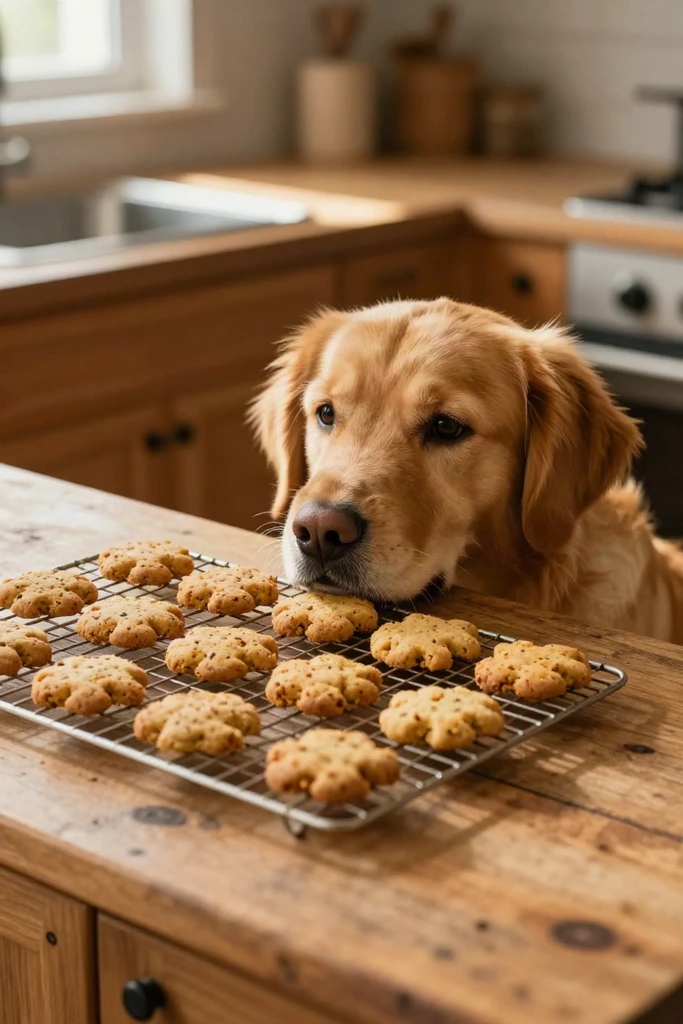
Baking fresh goodies in your own kitchen lets you control every nutrient your pup consumes. Combining sweet potato with crisp apple and rolled oats creates nutritious, fiber-rich homemade dog treats that nourish sensitive tummies. Steering clear of simple kitchen oversights guarantees these healthy dog snacks turn out crunchy and safe for your companion.
Ingredient Selection Mistakes
A successful batch of pet biscuits always starts in your pantry before you even turn on the mixer. Dogs metabolize foods differently than humans do, which makes strict adherence to dog safe ingredients the primary baseline for home baking. Skimping on label checks or grabbing conventional baking staples can introduce hidden sodium and commercial preservatives that upset canine digestion.
Quality check standards for raw treat ingredients protect your dog from acute stomach distress and long-term sensitivities. Simple whole foods like fresh produce and unadulterated grains give you full transparency over every single bite your pet enjoys.

1. Using Canned Sweet Potato with Added Sugar or Spices
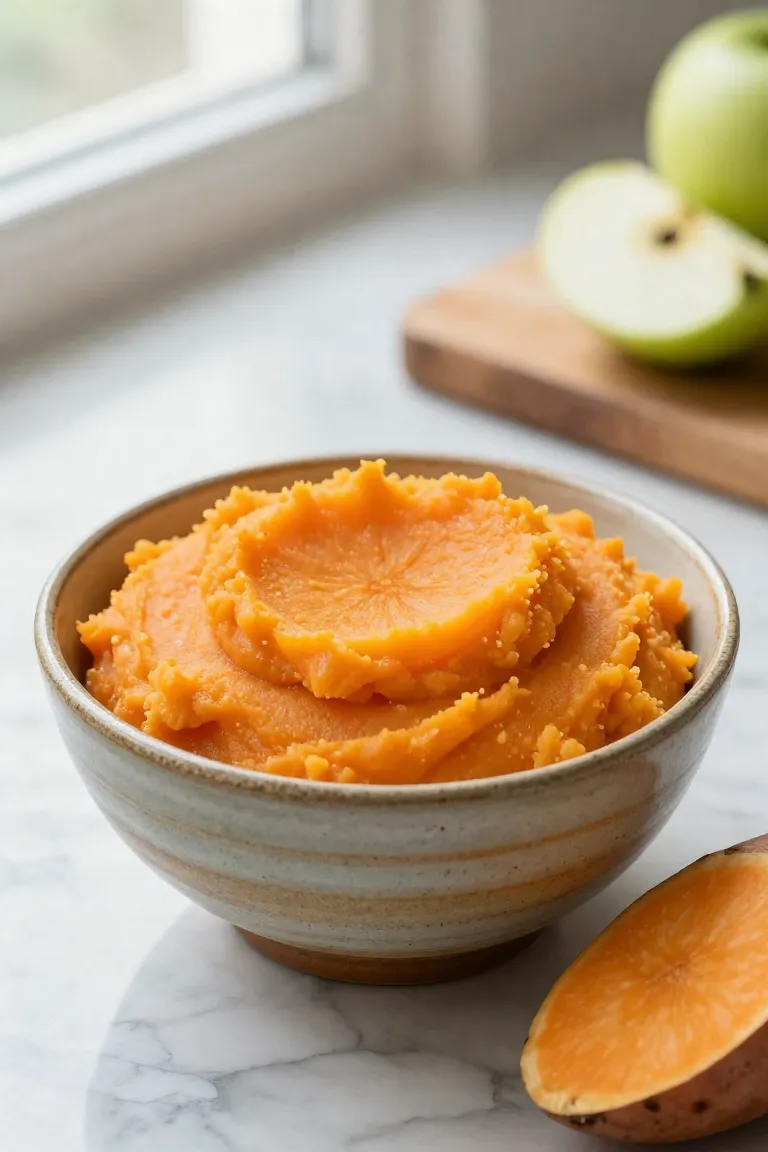
Many commercial canned options in the baking aisle are dessert-ready pie fillings packed with refined syrup and heavy holiday spices. Spices like nutmeg contain myristicin, a compound toxic to canines that can trigger disorientation and rapid heart rate. Always inspect the ingredient label to ensure you buy 100% pure sweet potato puree without added flavorings or artificial preservatives.
Freshly roasted or steamed tubers provide an ideal alternative for creating a genuine dog safe sweet potato base right on your counter. A quick fork-mash of a peeled, plain baked potato guarantees zero contamination while preserving natural beta-carotene and digestive fiber for your pup.
2. Choosing the Wrong Type of Oats
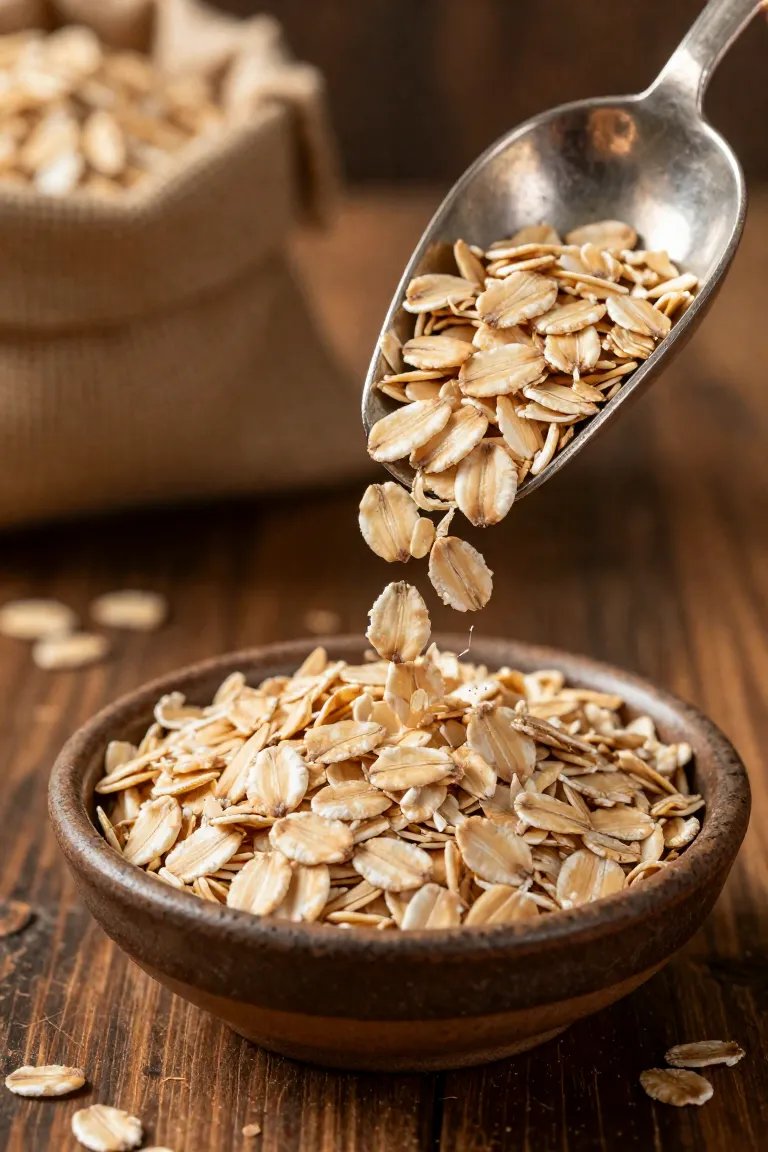
Next to sweet potatoes, the texture and nutrient profile of your grain binder matter just as much for consistent dough. Plain rolled oats for dogs provide sturdy structure and slow-digesting dietary fiber that supports steady digestion. In contrast, instant and quick-cooking packets undergo heavy industrial steaming and rolling, which breaks down beneficial fiber and frequently introduces hidden preservatives or synthetic flavorings that can upset a canine stomach.
Whole, unflavored flakes create crunchy, durable oatmeal dog treats that hold their shape during baking without crumbling apart. For finicky eaters or smaller breeds, pulsing these whole grains briefly in a food processor gives you the perfect binder consistency while retaining every ounce of natural nutrition.
3. Including Apple Seeds or the Core
Fresh fruit brings natural sweetness and moisture to the mixing bowl, but standard prep shortcuts can introduce serious safety risks to your kitchen routine.
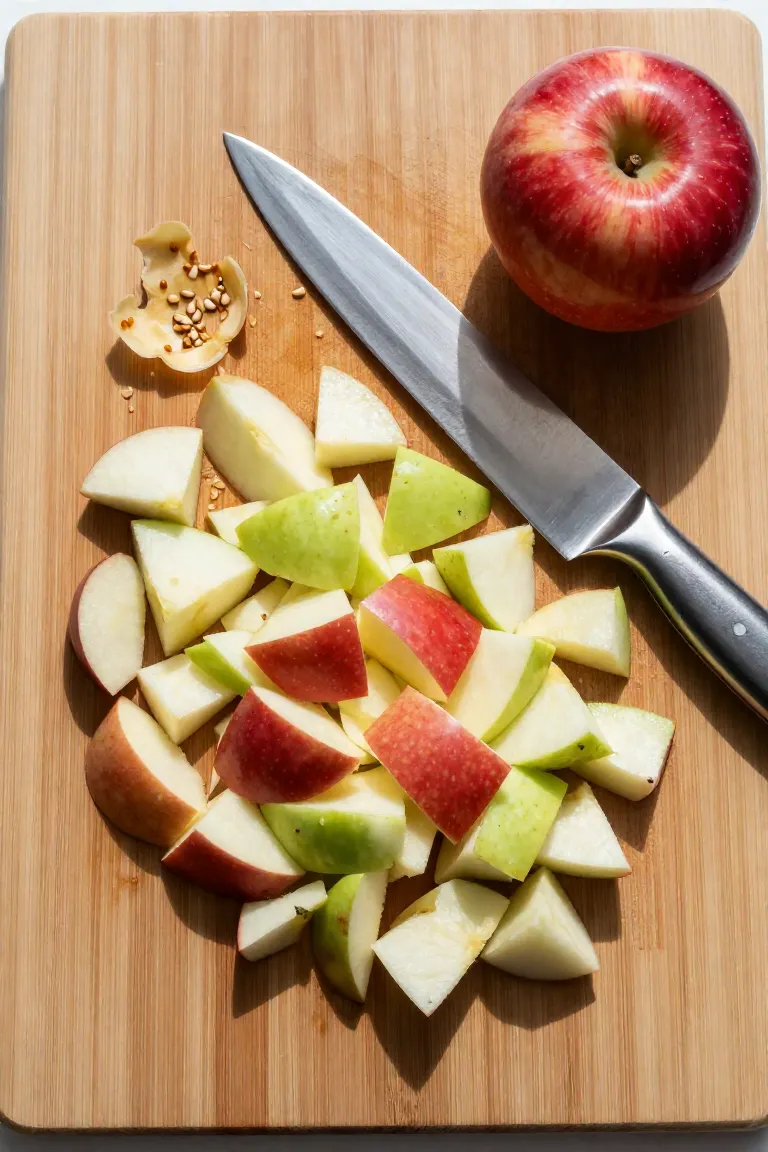
- Meticulously remove all trace debris because apple seeds dogs accidentally ingest contain amygdalin, a chemical compound that releases cyanide during digestion.
- Discard the tough fibrous center entirely to prevent dangerous choking episodes or gastrointestinal blockages in smaller pups.
- Inspect your cutting board thoroughly before mixing to ensure zero toxic dog ingredients end up inside your finished dough batch.
4. Using Sweetened Applesauce Instead of Fresh Apples
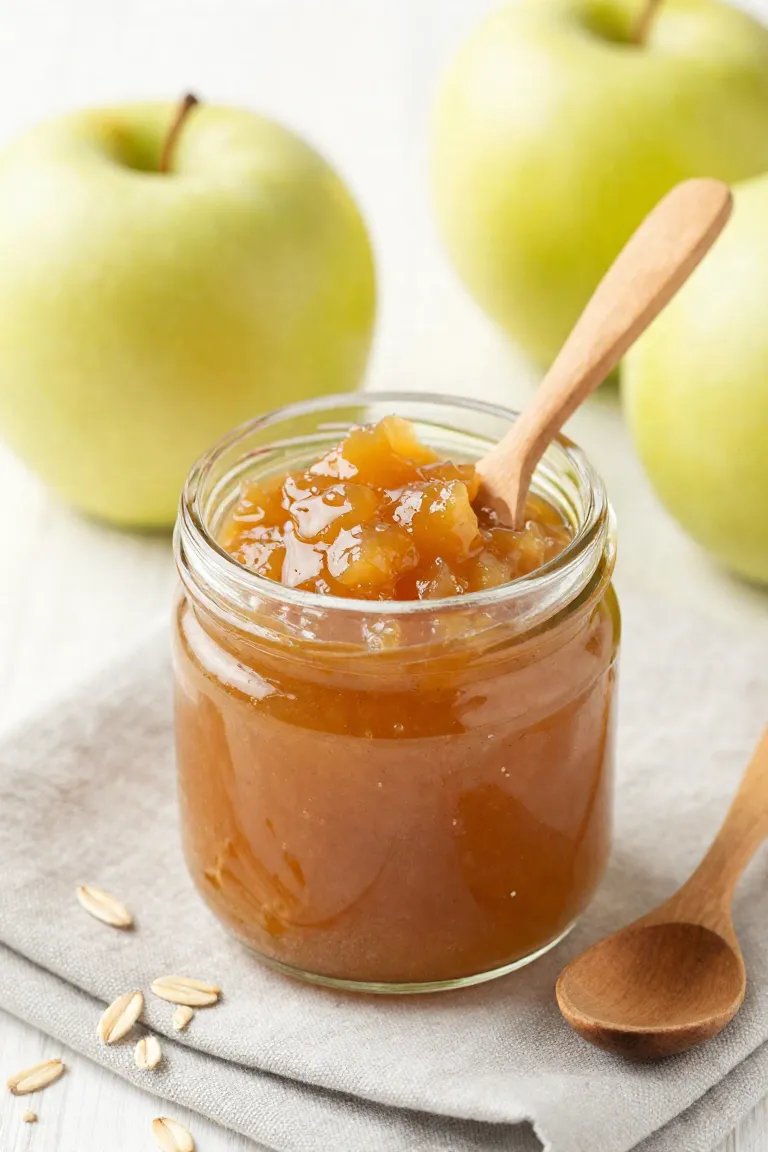
Reaching for a convenient jar in your pantry can save prep time, yet standard grocery sauces frequently hide cane sugars and dangerous artificial sweeteners like xylitol. When whipping up nutritious batches at home, choosing pure unsweetened applesauce dogs can safely digest keeps the carbohydrate load balanced while delivering gentle moisture. These wholesome swaps ensure your homemade creations function as truly healthy dog treats that nourish your companion without triggering digestive inflammation or unwanted weight gain.
5. Adding Artificial Sweeteners or Toxic Spices
Pumping extra flavor into homemade batches often comes with hidden dangers when bakers reach for human pantry staples. Common baking additives like birch sugar can trigger rapid xylitol toxicity dogs cannot survive without immediate veterinary intervention, while aromatic pantry spices such as nutmeg contain myristicin, a compound known to induce severe disorientation and seizures in canines. Dogs have far fewer taste buds than humans, meaning the earthy sweetness already concentrated inside simmered sweet potato and fresh diced apple easily satisfies their cravings without supplemental flavor enhancers.
For owners keen on introducing safe spices dogs can handle in moderation, a tiny pinch of true Ceylon cinnamon works well, but keeping the recipe completely bare remains the gold standard. Plain, unseasoned whole ingredients deliver honest aroma and wholesome nourishment, protecting your pet from accidental toxicity while letting authentic produce shine through every bite.
Dough Preparation Mistakes
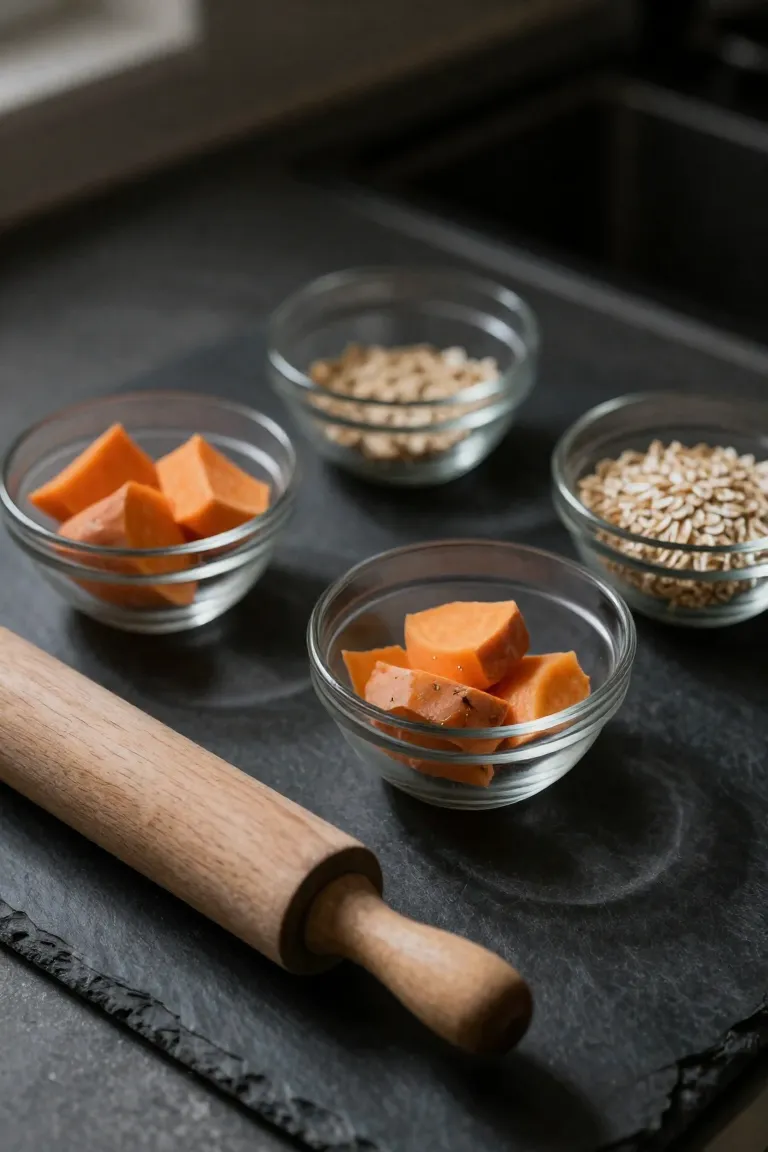
Once your raw components are safely prepped, blending them into a workable mixture sets the stage for the entire baking session. The precise moisture balance of your dog treat dough directly determines whether the baked biscuits emerge with a satisfying snap or retain gummy centers that spoil quickly in pantry storage. Managing your cookie prep with attention to dough hydration and mechanical handling prevents frustrating cracks on the cutting board and ensures even dehydration during baking.
- Moisture equilibrium keeps the mixture cohesive without clinging stubbornly to rolling pins or pastry mats.
- Consistent structural density prevents fragile air pockets that cause biscuits to crumble before reaching the cookie jar.
- Uniform batch thickness allows dry heat to circulate evenly, extending overall shelf life stability across every batch.
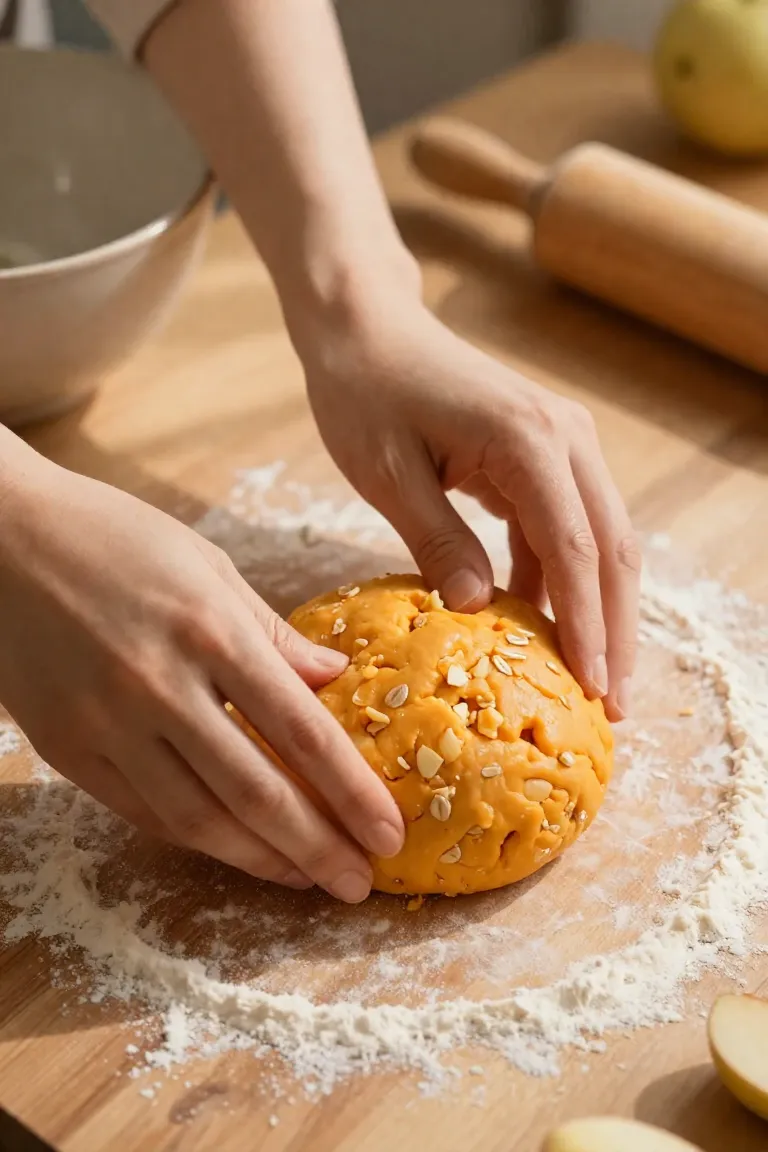
6. Not Mashing the Sweet Potatoes Smoothly
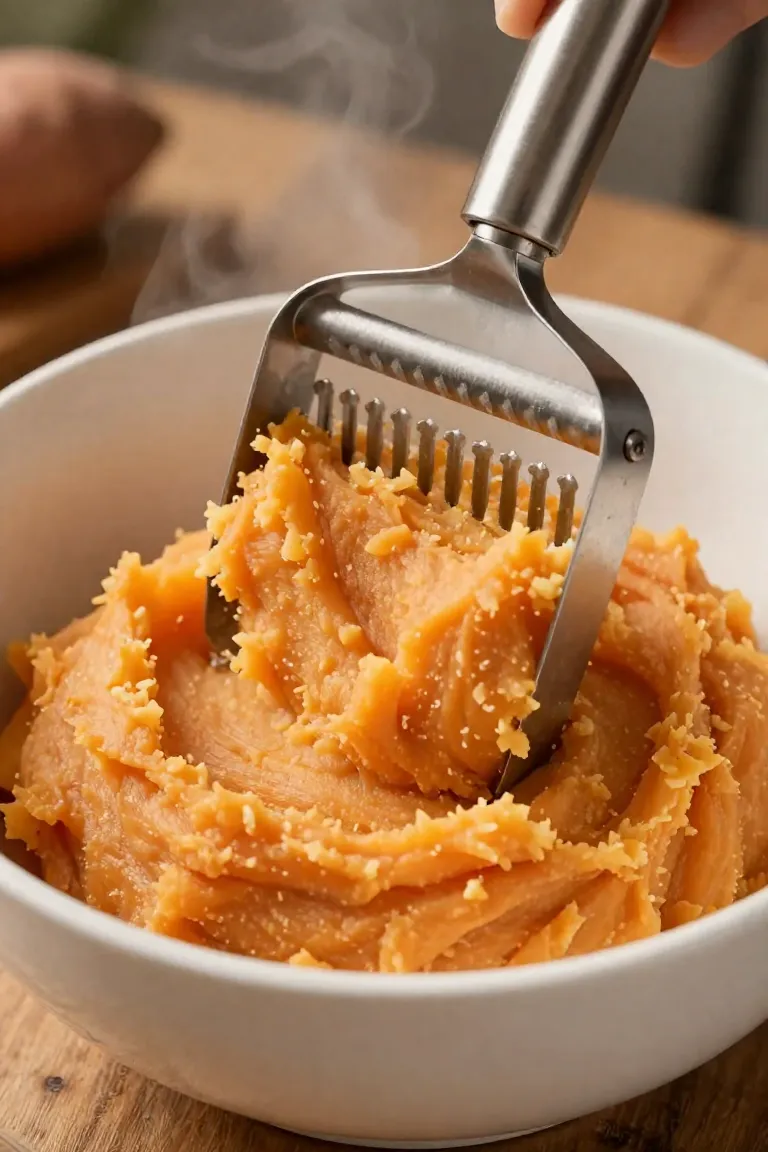
Leaving coarse, fibrous lumps in the root base disrupts moisture dispersion throughout your mixture, creating dense wet pockets that resist dehydration in the oven. When dense chunks escape the masher, the surrounding binder bakes to a crisp while the unblended core stays damp, dramatically shortening pantry longevity and inviting mold within days. Working your steamed tubers with a potato ricer or food processor ensures thoroughly mashed sweet potato distributes evenly, yielding a uniform, smooth treat dough that rolls out flat and bakes consistently from edge to center.
7. Over-processing the Oats into a Fine Powder
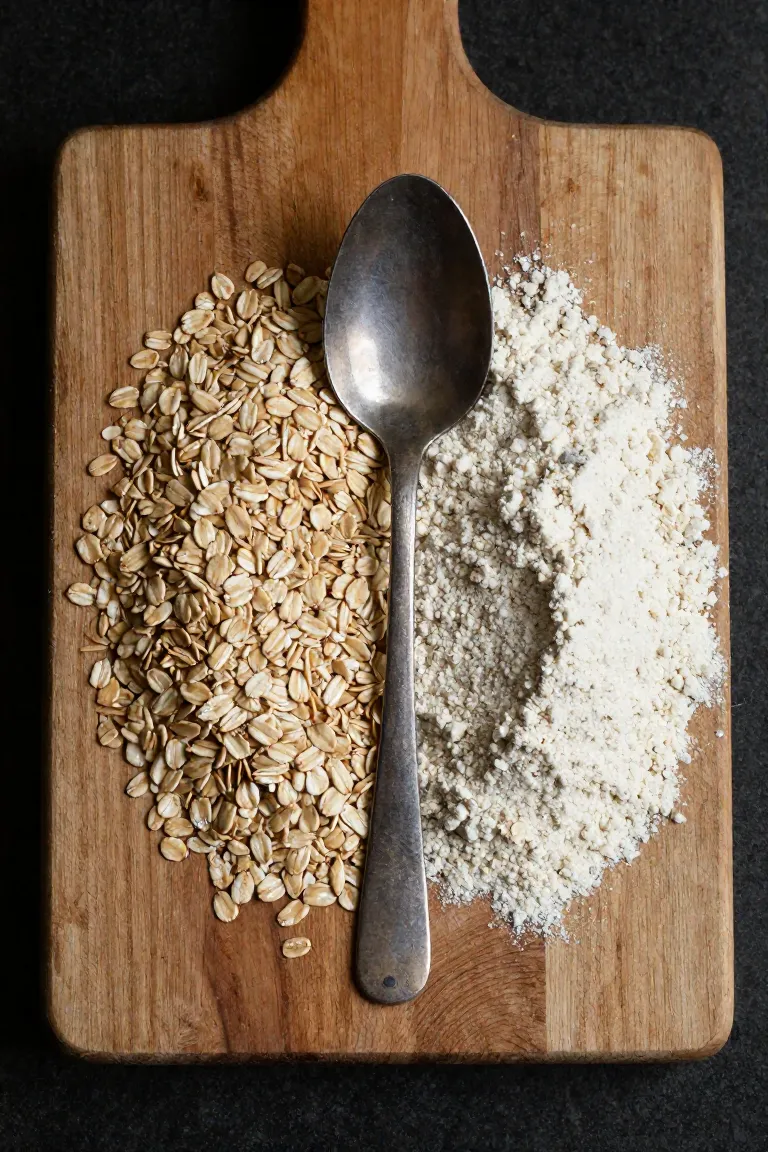
Grinding your grains down to a silky dust might seem like the natural way to create smooth oat flour dog treats, but stripping away every coarse flake robs the biscuits of their satisfying snap. Dogs naturally crave mechanical crunch, which provides mild dental stimulation while chewing and keeps the baked texture from turning pasty in their mouths. When you blend the dry base, reserve about a third of the rolled oats in their whole or coarsely chopped state before folding them into the wet batter. This coarse mix creates structural channels that release steam during baking, turning your batch into light, crunchy dog cookies that hold their shape on the tray rather than snapping into fragile crumbs.
8. Making the Dough Too Sticky or Too Dry
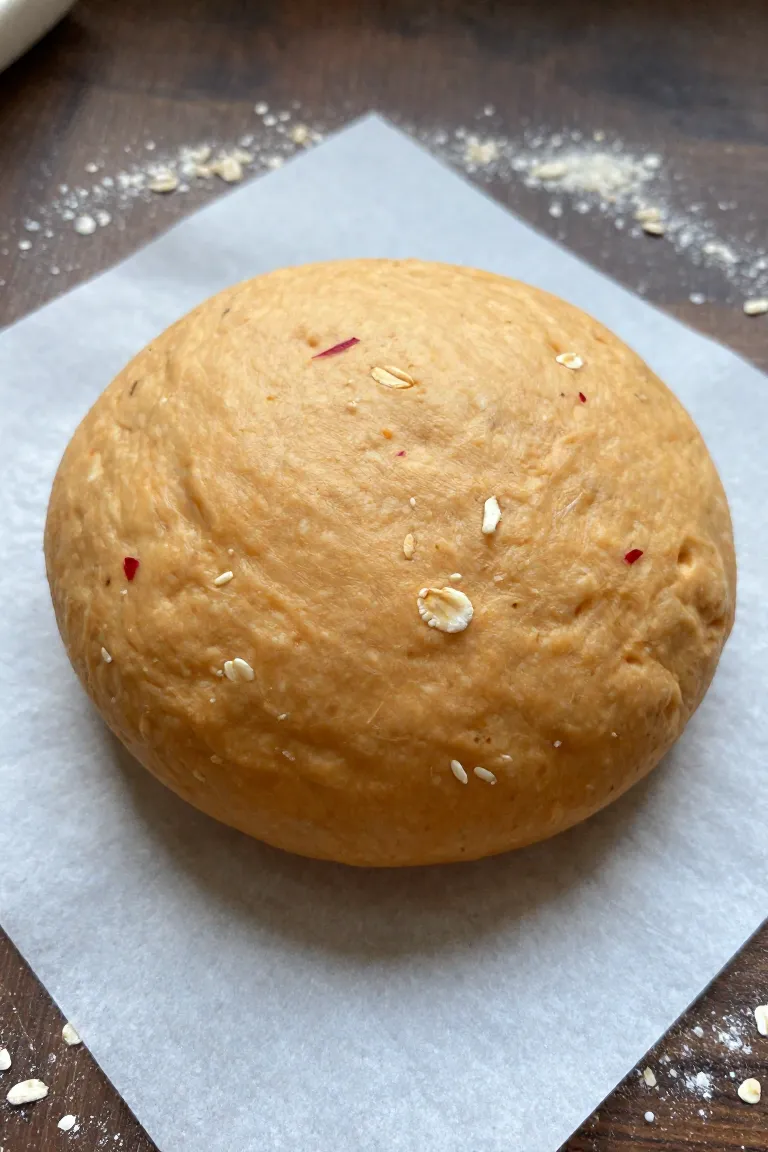
Achieving the right moisture balance determines whether your biscuits hold crisp cutouts or crumble straight off the baking sheet. Because sweet potatoes vary in natural moisture depending on whether you steamed or baked them, your mixture can swing rapidly between a tacky paste and a dry, sandy mound. When baking for dogs, aim for a pliable consistency similar to firm cookie dough that pulls cleanly away from the mixing bowl. If the mixture clings heavily to your hands or rolling pin, apply an easy sticky dough fix by sprinkling in a tablespoon of oat flour at a time; if the mass cracks and fragments under pressure, gently work in a teaspoon of warm water until the dough holds together.
9. Rolling the Dough Unevenly
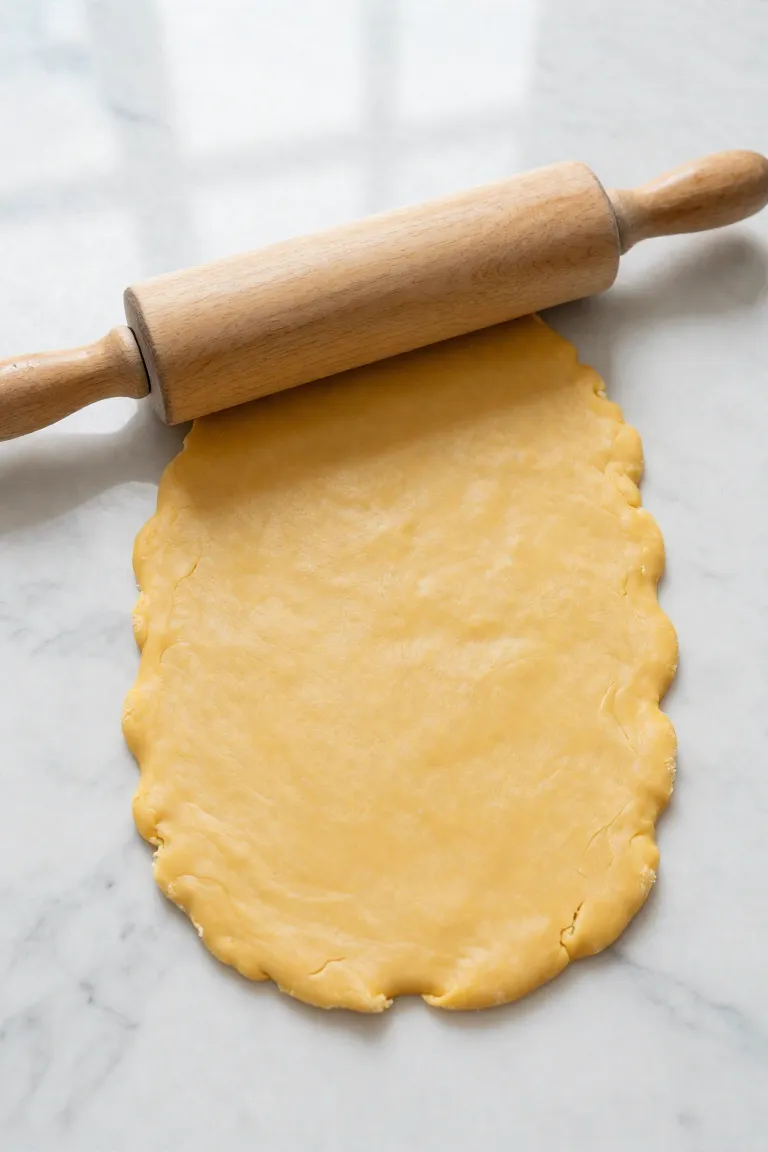
Sloping dough slabs create an unpredictable bake where the thin outer edges char into dark crisps while the thicker centers stay gummy and raw. Trapped moisture in underbaked centers also dramatically shortens the shelf life of homemade treats, leading to premature mold growth inside your storage jars. Taking the time for rolling dough evenly ensures consistent heat penetration across the entire tray so every single biscuit dehydrates and browns at the exact same rate. Aim for a standard dog cookie thickness of roughly a quarter inch by sliding silicone spacer rings onto the ends of your pin or resting matching wooden dowels along the edges of your parchment paper to guide every stroke.
10. Skipping the Dough Chilling Process
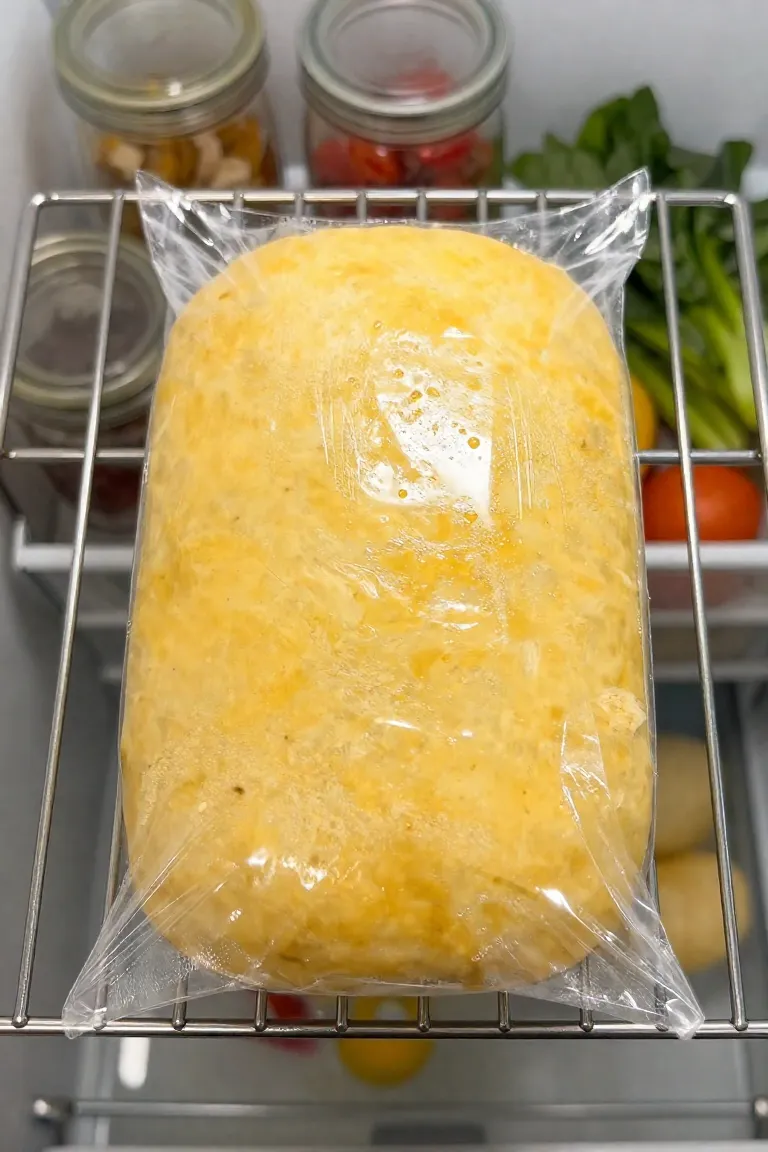
Once your slab is flattened to the right thickness, letting the mixture rest in the fridge for twenty to thirty minutes transforms the entire cutting experience. Natural starches in the mash stabilize as the temperature drops, while chilling cookie dough allows the dry oats to absorb lingering moisture and firm up the sweet potato base. This quick cooling step prevents ragged edges when stamping out neat bone shaped cookies on your counter.
- Slide the rolled sheet between two parchment sheets into the fridge so both sides firm up evenly.
- Dip the rims of your cookie cutters into extra oat flour to ensure clean releases on every press.
- Chill the cutouts for an extra five minutes if your kitchen runs warm during afternoon prep.
Baking and Oven Mistakes
Transitioning from prep to heat requires a distinct mindset because canine snacks follow very different rules than human pastries. Soft and chewy centers might taste wonderful in table desserts, but baking dog treats demands thorough moisture removal to inhibit mold growth during jar storage. Common oven mistakes happen when bakers rely on standard cookie timers, pulling trays out before the internal moisture fully escapes.
A steady and controlled heat environment guarantees a safe crunchy texture without scorching the delicate sweetness of the produce. Lower heat settings give the dense oat matrix sufficient time to dry thoroughly from the inside out, keeping every batch shelf-stable for weeks.
11. Baking at Too High a Temperature
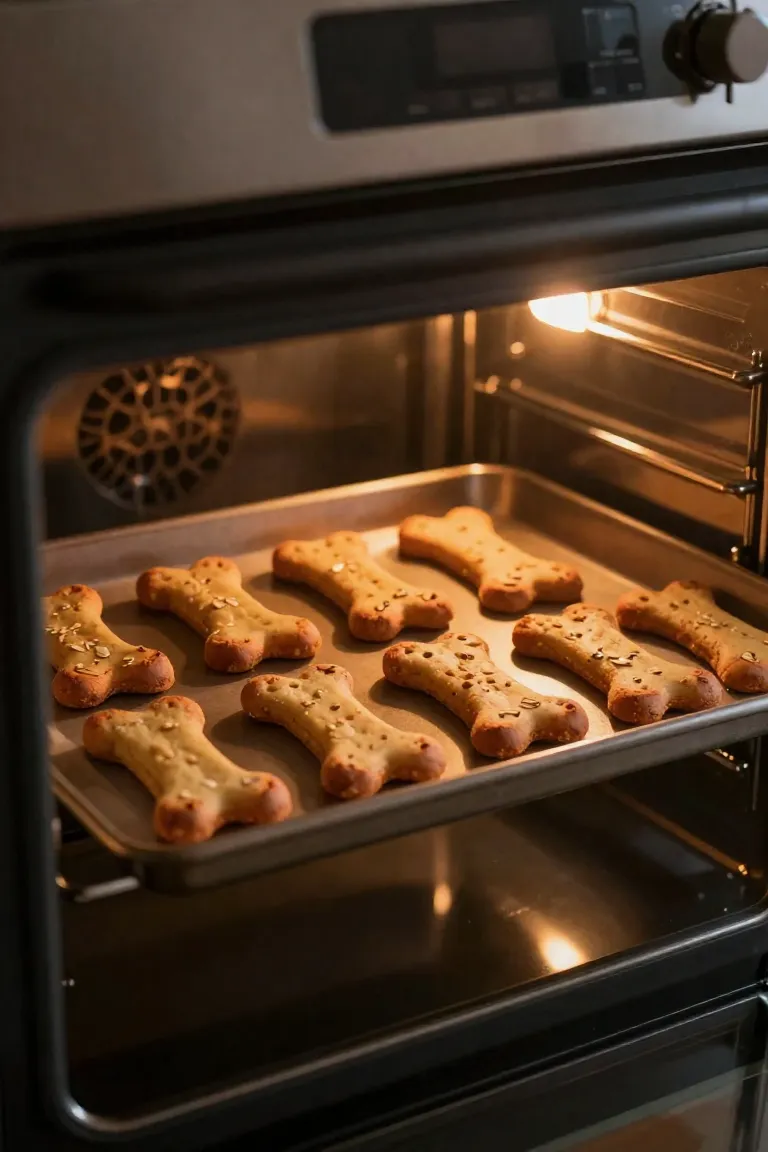
Cranking your dial up to standard dessert heat rapidly caramelizes natural sugars in sweet potatoes before the interior has time to dry. This creates a deceptive crust that looks crisp on the outside while trapping pockets of steam inside the dough. Over time, that hidden moisture migrates outward, softening the biscuits and accelerating spoilage within days.
At a gentle range of 300 to 325 degrees Fahrenheit, the process of slow baking treats draws out lingering water vapor evenly. This steady airflow assists in dehydrating dog cookies thoroughly, yielding solid biscuits that snap cleanly under pressure without burnt corners.

12. Overcrowding the Baking Sheet
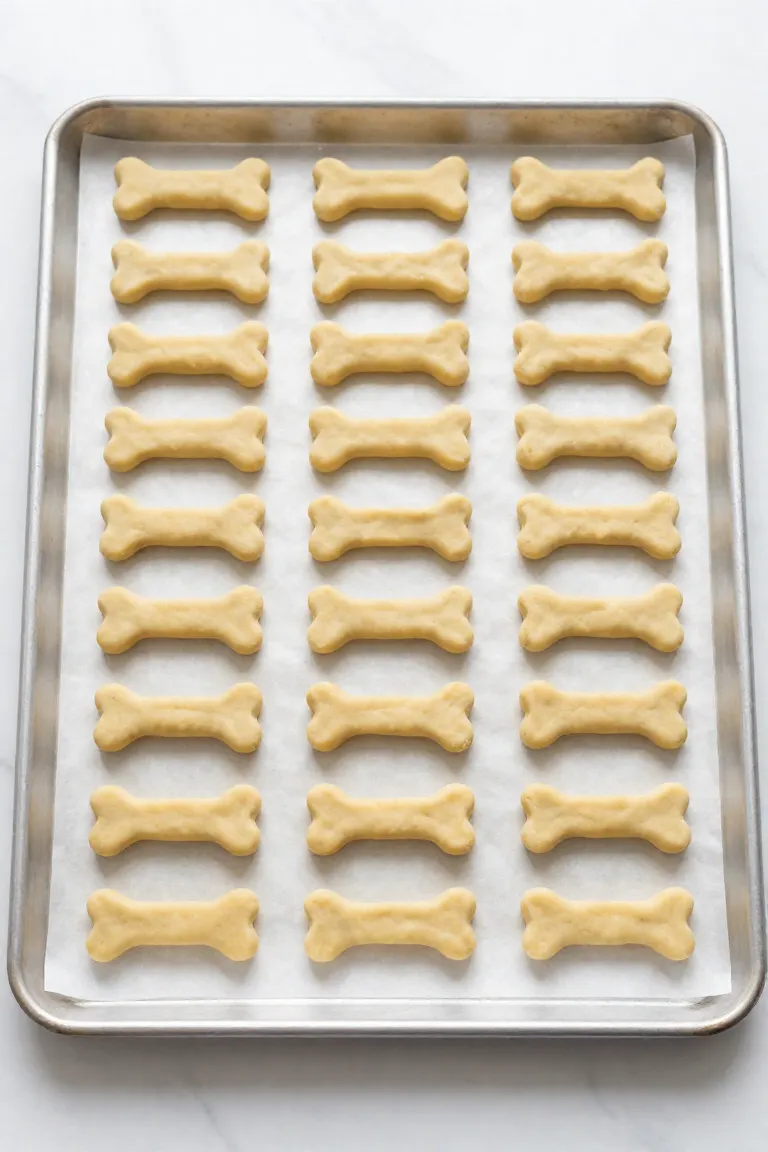
Even with balanced oven settings, packing dozens of cutouts onto a single tray creates pockets of trapped moisture that ruin the texture. Properly spacing cookies allows dry heat to circulate freely around every edge, helping each piece dry out thoroughly rather than steaming its neighbors into a limp texture. Giving your batch adequate breathing room transforms damp dough into reliably crunchy dog biscuits your pup will love.
- Leave at least half an inch of clearance between every cutout to encourage continuous airflow across the parchment liner.
- Divide large batches across two separate trays rather than wedging extra shapes along the pan perimeter.
- Rotate baking pans between upper and lower oven racks if you need to run multiple sheets simultaneously.
13. Not Flipping the Treats Halfway Through
Dense ingredients like fresh fruit purée and root vegetables hold onto water long after the outer crust turns golden. Pulling the baking tray out at the midway mark and flipping cookies guarantees even baking across both surfaces, releasing residual steam that would otherwise remain trapped against the hot pan surface.
- Use a thin metal spatula to lift and turn each biscuit gently without crumbling the warm edges.
- Check the underside color during the turn to gauge whether your oven has hotter zones toward the back wall.
- Return the tray to the rack facing the opposite direction to balance heat exposure across the entire sheet.
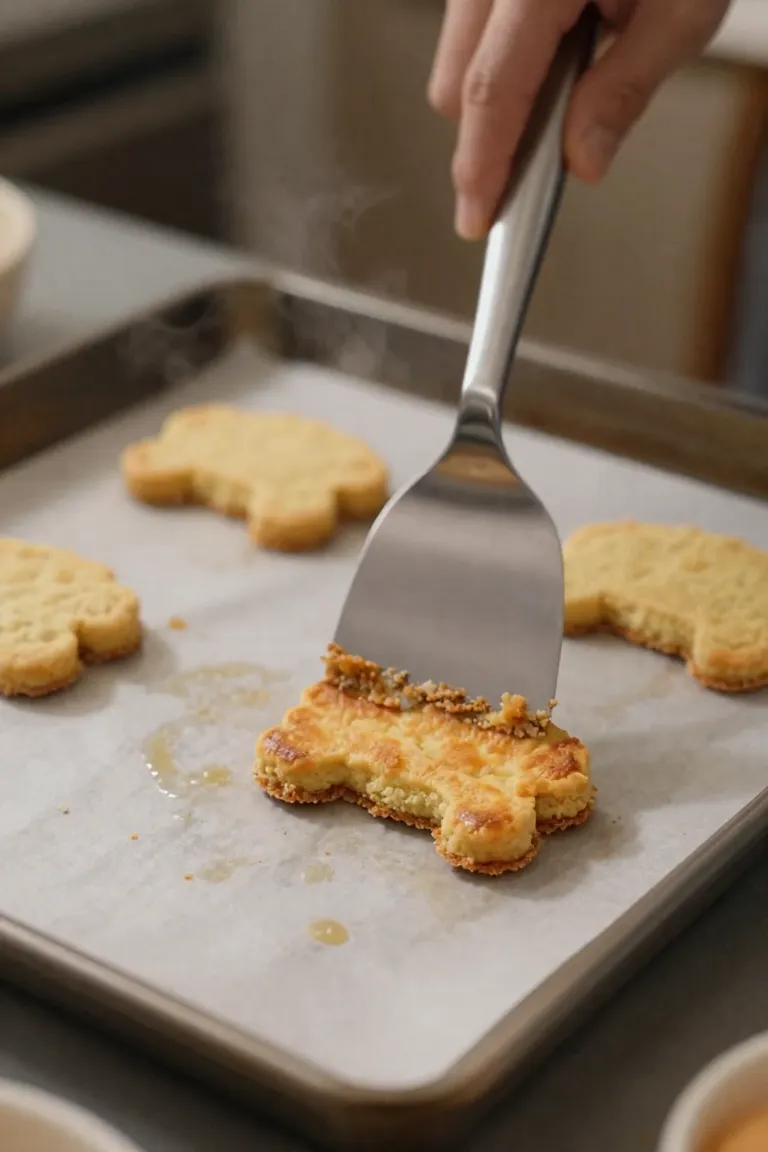
14. Ignoring the Cooling Down Phase Inside the Oven
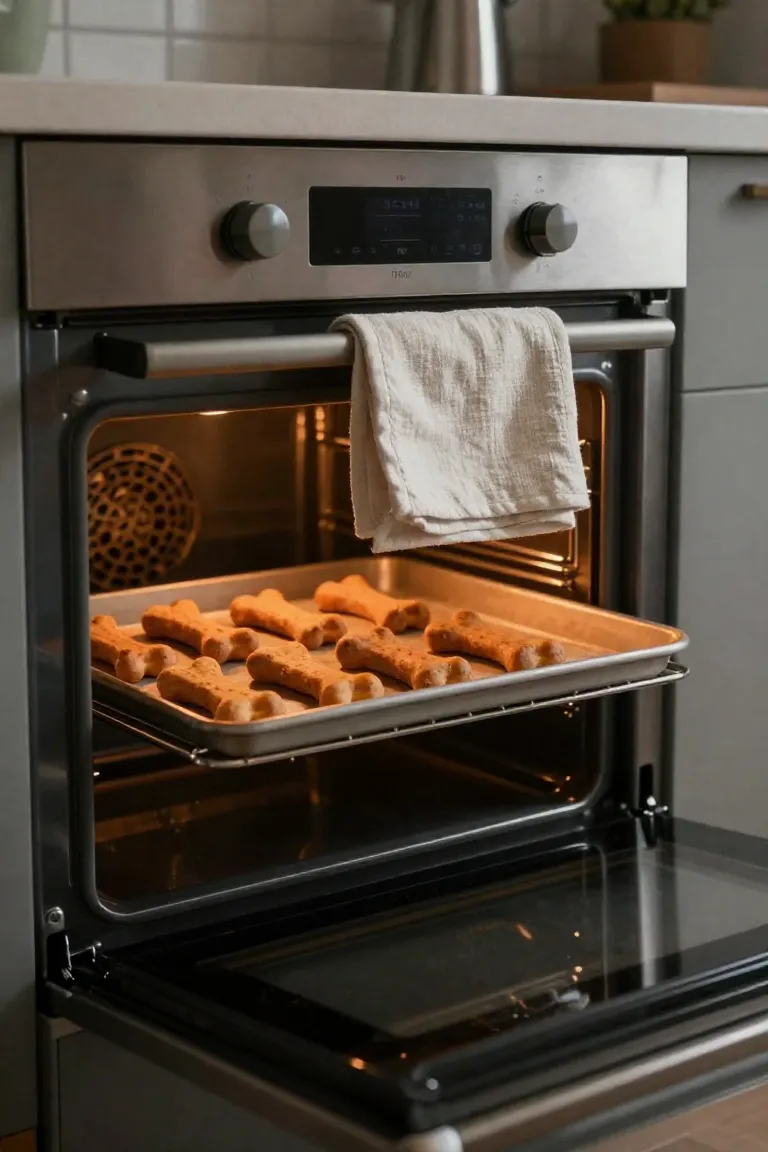
Shutting off the timer does not mean your baking session is complete. Leaving the tray in place for cooling treats in oven environments with the door propped slightly open turns residual warmth into an effective dehydrator. This gradual moisture release prevents the interior from staying soft, producing long-lasting hard dog biscuits with satisfying structural snap.
A wooden spoon wedged in the oven door provides just enough ventilation for ambient steam to escape without chilling the chamber too quickly. The resulting dense crunch helps scrape away soft plaque along your dog's gumline during chew sessions while extending shelf life in your pantry.
Storage and Serving Mistakes
Pulling a fresh batch of biscuits out of the oven is deeply satisfying, but your post-bake routine determines how long your hard work stays wholesome. Because you are working with real food ingredients free from synthetic preservatives and artificial stabilizers, storing homemade treats requires extra attention compared to factory-made snacks.
Natural dog treat shelf life depends directly on moisture control and ambient temperature. Leaving high-moisture goodies sitting out unprotected exposes them to airborne spores, turning a healthy reward into a potential digestive upset for your pup.
15. Storing Treats While Still Warm
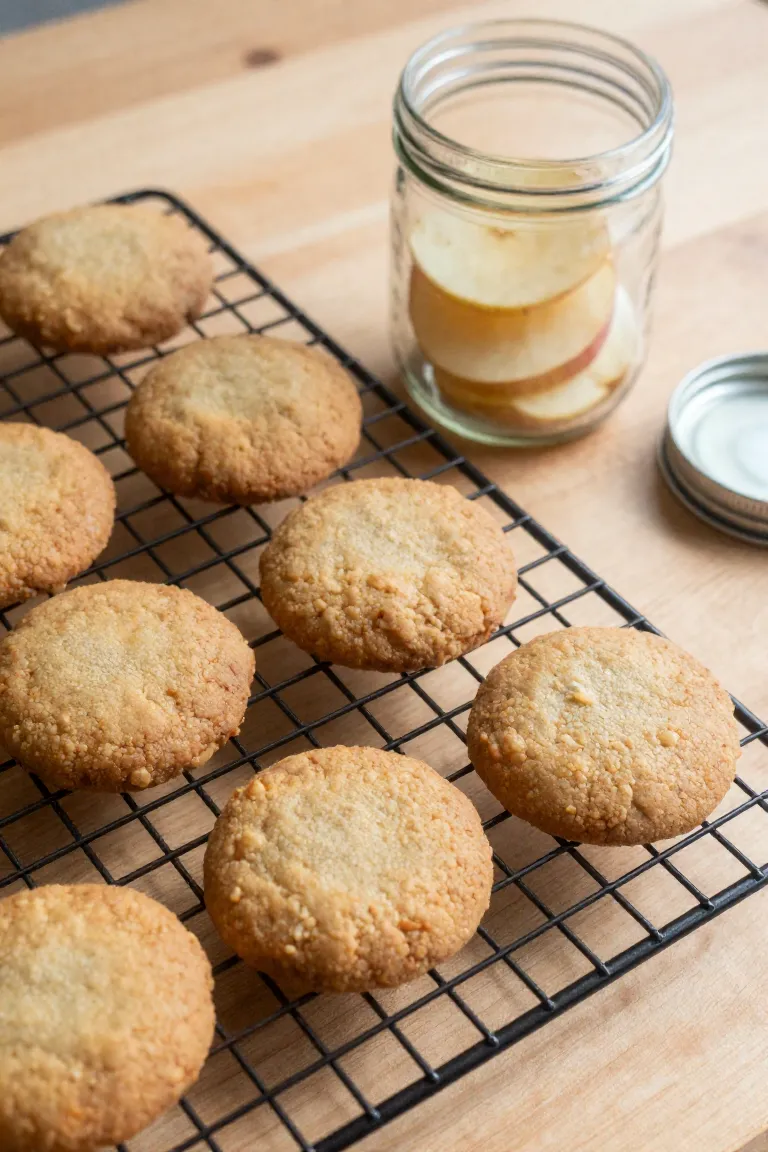
Trapping residual heat inside a sealed jar is one of the fastest ways to ruin freshly baked goodies. Any lingering steam generates water droplets along container walls, creating a humid microclimate that triggers rapid fungal decay within forty-eight hours.
- Transfer your batch immediately to an elevated cooling wire rack so air circulates freely above and beneath each piece.
- Allow treats to rest at room temperature for at least two to three hours until the center reaches ambient temperature.
- Test the base of a sample biscuit with your fingertips to confirm zero warmth before packaging, preventing mold treats from spoiling your hard work.
16. Using Airtight Containers for Soft Treats Unrefrigerated
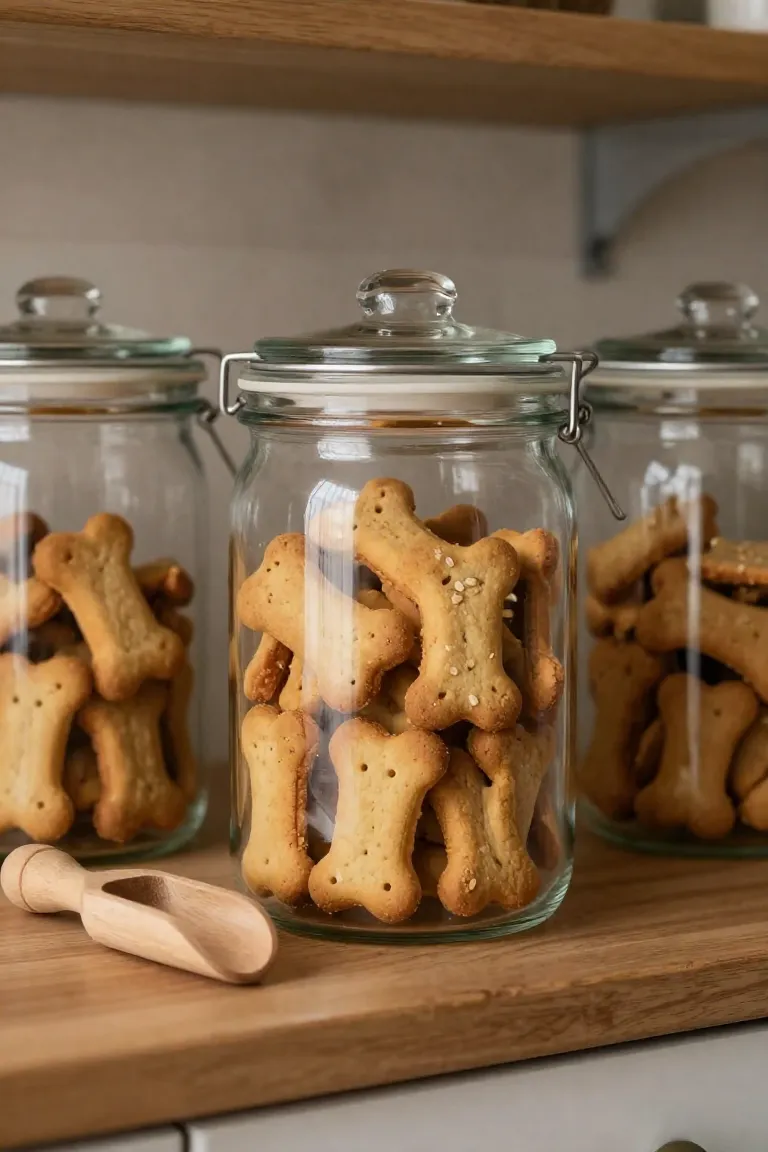
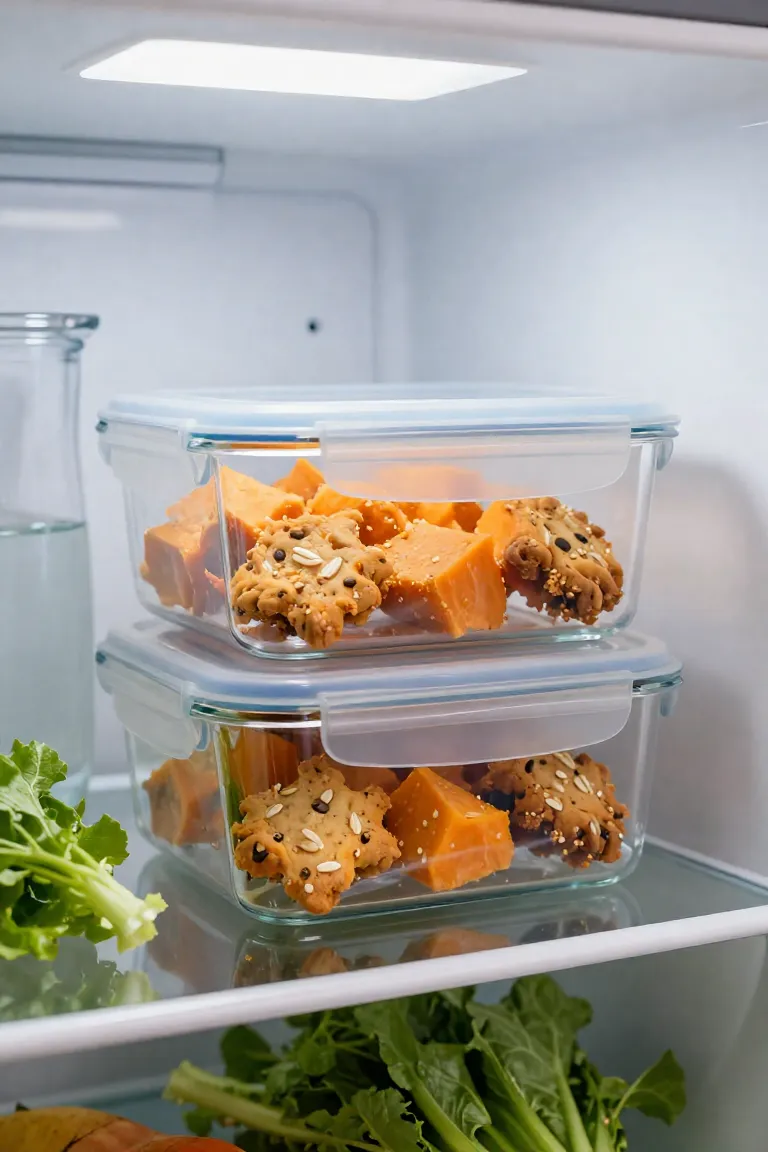
While bone-dry, dehydrated biscuits can safely sit in a pantry jar for up to two weeks, softer chews made with pureed sweet potato retain substantial water content that invites rapid bacterial activity at room temperature. Keeping high-moisture snacks on a warm counter inside a sealed glass canister invites yeast growth and sour odors within days. Refrigerating dog treats in an airtight container keeps them safe and appetizing for up to seven days, maintaining their tender texture without risking your pet's digestive health. If you prepared a large batch or want to stretch your supplies over several months, freezing homemade treats between layers of parchment paper preserves both flavor and nutrients until you are ready to thaw individual portions.
17. Feeding Too Many Treats at Once
Even the cleanest baked snacks must remain a supplement rather than a full meal replacement when managing your pup's daily nutrition. Wholesome ingredients like dietary fiber from sweet potatoes and whole rolled oats deliver excellent micronutrients, yet sudden overindulgence can quickly lead to loose stools or unwanted calorie spikes. Maintaining strict dog portion control ensures your pet receives the digestive benefits of whole foods without throwing their delicate gastrointestinal balance off course.
As a balanced rule of thumb, snacks and training rewards should never exceed ten percent of your pup's total daily caloric intake, keeping the remaining ninety percent anchored in a complete, healthy dog diet. For smaller breeds or less active seniors, breaking each baked biscuit into halves or quarters satisfies their eagerness to crunch while safeguarding their waistline and energy levels throughout the afternoon.
Conclusion: Perfecting the Sweet Potato, Apple, and Oat Treat
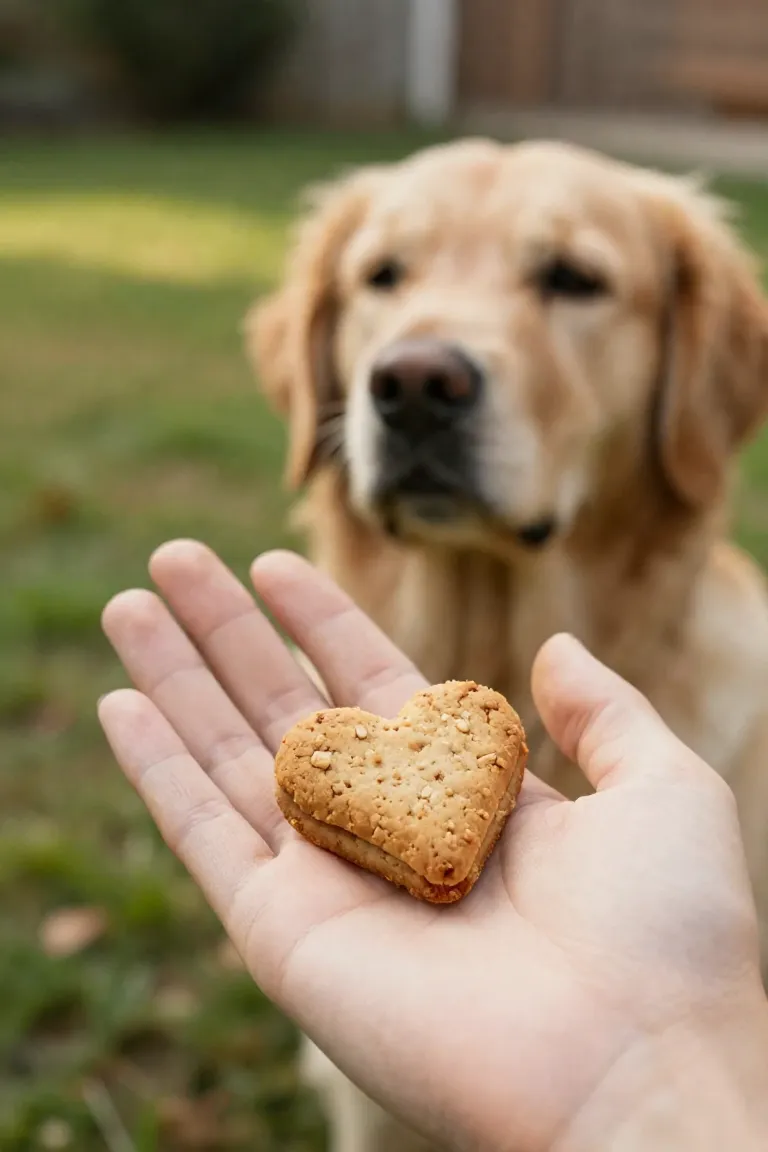
Mastering this homemade dog treats recipe comes down to selecting pure dog-safe staples and baking the dough low and slow for a crisp, moisture-free texture. When you take the time to cool each batch thoroughly and store it with proper moisture barriers, you provide wholesome nourishment that supports canine digestion and prevents unwanted exposure to commercial preservatives.