Introduction: Winning Over Stubborn Pups
Every dog owner knows the quiet frustration of watching a dog deliberately ignore a basic cue in favor of a passing squirrel or a stray scent. Standard store-bought biscuits often lose their appeal after a few repetitions, leaving you searching for something that genuinely holds your dog's focus during challenging sessions. Small, oven-baked cookies made from sweet potato and rolled oats provide that focused motivation, giving your training routine an aromatic, easily digestible reward that feels like a jackpot every time. Preparing these treats in your own kitchen gives you direct control over texture and batch sizes, ensuring you always have a fresh supply ready for your next outdoor session.
Why Sweet Potato and Oats Make the Ultimate Training Treat
Natural sugar from roasted or steamed tubers provides a rich, earthy aroma that immediately captures a dog's attention during focused drills. When mixed with ground whole grains, the natural sweetness balances out into a dense, satisfying bite that holds together without crumbling into your pocket or treat pouch. You get a reliable reward that keeps your dog eager across repetitive practice, while the enticing scent cuts through common outdoor distractions without relying on artificial flavorings or heavy animal fats.
On the digestive side, soluble fiber helps regulate gut transit so frequent reward deliveries during an active session do not cause sudden stomach upset. The slow-burning complex carbohydrates release steady energy, preventing the sharp blood sugar spikes and crashes that often disrupt your dog's concentration. This gentle profile means you can reinforce successful cues repeatedly, keeping motivation high during prolonged obedience drills.

1. The Psychology of High-Value Rewards
During demanding practice sessions, standard dry biscuits often fail to compete with outdoor distractions or stubborn impulses. A snack earns high-value status by delivering greater incentive, pulling your dog's focus away from competing scents and straight back to your cues.
- The earthy sweetness of cooked tubers produces a warm scent that reaches your dog's olfactory receptors much faster than bland, shelf-stable kibble.
- Soft, moist morsels break down quickly in the mouth, allowing your dog to swallow cleanly without prolonged chewing breaks.
- Freshly prepared batches provide a distinct contrast to daily meals, preventing reward fatigue and maintaining steady motivation during tricky exercises.
2. Digestive Health and Nutritional Benefits
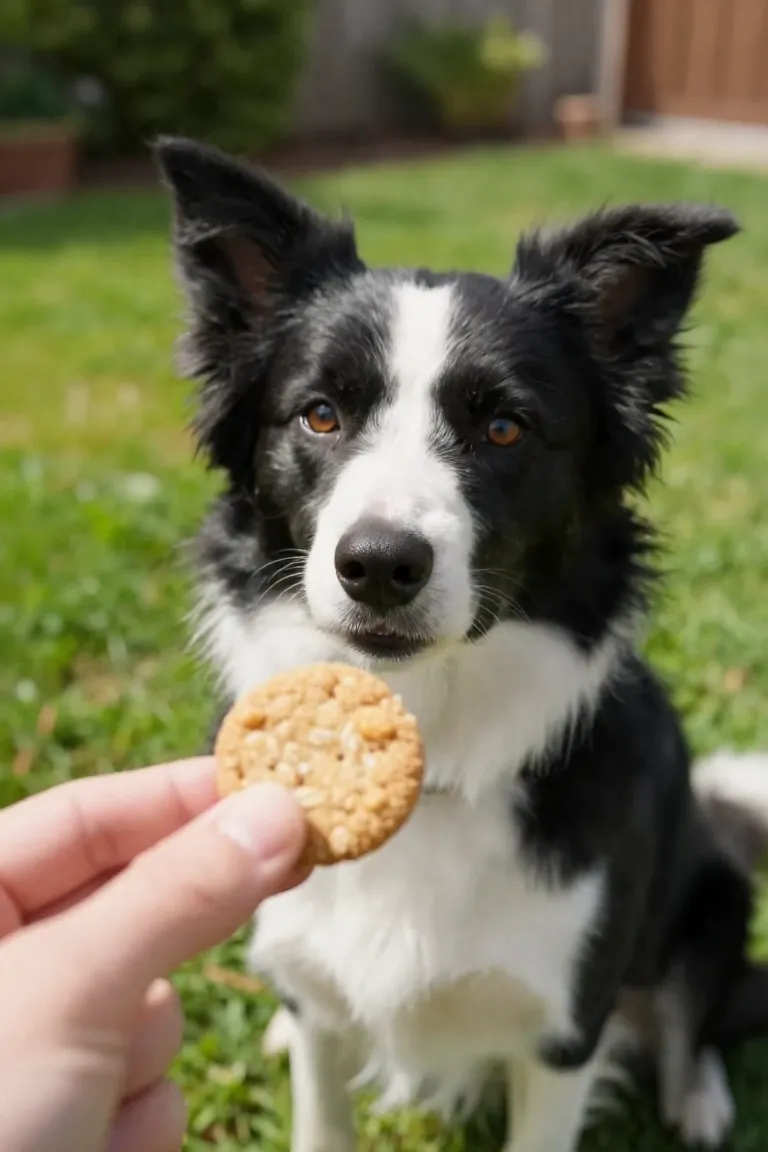
Because rapid-fire marking requires feeding dozens of morsels in a single session, the nutritional impact of those extra calories adds up quickly. Cooked sweet potatoes provide a concentrated supply of soluble fiber alongside essential vitamins A, C, and B6, which support steady energy without causing abrupt blood sugar spikes. Paired with whole oats, a soothing, naturally gluten-free complex carbohydrate, this base is exceptionally easy on delicate canine microbiomes, preventing the loose stools and gas frequently triggered by rich commercial treats during repetitive drills. Your dog gets sustained stamina and clean nutrient absorption from every bite.
Gathering Your Ingredients and Equipment
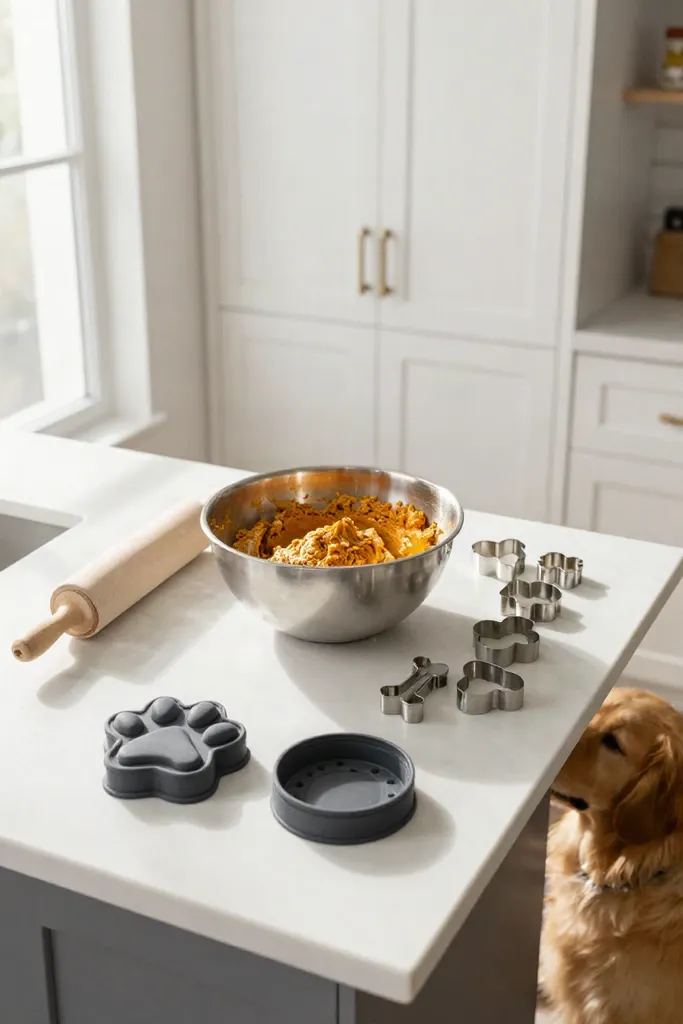
Setting up your workspace takes just a few minutes because you can rely entirely on everyday pantry staples and simple kitchen utensils. You don't need commercial dehydrators, specialty silicone molds, or hard-to-find binders to produce consistent reward morsels that hold their shape during handling. A standard baking sheet, parchment paper, and a regular blender or food processor handle the entire process without crowding your counter space. Keeping the setup this straightforward means you spend minimal time cleaning up before mixing the ingredients.

1. The Simple Ingredient Checklist
Gathering the pantry staples takes just a minute when you stick to clean, unseasoned whole foods. You only need a handful of gentle items to build a reliable reward, though verifying label safety remains the most important step before you start mixing.
- Plain sweet potato puree with no added syrups, salt, or pie spices.
- Old-fashioned rolled oats that grind easily into a soft, digestible base.
- One large egg to bind the mixture, along with an optional light dash of ground cinnamon for aroma.
- Carefully screened items free from any artificial sweeteners, especially xylitol, which is extremely dangerous for dogs.
2. Essential Kitchen Tools for Micro-Treats
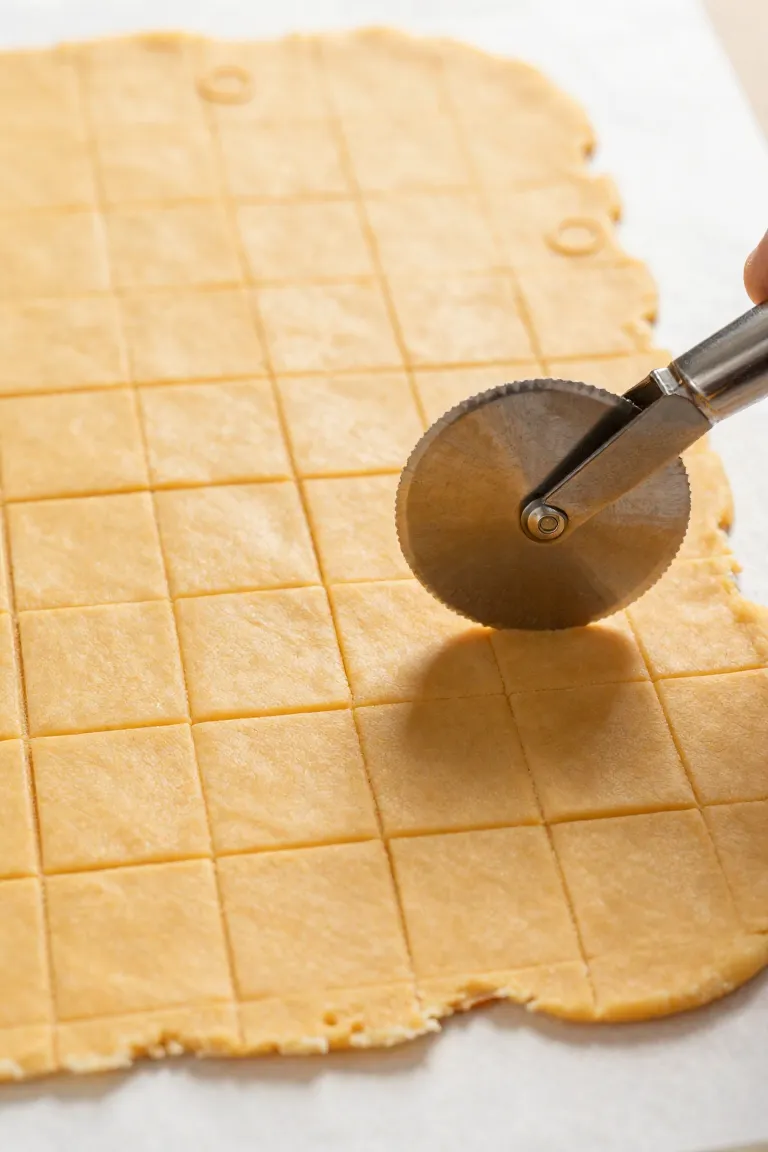
Once your pantry items sit ready on the counter, setting up the right prep station makes the difference between clumsy biscuits and rapid-fire training bites. A standard rolling pin paired with two sheets of unbleached parchment paper gives you uniform dough thickness, which prevents thin edges from burning while thicker centers stay raw. To turn a rolled sheet into hundreds of pea-sized rewards without hours of hand-shaping, a standard pizza wheel or multi-blade pastry cutter slices rapid grid lines across the dough with minimal effort.
A stainless steel bench scraper quickly lifts those tiny scored squares onto your baking sheet without tearing their delicate borders. If you prefer uniform rounded nibbles over square cuts, an inverted silicone pyramid mat lets you press soft dough straight into hundreds of miniature pockets all at once. Having these basic items clean and arranged on your countertop keeps the entire workflow smooth before you begin preparing the fresh root vegetables.

Step-by-Step Recipe: Crafting the Perfect Training Cookies
Moving straight into the kitchen process requires balancing moisture with dry bulk so the finished rewards hold together on the go. By sticking to the recommended ratios and timing, you get a bite-sized snack that stays firm in your treat pouch yet breaks easily when you need a fast reward.
- Moisture control keeps the morsels soft enough for quick chewing without leaving greasy residue on your fingers.
- Uniform sizing ensures consistent heat exposure across the whole sheet pan and prevents dry, crumbly edges.
- Solid crumb structure stops the pieces from turning to powder inside your jacket pocket during outdoor walks.
Step 1: Preparing the Sweet Potato Base
Whole orange tubers need thorough heat exposure so their dense flesh yields easily to gentle pressure. You can either pierce the skin several times with a fork and roast the root at 400°F until tender throughout, or peel, cube, and boil the pieces for roughly fifteen minutes until a knife slides in with zero resistance. Let the cooked pieces cool just enough to handle safely, then strip away any papery peel. Pressing the warm pulp through a sturdy potato ricer or working it directly with a wire masher produces a velvety, uniform puree. Clearing out every dense fiber pocket now prevents stubborn chunks from snagging your rolling pin or creating brittle fracture lines later on.

Step 2: Creating Oat Flour in Seconds
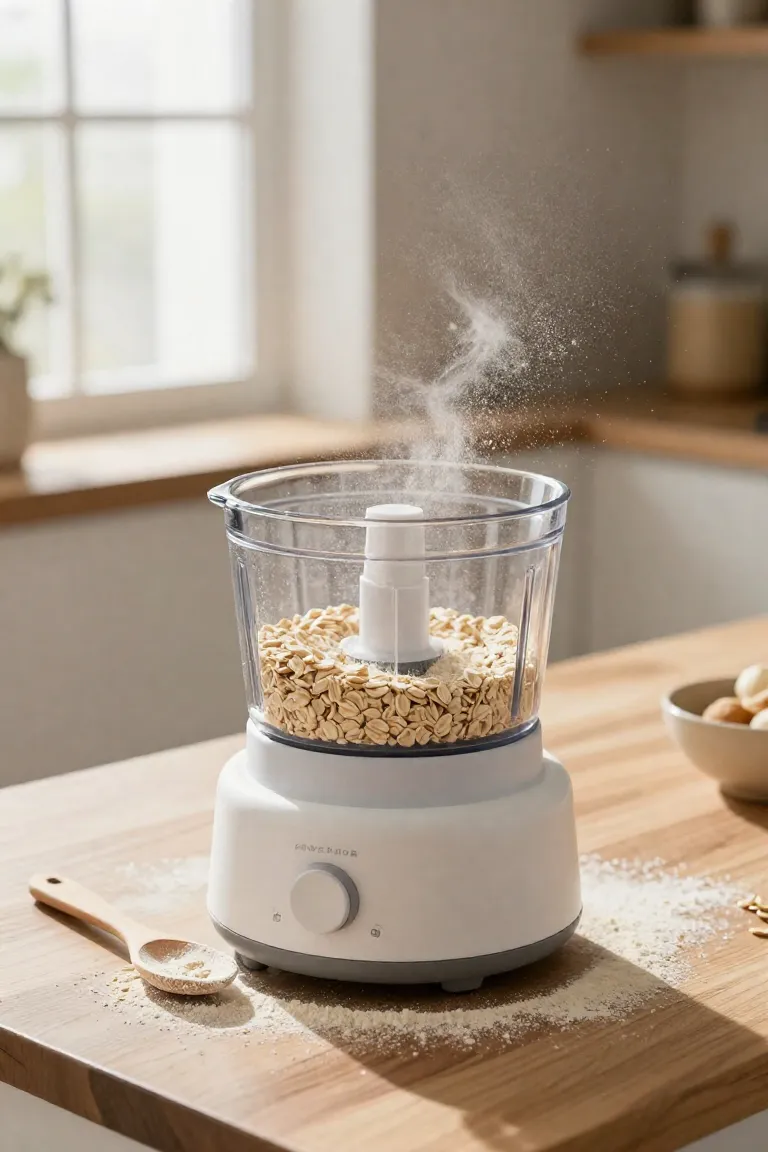
Pour regular rolled oats directly into a dry blender or food processor cup. High speed pulverizes the coarse flakes into a soft, powdery grind in roughly thirty seconds. A quick shake of the container midway through dislodges any stray flakes stuck along the sides, giving you a uniform texture without paying extra for specialty packages.
A fine grind helps absorb moisture evenly from your mashed root base without needing eggs or added starches. For sensitive dogs, certified gluten-free oats keep the mixture gentle on digestion while ensuring your dough holds its shape across the counter.
Step 3: Mixing and Kneading the Dough
Pour your freshly ground oat flour gradually into the mashed sweet potato within a wide mixing bowl. Working the dry flour in two or three additions gives the starch time to hydrate evenly, preventing dry pockets from hiding in the center. A sturdy spatula or wooden spoon helps bring the mixture together into a rough, shaggy mass as the natural moisture binds with the fiber.
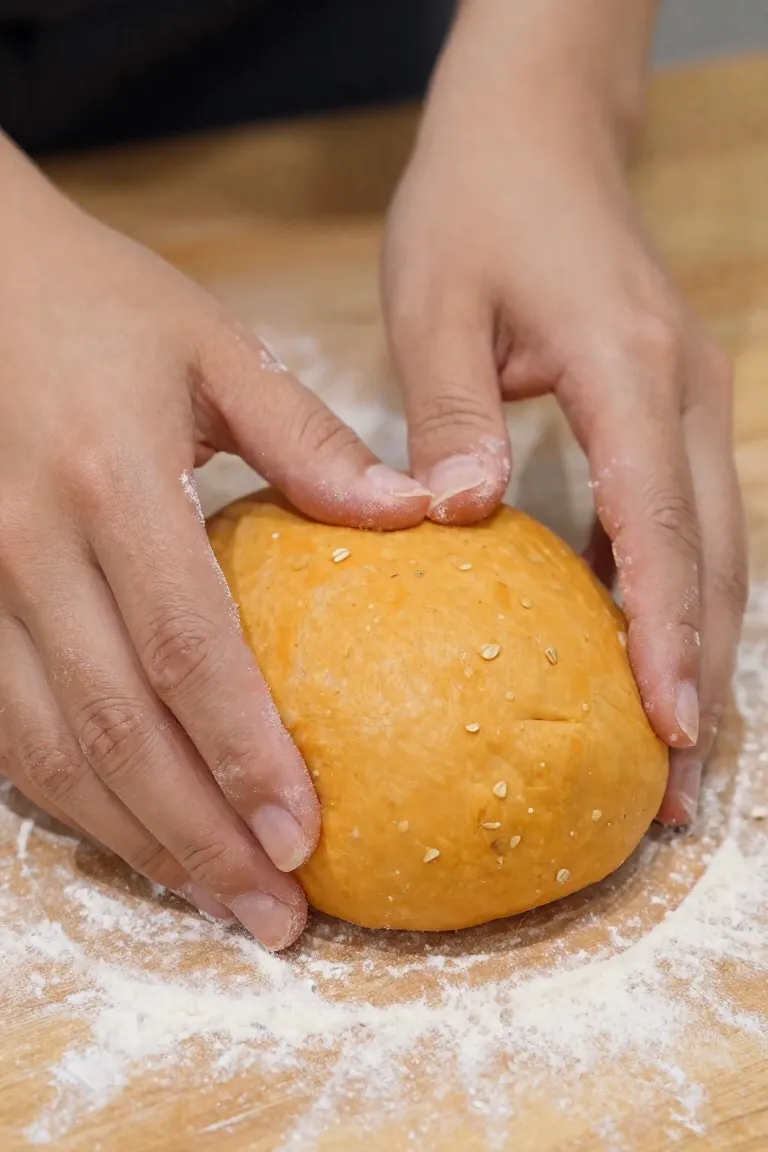
On a lightly dusted work surface, press and fold the mass with your palms for roughly two minutes. The heat from your hands coaxes the ingredients into a smooth, firm dough ball that pulls away cleanly from the counter. If the surface feels too wet, sprinkle an extra spoonful of ground oats; if it crumbles, mist your hands with a splash of water to keep the base pliable for portioning.
Step 4: Sizing and Shaping for Training
Flatten the dough between two sheets of parchment paper until it reaches roughly an eighth of an inch in thickness. Keeping the sheet uniform prevents thick centers from undercooking while the outer edges crisp too fast. A simple rolling pin glides cleanly over the paper, leaving you with an even slab that yields consistent morsels from edge to edge.
A standard pizza wheel or sharp knife cuts through the rolled dough with minimal drag. Run your blade across the sheet in a tight grid pattern to create pea-sized bites that your dog can swallow instantly without stopping to crunch during reward sequences. Tiny dimensions keep training sessions moving fast and prevent excessive calorie intake during practice.
Step 5: Baking to the Perfect Chewy Texture
Slide your lined baking sheet onto the center rack where heat distributes evenly around every small piece. Because these morsels are bite-sized, you don't want them in the heat too long or they will dry out.
- Set your oven to 350°F (175°C) and bake for 10 to 12 minutes until the edges are just set.
- Check that the centers remain slightly soft to the touch, which allows your dog to swallow each reward quickly without stopping to chew.
- Pull the tray out while the pieces are still pliable, letting them rest on the warm sheet for a few minutes before cooling.
Storing and Preserving Your Homemade Treats
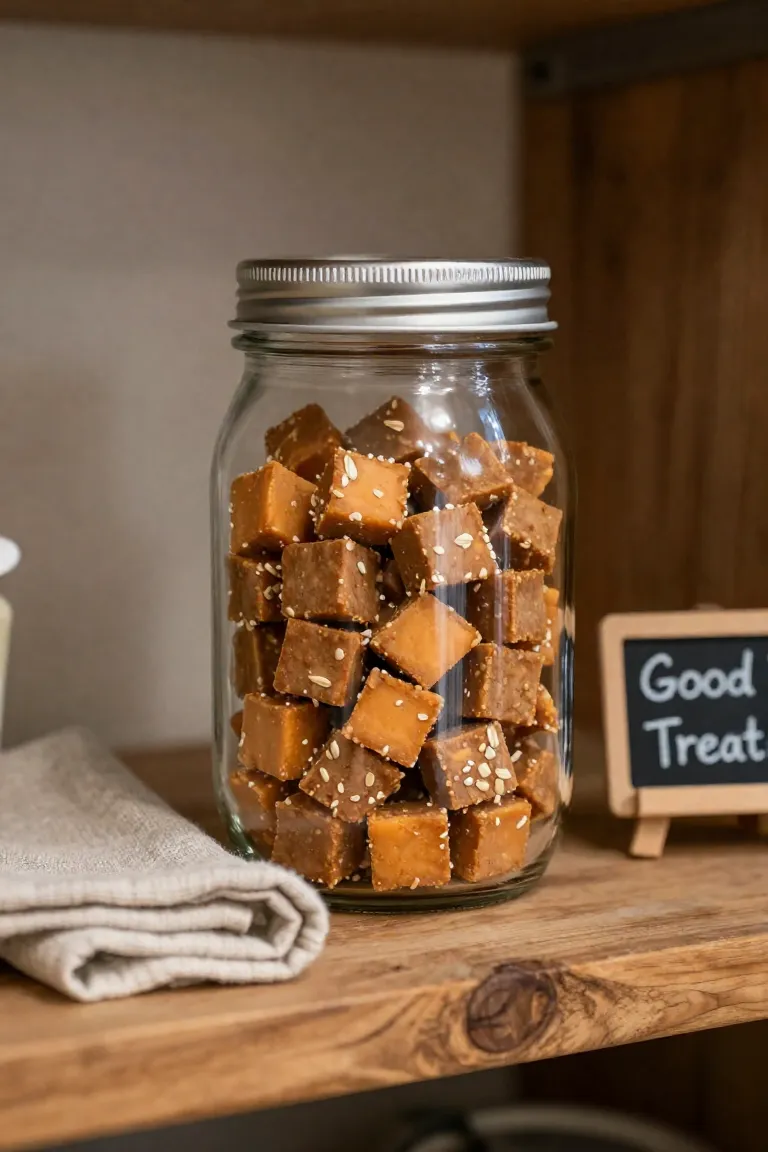
Once the batches cool down completely to room temperature, you need a solid container to protect their shelf life. Because this kitchen batch contains zero synthetic shelf preservatives or chemicals found in standard boxed kibble treats, lingering moisture can invite mold within days if left on a warm counter. Transfer the cooled rewards into an airtight glass jar or silicone bag, keeping a week's supply in the refrigerator where they stay fresh and firm. If you made a double batch for future training drills, freeze the remainder on a flat parchment sheet before transferring them to a sealed freezer pouch, where they will keep their chewiness for up to three months without losing aroma or flavor. When you are ready for your next practice session, pull out a handful five minutes early so they soften slightly before your dog gets to work.
Frequently Asked Questions (FAQ)
Pure canned pumpkin makes an easy swap for sweet potato at an even one-to-one ratio, provided the can lists pumpkin as the sole ingredient without added sugars or pie spices. When baked completely, a batch stays fresh in a sealed container on the counter for five to seven days, though storing the container in your refrigerator extends that shelf life to two full weeks. If you make larger batches ahead of time, the freezer preserves their texture for up to three months without any loss of aroma.
For young puppies or senior dogs with sensitive gums, these biscuits work well when adjusted for texture. You can pull them from the oven a few minutes early to retain extra moisture, or simply soak a few pieces in warm water for thirty seconds to create a tender, gum-friendly bite. This quick adjustment allows developing pups to swallow them smoothly during active drills without choking or pausing to chew.