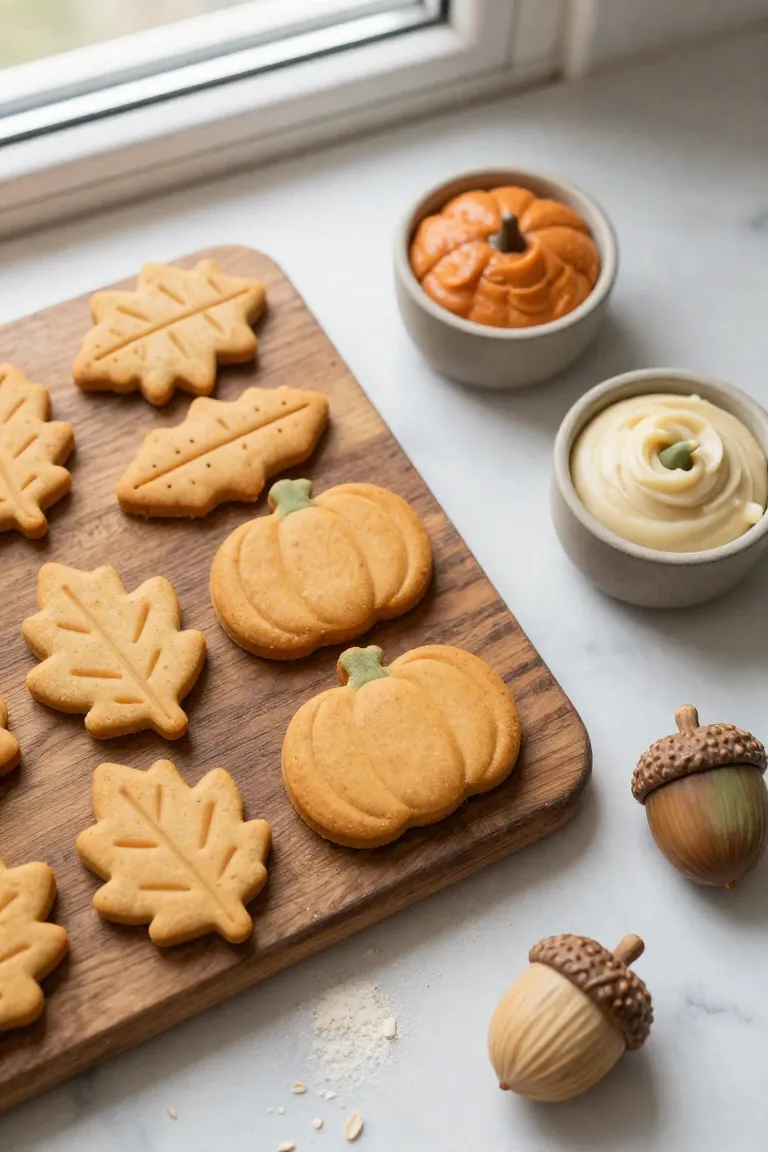
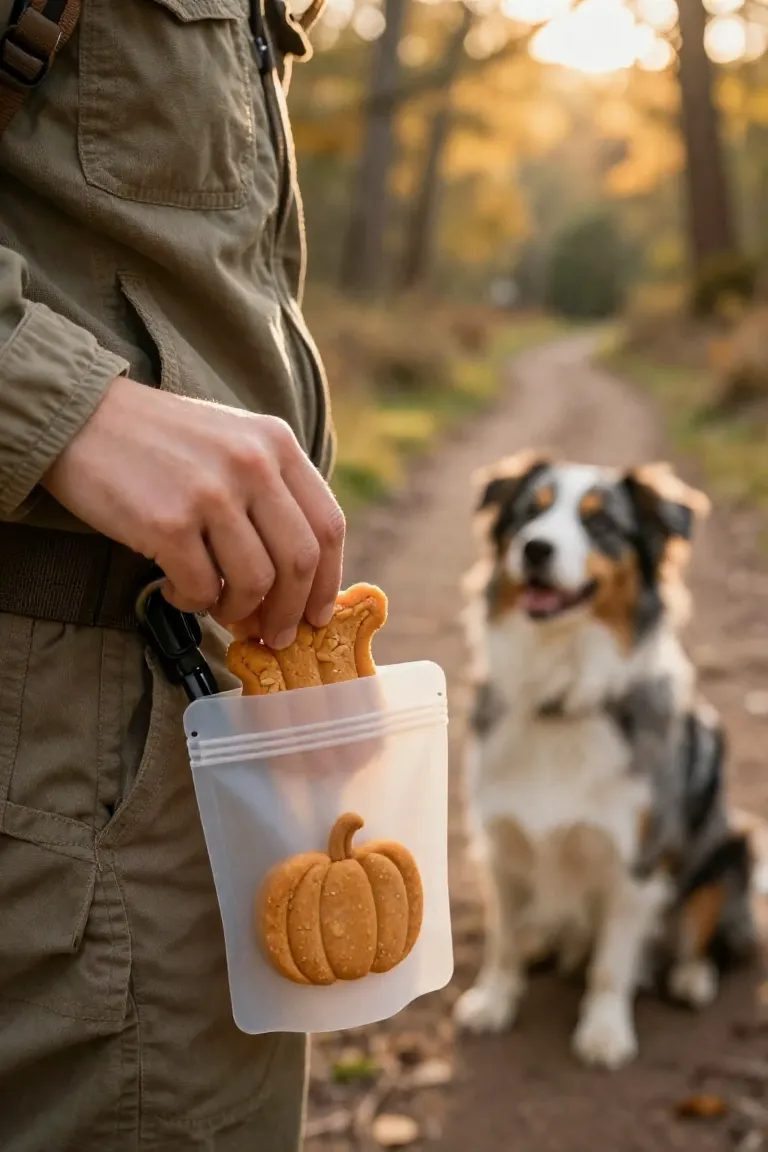
Introduction to Dog Birthday Baking
Many pet owners swap store-bought treats for fresh oven bakes when their pup's special day arrives. Pumpkin puree mixed with xylitol-free peanut butter provides a reliable base that dogs crave and sensitive stomachs tolerate. Whipping up the batter takes only minutes, but turning that sticky mix into clean shapes requires specific kitchen tools. Proper baking molds and cutters prevent crumbly edges, ensuring every homemade party biscuit holds crisp detail straight out of the oven.
Why Quality Molds Matter for Peanut Butter Pumpkin Dough
Pumpkin puree carries high moisture and natural peanut butter contributes heavy fats. Mixing these ingredients creates a dense dough that clings stubbornly to work surfaces, unlike standard flour recipes. Flimsy shaping tools buckle under this weight, tearing corners and distorting cutouts before they reach the baking sheet. Sturdy tools provide the structural rigidity needed to press through thick batter and release every biscuit intact.
- Rigid walls prevent warping when cutting into chilled mixtures.
- Polished interior surfaces help sticky ingredients drop free without snagging details.
- Consistent wall depths ensure each biscuit bakes at the same rate across your tray.
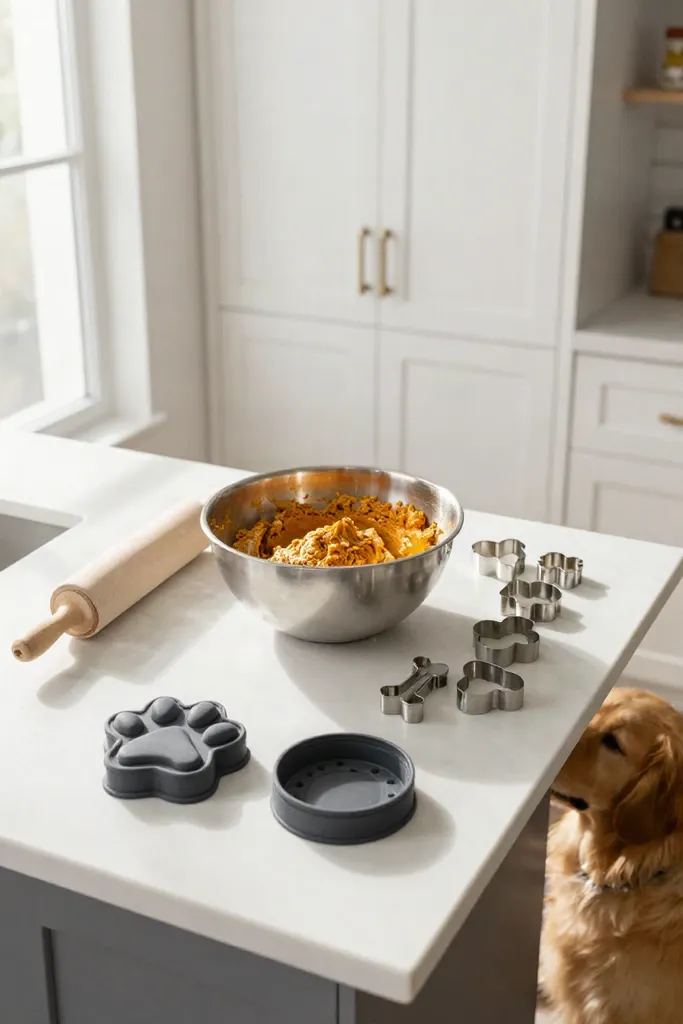
Material Guide: Silicone vs. Metal Cutters
Deciding how to shape homemade biscuits depends on the moisture level of your recipe and whether you plan to bake directly in a cavity or stamp shapes onto a flat sheet. Flexible silicone trays work well with sticky batters because you can push baked pieces out from the bottom without greasing or damaging delicate contours. Stainless steel cutters slice cleanly through chilled dough to produce crisp borders that hold their structure in the oven. The right tool choice aligns with your preferred dough texture and baking method.
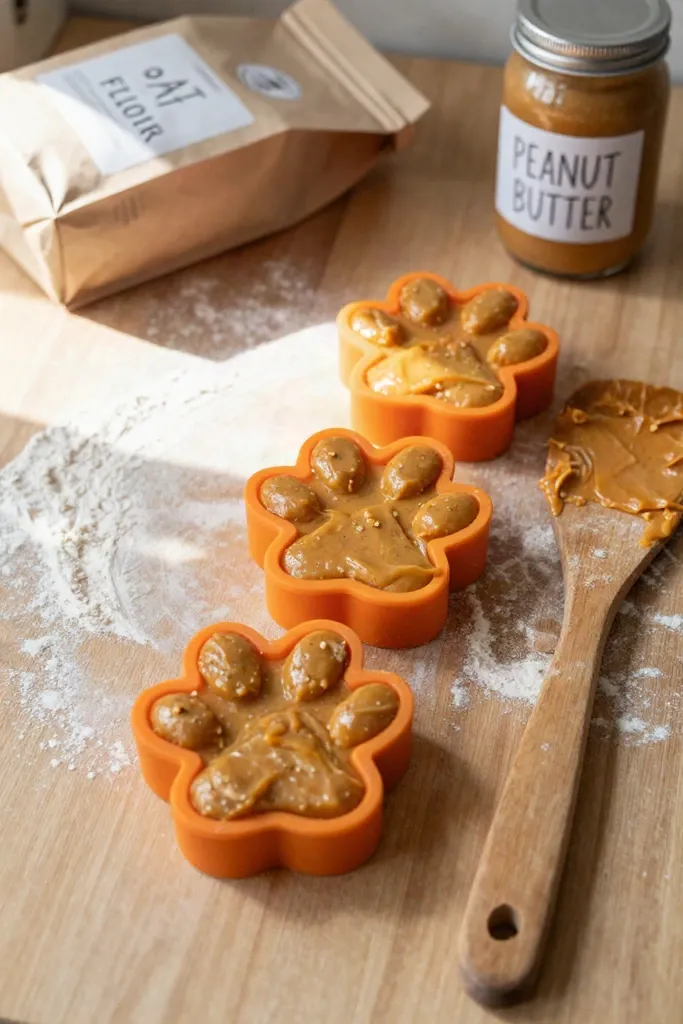
1. Silicone Molds for Easy Release
Batters loaded with pureed pumpkin and peanut butter cling tightly to standard baking surfaces, making flexible food-grade trays an ideal solution. Spooning dense mixtures into these pliable cavities prevents sticking without requiring extra cooking sprays or heavy flour dusting that might upset a dog's stomach. After the batch cools, pressing upward against the base of each shape releases the baked snacks intact and preserves fine details.
Deeper cavity trays help you bake thicker biscuits with tender centers instead of hard wafers. Senior dogs and pups with sensitive teeth benefit from this gentle crumb because it allows them to eat the treats without painful chewing. The silicone material traps moist heat evenly during baking, resulting in consistent chewiness across the entire tray.
2. Stainless Steel Cutters for Sharp Edges
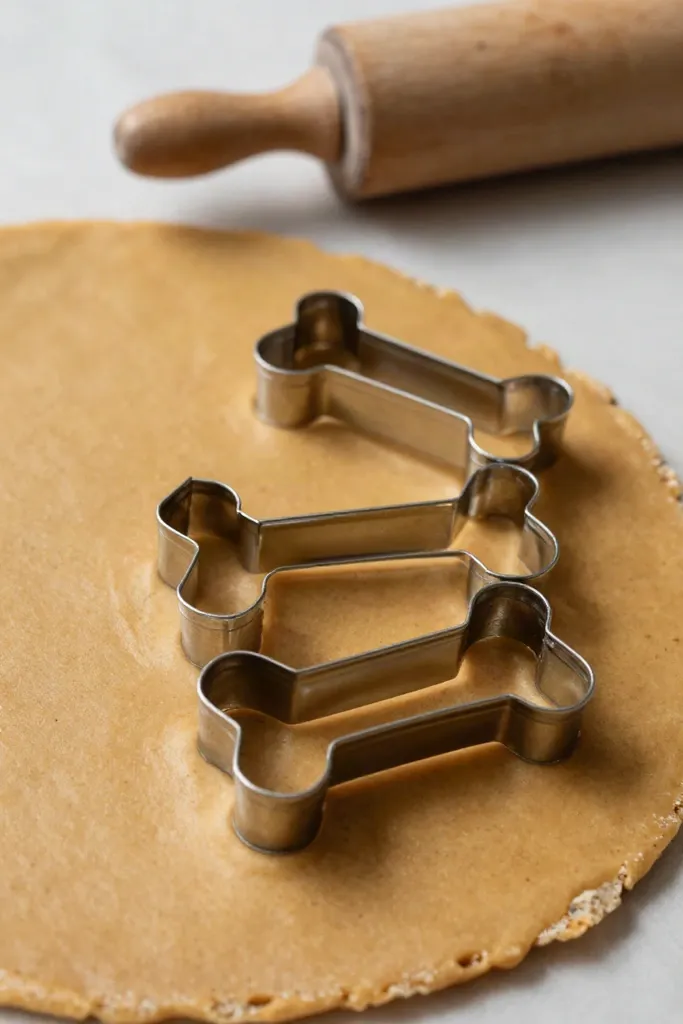
To achieve traditional dry biscuits, rigid food-grade metal slices straight through dense dough without dragging the borders. Thin rims produce clean perimeter cuts that help each treat hold its exact shape while moisture bakes off in the oven. This structural rigidity prevents the dough from bulging outward, yielding baked pieces with flat tops and distinct edges.
With cold dough straight from the refrigerator, heavy-gauge walls withstand downward palm pressure without warping out of alignment. The rolled top rim cushions your hands as you push through chilled puree mixtures, and the bottom bevel releases each cutout cleanly onto your baking sheet with a tap. This process creates uniform blanks ready for dog-safe icing.
Must-Have Shapes for Dog Birthday Biscuits
A shaped treat platter adds visual appeal to your dog's special day, particularly when guests take commemorative pictures. Distinct contours turn standard pumpkin dough into focal points that complement your party banners and backdrop palette. Festive outlines ensure the treats look intentionally coordinated before you even add frosting.
- Creates clear visual themes that make pet portraits stand out against party backdrops.
- Distinguishes special milestone snacks from everyday training rewards on the treat table.
- Provides practical sizing options so smaller guest pups and larger dogs can safely share the spread.
1. Classic Birthday Cake and Party Hat Cutters
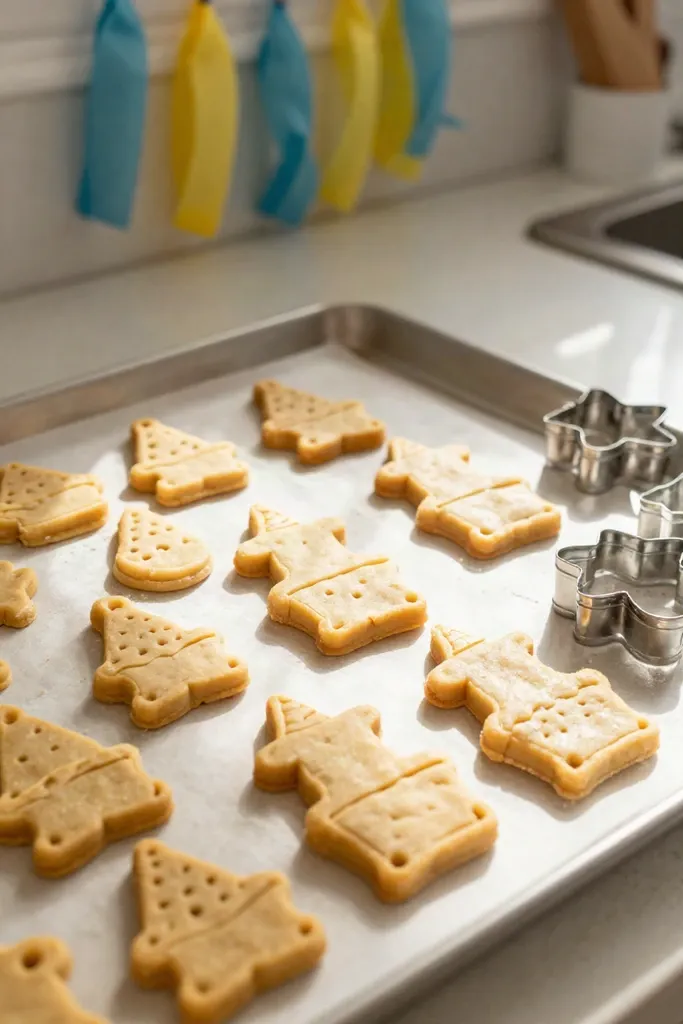
Layered tier designs and triangular cones turn rolled dough into distinct festive shapes for celebration photos. These specific contours maintain their structure during baking and provide flat surfaces ready for dog-safe icing once the batch cools.
- Pair triangular hat shapes with piped dots of plain Greek yogurt and tapioca starch to mimic pom-poms along the top ridge.
- Draw horizontal lines across tiered cake biscuits using a squeeze bottle to separate the faux frosting layers.
- Dust the wet yogurt glaze with unsweetened coconut flakes or beet powder for natural party sprinkles.
2. Number Cutters for Milestone Dog Years
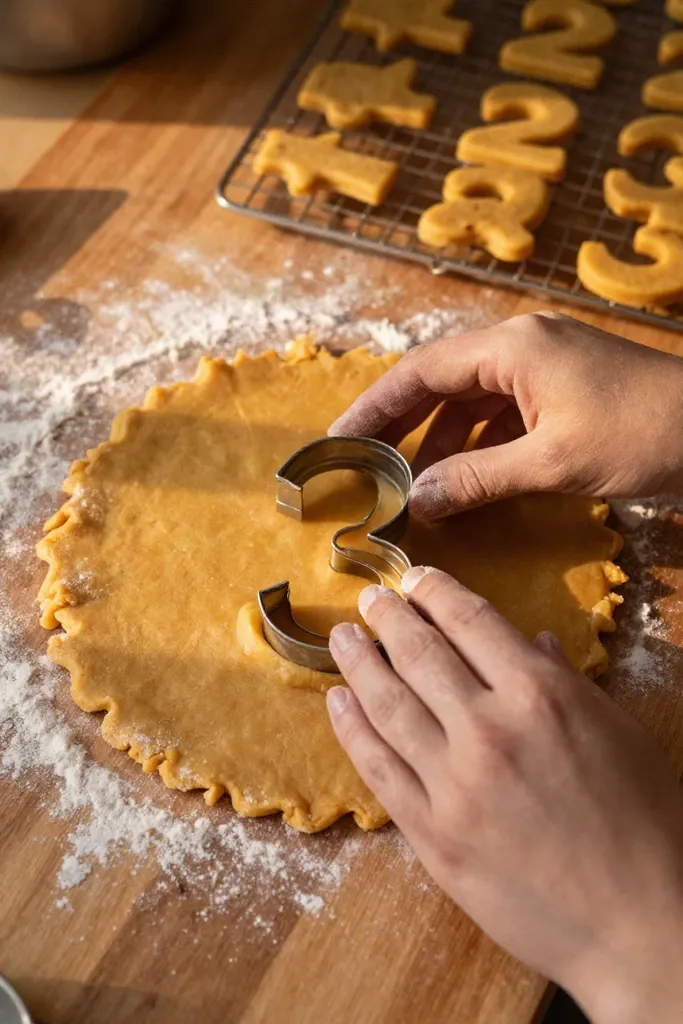
Adding digit outlines to your baking kit lets you tailor treats to your pup's current age. A set of three-inch metal digits cuts clean perimeter lines into dense pumpkin dough that resist warping in the oven. This structural stability keeps each numeral sharp and legible, turning a basic plate of biscuits into a specific age display.
First birthdays and tenth year milestones photograph clearly when you place the baked numeral directly onto a frosted pupcake. Crisp dough edges maintain their definition under bright indoor lighting, creating sharp shadows in your pictures. A properly baked numeral holds its shape even when leaned against heavier treats on the dessert tray.
3. Bone and Paw Print Multi-Packs
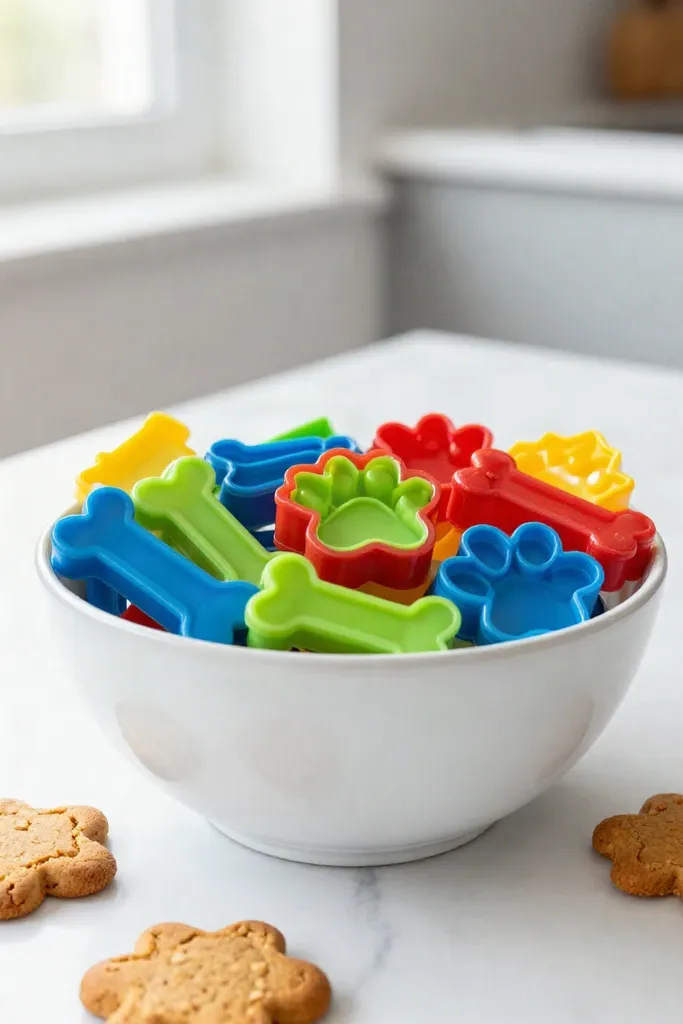
Traditional canine silhouettes provide familiar, recognizable shapes for the treat table. A graduated nested set offers proportional tiers of matching outlines from a single rolled dough sheet. This variety allows you to bake broad five-inch pieces as cake toppers while cutting miniature paws and bones for take-home party favors. Keeping diverse cutter sizes on your counter lets you prepare separate batches calibrated for both large hounds and toy puppies without switching your prep tools.
4. Personalized Name Stamps and Embossers
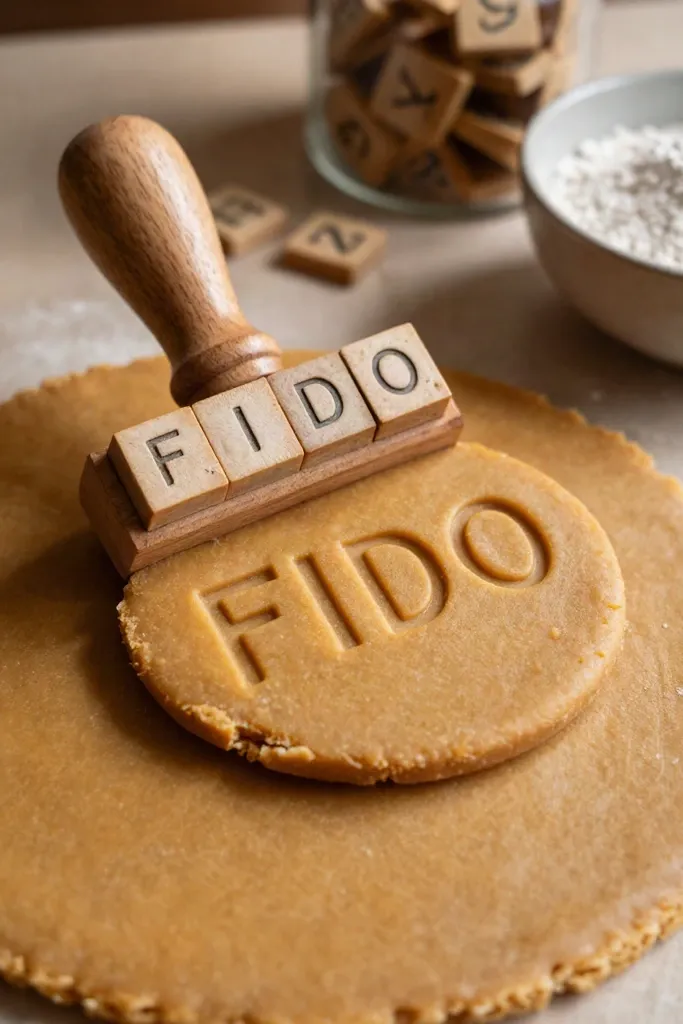
Customizing biscuits with a name stamp adds a specific identifying mark to party gift bags. Food-grade acrylic or silicone press sets often feature interchangeable characters that slide directly into a grooved alignment track. This modular system keeps individual letters straight and lets you spell out nicknames across multiple treat sizes. To stop pumpkin dough from clinging inside the shallow character grooves, dust the pressing surface lightly with oat flour before stamping. Firm palm pressure produces clean, deep lettering that remains legible after the biscuit expands in the oven.
Pro Tips for Using Sticky Pumpkin Dough
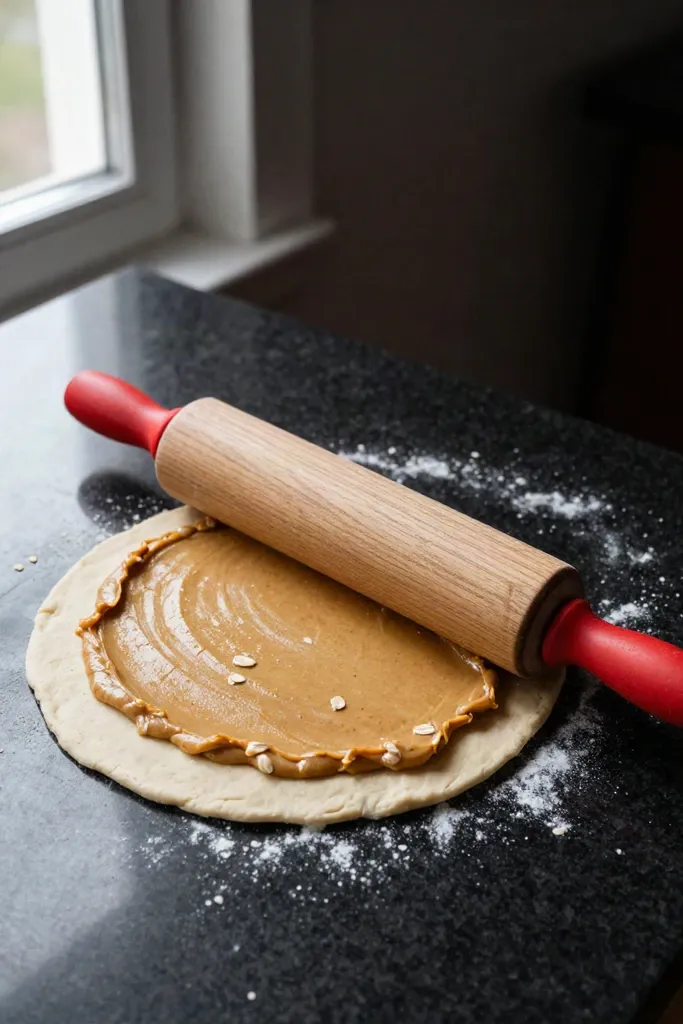
Pumpkin puree holds substantial moisture that combines with peanut butter fats to create a highly tacky dough. Pressing detailed cutters directly into freshly mixed batter causes the edges to drag and leaves residue clinging to the work surface. Dusting your counter lightly with oat flour absorbs excess wetness without altering the flavor profile. Rolling the mixture between two sheets of parchment paper protects your tools and yields a flat surface without requiring additional dry ingredients.
A quick tap of the cutter rims into dry flour before pressing creates clean releases and stops dough from bunching inside narrow corners. Keeping the batch slightly cool during preparation prevents the natural oils from softening on the counter. This temperature control keeps the edges firm and makes the cutouts simple to transfer directly onto the baking sheet.
1. Chilling the Dough for Perfect Shapes
Resting your freshly mixed batch in the refrigerator for thirty minutes cools the peanut butter fats until they solidify into a workable texture. Raw pumpkin brings high moisture to the bowl, and nut butter softens quickly under warm hands, resulting in a loose mixture that tears under pressure. As the temperature drops, the oils firm up and prevent the wet mixture from sticking to the inside crevices of your cutters. This thermal shift produces clean outlines without requiring extra flour that might dry out the final biscuit.
A chilled marble board or cold countertop keeps the temperature steady while you press molds directly into the dough slab. Because the fats remain firm and cold, the cutter lifts away without tugging at the edges or leaving ragged borders. This structural stability eliminates the need to scrape dough residue out of the cutter's narrow corners between presses.
2. Using Thickness Guides on Rolling Pins
Uneven dough slabs create a mix of burnt corners and underbaked centers across the baking sheet. An adjustable rolling pin with removable thickness rings locks in a consistent dough depth so every cut biscuit absorbs oven heat at the exact same pace.
- Quarter-inch rings give peanut butter dough enough body to hold clean outlines without spreading flat in the oven.
- Identical slab depths prevent charred edges on delicate shapes while the centers bake thoroughly.
- Uniform biscuit heights cool at the same rate, preventing trapped steam when you transfer the batch to an airtight treat jar.
Final Thoughts on Baking Birthday Dog Treats
Freshly baked pumpkin and peanut butter treats carry a strong aroma that immediately grabs a dog's attention. While precise geometric corners look great in photographs, the actual flavor and texture matter most to the guest of honor. Using the right silicone mold or metal cutter simply removes the frustration from the kitchen prep, leaving you with intact biscuits that hold icing well. Once the glaze sets completely, you can stack the treats for party photos or pack them into individual favor bags for visiting dogs to take home.