Welcome to the World of Air Fryer Dog Treats
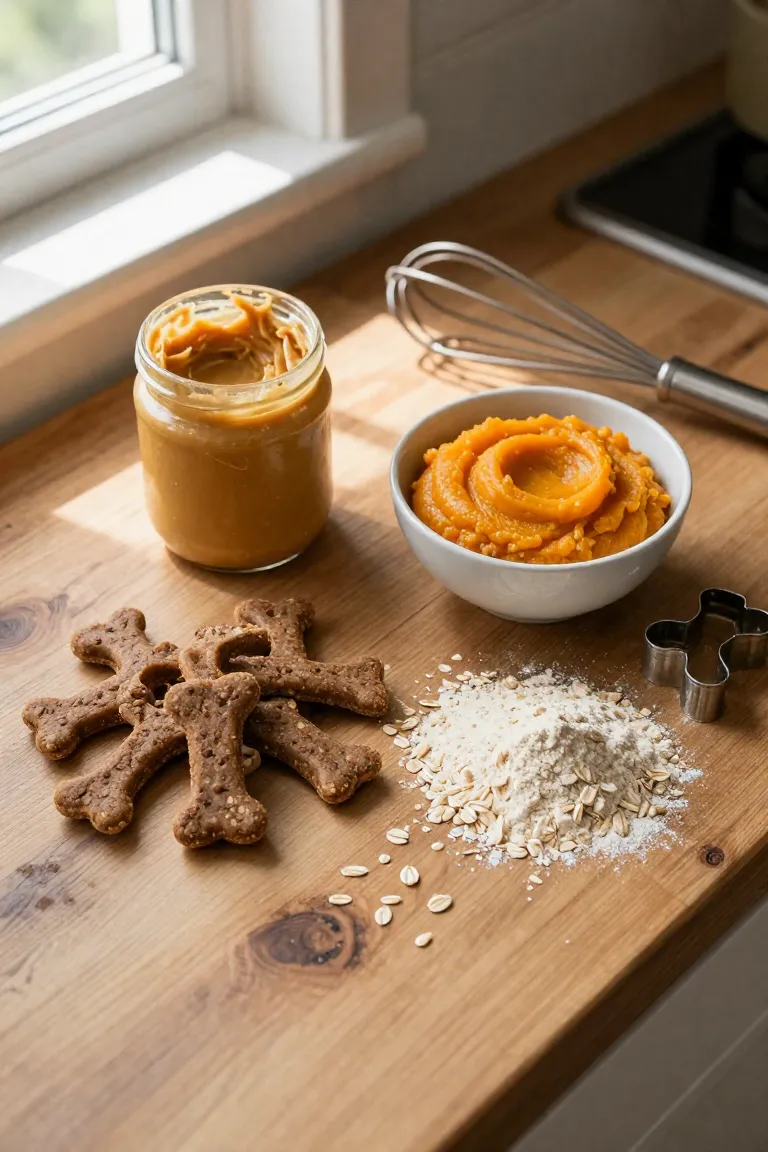
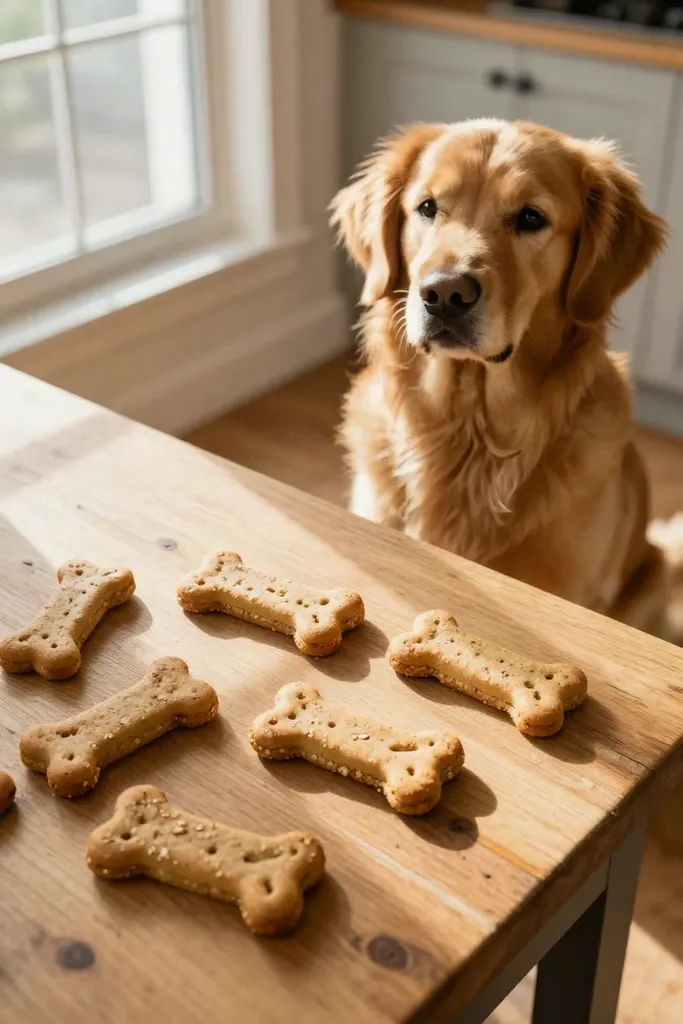
Many dog owners are shifting away from mystery-ingredient store snacks and turning to their countertop appliances for fresh alternatives. Circulating hot air gives you total control over what your dog eats while cutting bake times down to just a few minutes. A simple batch of crunchy biscuits takes minimal prep work, turning everyday pantry staples into nutritious rewards.
A reliable blend of mashed sweet potato and rolled oats demystifies the process, requiring zero complicated techniques or specialty tools. You can easily balance time and gentle airflow to produce crisp, wholesome biscuits that stay crunchy all week.
Why Use An Air Fryer Instead of a Traditional Oven?
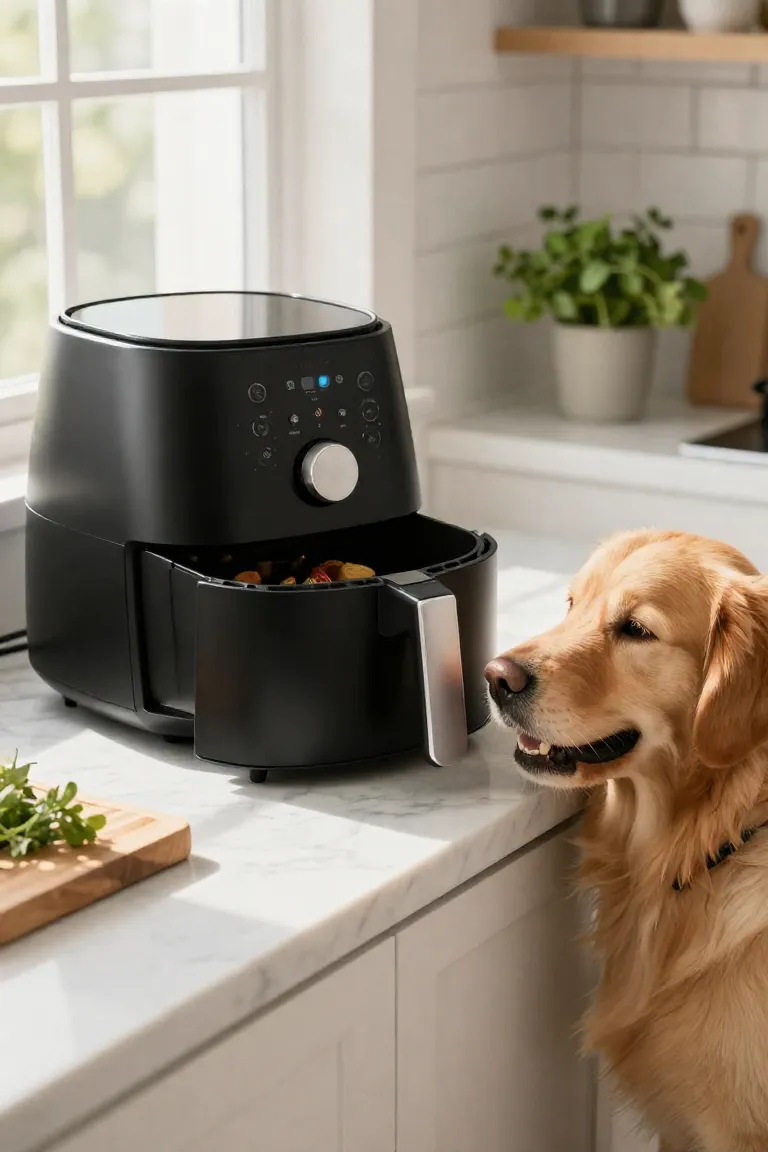
Firing up a massive kitchen range just to bake a dozen bite-sized biscuits often feels impractical when your dog is waiting by the counter. A compact countertop unit heats up within minutes, using rapid heat circulation to bake dough evenly without warming up your entire kitchen. Switching away from a heavy appliance cuts down on prep hassle while giving you full command over quick, single-week batches.
1. Speed and Unmatched Convenience
Beyond avoiding a hot kitchen, traditional ovens require up to twenty minutes just to reach baking temperature, turning a simple recipe into a drawn-out chore. The compact chamber of a countertop basket concentrates heating elements right next to the tray, reaching cooking temperature in under two minutes or skipping preheating altogether. Because hot air circulates across such a tight radius, a fresh batch of dog cookies finishes baking in eight to ten minutes instead of the usual thirty. When you notice the treat jar running low on a busy afternoon, you can mix dough, shape portions, and pull warm biscuits out before a large oven would even chime ready.
That rapid turnaround transforms pet treat preparation from a planned weekend project into a spontaneous routine. You can stir together mashed banana and rolled oats, shape small coin-sized bites, and have fresh snacks ready before your dog finishes an evening walk. Shorter run times also mean you can test tiny sample batches to see what flavor your dog loves without dedicating an entire hour to monitoring the kitchen.
2. Energy Efficiency for Small Batches
Running a standard 3,000-watt kitchen range for a handful of treats draws a surprising amount of electricity. Most of that power goes toward heating cubic feet of empty air long before your baking sheet even enters the door. A tabletop unit concentrates heat inside a compact basket, cutting utility draw while eliminating long preheat cycles.
The efficient chamber makes it practical to bake single-week portions rather than massive trays that sit around and lose their freshness. You can make a quick batch whenever the canister runs low, using only a fraction of the power required by a conventional oven. The rapid air movement inside that tight space also dries out dough steadily, establishing a firm structure that holds up in storage.
3. Achieving the Perfect Crunchy Texture
This concentrated heat distribution pulls surface moisture away in minutes, producing a firm bite that locks each treat into a solid biscuit. Dogs relish that loud, satisfying snap under their jaws, making snacking far more stimulating than chewing on soft, store-bought options. As your pup works through the brittle exterior, the coarse crumb acts like a gentle abrasive against their molars, scraping away soft plaque buildup before it calcifies along the gumline. You get an uncomplicated reward that supports everyday dental cleanliness while leaving your floors free of greasy residue.

Essential Safety Rules for Air Frying Pet Treats
While quick cook times make this countertop routine simple to maintain, adapting high-heat appliances for your dog calls for specific care. Unlike human cooking where a dark crust or extra seasoning merely alters taste, canine digestive systems react poorly to charred edges and unfamiliar ingredients. High-velocity air circulates heat rapidly within the enclosed basket, meaning dough can dry out into a tooth-cracking texture or burn on the outside while staying raw in the center. Taking a measured approach to your setup ensures every batch supports your pet's digestion, beginning with how you calibrate the cooking chamber.
1. Temperature Control to Prevent Burning
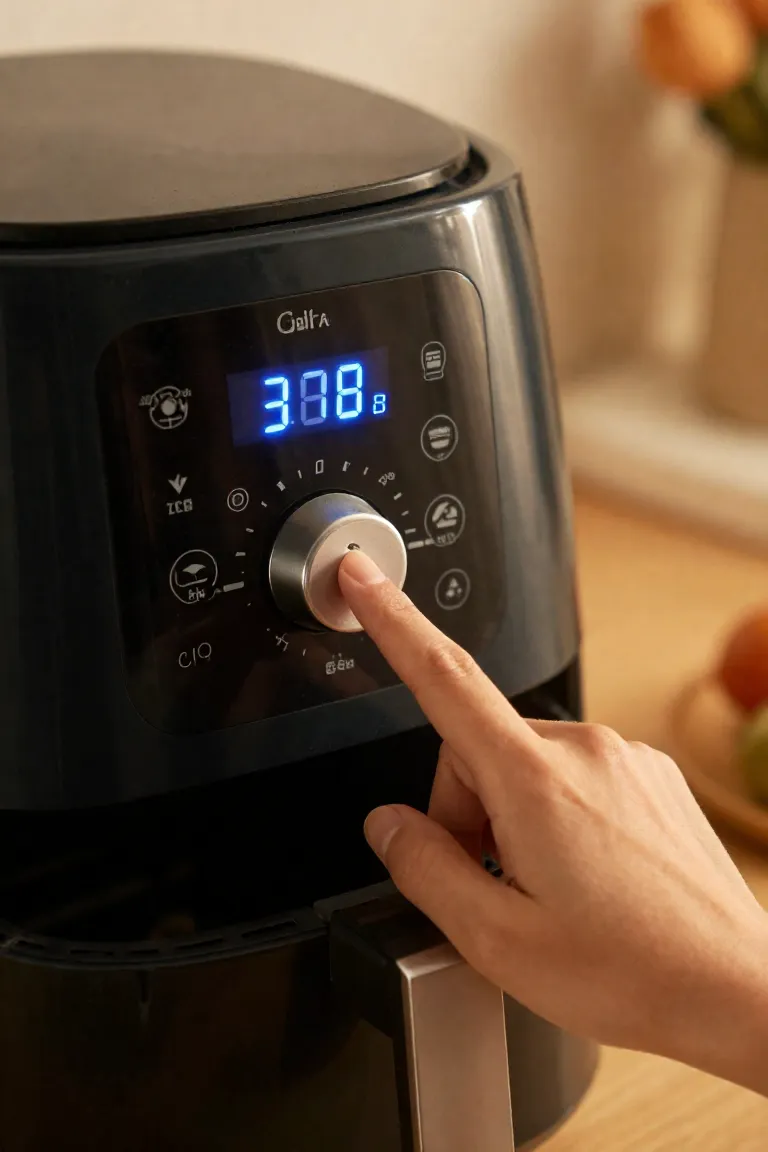
Rapid convection currents concentrate direct heat far more aggressively than standard wall ovens. Because the compact basket moves dry air continuously across small dough shapes, exterior edges can darken in seconds. Blackened crusts introduce harsh compounds and bitter residues that irritate a canine's sensitive stomach, so you need careful heat management for clean digestion.
- Drop your heat setting by 25°F to 30°F below standard oven directions, aiming for 300°F to 325°F so the dough centers dry out without scorching the surface.
- Pull the basket out halfway through the timer to inspect crust color and flip each piece over for balanced browning.
- Remove the batch once the biscuits reach a pale golden shade instead of waiting for darker edges that quickly turn to char.
2. Selecting Dog-Safe Ingredients
Beyond temperature control, what goes into your mixing bowl determines how gentle each batch is on your dog's digestion. Common kitchen items like xylitol (often listed as birch sugar), chocolate, onions, and raisins trigger acute poisoning in canines and must stay out of all homemade bakes. You can keep things safe and nourishing by focusing on unprocessed whole staples such as plain mashed sweet potatoes, pure rolled oats, and fresh pumpkin. Checking every commercial ingredient label for artificial sweeteners or added sodium ensures your treats deliver solid nutrition without hidden hazards.
The Sweet Potato Oat Air Fryer Cookie Walkthrough
With wholesome ingredients ready on your counter, converting real food into satisfying dog biscuits requires very little prep. A base combination of mashed sweet potato and ground oats provides an ideal starting point for mastering homemade dog treats, creating a pliable dough that tolerates heat well and accepts optional add-ins without falling apart.
- The two-ingredient baseline lets you gauge your appliance heat without risking expensive specialty flours.
- Natural fiber and starch from the root vegetable bind the rolled grain firmly without eggs or dairy.
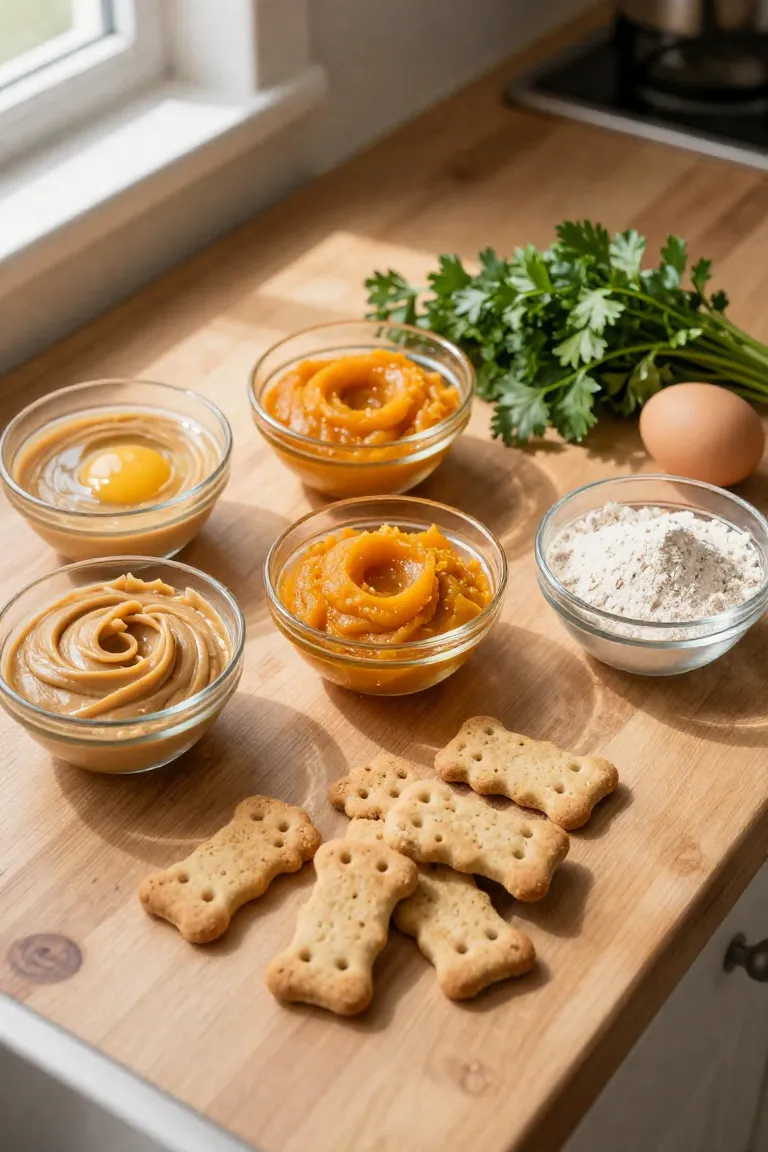
- Pantry mix-ins like unsweetened pumpkin or finely chopped parsley stir easily into the mash before rolling.

Step 1: Gathering and Prepping Your Ingredients
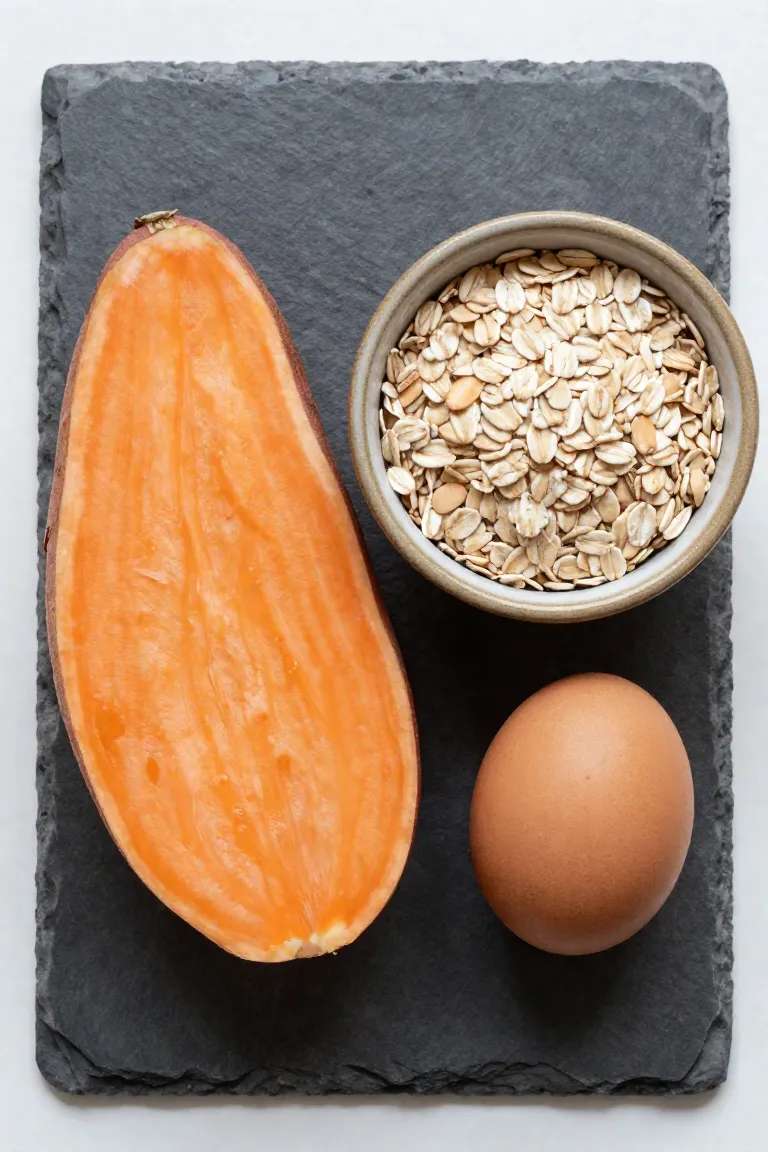
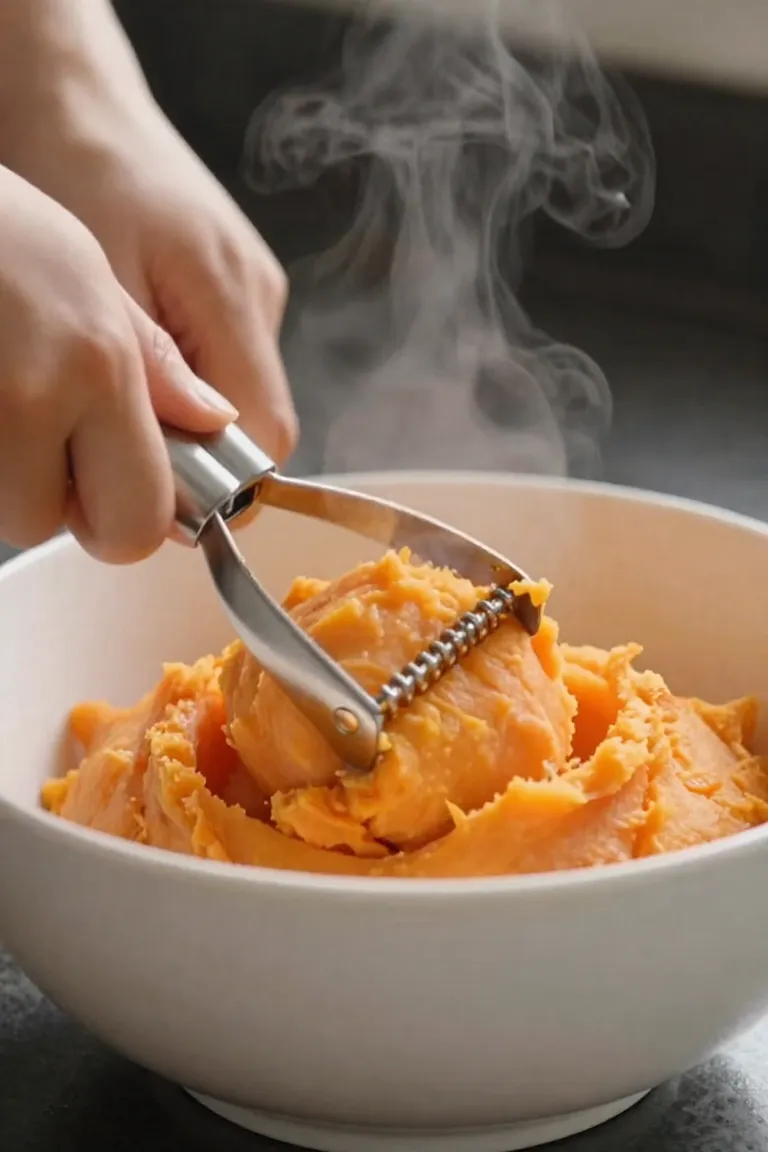
Setting up your workstation with tender, cooked produce ensures the dough comes together without lumps. You can poke a few holes in a whole sweet potato and microwave it on high for five to six minutes until soft, or simmer peeled cubes in unsalted water for ten to twelve minutes before mashing the flesh smooth.
- One cup of plain mashed sweet potato, cooled completely so it does not warm the dry mixture.
- One and a half cups of oat flour, or whole rolled oats processed in a blender until they reach a fine, powdery texture.
- One large egg, which remains optional but helps bind the mixture if your dog prefers a firmer biscuit.
Step 2: Mixing and Rolling Out the Dough
Combine the pureed sweet potato with the ground oats in a wide mixing bowl, pressing the mixture with a sturdy spatula or your hands until it forms a cohesive, pliable ball. If the blend feels slightly crumbly or sticks to your fingers, you can balance the texture with minor adjustments before shaping:
- Add a splash of water, one teaspoon at a time, if the mixture looks dry or cracks when pressed flat.
- Sprinkle in a spoonful of extra ground oats if the surface feels too tacky to release cleanly from the counter.
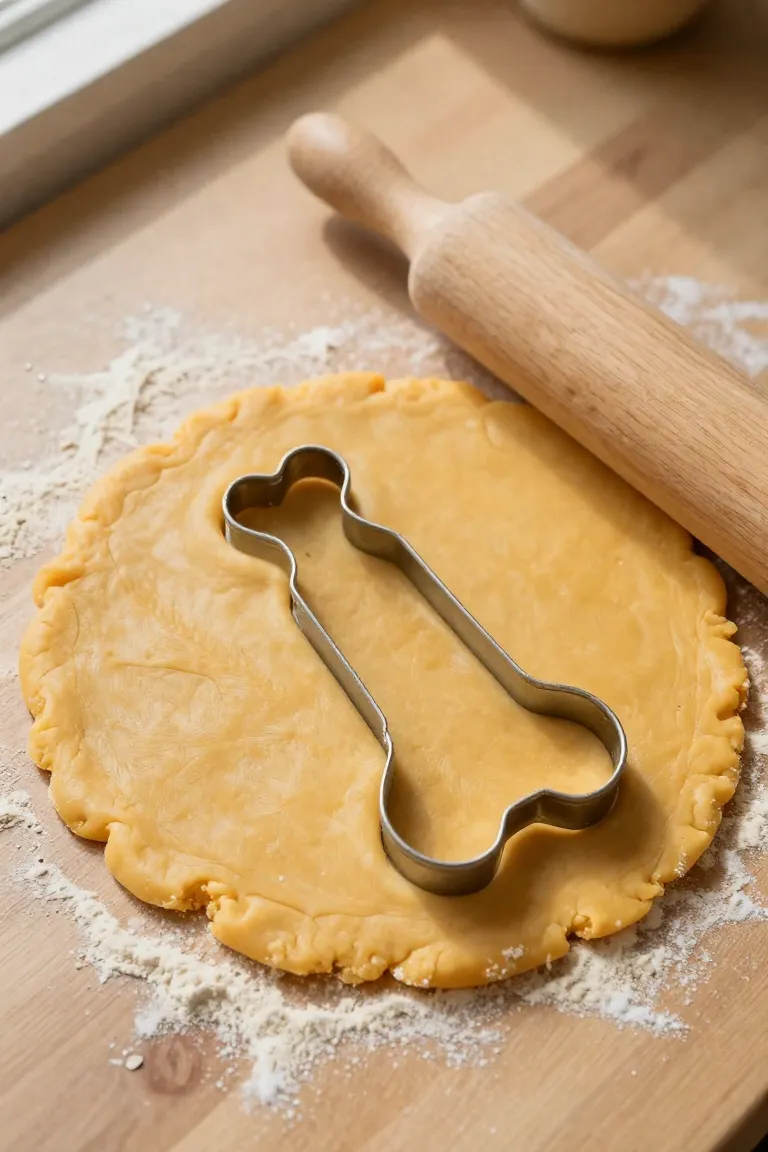
- Place the dough between two sheets of parchment paper and flatten it with a rolling pin to a uniform quarter-inch thickness for even baking.
Step 3: The Air Frying Process
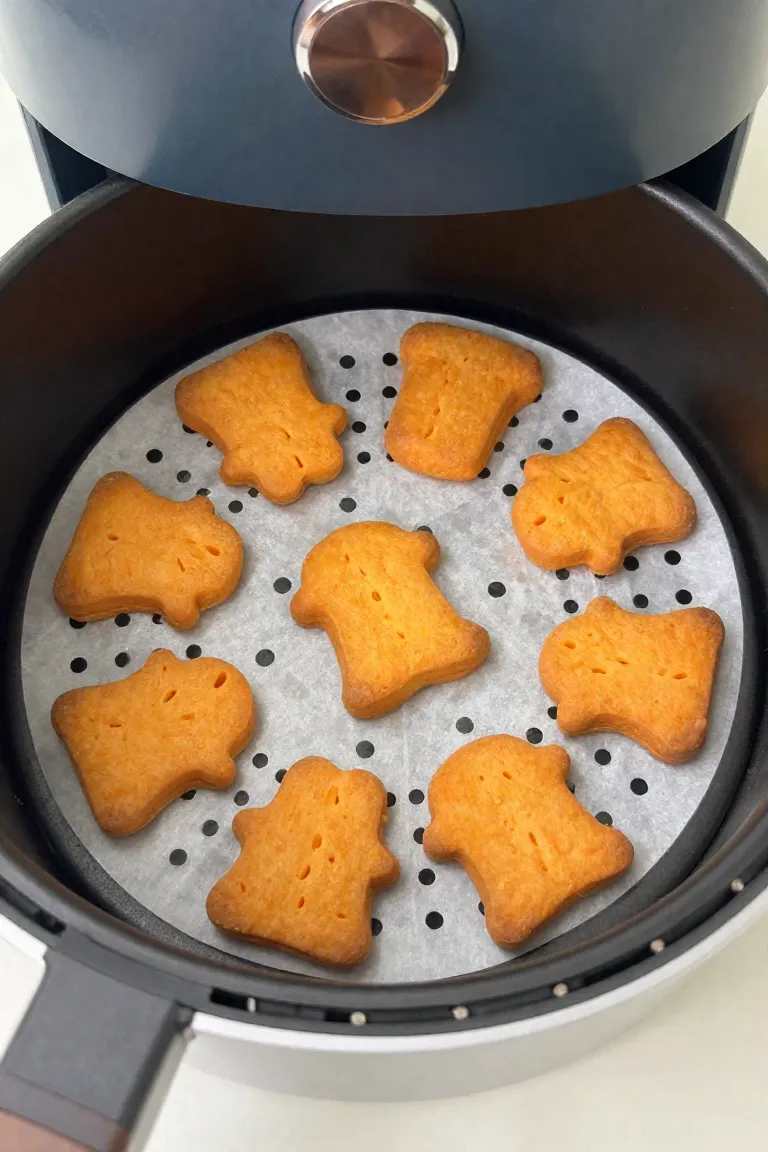
Set your appliance to 310°F and arrange the cut shapes across the bottom rack in a single, even layer. Crowding the basket traps escaping steam and leaves the centers soft, so give each biscuit at least half an inch of clearance on all sides for continuous hot air circulation.
A cook time of 10 to 12 minutes works best, though you should shake the basket or flip each piece halfway through to ensure balanced browning on both sides. Once the edges turn a dry golden tan and the surface feels firm to a light tap, they are ready to come out of the heat.
Step 4: Proper Cooling and Storage
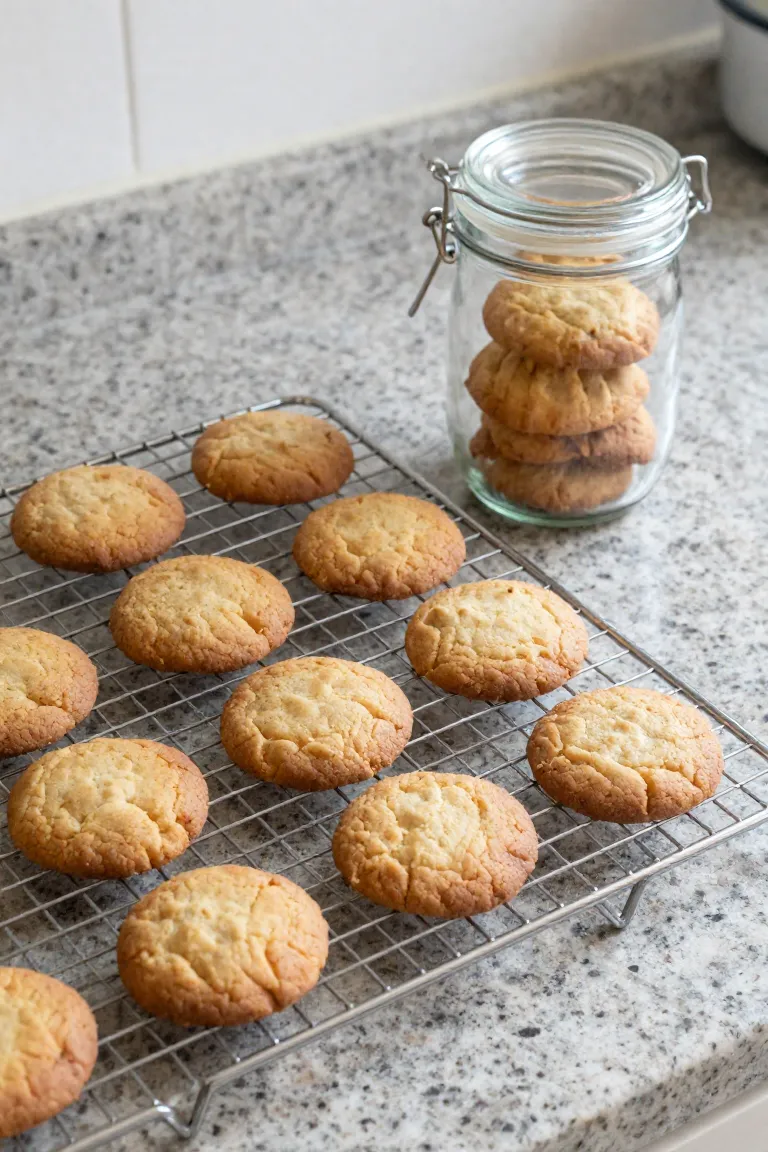
Transfer the warm biscuits immediately onto an elevated wire rack so circulating air can pull away residual steam from the undersides. Letting them rest at room temperature for at least thirty minutes allows the crumb structure to firm up, creating that satisfying crunch your dog loves. Because these homemade snacks contain zero chemical preservatives, trapped moisture is the primary culprit behind rapid spoilage. Packing them into an airtight container and placing them in the refrigerator keeps them fresh for up to two weeks, while freezing individual portions in sealed freezer bags preserves their texture for three months without any mold risk.
Frequently Asked Questions
You can substitute whole wheat or plain white flour in equal measure if your dog handles grains well, though oat flour remains gentler on sensitive canine stomachs. Direct contact with the wire basket promotes the crispiest bottom crust, but perforated parchment paper liners keep softer dough cutouts from sinking through the grates. Always place the dough cutouts onto the paper before turning on the fan so the liner stays anchored away from the top heating coil.
Countertop storage in a breathable glass container gives these crunchy bites a reliable shelf life of seven to ten days in dry climates. For humid kitchens or recipes that retain slight interior moisture, transferring the jar to your refrigerator prevents hidden spoilage and extends freshness to three full weeks. When you want to restore that satisfying snap after cold storage, pop the chilled biscuits back into the basket at 300°F for two minutes to draw out residual condensation.