Welcome to Healthy Homemade Dog Treats
Freshly baked biscuits cooling on your countertop bring a level of excitement that commercial boxes never quite produce. Most retail pet snacks rely on long shelf lives, which means they frequently carry artificial preservatives and ambiguous meat byproducts. Preparing simple snacks in your own kitchen gives you total transparency over every calorie, keeping your dog's digestive system calm and nourished with clean, recognizable food.
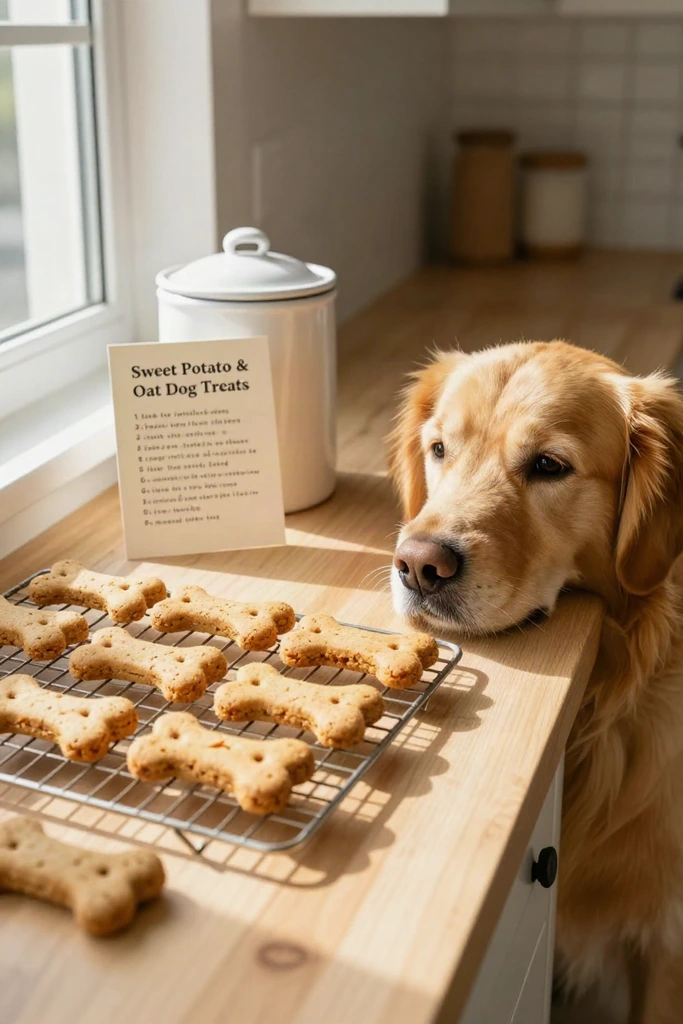
For added convenience during prep time, you can grab the free printable recipe cards included in this guide to pin on your refrigerator or prop against your spice rack. These compact reference sheets keep the precise measurements and oven temperatures right in front of you so your phone screen stays clean while your hands work with dough. With your station organized, you are ready to prepare snacks made from simple, whole food ingredients.
Why Sweet Potato and Oats for Dogs?
Pairing a nutrient-dense root vegetable with a soothing whole grain gives your pup a balanced snack that digests smoothly and bakes into a sturdy biscuit. Instead of relying on commercial fillers or processed by-products, this duo combines clean carbohydrates and essential vitamins to support sensitive canine stomachs.
- Soluble fibers work together to support steady gut motility without causing irritation.
- Complex carbohydrates release energy gradually to keep your pup alert and active between meals.
- Naturally moist starch binds dry grain flakes without requiring excess fat or artificial binders.
The Nutritional Benefits of Sweet Potatoes
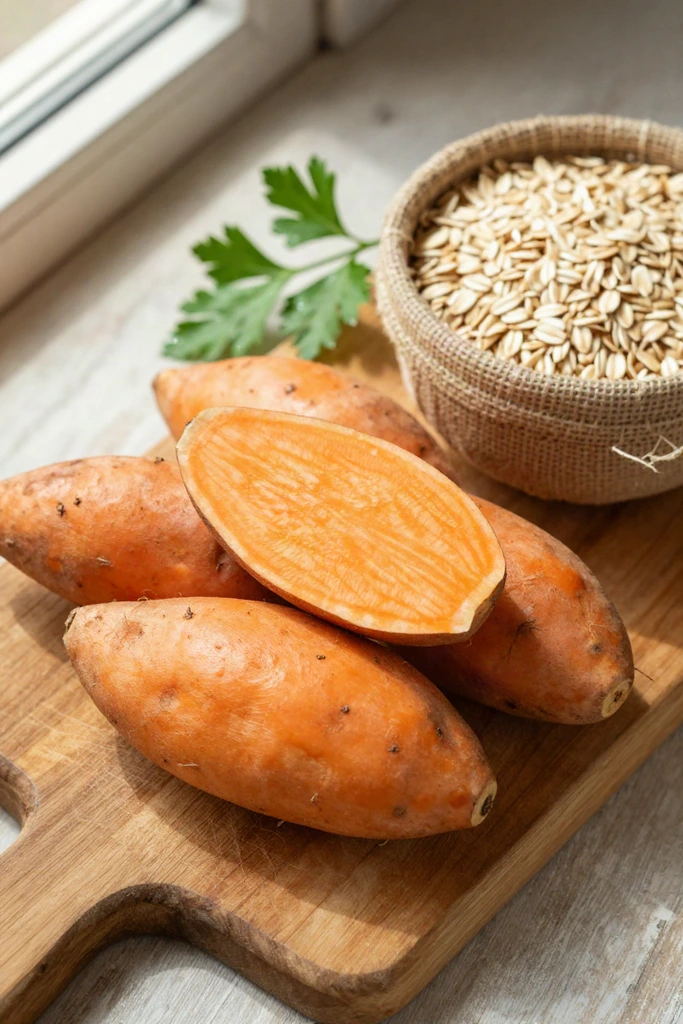
Beyond clean binding power in the mixing bowl, this orange tuber supplies a dense mix of vitamins A, B6, and C that support your dog's immune defenses and daily vitality. Vitamin A helps maintain clear vision and healthy skin, while vitamin B6 assists normal protein metabolism as your pet stays active. Soluble dietary fiber keeps bowel movements regular and soothes sensitive stomachs without adding harsh bulk.
Natural sugars in the cooked root produce an earthy sweetness that dogs genuinely crave, which eliminates any need for cane sugar or artificial syrups. You give your pet the satisfaction of a rich, dessert-like aroma straight from the oven while delivering steady fuel to their digestive system.
Why Rolled Oats are Great for Digestion
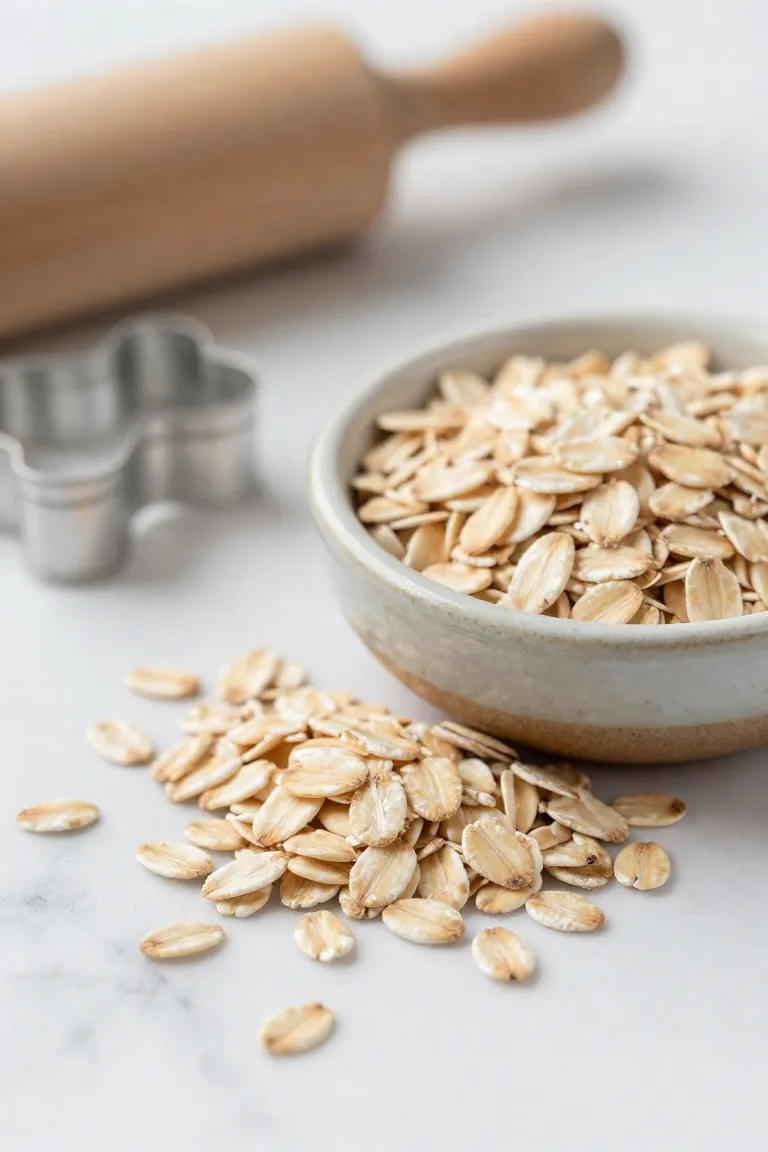
That gentle intestinal support deepens when whole-grain flakes enter the bowl, providing a naturally gluten-free carbohydrate base that keeps sensitive stomachs comfortable throughout the day. Soluble fiber absorbs moisture in your dog's gastrointestinal tract to regulate stool firmness, while complex starches break down gradually to deliver sustained energy. When shopping for your supply, choose plain rolled oats rather than instant packets or flavored varieties, which often contain extra sugars and artificial sweeteners like xylitol that endanger canines. These thick, unflavored flakes also give the treat mixture dependable body, ensuring the dough binds evenly during the mixing process.
Essential Ingredients and Tools You Will Need
Setting up your workspace in advance keeps the entire mixing routine organized and mess-free. When you lay out your supplies and basic utensils on the counter before your hands get sticky, you eliminate sudden pauses to rummage through pantry cupboards or hunt down clean measuring spoons. Having a lined baking sheet and sturdy mixing bowl ready on your work surface also lets you focus on getting the right dough consistency without scrambling midway through preparation.
Ingredients Checklist
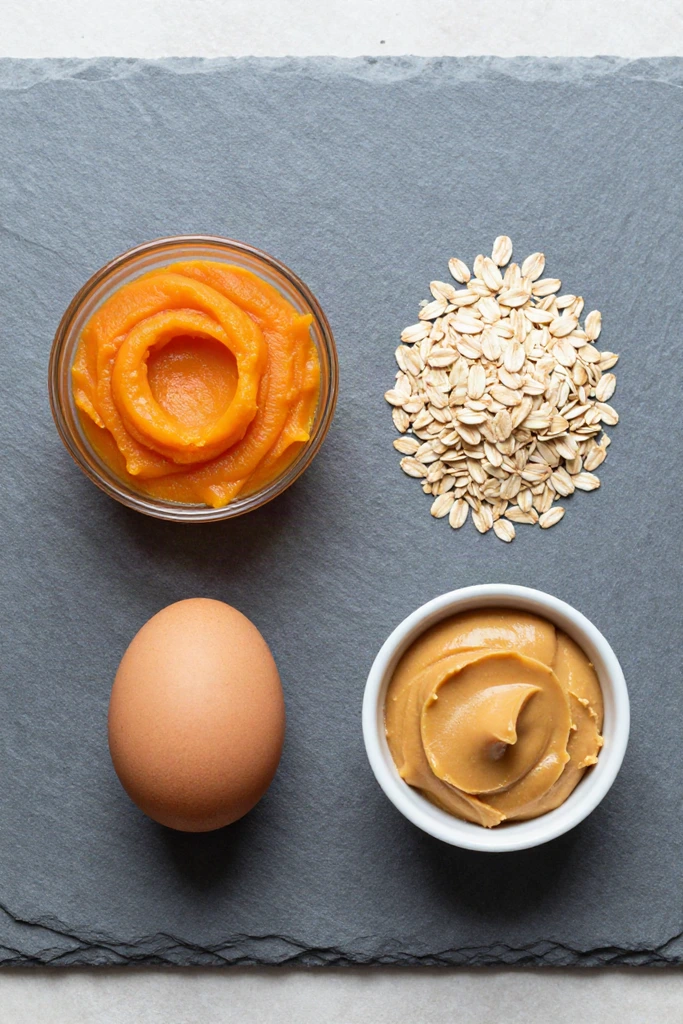
Gather one cup of thoroughly steamed sweet potato puree, cooled to room temperature and kept completely free of butter or added salt. You will pair this moist base with two cups of whole rolled oats, which deliver the fiber and structure your dog needs. One large fresh egg serves to bind the components together, ensuring the dough rolls out smoothly without cracking across your counter.
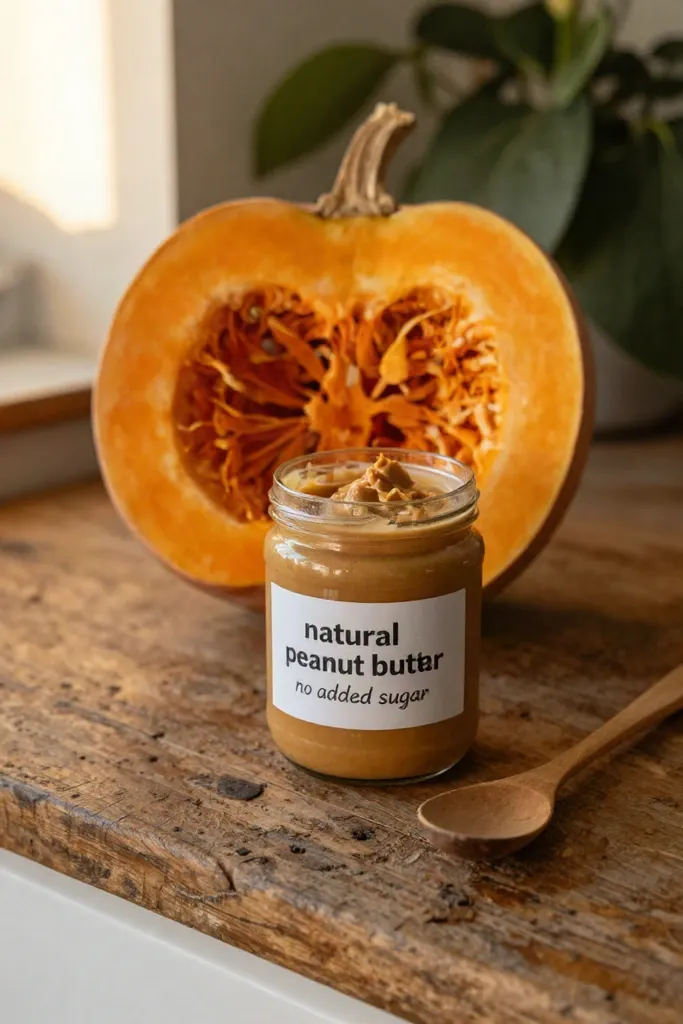
For an enticing aroma and healthy fats, add two tablespoons of creamy, unsalted peanut butter. Always check the ingredient label beforehand to confirm the jar contains only roasted peanuts, with zero xylitol or artificial sweeteners. If your sweet potato yields slightly less moisture, keep two tablespoons of lukewarm water on standby to help hydrate the oats before you begin rolling.
Must-Have Baking Tools
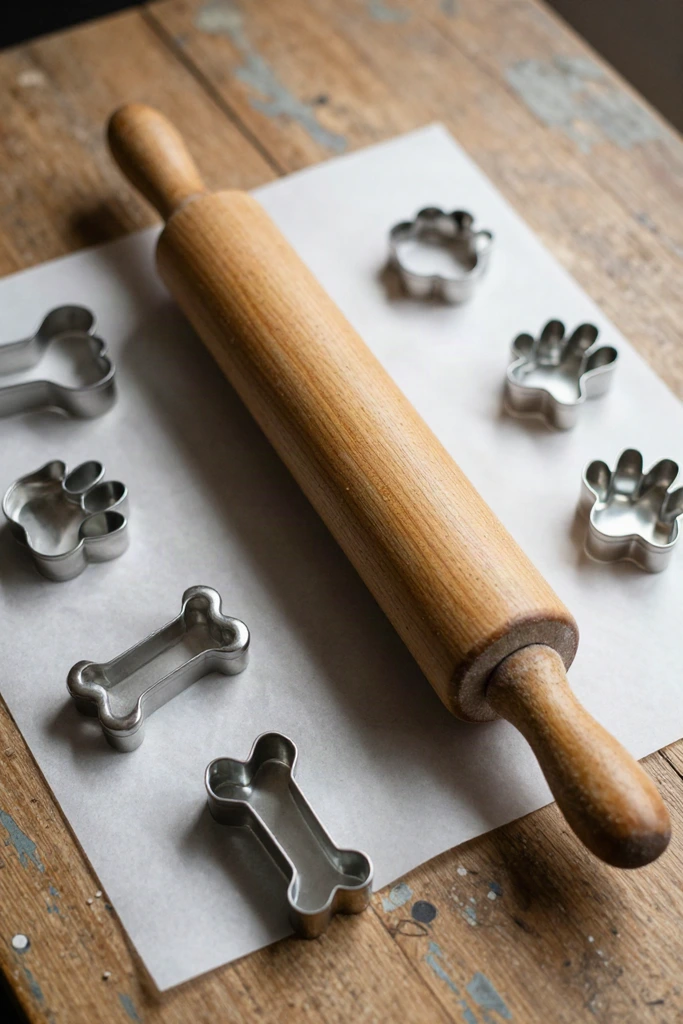
Alongside your prepared ingredients, set out a wide ceramic or stainless steel mixing bowl that gives your hands ample room to knead dense dough without spilling dry oats across the counter. A heavy wooden rolling pin helps you press the fibrous mixture into a uniform quarter-inch slab with minimal arm fatigue, while silicone-tipped spatulas scrape down bowl edges. Line rimmed baking sheets with unbleached parchment paper to prevent sticking and ensure even heat distribution across the oven rack. When shaping the biscuits, opt for sturdy stainless steel cookie cutters in bone or paw silhouettes, which slice cleanly through coarse oat grains without tearing your dough edges before you transfer them onto the tray.
Step-by-Step Tutorial: Baking the Perfect Dog Cookies
With your workstation cleared and tools arranged on your counter, turning pantry staples into crunchy pet treats requires no culinary background. The workflow moves steadily from basic preparation to warm oven sheets, giving you full control over ingredient freshness without tricky pastry techniques.
- Forgiving consistency: The ingredients bind naturally, so small variations in measurement will not ruin your batch.
- No specialized equipment: Standard measuring cups and a basic flat sheet handle everything comfortably.
- Low-stress preparation: You can take your time at every stage without worrying about rising dough or rapid melting.
Step 1: Preparing the Sweet Potato Mash
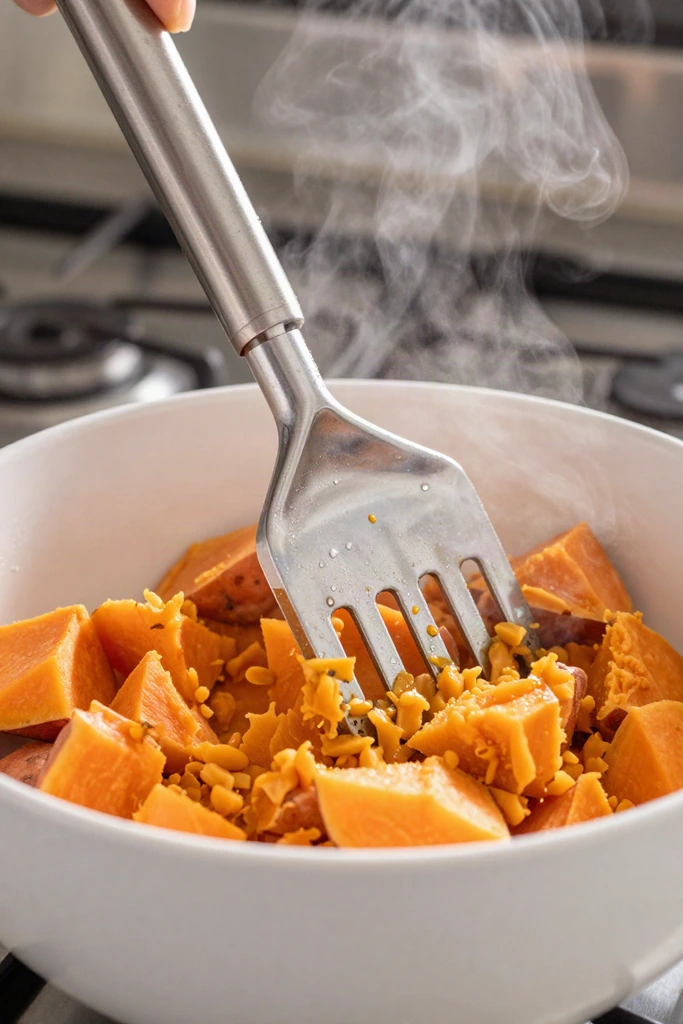
Rinse and peel your sweet potato, then cut it into uniform one-inch cubes so the pieces cook evenly across the pot. Drop them into boiling water for roughly fifteen minutes, or roast a whole pierced potato at 400°F until a fork slides through the center with zero resistance. Drain the boiled pieces thoroughly in a colander, letting the steam escape for several minutes so excess surface moisture evaporates. Press the warm flesh with a sturdy potato masher or fork until completely smooth, breaking down every stubborn lump to ensure an even distribution of moisture once you add the dry grains.
Step 2: Mixing the Oat Dough
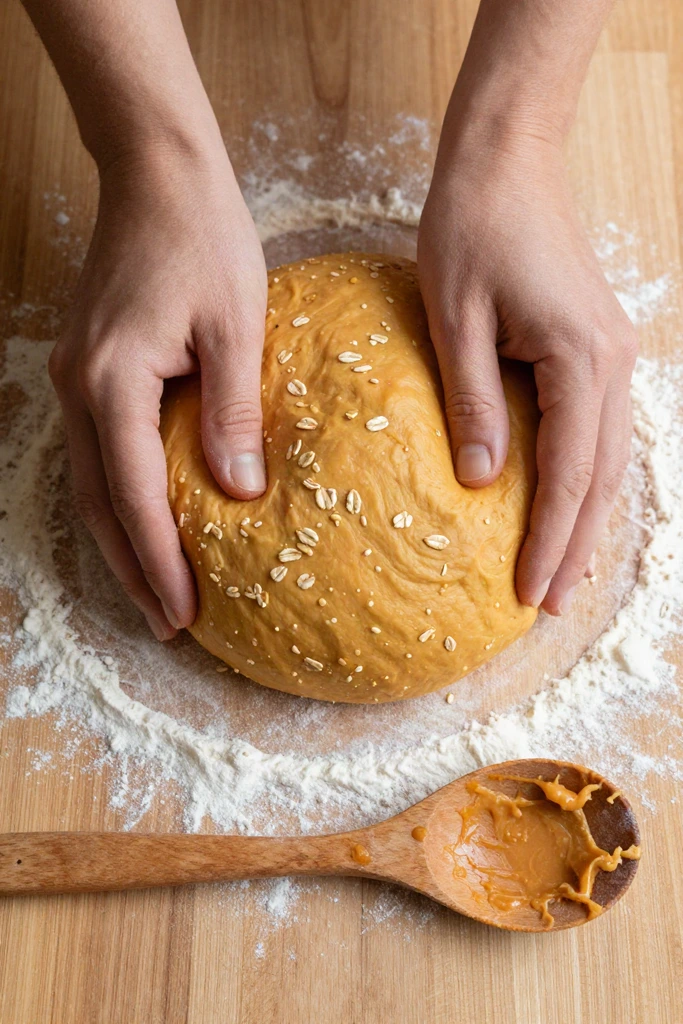
Pour your prepared puree into the bowl of rolled oats, working the mixture together with a sturdy wooden spoon or your hands. The mass should hold its shape without clinging to your fingers, yielding a pliable, workable texture that feels similar to modeling clay.
- Add an extra tablespoon of ground oats if the mixture feels wet or leaves residue on your palms.
- Sprinkle in a few drops of lukewarm water if dry crumbly patches remain at the bottom of the bowl.
- Gather the contents into a firm ball once the moisture spreads evenly and no loose flakes remain.
Step 3: Rolling and Cutting Shapes
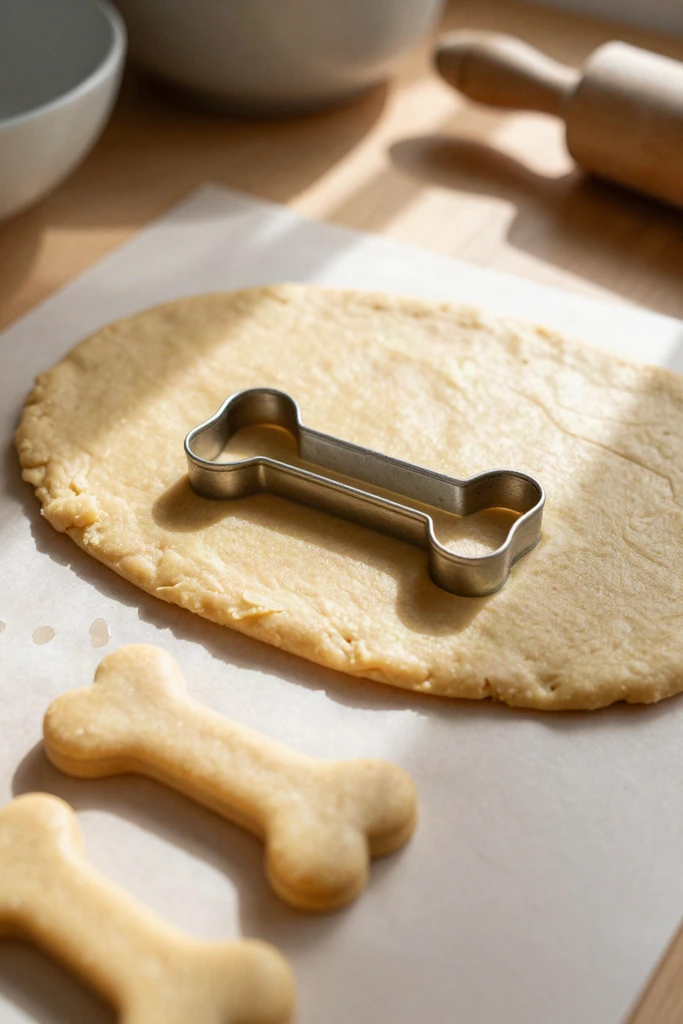
Flatten the ball slightly with your hands between two sheets of parchment paper so the moist base glides smoothly under your pin. Working between paper prevents sticking without adding extra dry oats or flour that could alter the moisture balance.
- Aim for an even quarter-inch thickness across the entire slab to ensure uniform heat penetration during bake time.
- Press cookie cutters straight down into the rolled dough and lift straight up without twisting to keep sharp edges.
- Gather the remaining border scraps, press them firmly back into a ball, and roll again until you use every piece.
Step 4: Baking and Cooling for Crunch
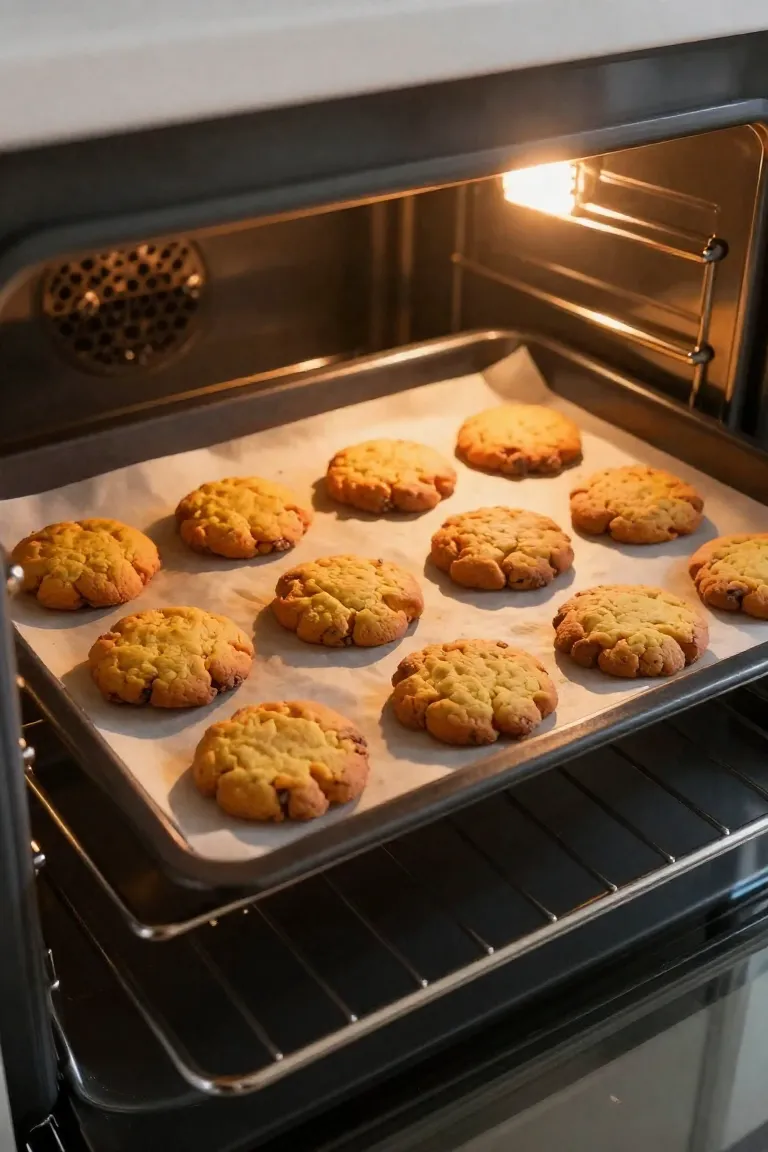
Slide the loaded baking sheet into an oven preheated to 350°F (175°C) and let the cutouts bake for 25 to 30 minutes until the undersides turn light golden. Once the timer finishes, turn off the heat and transfer each biscuit onto a wire cooling rack so circulating air can draw out any lingering moisture. Trapped steam inside a warm pan softens oat dough quickly, but letting them rest at room temperature for at least forty minutes allows the starches to set into that firm, tooth-cleaning snap dogs enjoy before you pack them away.
How to Store Homemade Dog Treats
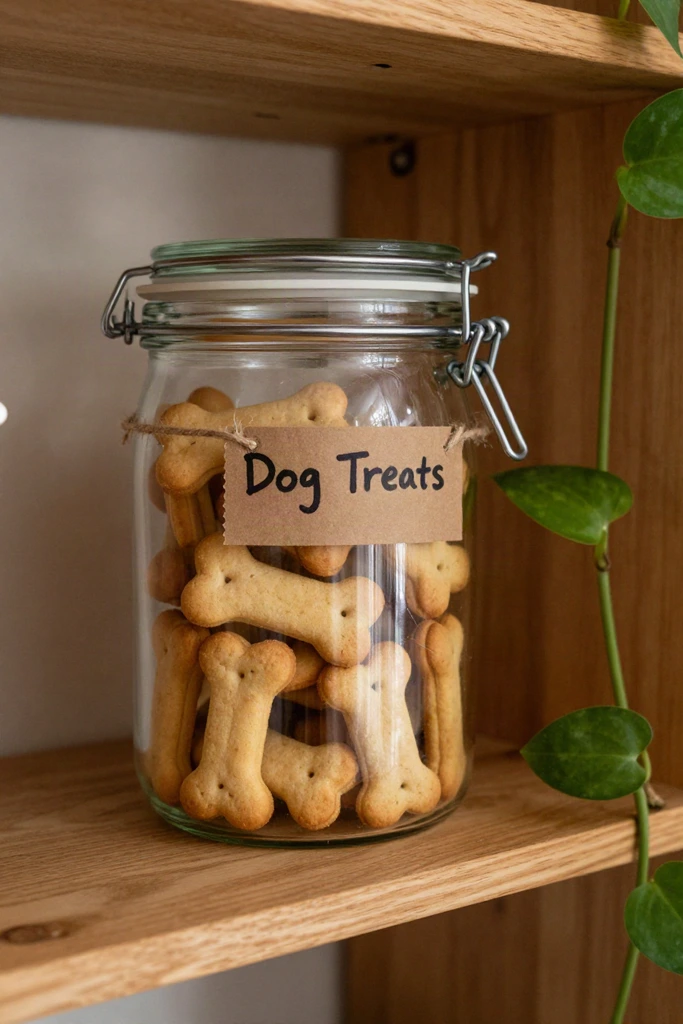
Once the biscuits cool completely, transfer them directly into an airtight glass jar or stainless steel canister to keep ambient humidity from softening the crunch. A dry, dark spot in your pantry keeps these oat biscuits crisp and safe to eat for up to two weeks without any artificial preservatives.
For larger batches, tuck the extra portions between sheets of parchment paper inside a heavy-duty freezer bag, squeezing out the excess air before sealing. The treats stay fresh in the freezer for up to four months, and you can pull out a handful whenever you want, letting them thaw on the counter for ten minutes before treating your pup.
Free Printable Recipe Cards: Download & Print
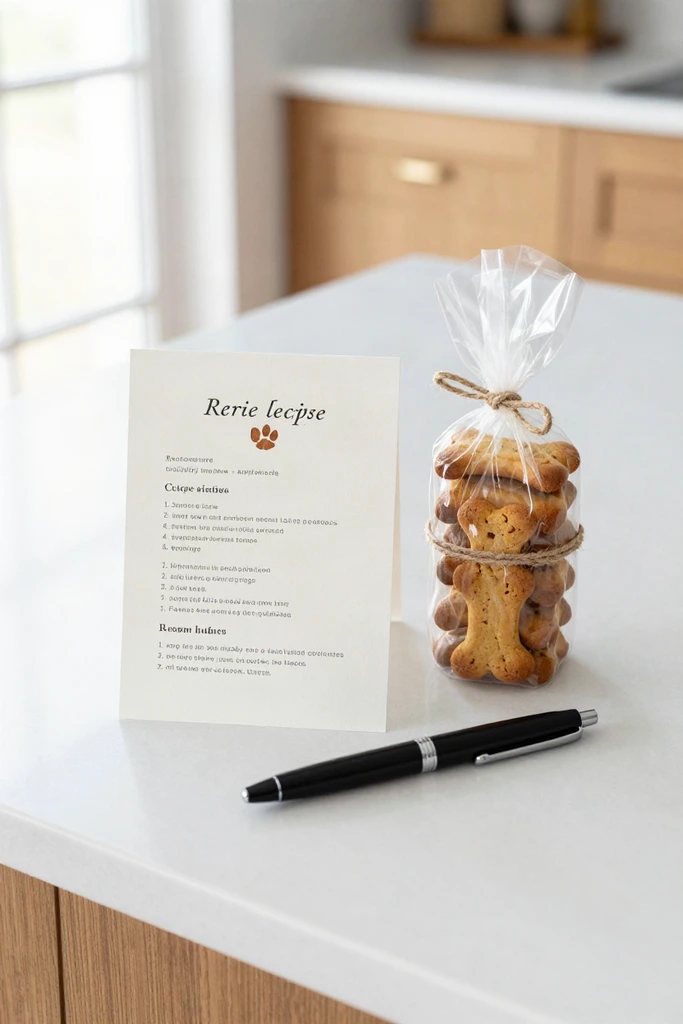
Having quick measurements pinned to your refrigerator door saves you from unlocking your phone with flour-dusted fingers every time your dog begs for a fresh batch. You can grab the single-page template below to slip directly into a kitchen binder or tape inside a pantry cupboard. It outlines the oven temperatures and mixing ratios on a clean layout that stays legible even after years of weekend baking sessions.
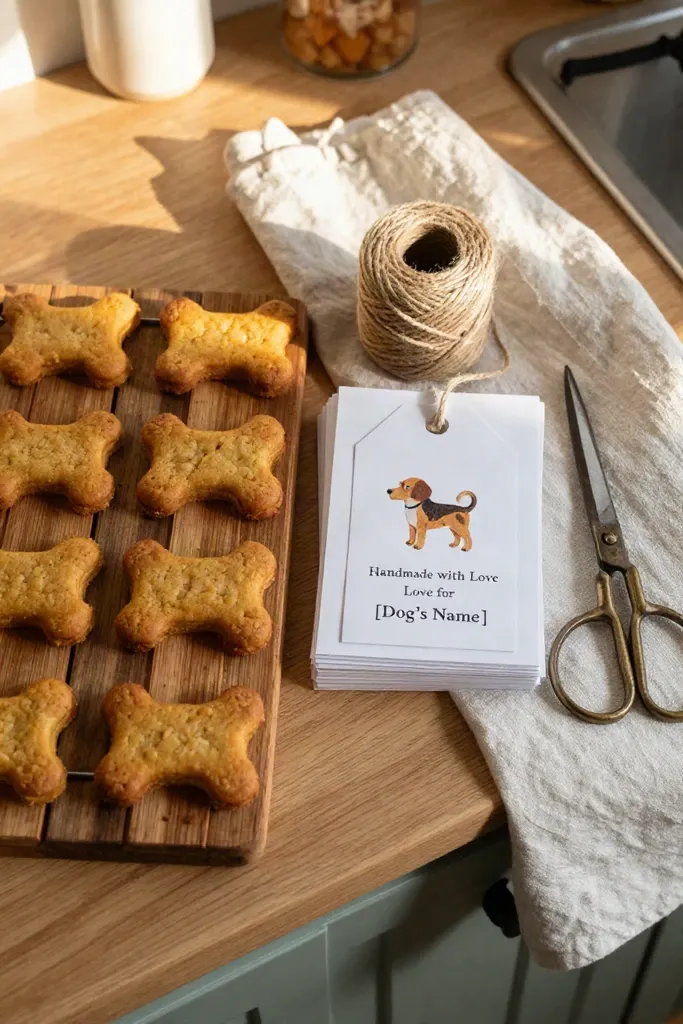
For holiday gift baskets and neighborhood puppy playdates, these compact sheets double as practical companion tags. Tie one with simple cotton twine around a glass mason jar filled with baked biscuits, and you give fellow pet parents both a ready-made snack and the means to bake more at home. Friends with allergy-sensitive rescue dogs will appreciate knowing every wholesome ingredient before offering a single bite.
Frequently Asked Questions
Plain instant oats work just as well as traditional rolled varieties, provided they contain zero added sugars or artificial flavorings. These baked biscuits are also gentle enough for puppies that have fully transitioned to solid food, though breaking each cookie into smaller morsels prevents gulping or choking in smaller breeds.
Under normal room temperatures, baked biscuits stored in an airtight container will stay crisp for two weeks without spoiling. If your kitchen runs warm or holds excess humidity, moving the jar to your refrigerator keeps them fresh for a full month, while the freezer preserves their satisfying crunch for up to six months.