Summary
- Introduction: The Secret to Mess-Free Pocket Training Treats
- The Core Ingredients for a Sturdy, Crunch-Heavy Dough
- Essential Tools for Perfect Bite-Sized Treats
- Step-by-Step Baking Guide for Non-Crumbly Biscuits
- How to Store Your Dog Treats for Active Outings
- Frequently Asked Questions (FAQ)
- Conclusion: Ready for Crumb-Free Obedience Training
Introduction: The Secret to Mess-Free Pocket Training Treats
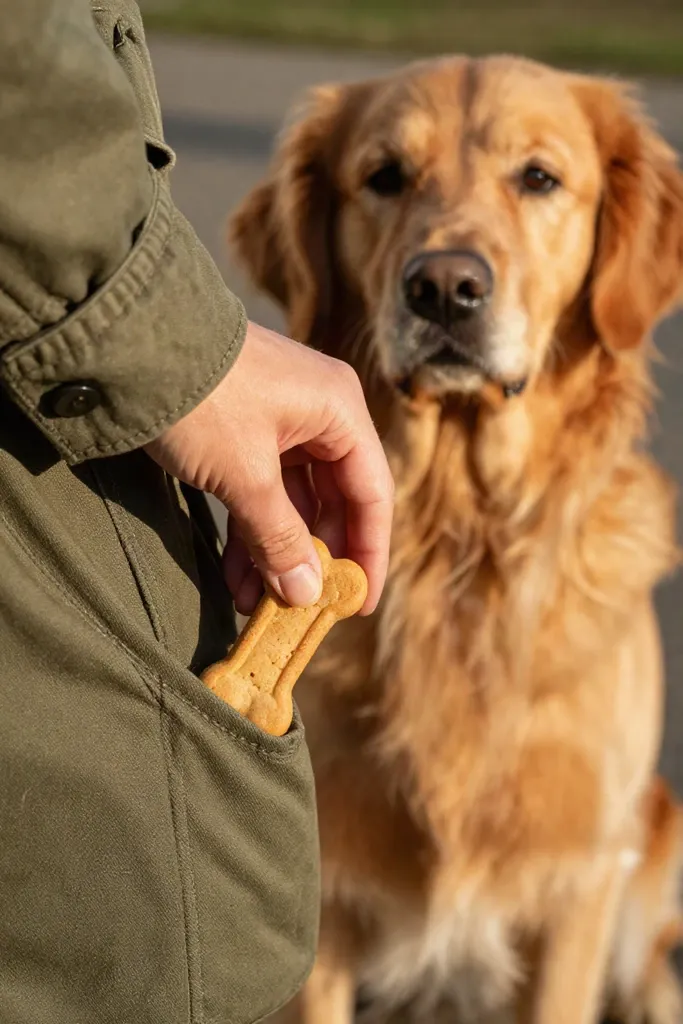
Reaching into your coat during a fast recall drill only to pull out greasy crumbs slows down your entire session. Store-bought bites often shatter into dust, leaving your hands coated in residue instead of delivering a quick reward. Baking a targeted batch with pure pumpkin and smooth peanut butter solves this frustration by giving you a clean-handling biscuit built for movement.
- Resists moisture and body heat so it won't turn mushy inside nylon pouches or jacket linings.
- Maintains a firm structure that snaps into tiny portions without crumbling into powder.
- Delivers strong motivation for your dog while keeping your fingertips clean and dry between repetitions.
The Core Ingredients for a Sturdy, Crunch-Heavy Dough
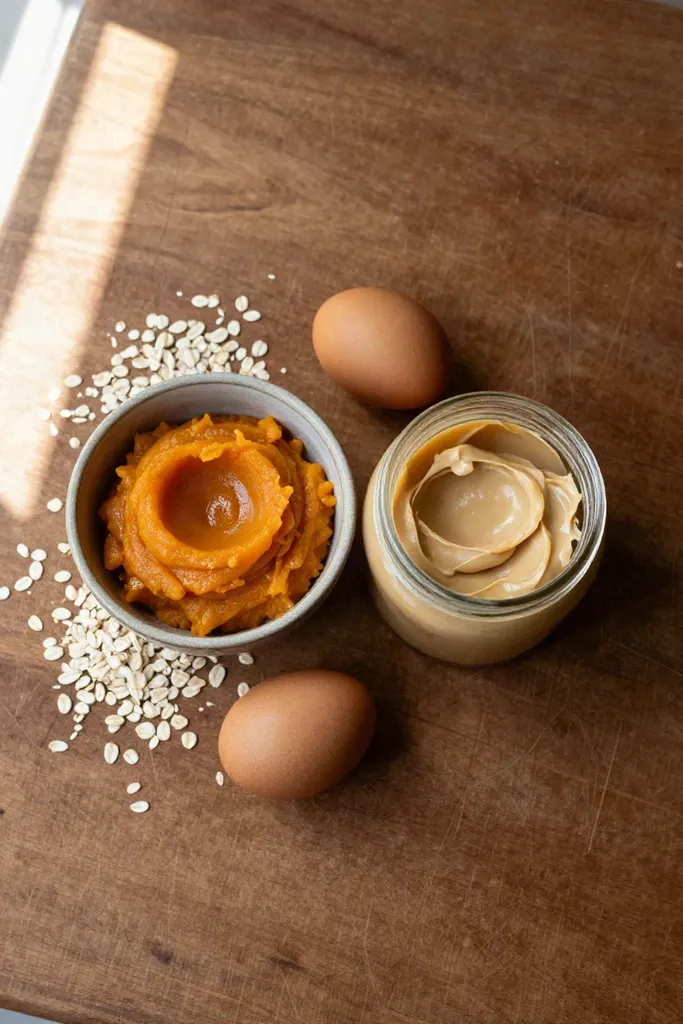
Achieving that crisp, snap-ready consistency starts with balancing moisture levels against dense binders before you turn on the oven. Standard dough recipes often soften or fracture easily when they carry excess oil or unbound liquid, leaving messy grease spots on your clothes. A balanced base relies on specific structural roles to keep every piece solid and dry under pressure:
- Dense binders provide natural tackiness and flavor without introducing excess vegetable oils that soften the crumb.
- Fibrous dry bases absorb residual hydration evenly, forming a rigid network that prevents surface cracking during the bake.
- Low-moisture purees supply workable elasticity so you can roll the mixture thin without tearing.
1. Choosing the Right Peanut Butter (Safety First)
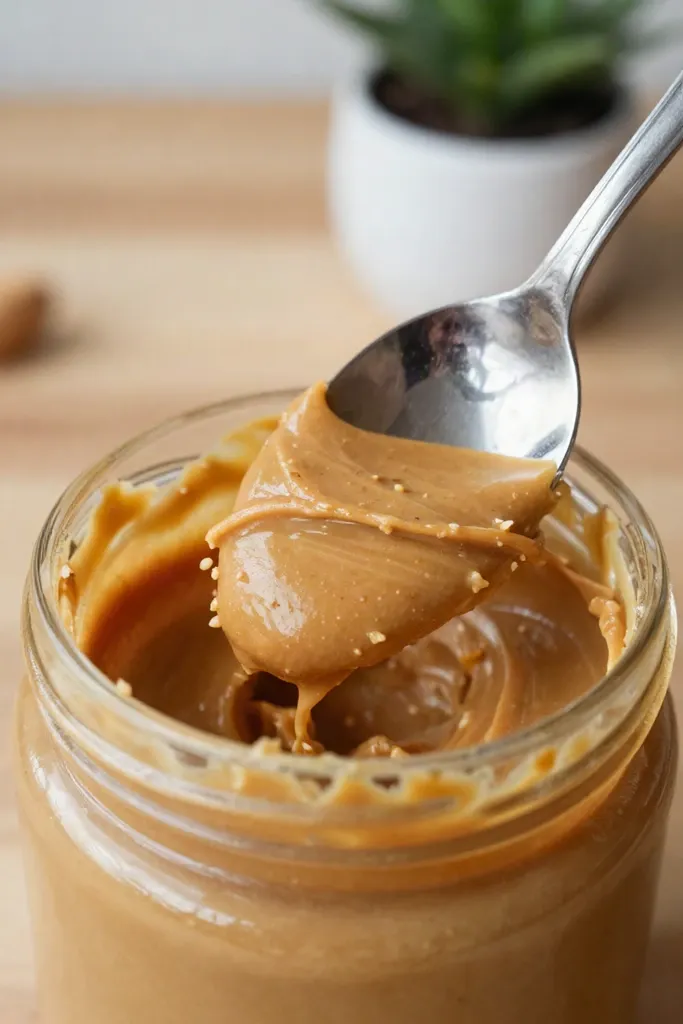
Check the ingredient label before adding any spread to your mixing bowl, as commercial jars often hide artificial sweeteners. Xylitol, sometimes listed as birch sugar, causes rapid hypoglycemia and severe liver damage in canines, making xylitol-free jars non-negotiable. Safe blends with nothing more than roasted peanuts give your dog clean energy without dangerous chemical additives.
Natural oils within ground peanuts do heavy structural work across the entire dough. These unrefined plant fats hydrate the dry grains evenly, producing a pliable mixture that rolls flat without tearing along the borders. That subtle moisture barrier locks in cohesion so the finished biscuits bake into firm, pocket-friendly treats instead of shattering into dusty crumbs.
2. 100% Pure Pumpkin Puree
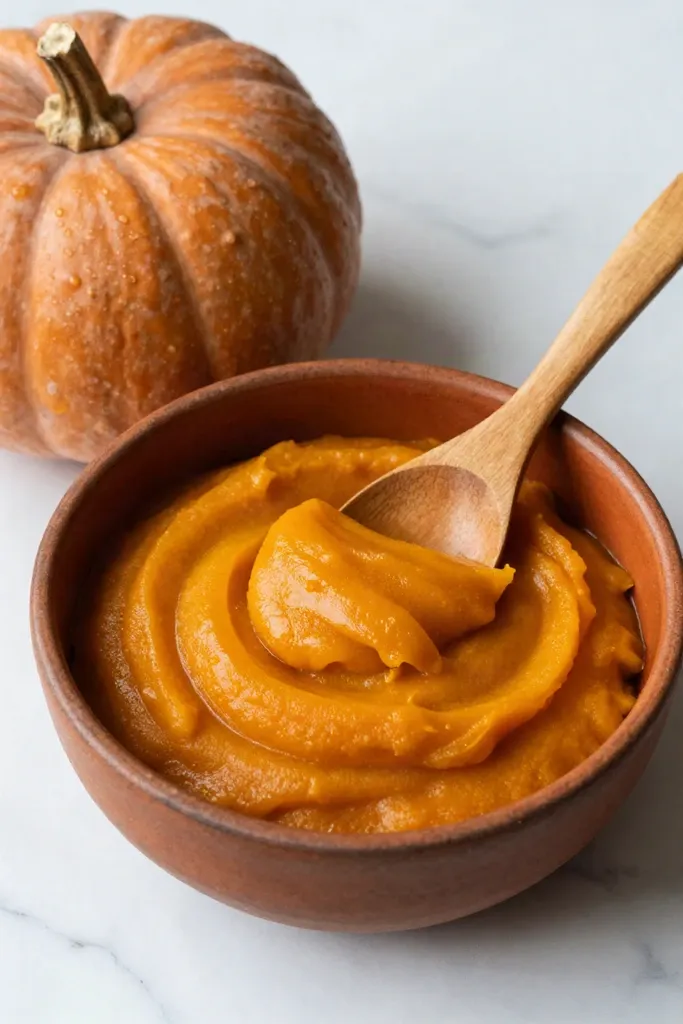
Alongside your nut butter base, plain squash flesh supplies the steady hydration needed to bind the mixture without adding heavy oils. Always check the ingredient label on the can to ensure it lists only cooked pumpkin, never canned pie filling packed with added sugars, cinnamon, or nutmeg that can upset your dog's stomach. The soluble fiber naturally binds the dough while regulating how water evaporates in the oven. Instead of puffing up into an airy, fragile biscuit that shatters on contact, this dense pulp creates a compact, sturdy structure that withstands active handling. That controlled moisture gives dry starches just enough tackiness to form a cohesive, rollable slab.
3. The Binding Agents: Flours and Oats
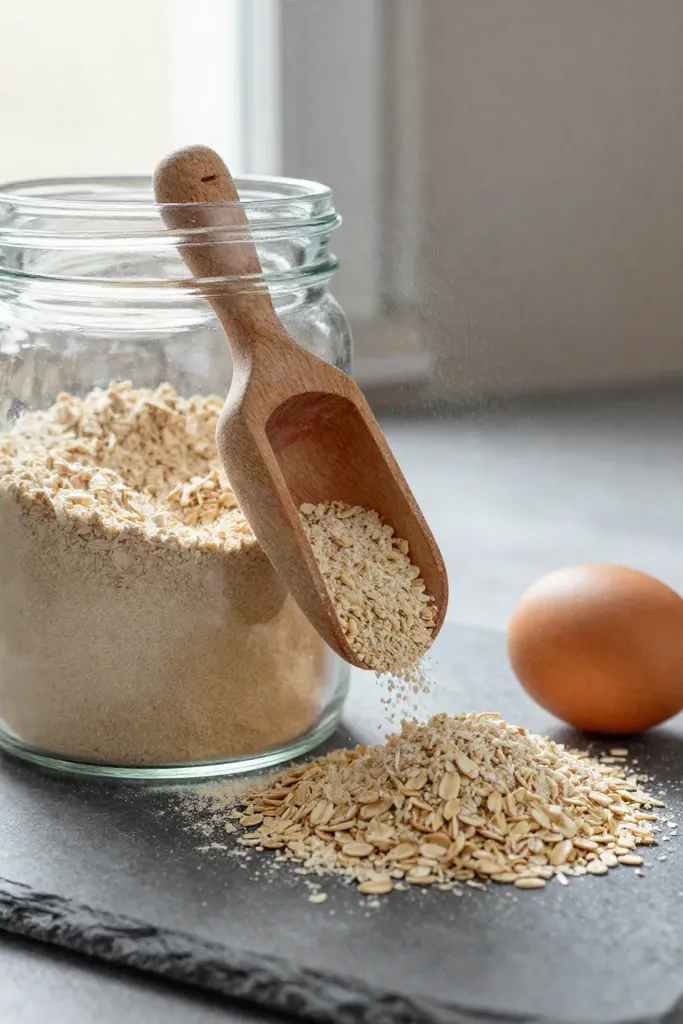
Working with that hydrated base, your dry grains provide the internal framework that stops pocket treats from shattering on a walk. Whole wheat flour introduces moderate gluten development, creating a firm matrix that holds tightly against everyday friction inside a pouch. When you want a wheat-free alternative, finely ground oat flour relies on soluble beta-glucans rather than gluten to form a resilient bond, swelling with moisture before setting hard during the bake.
A measured portion of coarse rolled oats adds physical reinforcement to the mix, functioning like aggregate in mortar to stop micro-cracks from splitting the dough. In low-moisture recipes, these starches gelatinize slightly and seal the biscuit surface, keeping oils contained and pocket linings clean during outdoor training sessions.
Essential Tools for Perfect Bite-Sized Treats
Getting the dough consistency right is only half the battle when you need dozens of miniature rewards for rapid-fire clicker work. A few basic prep utensils help you turn dense dough into uniform morsels that fit cleanly inside your palm. Consistent proportions keep your dog focused on the immediate task rather than chewing for several seconds between reps, preserving the rhythm of your session.
Proper portioning gear prevents oversized biscuits that add excess calories to your dog's daily diet. When each piece bakes at the exact same rate, you achieve a reliable dry crunch without burnt corners or soft centers that crumble in your pocket. Setting up these essentials before you begin keeps batch baking fast and efficient.
1. Silicone Molds vs. Mini Cookie Cutters
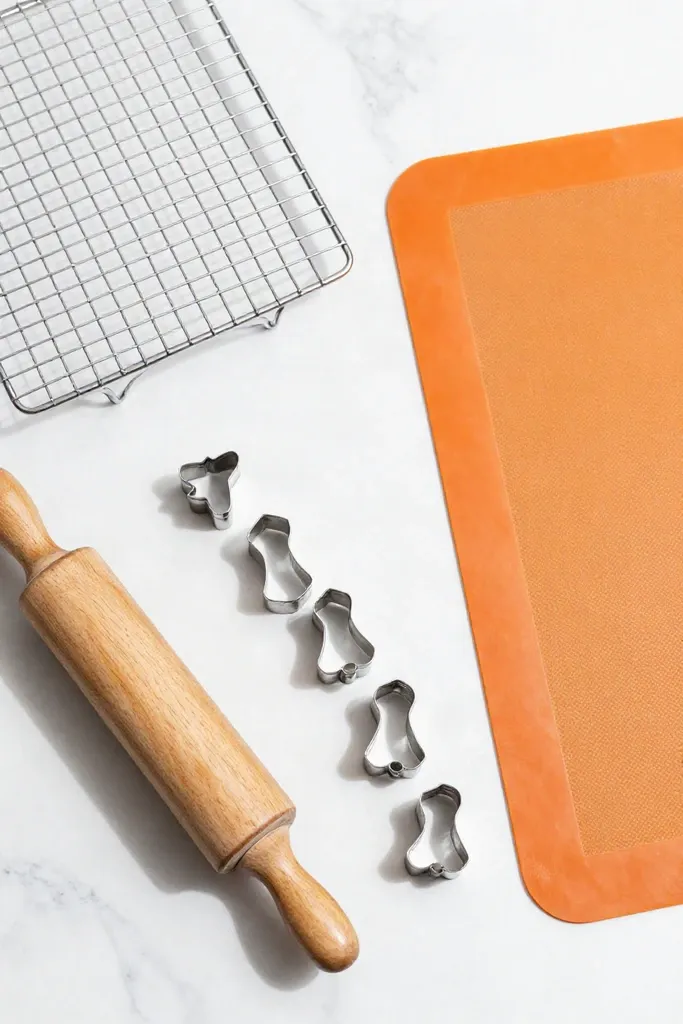
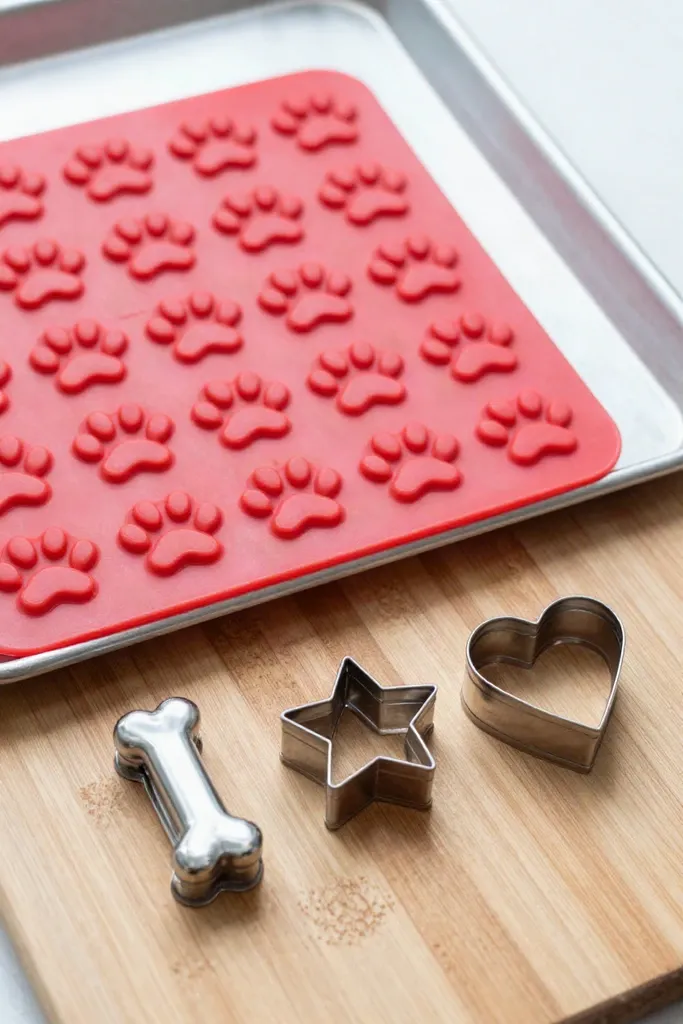
Pressing the mixture into flexible dot trays yields hundreds of uniform, portioned pellets in minutes, although trapped steam inside rubberized wells leaves the centers slightly denser and moist. Rolling your dough out flat and stamping it with miniature metal cutters takes more hands-on prep, yet direct oven airflow evaporates surface moisture to deliver a harder crunch that won't crumble in your hands. Carving shapes from an evenly flattened slab remains the most reliable method for achieving maximum crispness and pocket durability.
2. Rolling Mats for Even Thickness
Achieving that uniform sheet requires a dependable surface with built-in measurement guides. When a slab varies in depth across the tray, thinner edges brown quickly while thicker sections trap lingering moisture in the oven. That trapped moisture creates a soft center that quickly disintegrates into powder the moment you slide a handful of biscuits into your jacket pocket. A textured silicone surface with millimeter grid lines gives you immediate visual feedback, keeping your rolling pin completely level across every square inch.
Consistent biscuit depth allows the dry heat of your oven to pull moisture evenly from both the edges and the center of each piece. Countertops often cause dense, sticky dough to drag and tear, which tempts you to dump extra dusting flour that throws off your ingredient balance. A dedicated prep surface releases the dough smoothly without extra flour, preserving the clean structure needed before you transfer your batch onto the baking sheet.
Step-by-Step Baking Guide for Non-Crumbly Biscuits
Sticking to an exact preparation sequence ensures that the starches and natural proteins bind completely, creating a rock-hard texture that won't pulverize against your keys or phone during a walk. Dog treats often turn into dusty rubble when moisture remains trapped or when the wet and dry elements interact unevenly before heading into the oven. Following each phase without rushing the moisture release produces durable morsels that stay clean in your palms.
Step 1: Mixing Wet and Dry Ingredients for the Right Consistency
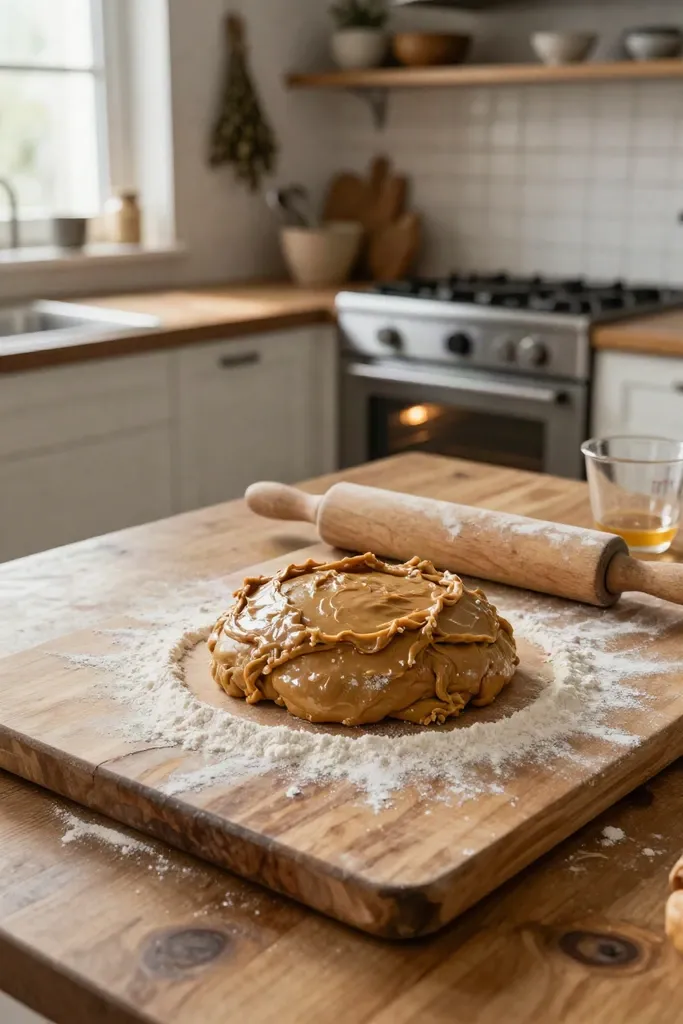
Combine your peanut butter, pumpkin puree, and eggs in a broad ceramic or stainless bowl, whisking until the mixture turns glossy and uniform. Because peanut butter tends to clump when cool, room-temperature ingredients blend far more easily, creating an emulsion that holds moisture evenly. Once the base forms a smooth, amber paste, start incorporating your flour in small quarter-cup additions rather than dumping it all at once. Stirring incrementally lets the starches absorb the liquids steadily, preventing dense pockets of dry powder.
The target texture should resemble firm children's modeling clay or smooth play-dough. If you press a clean finger into the center of the mass, the dough ought to yield cleanly without leaving tacky residue on your skin. When the mixture feels too wet, sprinkle in an extra tablespoon of flour to tighten the crumb. A crumbly, dry lump simply needs a teaspoon of water or an extra smear of pumpkin to bind together, leaving you with a cohesive ball ready for the counter.
Step 2: Rolling and Cutting for Pocket-Sized Portions
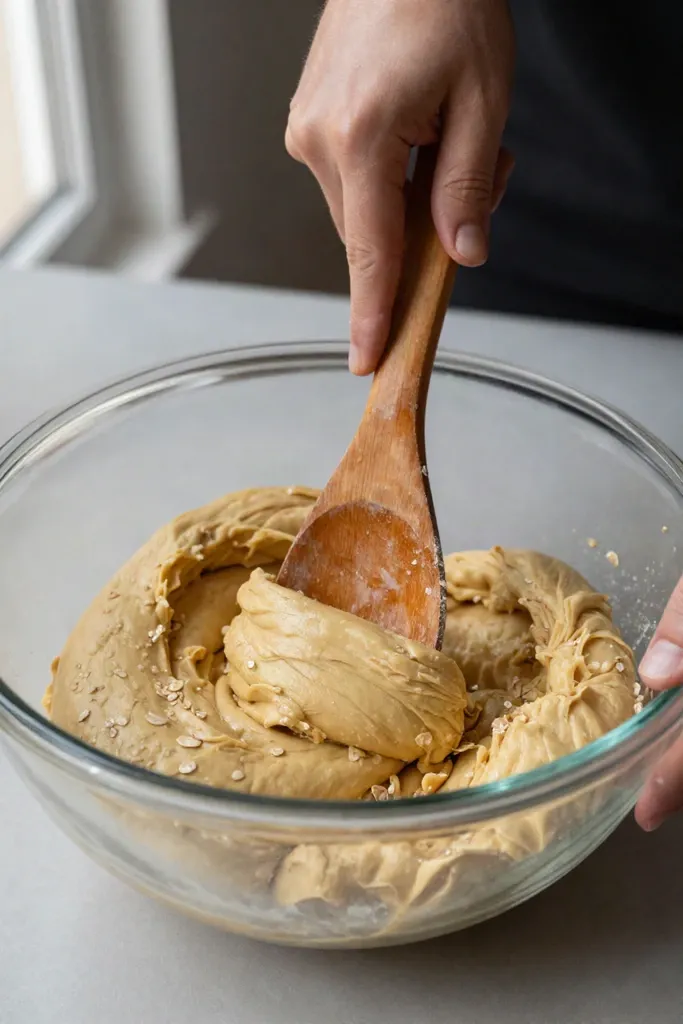
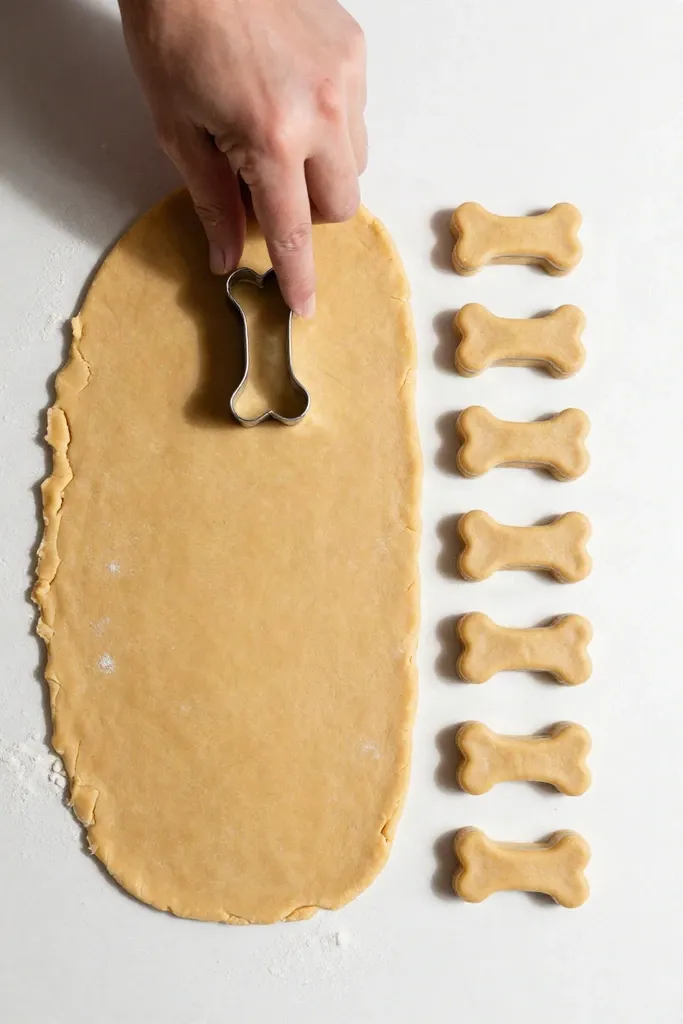
Flatten that firm dough between two sheets of parchment paper until it reaches an even 1/4-inch thickness, which keeps the heat penetration uniform across the entire batch. A simple pizza cutter or bench scraper works best here to slice the slab into pea-sized squares or tiny dime shapes instead of using bulky cutters. Miniature rewards keep training momentum fast because your dog swallows each bite in seconds without stopping to chew, keeping their attention squarely on your cues.
Step 3: The Slow-Bake Method for Ultimate Crunch
Slide the baking sheet onto the middle rack at a gentle 300°F (150°C) instead of a standard high-heat setting, giving the heat enough time to penetrate the center without scorching the exterior edges. After baking for roughly 30 to 35 minutes until the dough turns a uniform golden hue, shut off the heat source completely and keep the oven door firmly shut. Trapped ambient warmth acts like a home dehydrator over the next two hours, pulling every remaining drop of moisture from the core and turning soft dough into concrete-hard biscuits that won't crack under pocket pressure. Rushing this dehydration phase leaves hidden interior water that breeds mold or breaks down into messy crumbs during active handling. Leaving the pieces inside until the oven cools completely preserves their snappy texture against room humidity.
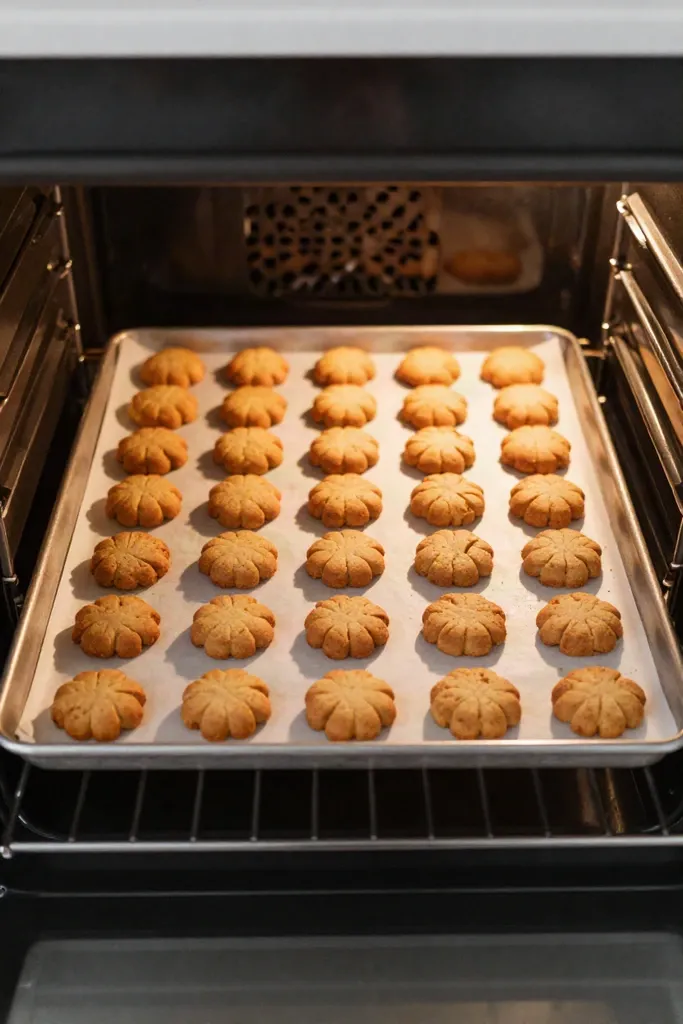
Step 4: The Cooling Phase to Prevent Condensation
Transferring the warm biscuits immediately onto a raised wire rack allows air to circulate around every side, releasing lingering internal steam evenly. If you leave them resting on the flat baking sheet, trapped heat against the metal creates a damp underbelly that ruins your hard-earned crunch within minutes. Giving the batch at least an hour of undisturbed airflow ensures the core temperature drops down to room level before any container lid comes into play.
Any residual warmth trapped inside an airtight jar turns into micro-droplets of moisture along the container walls. This trapped humidity sinks right back into the outer crust, transforming firm pocket treats into soft, crumbly pieces that fall apart during obedience drills. Once the biscuits feel completely cold and dry across both sides, they are ready for your daily training pouch.
How to Store Your Dog Treats for Active Outings
Protecting that baked crispness comes down to shielding the batch from ambient humidity. Because homemade biscuits lack chemical preservatives, trapped moisture in the air will soften their firm snap and invite mold over time. Locking your stash inside a tightly sealed container keeps the pieces bone-dry and durable for sudden recall drills without leaving grease or crumbs in your pockets.
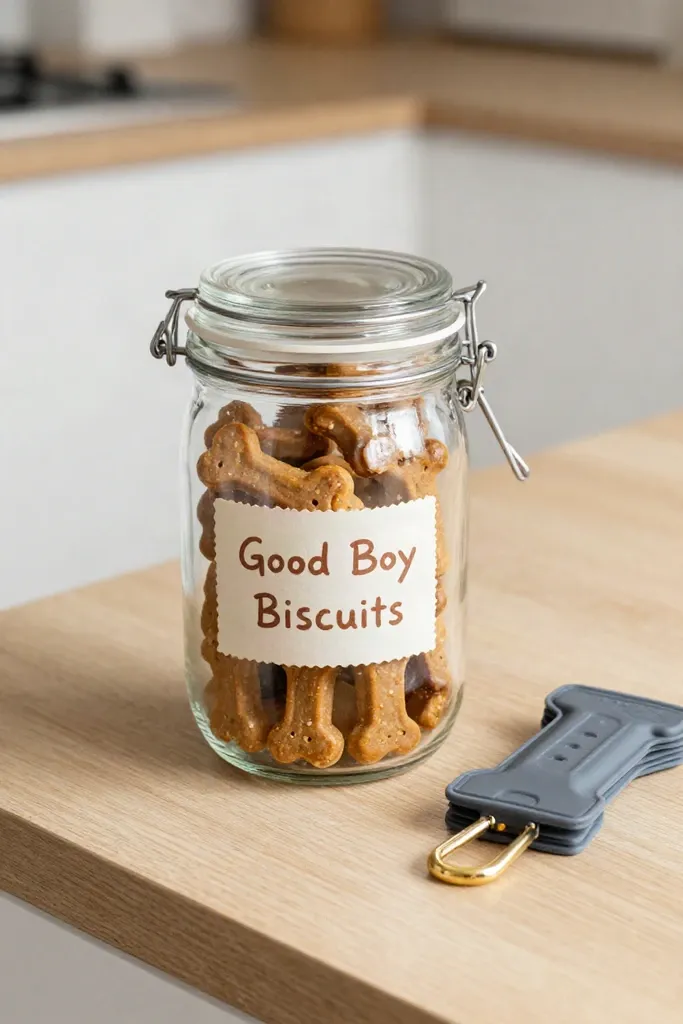
1. Countertop Storage vs. Freezing
A fully dehydrated batch stays crisp at room temperature for about seven to ten days when sealed in an airtight glass jar away from direct sunlight. Because homemade recipes lack artificial preservatives, ambient moisture quickly softens the snap if the container stays unlatched. Keeping just five to seven days' worth of biscuits within arm's reach on your kitchen counter prevents you from exposing the entire yield to humid air every time you step out for a walk.
For the surplus portion, the steady chill of your freezer locks in that brittle bite for up to four months without flavor loss. You can pack separate portions into flat freezer bags or silicone pouches. Thawing a single week's supply overnight keeps the remaining bulk stash protected from ambient humidity.
2. Best Training Pouches for Oil-Free Storage
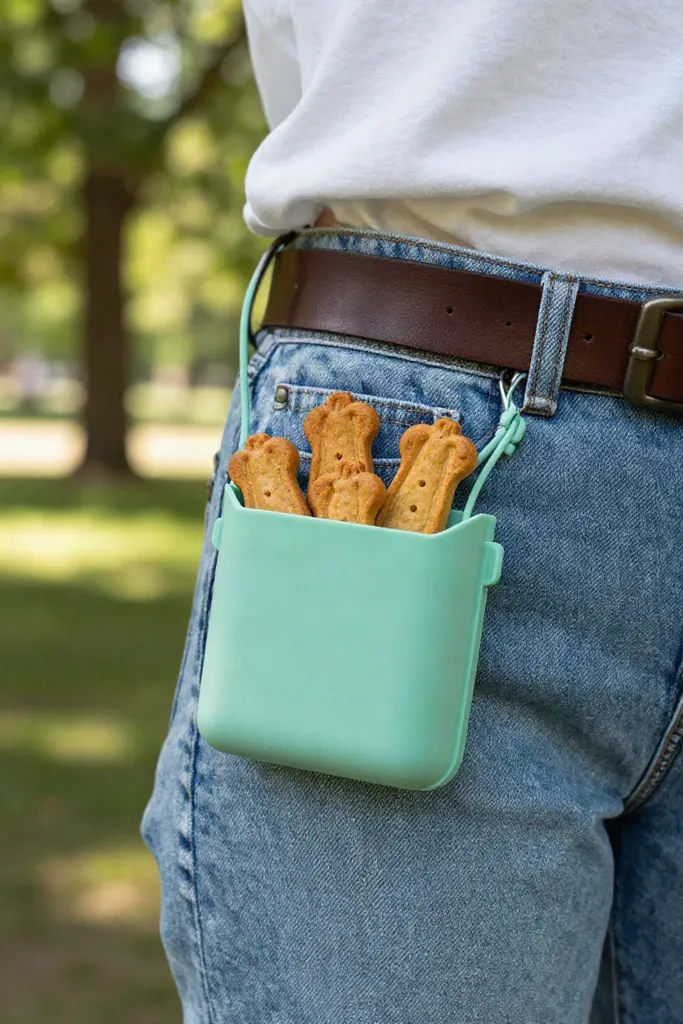
Once you portion out rewards for an outdoor session, carrying them in standard jacket pockets can leave grease rings and fabric lint on your baked goods. Dedicated gear with non-porous liners protects your clothes while keeping each piece within arm's reach during fast-paced drills.
- Food-grade silicone pouches with magnetic snap tops allow one-handed retrieval and rinse clean under tap water after peanut butter sessions.
- Waterproof TPU-lined waist bags prevent natural fat from seeping onto your pants while giving you wide openings for quick hand entries.
- Belt-clip packs with drawstring toggles isolate food from your car keys and phone throughout active agility drills.
Frequently Asked Questions (FAQ)
Modifying the base recipe requires strict attention to canine digestion and baking chemistry to maintain the biscuit's firm structure.
- Verify that all canned purees contain zero added spices, salts, or artificial sweeteners like xylitol, which are toxic to dogs.
- Swap pumpkin puree for unsweetened plain applesauce or mashed steamed sweet potato in equal amounts if your dog requires an alternative fiber source.
- Add one or two tablespoons of water if you switch to a denser gluten-free flour, ensuring the dough rolls smoothly without cracking.
Can I substitute the peanut butter with another nut butter?
Sunflower seed butter and plain almond butter serve as reliable alternatives that bind the dough effectively. Before mixing either option into your batch, verify that the spread aligns with safe canine nutrition standards.
- Inspect the label closely to ensure the jar is free of xylitol, an artificial sweetener that is extremely toxic to dogs.
- Choose options with zero added salt or refined sugars to keep the treats gentle on your dog's stomach.
- Pick single-ingredient recipes without hydrogenated oils so your biscuits dry into a crisp, pocket-friendly crunch.
How long do these homemade training treats last?
Because the slow-bake method draws out nearly all moisture, a standard batch stays fresh on your kitchen counter for one to two weeks. Keep them stored in a tightly sealed glass jar or silicone pouch away from direct sunlight so ambient humidity cannot soften the exterior.
For larger prep sessions, the freezer extends their shelf life up to three months without any texture loss. You can pull a handful straight from the freezer bag each morning, as the small biscuits thaw to room temperature in about ten minutes while you prep your walking gear.
Conclusion: Ready for Crumb-Free Obedience Training
Once you step outside with a batch of homemade biscuits, the difference in your daily handling routine becomes obvious. Instead of digging through pockets coated in greasy crumbs or broken biscuit fragments, you pull out clean, solid bites that deliver a rapid reward every time your dog hits a heel position or recalls promptly. That reliable texture keeps your dog's focus sharp on your cues rather than on dropped crumbs along the pavement.
A single baking session supplies enough sturdy snacks to power weeks of outdoor drills and garage obedience sets without sticky residue ruining your gear. Fill your pouch and spend your practice time reinforcing commands with reliable, mess-free biscuits that hold up through active movement.