Summary
- Mastering The Simple 3-Ingredient Grain-Free Dog Treat Formulation
- Raw Component Preparation and Moisture-Balanced Dough Synthesis
- Uniform Slab Rolling, Precision Stamping, and Controlled Desiccation
- Ingredient Ratio Tolerances and Oven Dehydration Reference Metrics
- Moisture Retention Traps, Gummy Textures, and Shelf-Life Spoilage Controls
- Final Batching Recommendations and Daily Canine Treat Rotation
Mastering The Simple 3-Ingredient Grain-Free Dog Treat Formulation
Commercial store-bought biscuits often pack hidden corn starch, synthetic preservatives, and cheap grain fillers that trigger itchy skin or sensitive stomachs in dogs with allergies. Crafting grain free blueberry dog treats at home bypasses those common allergens while putting you in direct control of every single component. Working without eggs or artificial binders can feel intimidating because dough can easily crumble or turn sticky, but this streamlined homemade dog biscuit recipe balances natural fruit hydration against absorbent legume flour for dependable dough cohesion.
Careful measurement gives these 3 ingredient pet snacks the consistency of standard baked goods, producing nutrient-rich, healthy diy dog food alternatives that deliver reliable crunch and peace of mind on a modest kitchen budget.
Raw Component Preparation and Moisture-Balanced Dough Synthesis
Achieving the right texture for grain-free dough requires understanding how moisture and starch interact before rolling. Blueberries naturally carry substantial water content, which can turn flour into paste if dumped together without measured pacing. Chickpea flour dog treats rely on dense legume starches that absorb liquid over several minutes, meaning initial stickiness often firms up as the proteins hydrate on the counter.
- Strain canned pumpkin puree briefly through cheesecloth if you notice standing liquid pooling on the surface.
- Fold your blueberry puree pet food base gradually into the dry flour rather than splashing it all in at once.
- Rest the blended mass for 5 minutes under a clean kitchen towel so the dry particles fully absorb available moisture.
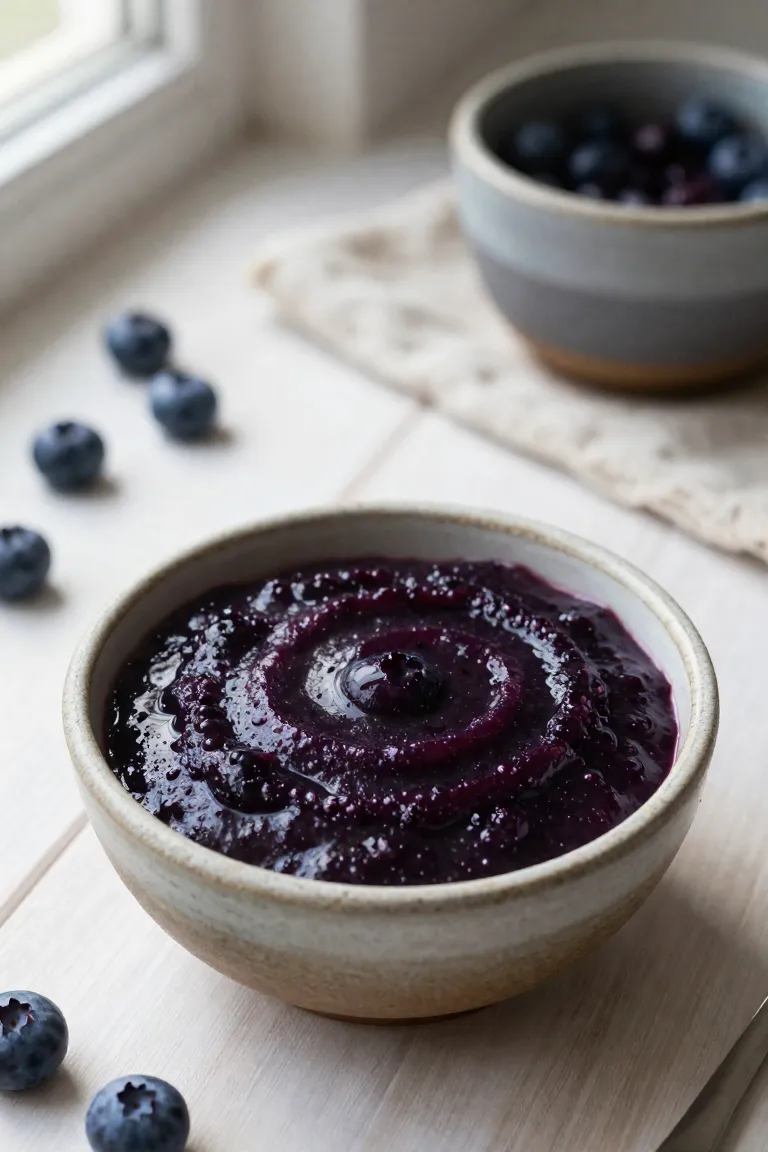
1. Pureeing Fresh Wild Blueberries for Controlled Moisture Integration
Place 75 grams of fresh wild berries into a small food processor or NutriBullet and pulse for 45 seconds until you reach a silky, lump-free consistency. Skipping this thorough pulverizing step leaves intact skins and fleshy chunks that explode into wet, gummy pockets during baking, which inevitably creates fragile hollow voids and invites premature spoilage inside your storage jar. Transforming the fruit into a uniform liquid reduction guarantees that every gram of flour absorbs moisture at the exact same pace.
This tested dog treat puree technique evenly distributes valuable anthocyanins across the entire batch, yielding colorful antioxidant pet snacks and crisp fresh fruit dog biscuits without messy wet spots.
Stylist Rule: Puree until glossy and completely fluid to prevent hidden moisture traps during oven dehydration.
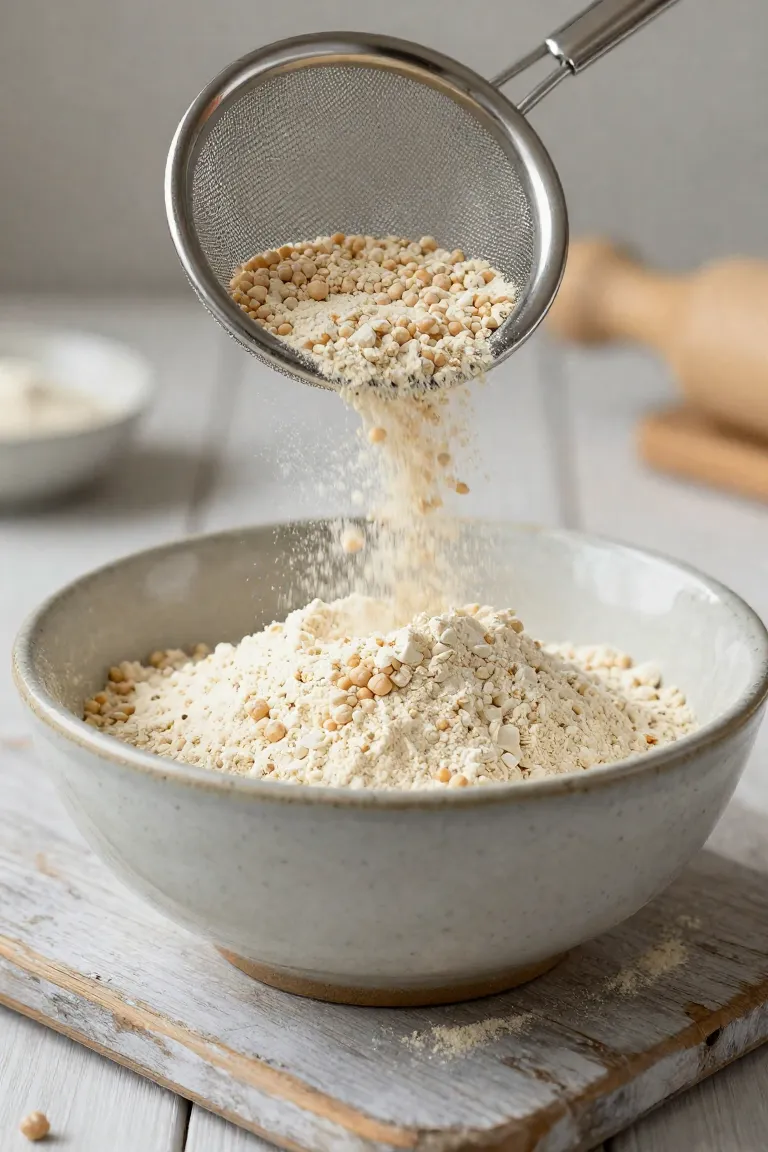
2. Sifting Chickpea Flour to Eliminate Dense Pockets and Clumping
Pour 120 grams of chickpea flour for dogs straight into a fine mesh stainless strainer set across a wide ceramic bowl, tapping the rim gently for thirty seconds. Dense legume flours settle heavily during transit, forming tight clusters that stubbornly resist liquid absorption during mixing. When you skip this simple step, dry powdery cores stay trapped in the dough matrix, causing brittle fractures once the batch leaves the heat.
A thoroughly sifted base ensures your gluten free pet treats develop a stable, resilient crumb that readily welcomes the fruit reduction. For sensitive canine stomachs, hypoallergenic dog baking depends on this even texture to distribute moisture cleanly. An aerated flour mixture also guarantees reliable dough elasticity when rolling out grain free flour dog biscuits on your counter.
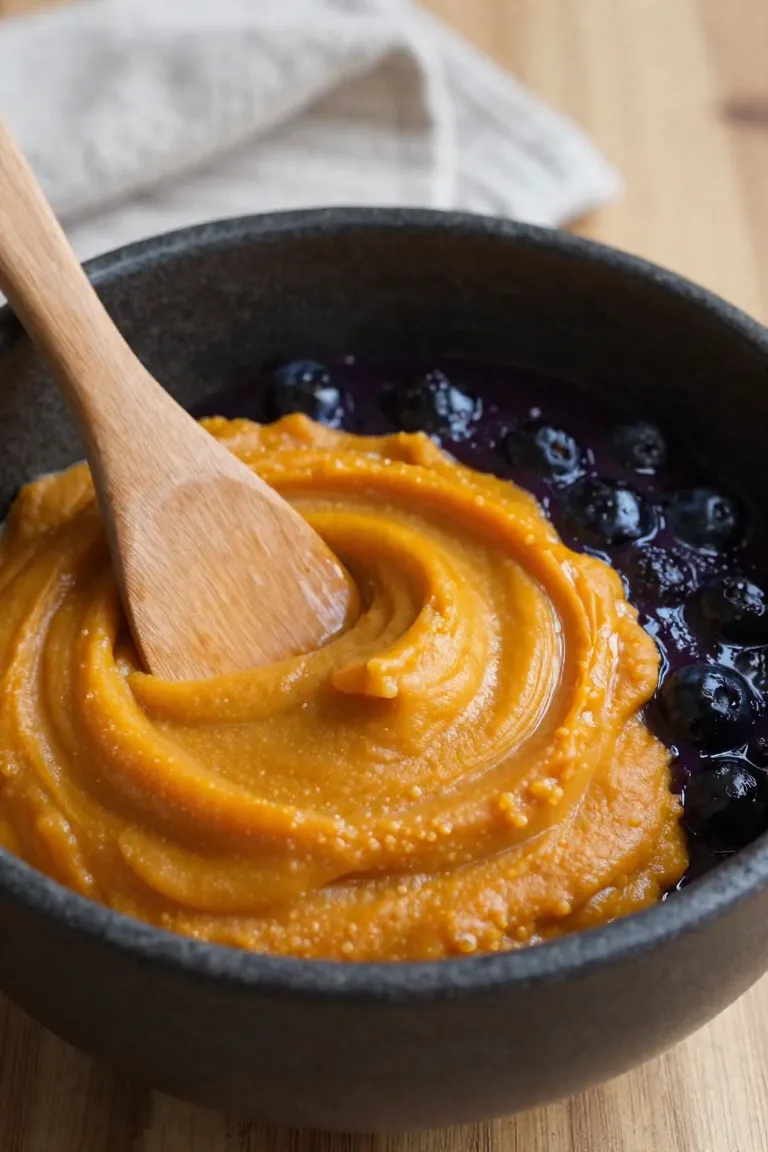
3. Folding Pure Pumpkin Puree into Berry Reduction for Binder Strength
Whisk 80 grams of pure canned pumpkin directly into your processed berry liquid with a silicone spatula for sixty seconds. Rushing this integration leaves isolated moisture streaks through the mixture, creating uneven bake zones where interior centers stay soggy while thin biscuit tips turn dark. Soluble fiber present in canned pumpkin works as one of the best natural dog treat binders, producing resilient dough cohesion without animal fats or eggs.
This uniform blend turns these pumpkin blueberry dog treats into excellent aids for digestive health dog biscuits. The consistent moisture level simplifies preparation while assembling easy homemade dog cookies that hold crisp stamped edges cleanly.
Stylist Rule: Use 100 percent pure pumpkin rather than canned pie mix to protect your dog from added sugars and spices.
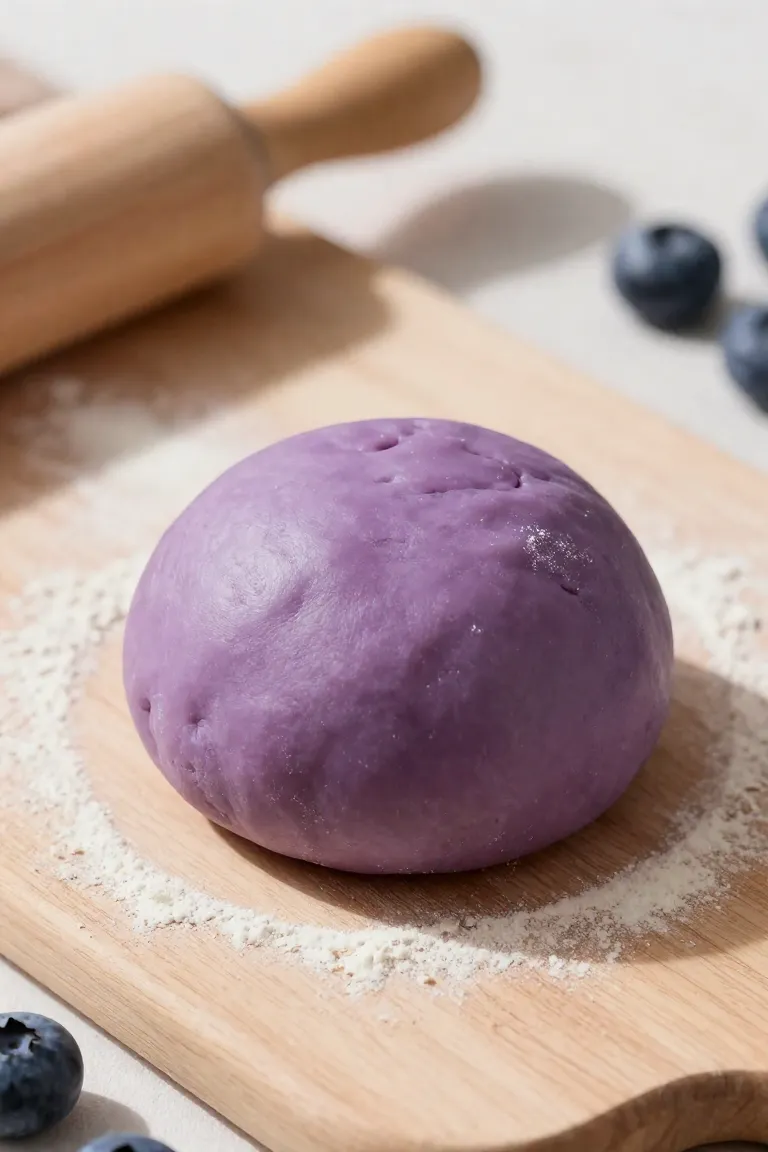
4. Kneading to a Cohesive Non-Sticky Biscuit Dough Consistency
Pour the deep purple emulsion into the center well of your sifted flour and work the mass together with your knuckles for three steady minutes. Proper technique for kneading dog biscuit dough requires pressing firmly into the center of the bowl until a smooth, cohesive sphere comes together cleanly without sticking to your fingers. Let the formed dough ball rest untouched on your counter for five full minutes before rolling.
The brief resting window gives dense garbanzo starches time to hydrate evenly so your handmade pet biscuits do not crumble along the edges. Achieving the correct dog treat dough consistency prevents ragged tearing around cookie cutters, ensuring this non sticky dog treat recipe releases smoothly from your work surface every time.
Uniform Slab Rolling, Precision Stamping, and Controlled Desiccation
Maintaining a uniform biscuit thickness turns a simple kitchen project into long-lasting pantry rewards. Without gluten strands to stretch and rebound, grain-free mixtures rely on balanced physical compression so every piece bakes at an identical pace. Preparing parchment paper dog treats also keeps the dough from sticking to countertops, sidestepping the common impulse to sprinkle extra dry flour that often saps the batch of moisture.
Consistent thickness safeguards against undercooked centers while encouraging uniform dog treat baking from edge to core. When pieces dry evenly in the oven, moisture dissipates completely, warding off spoilage and leaving each biscuit crisp enough to snap neatly between your fingers.
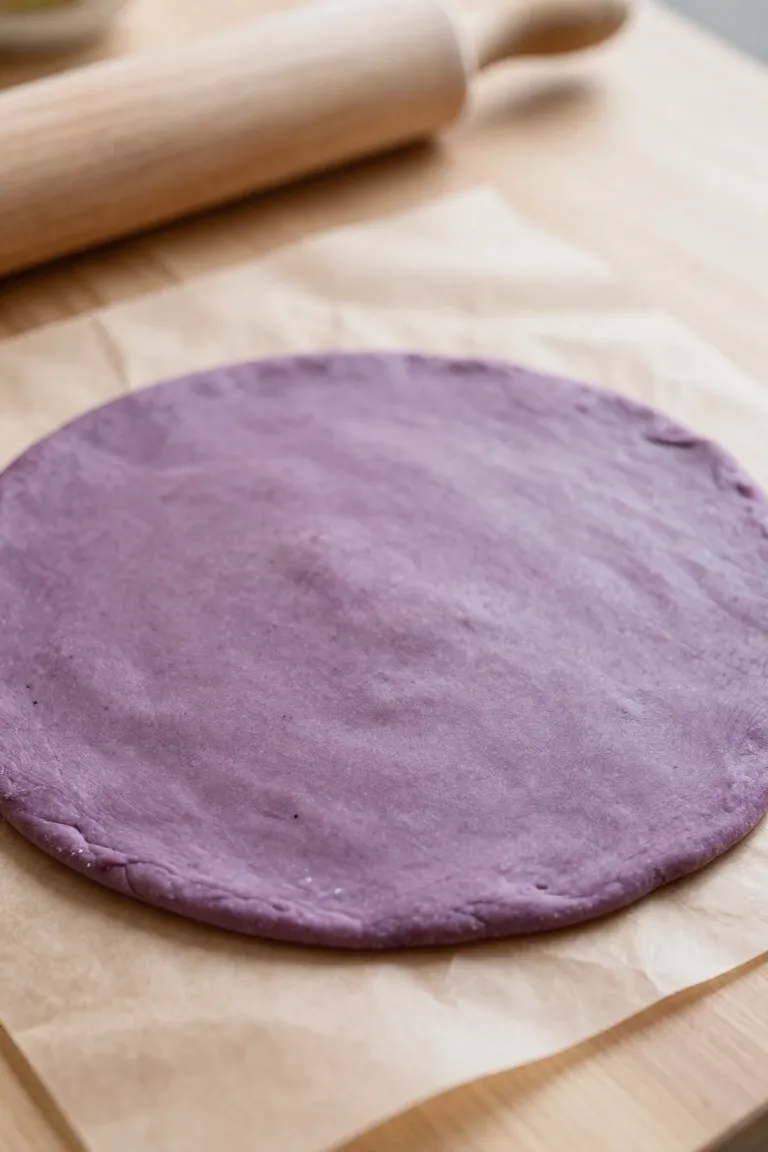
5. Rolling the Dough Slab Between Parchment to Exact Quarter-Inch Thickness
Place your rested dough ball directly between two large sheets of unbleached parchment to prepare the base cleanly. Rolling dog treat slab portions directly on a bare cutting board often pulls damp spots apart, whereas baking parchment pet treats retain smooth surface tension across the entire sheet without absorbing excess starch.
Keep steady, even pressure with your rolling pin until you establish an exact quarter-inch thickness across the board. Inconsistent heights leave thin sections vulnerable to burnt bitter edges while thicker patches trap pocketed steam, making quarter inch biscuit dough the ideal depth to guarantee even thickness dog biscuits that dry thoroughly without turning brittle.
6. Stamping Clean Bone Shapes Using Lightly Floured Cutters
Dusting your metal tool lightly prevents sticky blueberry purees from catching along delicate interior corners. When cutting bone shaped dog biscuits, press the edge straight down into the sheet with direct downward force and lift cleanly without wiggling or twisting sideways. Twisting shears the fragile grain-free perimeter, leaving jagged frills that char quickly into bitter crumbs once heated.
- Dip your favorite dog treat cutter shapes into chickpea flour every three cuts to maintain clean edges.
- Transfer the stamped dog cookies onto your lined baking pan, leaving at least a half-inch margin between them.
- Gather the remaining dough scraps, press them gently back into a ball, and roll flat once more for zero waste.
Stylist Rule: Adequate half-inch perimeter spacing allows oven heat to circulate evenly, producing crisp diy crunchy pet treats that stay snappy for weeks.
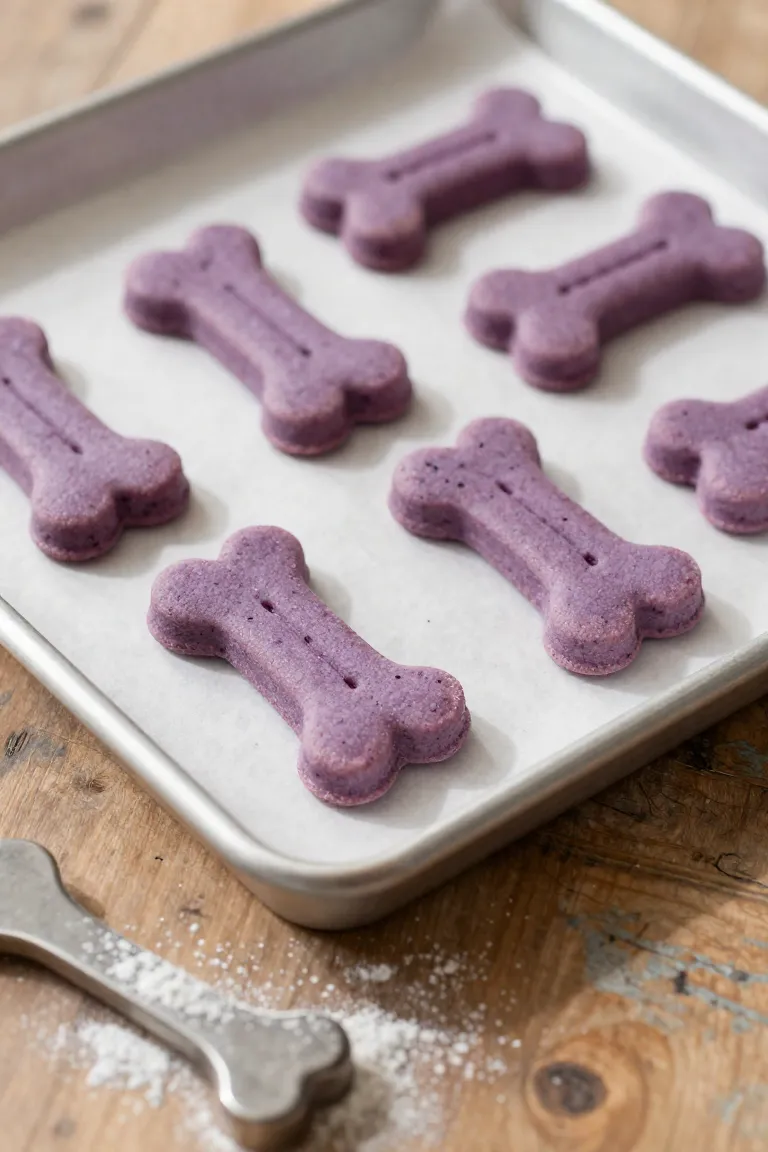
7. Baking at 325 Degrees F for Controlled Moisture Evaporation
Slide your prepared baking sheet onto the center oven rack, setting your kitchen timer for 25 to 30 minutes to establish an even thermal zone. Maintaining a gentle environment is vital when managing delicate fruit purees, making baking dog treats 325 degrees Fahrenheit the standard threshold for preserving sensitive nutrients while driving out stubborn core moisture. If you raise the heat past 350 degrees, the natural fructose sugars scorch rapidly, creating an acrid crust while leaving the center undercooked and perishable.
A quick rotation of the pan halfway through baking guarantees uniform coloration across every bone cutout. This steady desiccation cycle yields golden oven baked pet snacks with firm edges and zero scorched pockets. By honoring these low temp dog biscuits parameters, you safeguard the natural vitamins in real blueberries while setting the stage for a snappy, crispy dog cookie recipe that holds up in daily storage.
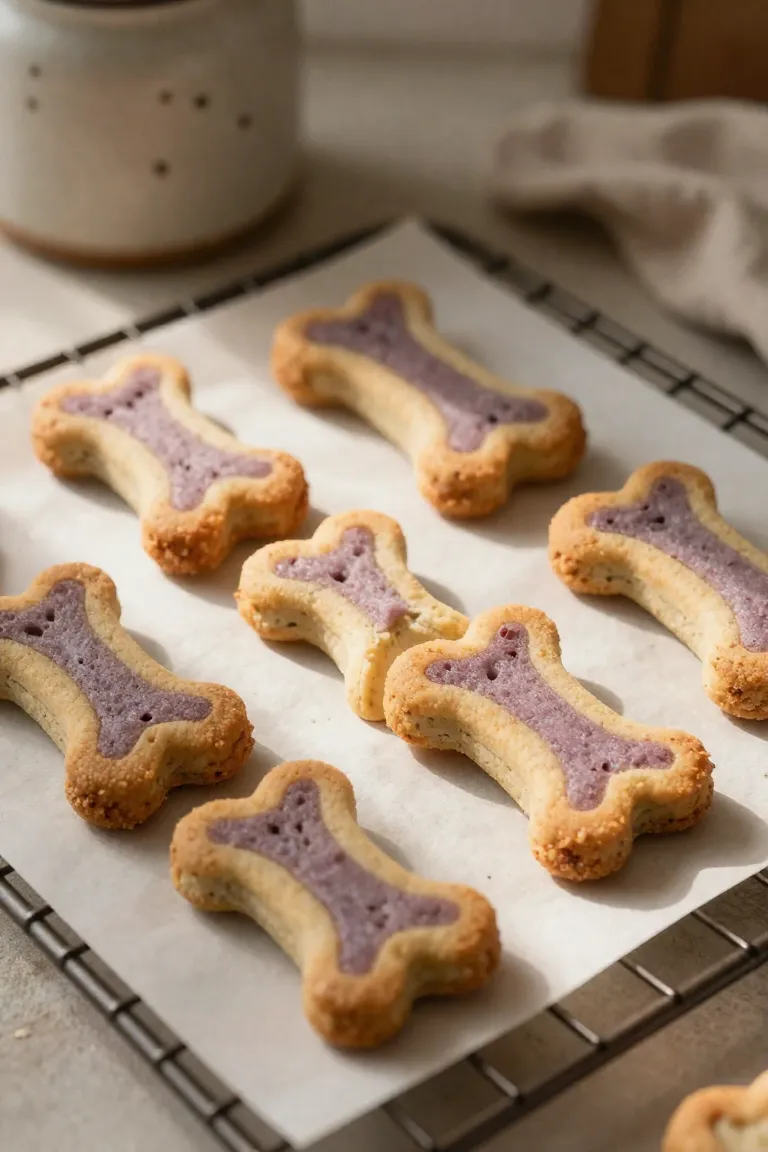
8. Low-Heat Oven Desiccation for Crisp Snap and Mold Resistance
Once the timer sounds, resist the urge to immediately transfer the baking sheet onto your kitchen counter. Sealing warm biscuits directly into airtight jars traps residual steam, transforming crisp surfaces into soft, spongy breeding grounds for unwanted bacteria within forty-eight hours. Practicing deliberate patience guarantees zero trapped moisture, yielding genuinely mold free dog treats that maintain structural integrity.
- Shut off the oven heating elements while leaving the baking tray resting undisturbed on the middle rack.
- Prop the oven door open roughly one inch using a dry wooden spoon handle to establish steady ambient airflow.
- Allow forty-five minutes for dehydrating homemade dog biscuits slowly, removing lingering internal humidity to create crunchy grain free dog treats with a clean snap.
- Transfer the fully cooled pieces to wire racks to reach true room temperature before packaging your long lasting dog cookies for storage.
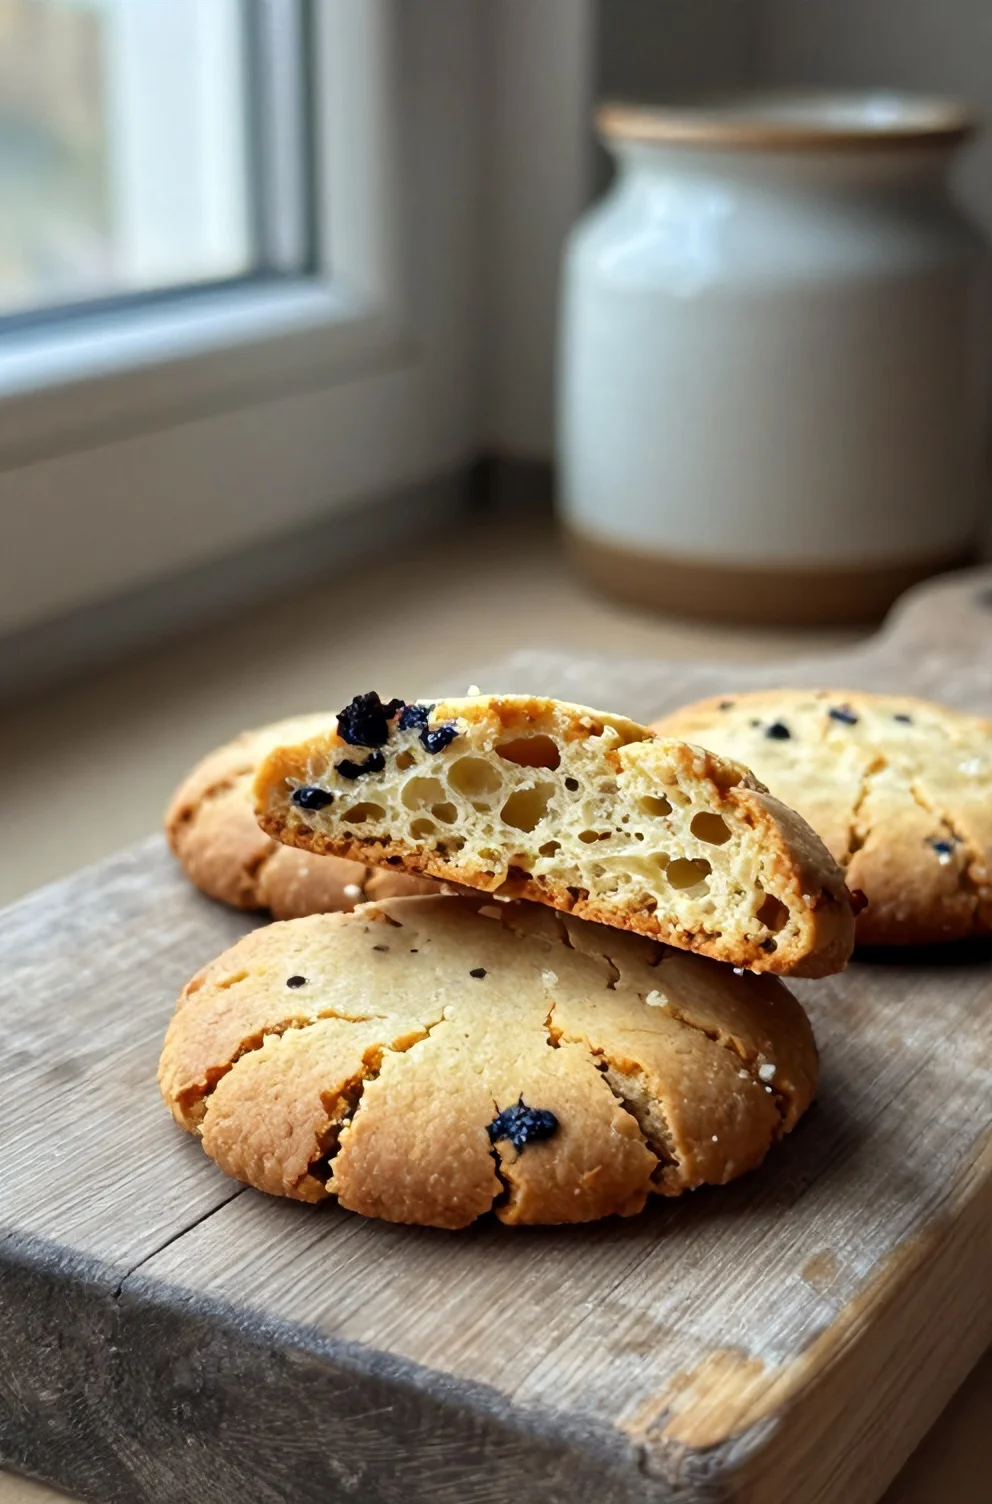
Ingredient Ratio Tolerances and Oven Dehydration Reference Metrics
Balancing liquid content against dense legume flour forms the technical foundation of this formula. Adhering to a strict dog biscuit thickness guide alongside a 1.5 to 1 flour-to-liquid weight balance prevents rubbery dough centers. If you substitute chickpea flour with absorbent coconut or almond meal, adjust liquids accordingly because alternative grain free flour ratios pet owners rely on shift hydration demands significantly. When calculating final oven time, use this practical baking dog treats time chart reference to fine-tune your schedule based on cutout dimensions and calibrated dog treat recipe ratios.
| Cutter Size | Bake Time (325°F) | Oven Desiccation |
|---|---|---|
| Small (1-Inch) | 20-22 Minutes | 30 Minutes |
| Medium (2-Inch) | 25-28 Minutes | 45 Minutes |
| Large (3-Inch) | 32-36 Minutes | 60 Minutes |
Moisture Retention Traps, Gummy Textures, and Shelf-Life Spoilage Controls
Residual internal dampness remains the primary culprit behind chewy cores and rapid fungal blooms in grain-free baking. When wet puree outpaces the flour's natural absorption, cookies trap pockets of steam that ruin crispness within forty-eight hours. Thorough cooling on an elevated wire rack is your first defense before tackling dog treat troubleshooting, ensuring heat evaporates outward rather than collecting underneath as condensation.
For dependable containment, lock in freshness with dedicated pantry hardware:
- Pack thoroughly desiccated biscuits into wide-mouth Ball glass mason jars alongside a food-grade silica desiccant packet to prevent mold dog biscuits during ambient counter storage for up to 2 weeks.
- Move the sealed container into standard refrigeration to stretch homemade pet treat shelf life up to 4 weeks while defending against ambient kitchen humidity.
- Tuck surplus batches into silicone freezer bags for deep freezing up to 6 months, thawing individual biscuits at room temperature for ten minutes before serving.
Final Batching Recommendations and Daily Canine Treat Rotation
Nutritional balance hinges on disciplined portioning regardless of how eagerly your pup sits by the oven. Treats should never exceed ten percent of your companion's total daily caloric intake, reserving ninety percent for complete, veterinarian-approved primary meals. Establishing a practical homemade dog biscuit feeding guide prevents sneaky weight gain while letting you celebrate small training wins every afternoon.
Stylist Rule: Anchor your dog treat daily allowance strictly to body mass: toy breeds under fifteen pounds thrive on one small biscuit daily, medium dogs up to forty pounds comfortably handle two, while large hounds can enjoy three crunchy pieces.
In multi-canine homes, bake a double batch on Sunday afternoons and split portions between an active snack jar and the freezer. Alternate these antioxidant-rich blueberry biscuits with single-ingredient dehydrated beef liver or salmon skin across the week to support varied gut flora and dial in a healthy dog treat portion size without digestive upset.