Summary
- Introduction: The 15-Minute Revolution in Homemade Pet Treats
- Why Sweet Potatoes and Oats Make the Perfect Combo
- Essential Ingredients and Tools You Will Need
- Step-by-Step: Baking Sweet Potato Oat Dog Cookies in 15 Minutes
- Troubleshooting Common Air Frying Issues
- Proper Storage Tips to Keep Treats Fresh
- Frequently Asked Questions
Introduction: The 15-Minute Revolution in Homemade Pet Treats
Traditional oven baking often turns dog snack prep into an exhausting afternoon chore filled with preheating delays and tedious sheet scrubbing. Pulling out your countertop air fryer slashes that waiting time down to just fifteen minutes, using rapid circulating heat to lock in a crisp snap that dogs crave. A straightforward mix of mashed sweet potato and rolled oats delivers wholesome fiber and slow-burning carbs without artificial binders or messy rolling pins. Because the dough comes together in one bowl and requires zero kitchen experience, you'll find this pantry pairing gives you a dependable way to feed your pup clean, nutritious rewards without the fuss.
Why Sweet Potatoes and Oats Make the Perfect Combo
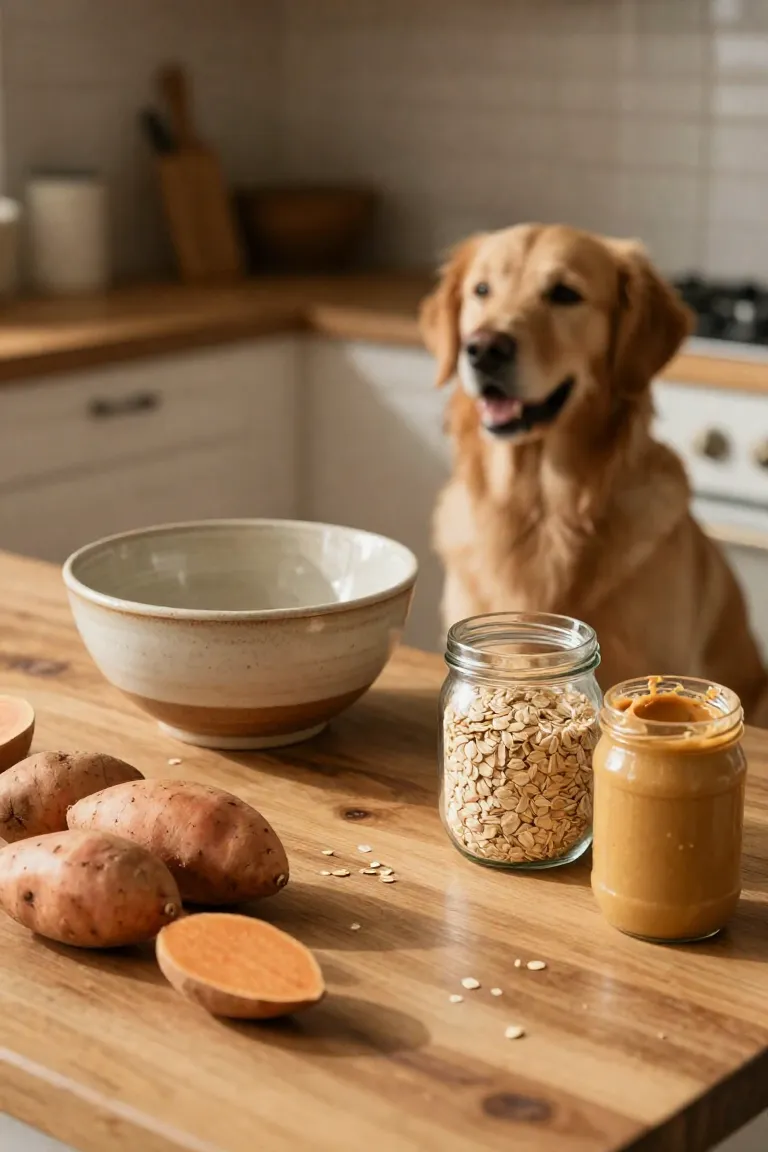
Cooked sweet potatoes give your dog a dense supply of vitamins A, B6, and C, supporting daily immune defenses and coat health. The natural soluble fiber in the orange flesh keeps canine digestion running smoothly, making it easy on dogs prone to occasional tummy upset. Because the natural sweetness appeals to picky eaters, you get genuine nutritional value without needing any artificial additives or extra syrups.
For structural balance, rolled oats step in as a gentle grain alternative for dogs that react poorly to standard wheat flour. When mixed into the puree, these whole grains absorb excess moisture and create a cohesive binder that keeps each piece intact under rapid circulating heat. You get a wholesome snack that holds its shape cleanly in the basket while supplying steady energy and trace minerals like iron and zinc.

Essential Ingredients and Tools You Will Need
Gathering your supplies takes barely two minutes since you only need basic pantry staples and standard kitchen gear already sitting on your counter. A wide mixing bowl, a sturdy fork, perforated parchment rounds, and a flat silicone spatula handle the preparation work without specialty equipment. On the grocery side, pairing plain sweet potato with whole oats keeps the treat base clean, digestible, and free from artificial binders or added sodium. Setting these items within arm's reach keeps the workflow smooth before you measure out the mixture.
The Core Minimalist Ingredients
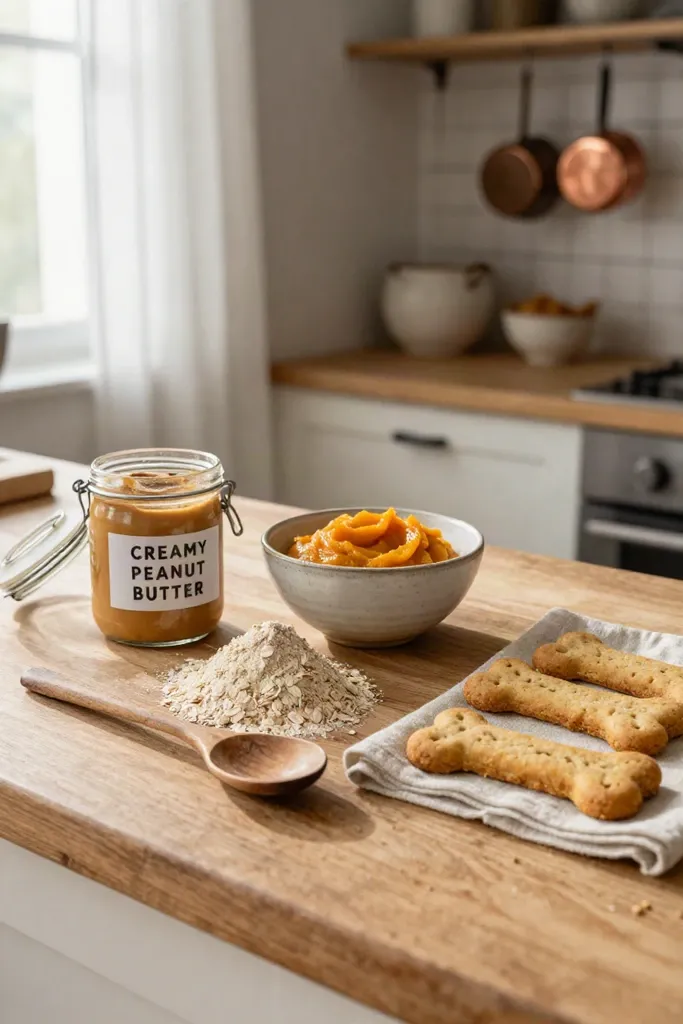
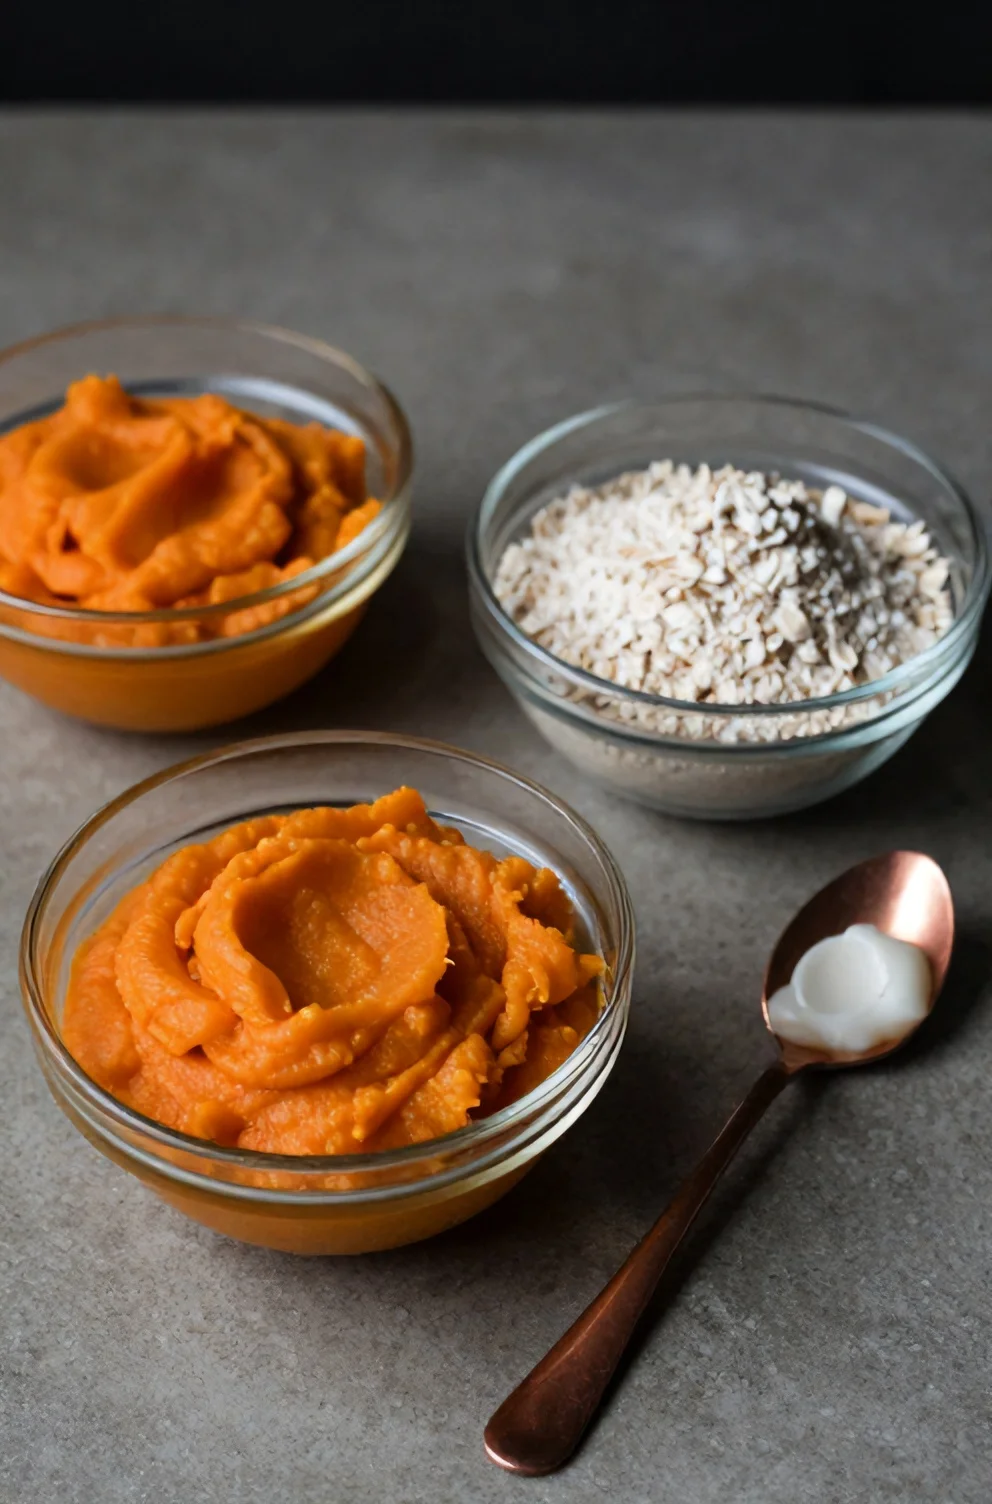
For a balanced batch, you need one cup of steamed, thoroughly mashed sweet potato paired with one and a half cups of finely ground oat flour. If you make your own flour at home, pulsing whole rolled oats in a standard blender for thirty seconds produces the right powdery texture. This clean foundation relies entirely on whole foods, so you skip preservatives and chemical stabilizers that often hide in commercial biscuits.
A single tablespoon of virgin coconut oil or two tablespoons of warm tap water provides the exact moisture needed to bring the crumb together. Unrefined coconut oil lends subtle aroma and beneficial fatty acids, while plain water works just as well if your dog requires a lower-fat option. Keeping to these simple pantry items protects your pet from unnecessary synthetic dyes and chemical fillers.
Setting Up Your Air Fryer Station
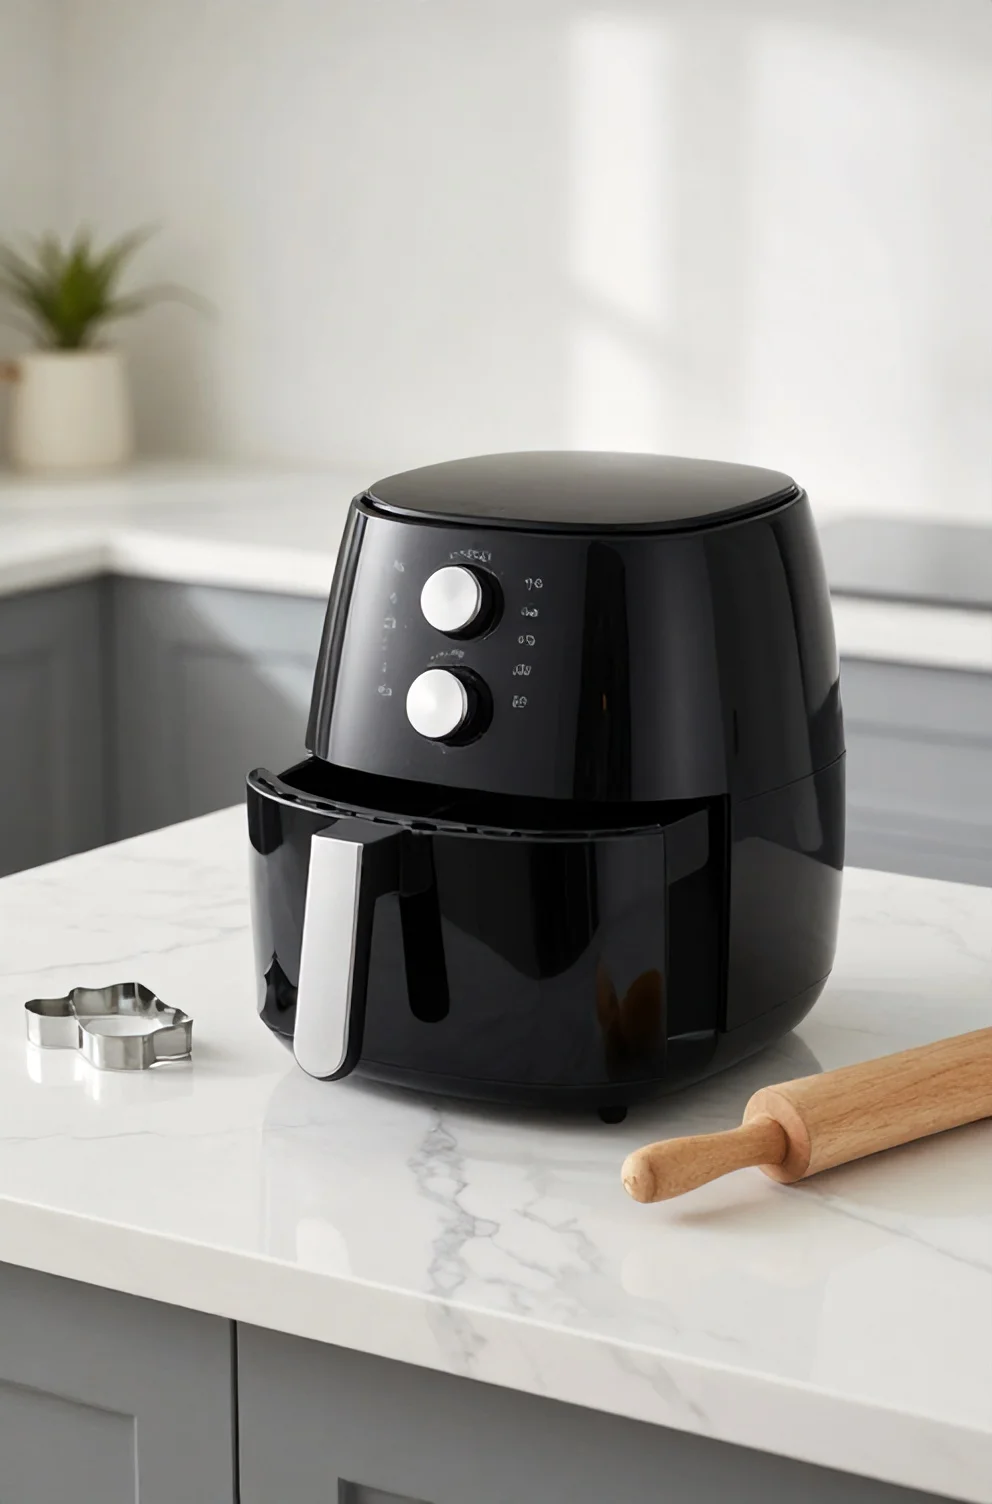
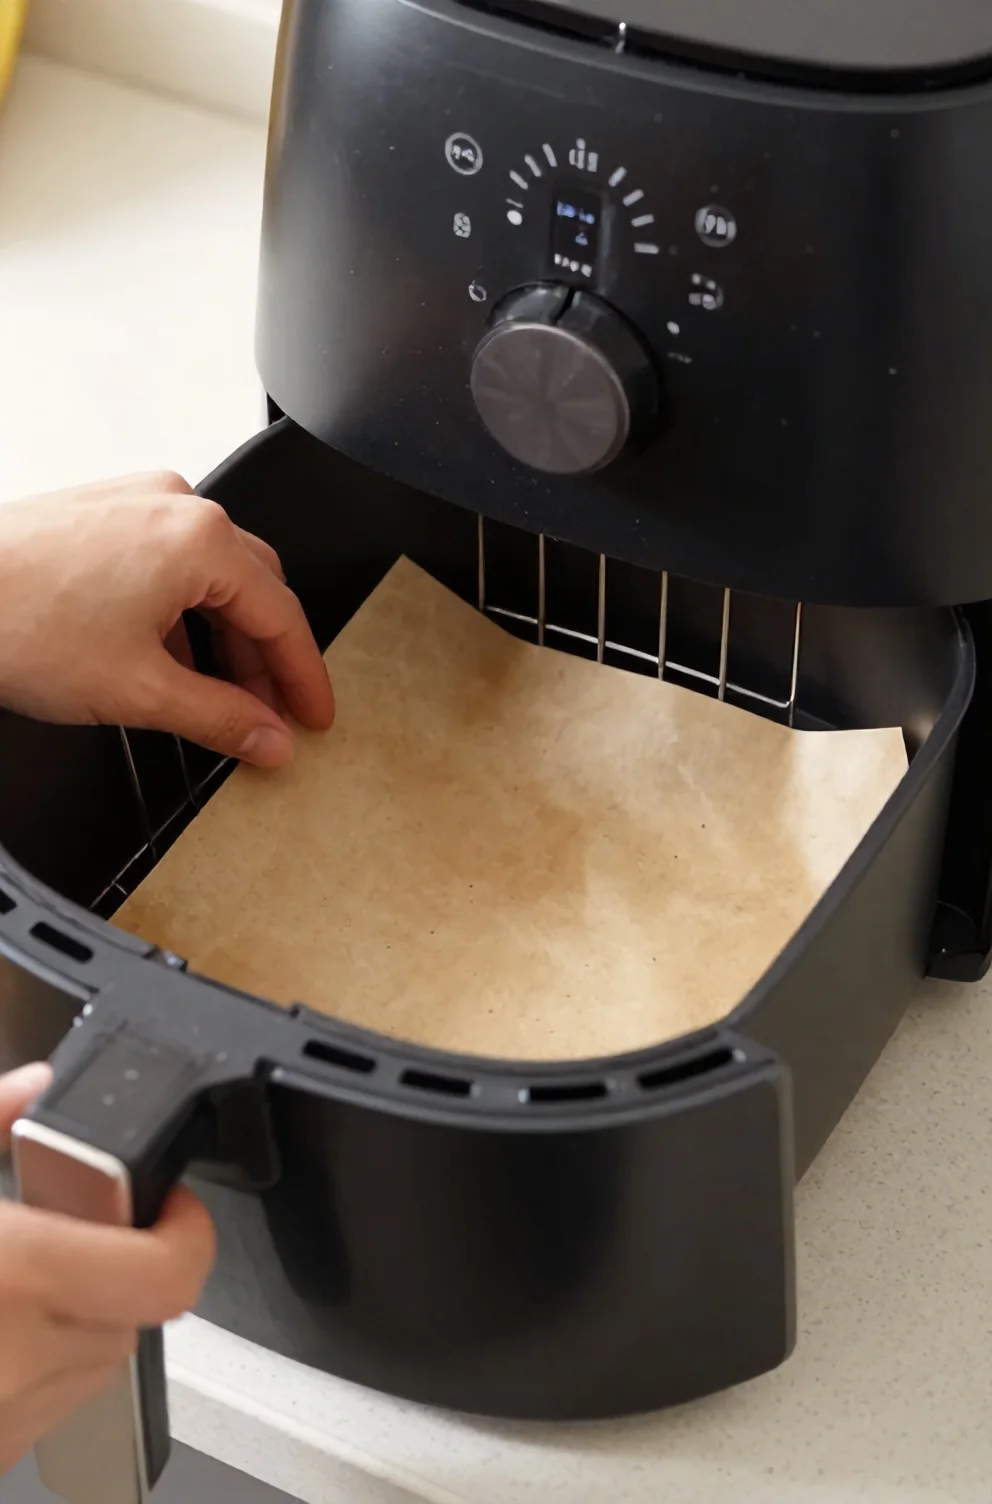
Once your ingredients sit ready on the counter, wipe down the cooking basket and preheat the unit to 300°F (150°C) for two minutes. That brief warmup stabilizes the chamber temperature so the treats bake evenly across the tray without burning along the bottom.
A small sheet of unbleached parchment paper cut to match the basket floor prevents wet dough from clinging to the grate and makes cleanup easy. Leaving a half-inch border around the edges allows circulating convection heat to flow past the cookies without catching the paper.
Step-by-Step: Baking Sweet Potato Oat Dog Cookies in 15 Minutes
With your basket ready, you can move straight into assembling each batch without complicated prep work. The entire sequence follows a simple rhythm that gives you dependable batches every time, even if you rarely make pet snacks at home.
- A forgiving dough that binds together in minutes without requiring chilling time.
- Rapid hot-air circulation that browns each bite evenly without drying it out into stone.
- Visible color checks right through the basket window to gauge doneness with confidence.
Step 1: Prepping the Sweet Potato Base
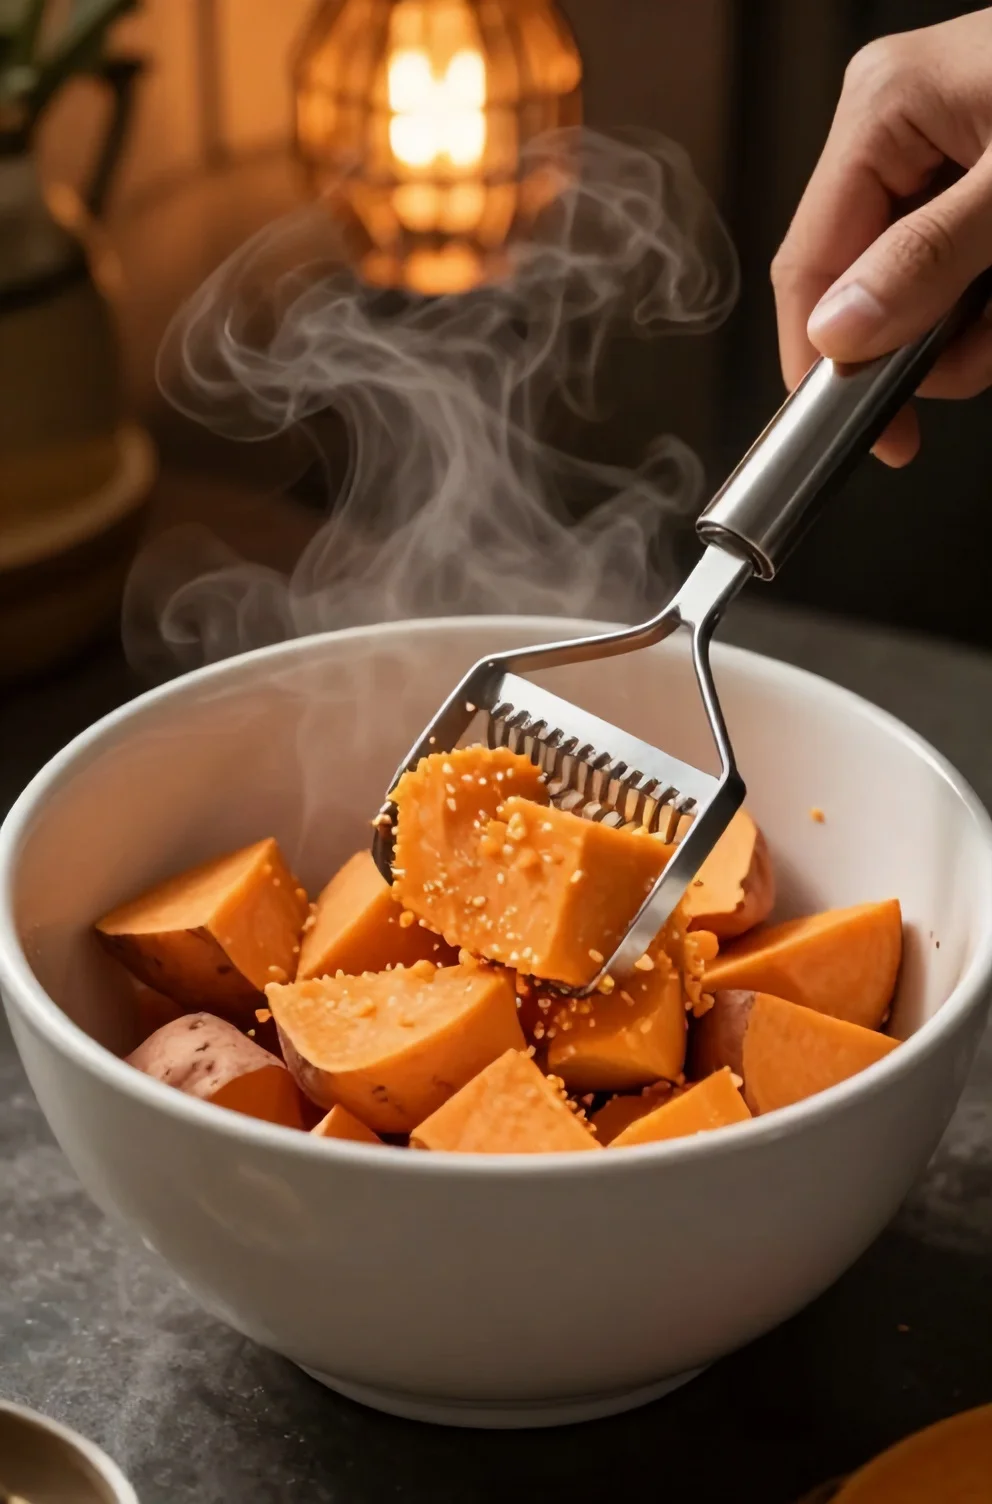
A smooth root puree binds the dough and keeps the moisture balanced once hot air begins circulating. You need tender flesh that breaks down under a fork without leaving hard chunks behind. If you have plain cooked sweet potato left over from dinner, you can skip the cooking step entirely as long as it has no added butter, salt, or spices.
- Microwave cubed pieces in a shallow water bowl for five to six minutes, or steam them on the stovetop until a knife slides through the center without resistance.
- Drain excess moisture thoroughly before mashing with a fork or potato masher to create an even, silky texture.
- Let the mash cool to room temperature so it blends evenly with your dry ingredients without melting the mixture.
Step 2: Mixing and Shaping the Dough
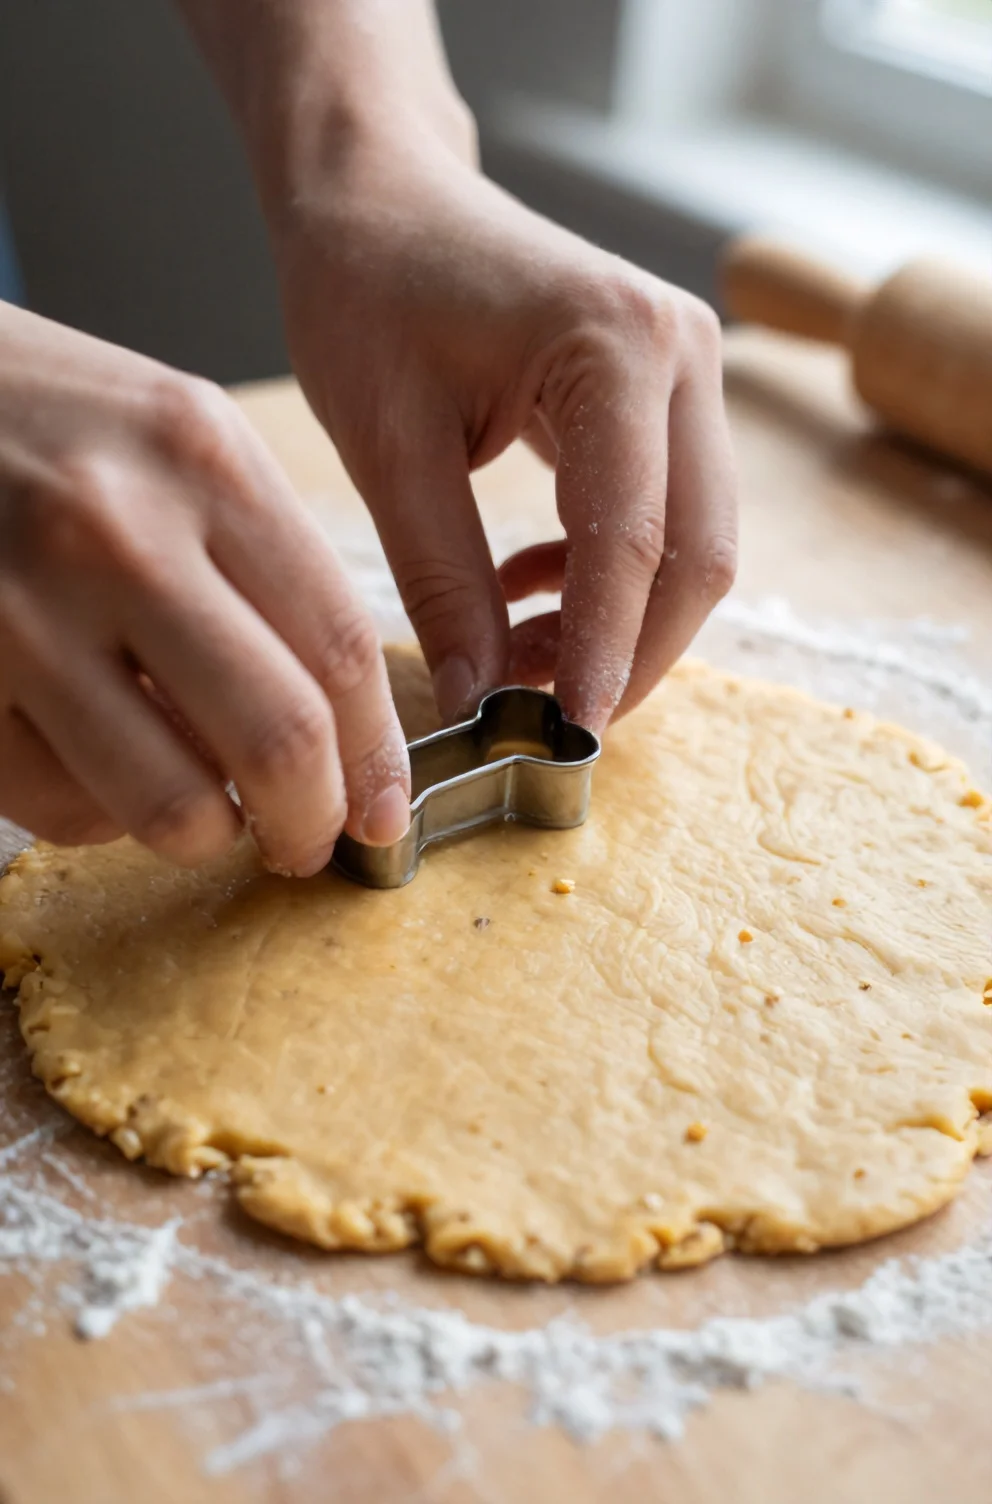
Tip your rolled oats directly into the cooled bowl, using a sturdy spatula to fold the flakes through the moist purée until you get a pliable, cohesive ball that pulls cleanly away from the sides. If the mixture feels slightly wet, let it rest for two minutes so the oats absorb excess moisture, or dust your work surface lightly with a pinch of oat flour. Turn the mass onto a sheet of parchment paper, press it to roughly a quarter-inch thickness with a rolling pin, and punch out bite-sized biscuits with bone-shaped cookie cutters. Alternatively, pinch off walnut-sized portions, roll them into smooth spheres between your palms, and press each flat with the tines of a fork for a classic crisscross pattern. Keeping every piece uniform in thickness ensures balanced heat exposure across your entire batch once cooking begins.
Step 3: The 15-Minute Air Frying Process
Place the cut dough pieces in a single layer inside the basket, leaving roughly half an inch of clearance between each treat. This open spacing allows the convection currents to circulate freely around all edges, wicking away surface moisture so the exterior firms up evenly rather than steaming. Set your appliance to 350°F (175°C) and let the treats bake for 12 to 15 minutes, giving the basket a gentle shake around the eight-minute mark to promote consistent browning. Once the timer finishes, the outer crust develops a light golden tone and a firm texture, signaling that the treats have finished their cooking cycle.

Step 4: Cooling for the Perfect Crunch
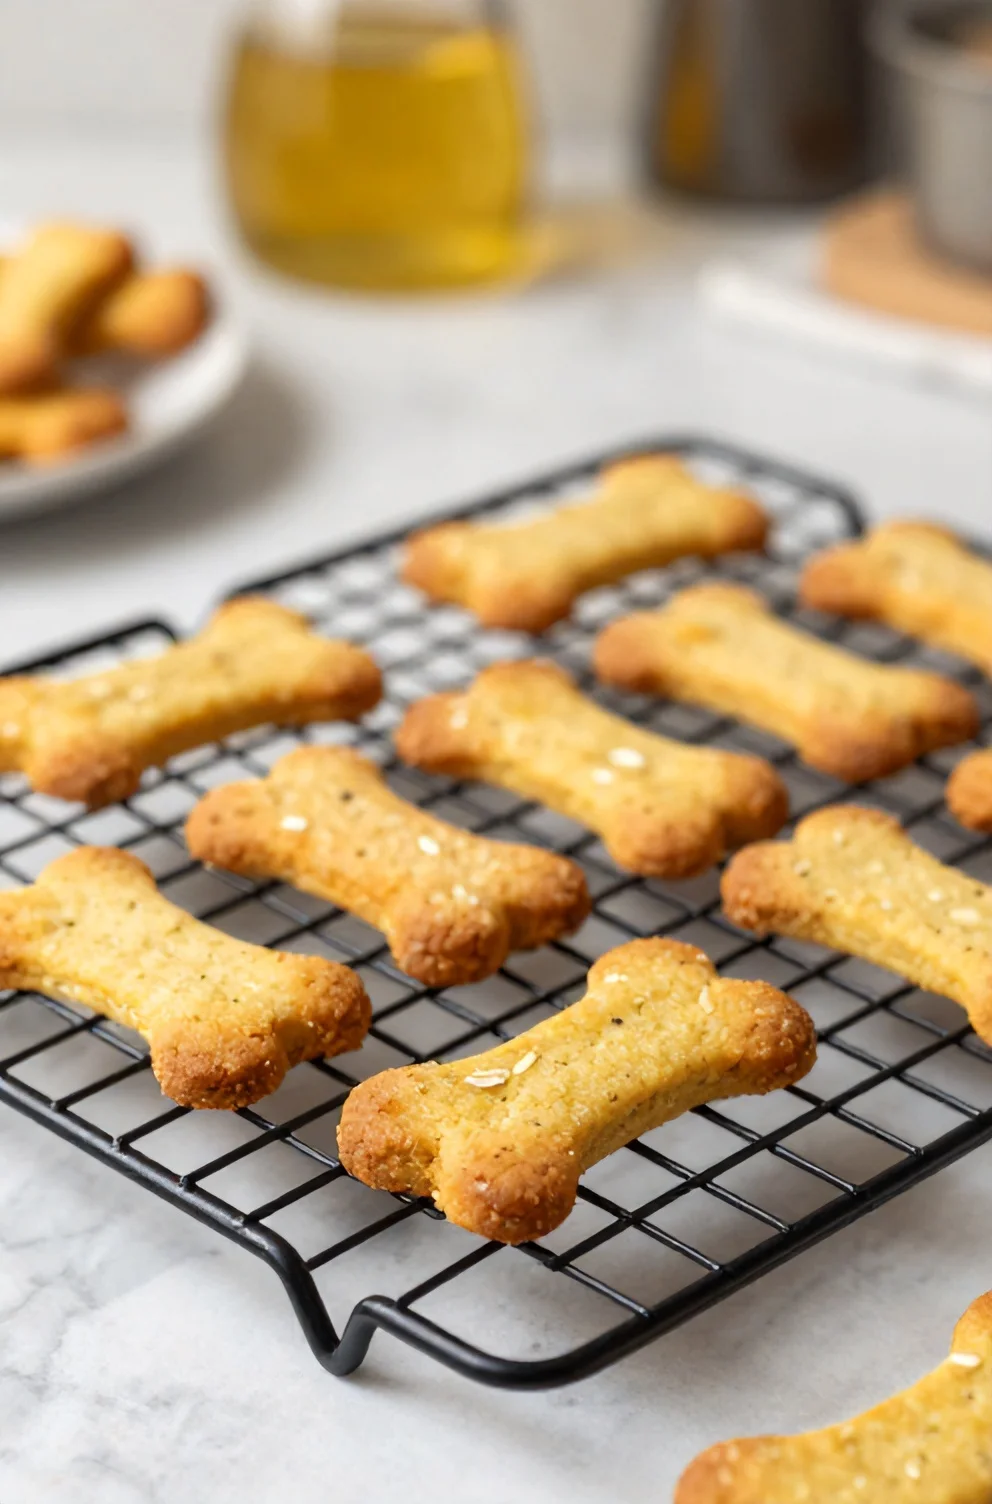
Transfer the hot biscuits immediately onto a raised wire rack so room air circulates freely beneath each piece. Trapped steam inside a flat pan softens biscuit bottoms quickly, whereas open airflow lets internal moisture evaporate while the dough settles. As that residual heat escapes over twenty to thirty minutes, the dense texture hardens into a crisp, snappy bite dogs crave. Letting each piece dry out thoroughly also helps extend shelf life naturally, so you don't end up with trapped dampness before packing them away.
Troubleshooting Common Air Frying Issues
Even small shifts in vegetable moisture or compact basket airflow can alter your bake, but quick adjustments get batches back on track immediately.
- If the mixture clings to your hands or rolling pin, work in extra ground oats one tablespoon at a time until you reach a pliable, non-stick texture.
- When outer edges brown before the centers firm up, dial down heat by 15 to 20 degrees and check the basket two minutes earlier.
- If finished pieces feel chewy rather than crisp, leave them in the warm, turned-off chamber for an extra five minutes to pull out residual moisture.
Proper Storage Tips to Keep Treats Fresh
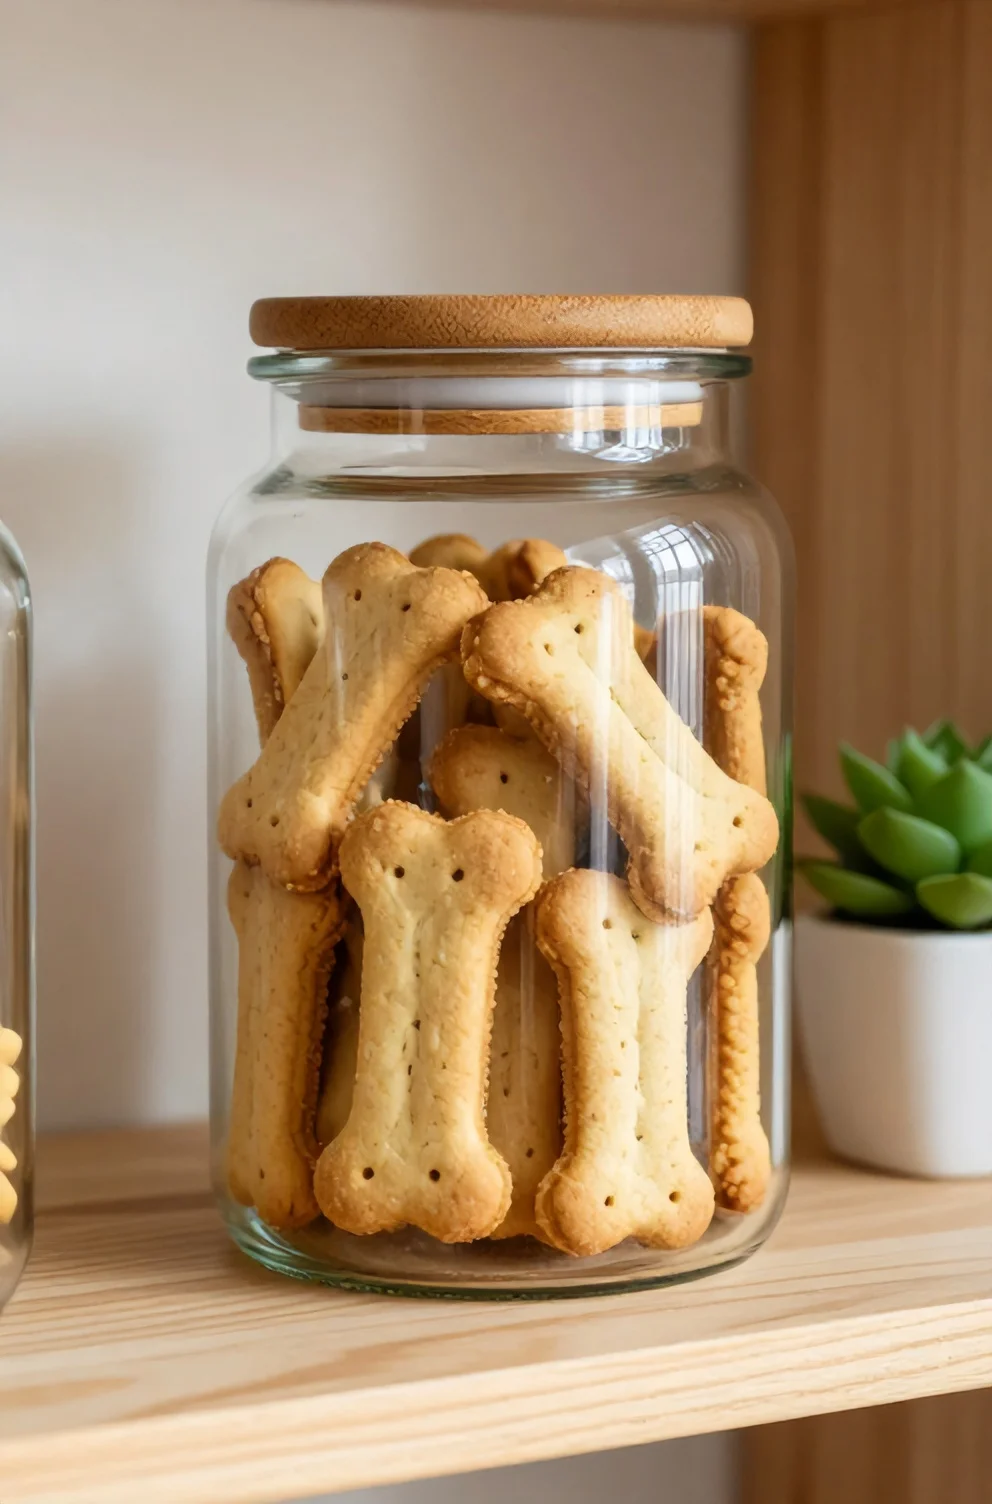
Once your crunchy snacks reach room temperature, protecting them from ambient humidity is essential since homemade batches lack artificial preservatives. A glass mason jar or a snap-lock container on your kitchen counter works well for small portions you plan to hand out over the next three to four days. Just make sure the container sits in a cool, shaded spot away from direct sunlight or the heat of your stove.
For larger yields, the refrigerator or freezer provides a reliable environment that extends shelf life without compromising texture. A sealed container in the fridge keeps the biscuits crisp for up to two weeks, while flat-packed freezer bags protect them for up to three months. When your dog is ready for a frozen reward, you can offer the biscuit directly or let it thaw on the counter for a few minutes.
Frequently Asked Questions
Adapting this base recipe to your dog's specific dietary needs requires only minor pantry adjustments. Tweaking moisture levels or swapping flours helps you accommodate different chew preferences and ingredient sensitivities.
A basic grasp of canine digestion allows you to safely introduce alternative grains or different root vegetables into the mix. Simple ingredient substitutions ensure every bite remains gentle on your pup's stomach.
Can I substitute rolled oats with something else?
If your dog cannot tolerate grains or your pantry runs low, several gentle flours step in cleanly to bind the sweet potato mash without altering the quick cooking window. Each pantry swap absorbs liquid at a different rate, so adjust the hydration gradually until the mixture forms a workable dough.
- Brown rice flour delivers a crisp, neutral texture while holding the shape firmly, matching the density of standard flakes almost cup-for-cup.
- Almond flour works well for grain-free pups without nut sensitivities, adding healthy fats that keep the center tender.
- Coconut flour soaks up liquid rapidly, meaning you only need a fraction of the amount alongside an extra splash of water to keep the mix pliable.
Is it safe for dogs to eat baked sweet potatoes?
Once heat softens their dense starches, these orange tubers become exceptionally easy for your dog to digest, delivering a steady supply of fiber, vitamin A, and potassium. Canine bellies handle thoroughly softened pulp much better than raw slices, which resist breaking down and can cause stomach cramps. Heat application changes the carbohydrate structure so your pup absorbs the nutrients efficiently.
Kitchen safety hinges entirely on keeping the preparation unseasoned and simple. Rich ingredients like butter, heavy oils, salt, and garlic seasonings can spark severe digestive distress, making typical family side dishes risky for pets. A plain mash ensures your dog receives all the digestive benefits without encountering harmful additives or rich dairy.