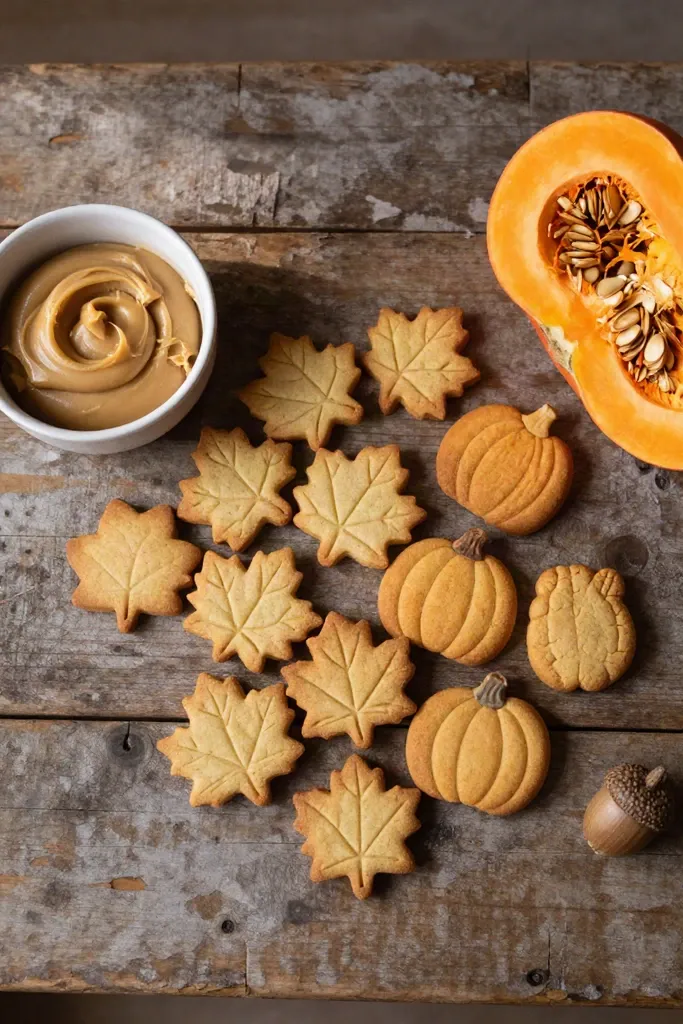
Introduction to Effortless Dog Baking
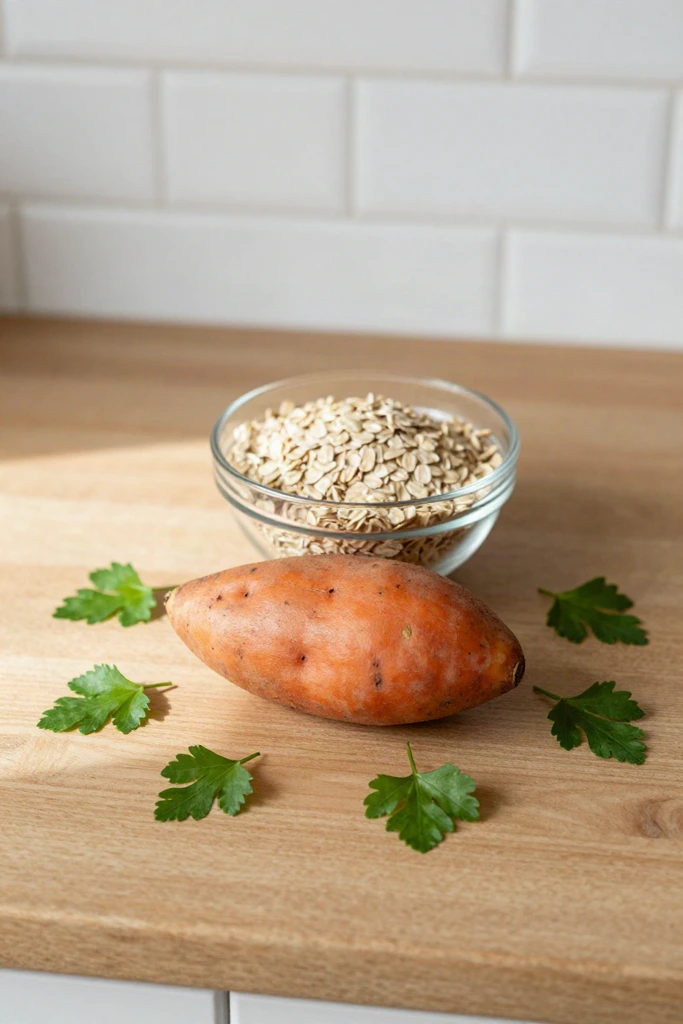
Many homemade pet snack recipes demand a cabinet full of specialty flours and obscure supplements, along with hours of rolling sticky dough across your countertop. When you just want to reward your companion with wholesome nutrition, spending half your afternoon scrubbing measuring cups feels counterproductive. Relying on cooked sweet potato, rolled oats, and natural peanut butter cuts out unnecessary fillers while keeping prep straightforward. This minimal approach keeps kitchen time short and cleanup easy.
With these three basic pantry staples, you gain clear visibility over what enters your dog's daily diet while keeping prep time under fifteen minutes. The natural binding properties of the root mash hold the dough firm. This produces crisp biscuits that satisfy picky eaters without leaving a crumbly mess. Knowing how these ingredients function together sets the foundation for quick batches whenever your treat jar runs low.
The 3 Core Ingredients Explained
Minimal recipes are inherently gentle on canine stomachs. They reduce digestive strain while trimming your kitchen prep down to mere minutes. Leaving out the synthetic preservatives and excess starches found in commercial boxes means you know exactly what your dog consumes in every single bite.
Every component in this trio fulfills a distinct structural purpose. They balance moisture and fiber while providing an appealing aroma so the batch holds together on your baking sheet. Examining their individual nutritional profiles shows exactly how each ingredient supports your dog's daily well-being during the baking process.
1. The Magic of Sweet Potatoes
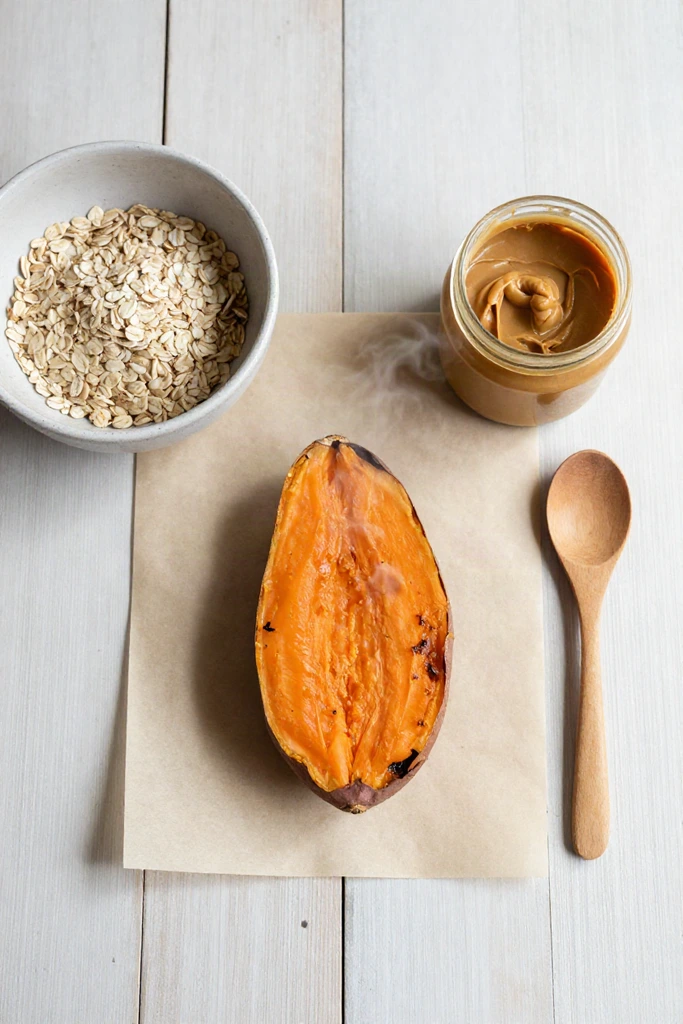
This orange root vegetable supplies a steady source of dietary fiber to support digestion without irritating sensitive stomachs. It carries reserves of vitamins A and C, which sustain clear vision and cellular health as your dog stays active.
In your mixing bowl, the soft mashed flesh functions as a dense binder that pulls the ingredients together firmly without needing eggs. The natural moisture creates a pliable dough you can roll and cut easily. It also lends a subtle earthy sweetness your pet will appreciate.
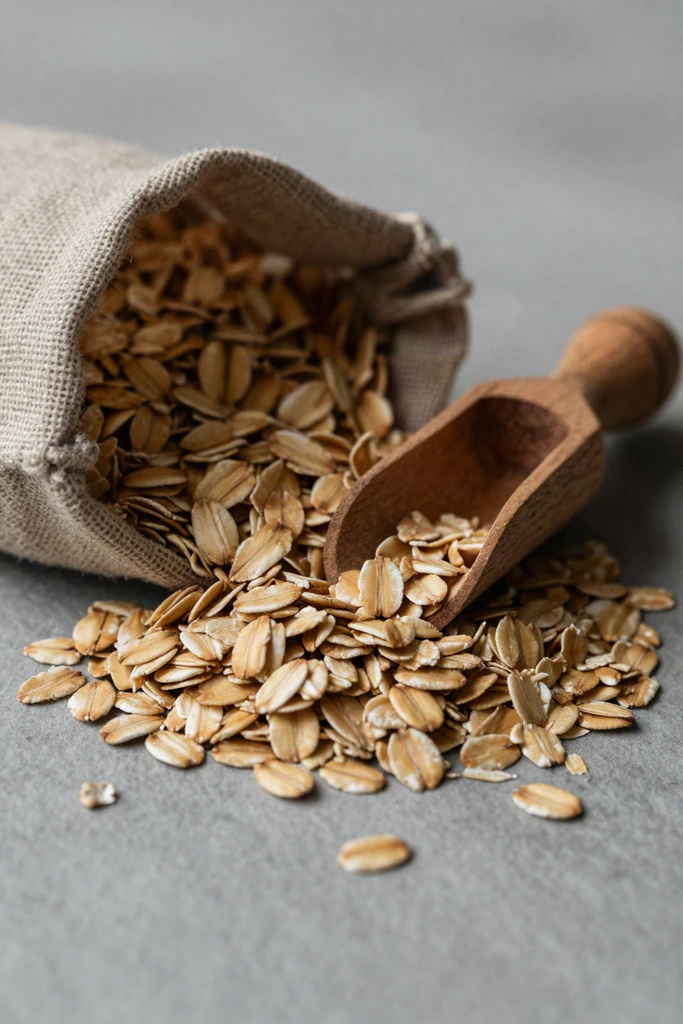
2. Wholesome Rolled Oats
To balance the moisture from the mash and bind the dough, this whole-grain staple works better than ordinary wheat flour. It digests slowly in the canine gut, supplying steady energy through complex carbohydrates rather than triggering sharp blood sugar spikes. If your dog struggles with digestive sensitivities or itchy skin, these flakes are a gluten-friendly foundation that keeps treats gentle on the tummy. You get full control over the final texture, whether you want a golden crunchy biscuit or a softer tender chew.
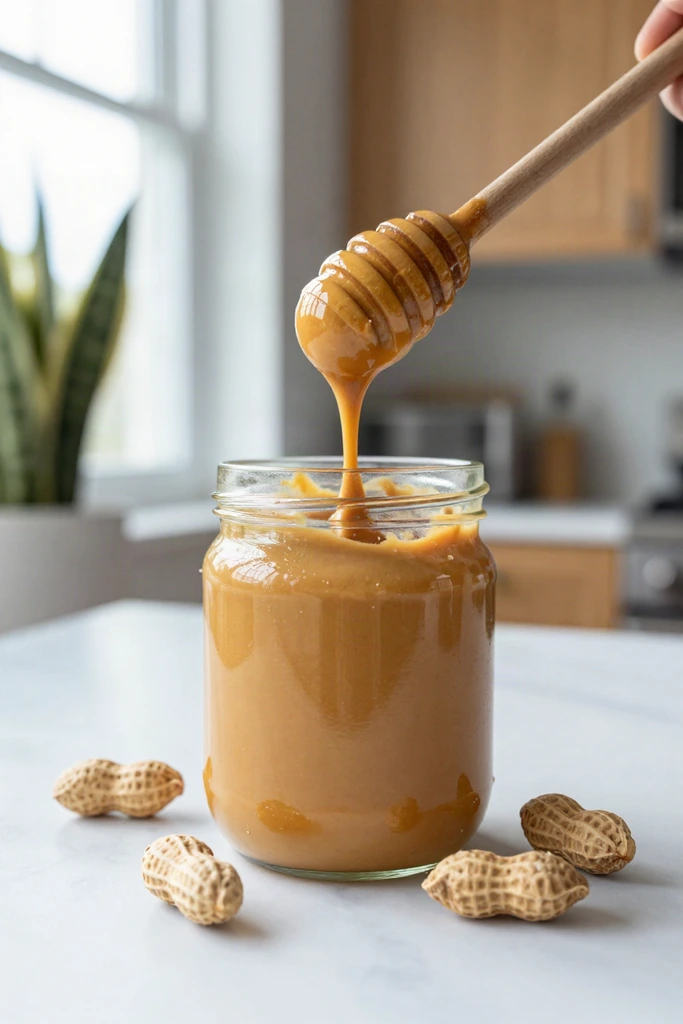
3. Dog-Safe Natural Peanut Butter
To bind those dry flakes into a workable dough, a scoop of pure nut butter delivers rich flavor alongside nourishing fats that support skin and coat health. The dense texture acts as a binder while creating an aroma that immediately catches your dog's attention. Always inspect the nutrition label closely before adding any to your bowl, verifying that the jar contains only peanuts without added salt or extra sugars. Confirm the product contains zero xylitol or birch bark extract, an artificial sweetener that is toxic to canines even in tiny quantities. Sticking strictly to a clean single-ingredient jar ensures your treats remain wholesome and safe for your companion.
Essential Tools for Quick Baking
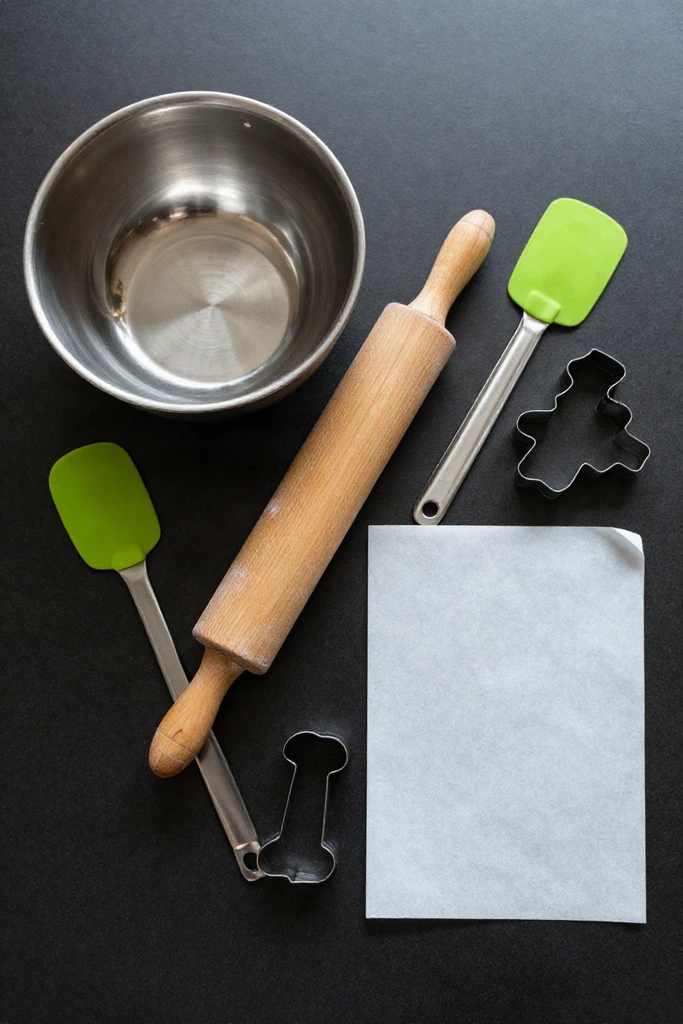
You likely already have everything required to prepare this recipe sitting right in your kitchen cabinets. There is no need to haul out a heavy stand mixer or assemble complicated food processor attachments. A standard large mixing bowl and a sturdy potato masher provide the mechanical leverage needed to blend the cooked base thoroughly.
A traditional wooden rolling pin helps you flatten the dough across a sheet of parchment paper, though a smooth drinking glass works just as well. Bone-shaped cookie cutters add a playful touch if you prefer defined shapes. A simple butter knife lets you score bite-sized squares in seconds. With these basic items ready, turning your pantry staples into a finished batch takes very little time.
Step-by-Step: Making Sweet Potato Oat Dog Cookies
With your workspace ready, you can move straight into assembling the batch without any complicated kitchen techniques. The hands-on sequence takes under fifteen minutes of active effort, making it easy to whip up fresh rewards on a busy afternoon.
A straightforward workflow keeps your counter clean while moving efficiently from prep to the baking sheet. The initial step is softening the fresh root base so it creates a tender foundation for the remaining ingredients.
Step 1: Boiling and Mashing the Sweet Potatoes
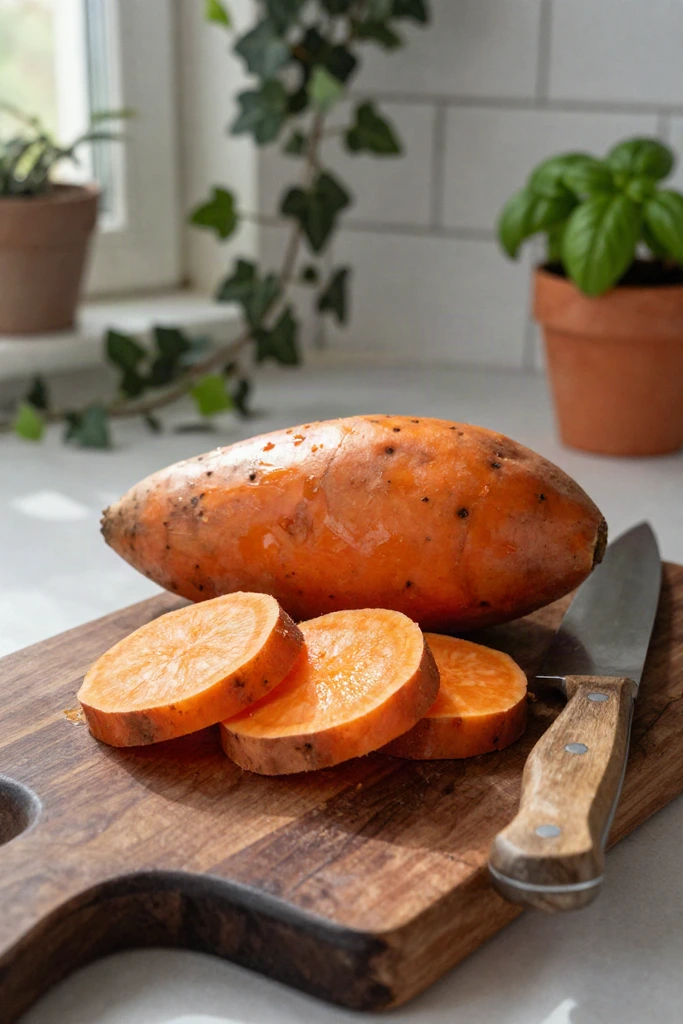
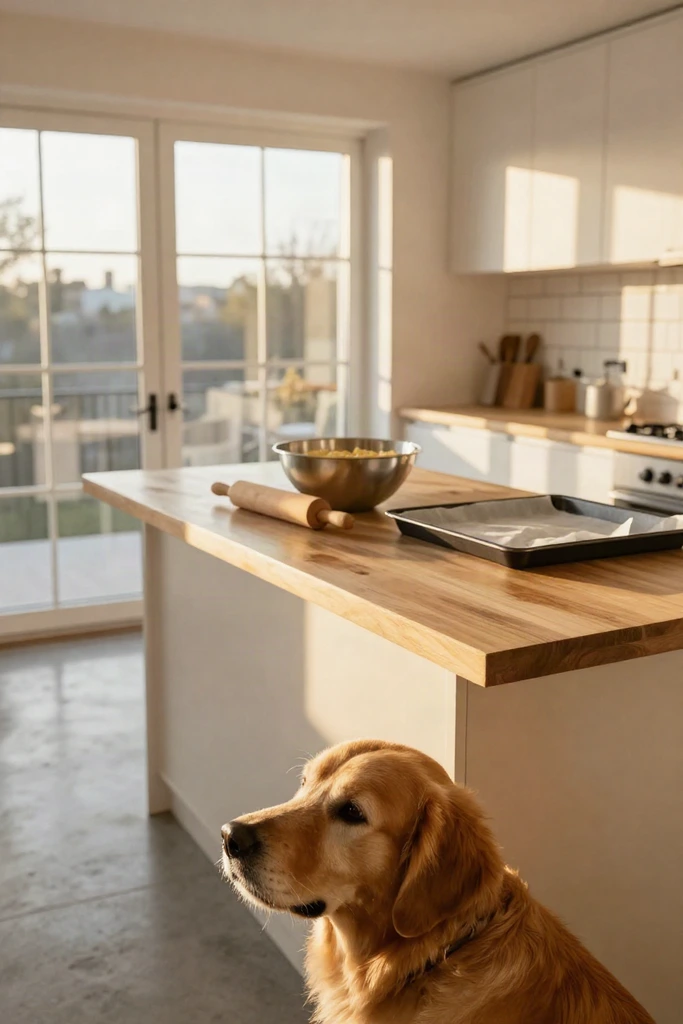
Uniform one-inch cubes cut from a fresh orange tuber cook quickly and soften at an even pace. Simmer the pieces in a pot of water for twelve to fifteen minutes until a fork slides through the center with zero resistance. For a quicker alternative with minimal cleanup, pierce a whole unpeeled root with a fork and microwave it on high for five to six minutes. You can also steam the pieces in a basket for roughly ten minutes.
A brief cooling period gives the cooked flesh time to shed excess steam before transferring it into a mixing bowl. Press the softened pulp thoroughly with a sturdy dinner fork or potato masher until every firm piece breaks down. A completely smooth consistency is critical at this stage because dense pockets create structural weak spots that crumble during rolling. This uniform base provides the moisture needed to hold everything together.
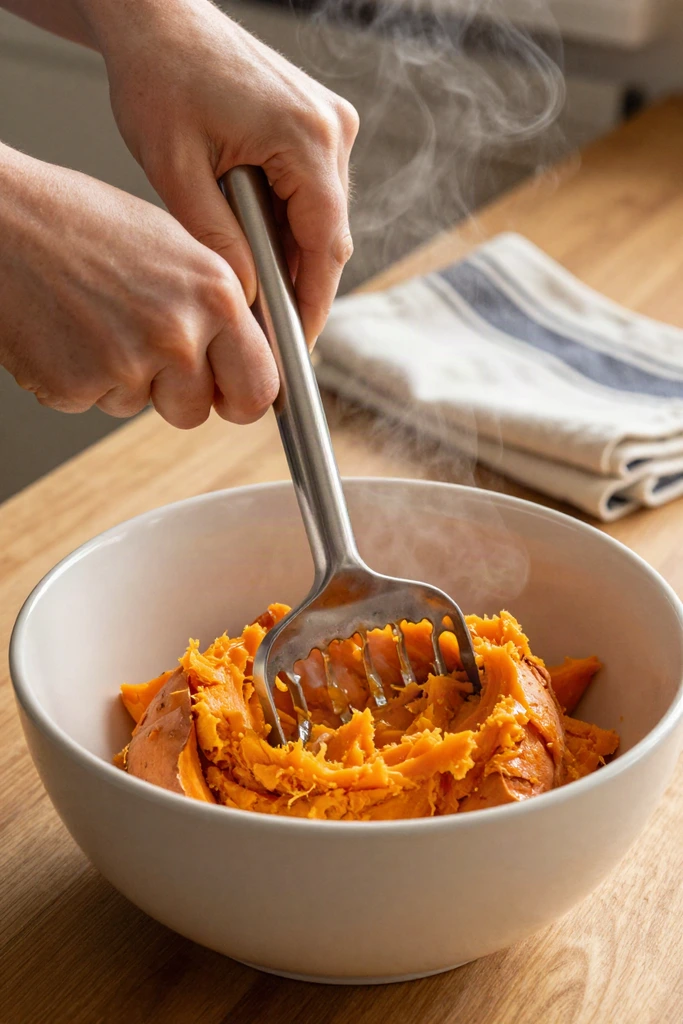
Step 2: Blending the 3-Ingredient Dough
With your cooled mash ready in a large bowl, add the rolled oats and smooth peanut butter. Work the mixture with a sturdy wooden spoon or clean hands until it pulls together into a cohesive ball. The ideal mixture feels just like Play-Doh. It should be dense and pliable, leaving no sticky residue on your palms.
- If the mixture feels crumbly or cracks when pressed, mix in a single teaspoon of warm water at a time to restore moisture.
- If the surface sticks to your skin, scatter an extra tablespoon of whole oats across the ball to absorb the extra moisture.
- Once the ball holds together without cracking along the edges, let it rest for five minutes so the oats soften slightly before rolling.
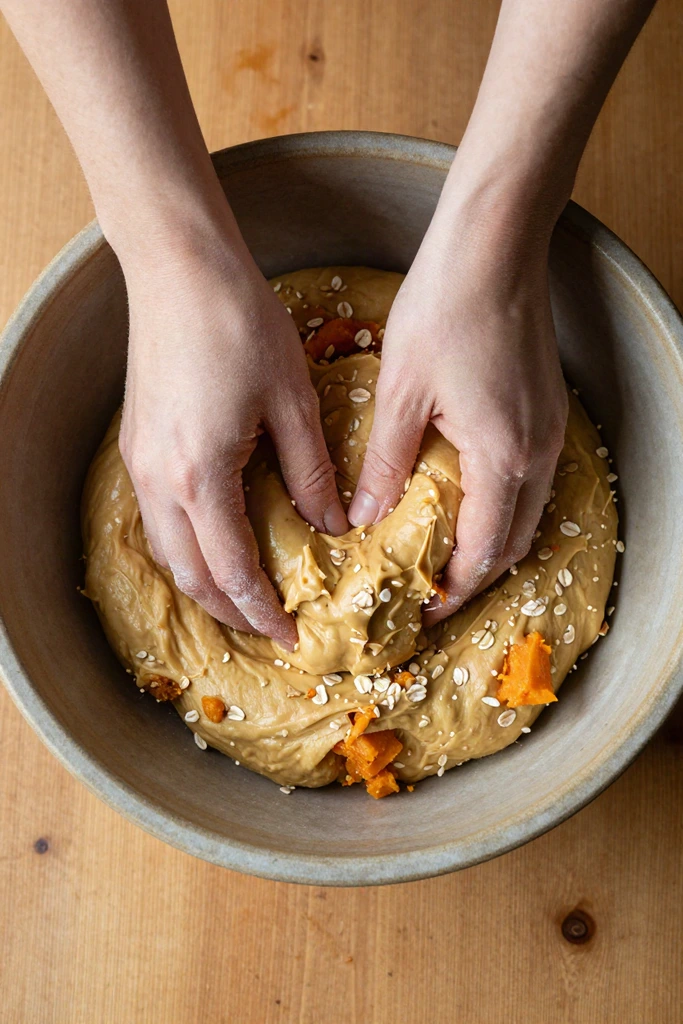
Step 3: Shaping the Dog Cookies
Lightly dust your counter with a pinch of ground oats and flatten the dough to a quarter-inch thickness using a rolling pin. Keeping the height consistent prevents thinner edges from crisping too quickly while the centers bake.
- Press bone or paw cutters firmly into the slab to stamp out defined shapes.
- Run a sharp knife or pizza wheel across the surface to make quick bite-sized squares when saving prep time is a priority.
- Gather the remaining scrap pieces, press them back into a compact disk, and roll again until you use up the entire batch.
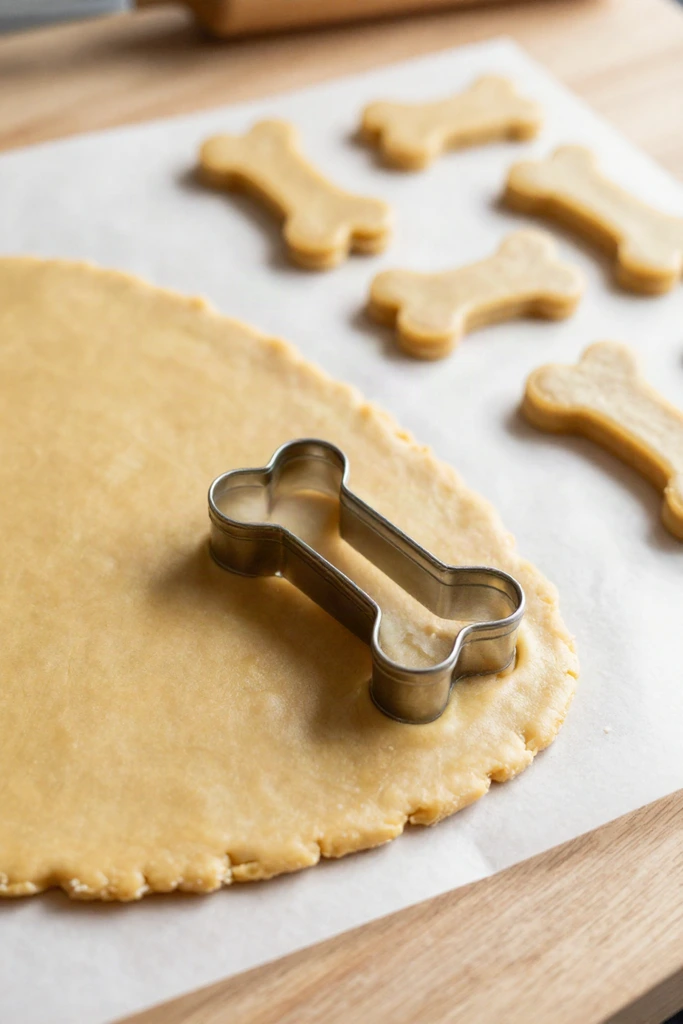
Step 4: Baking for the Perfect Crunch
Slide your prepared baking sheet into an oven preheated to 350°F (175°C) so the treats bake evenly from the start. A steady heat pulls moisture out of the sweet potato puree while toasting the oats into a sturdy biscuit that holds up well during treat time.
- Keep the baking sheet centered on the middle rack for 25 to 30 minutes to ensure even browning.
- Look for firm tops and distinct golden-brown edges to confirm the dough has dried completely.
- Transfer the biscuits onto a wire cooling rack to cool. Trapped steam will soften the crisp bite if left on the pan.
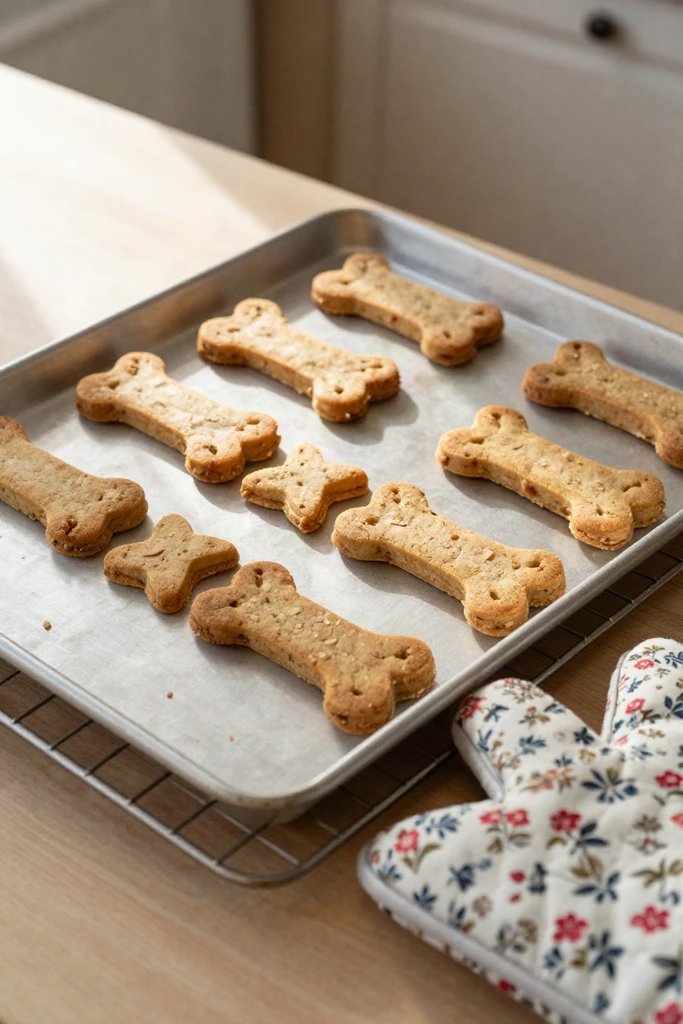
Pro Tips for Minimalist Dog Treat Baking
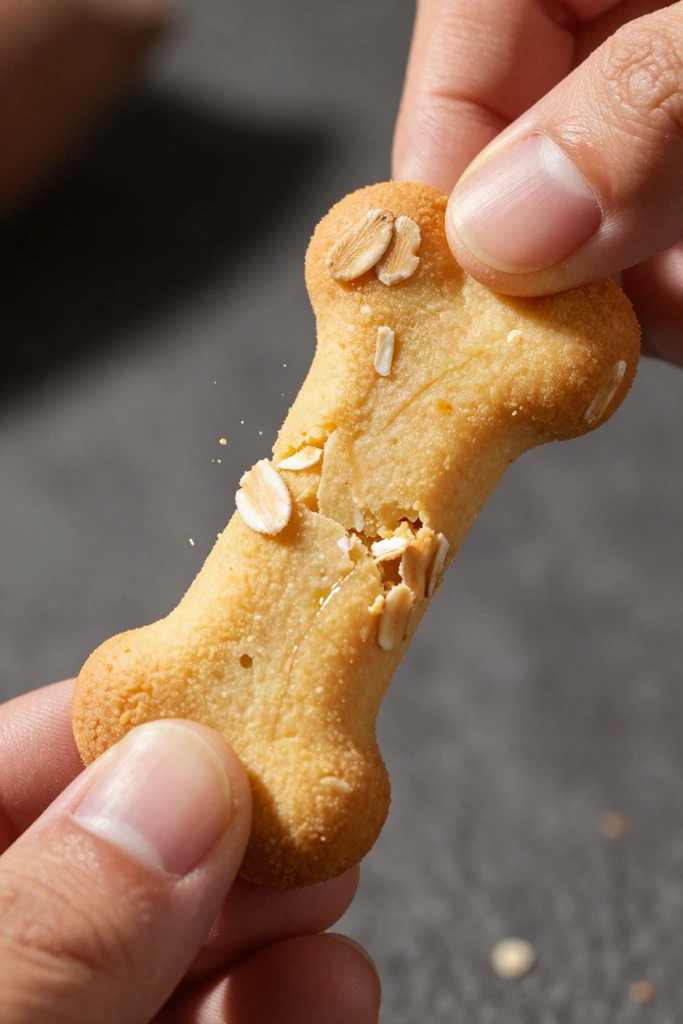
A quick pulse of half your oats in a blender produces a fine oat flour that binds the sweet potato mash evenly and rolls out without ragged edges. For dogs that favor a firmer crunch, turn off the oven heat once the timer ends and let the baking sheet rest inside the closed chamber for another twenty minutes. That trapped residual warmth draws out lingering core moisture without scorching the bottoms, yielding a durable snap. Dusting your work surface with extra ground oats instead of wheat flour keeps the dough from sticking while preserving the three-ingredient recipe profile.
How to Store Your Homemade Dog Cookies
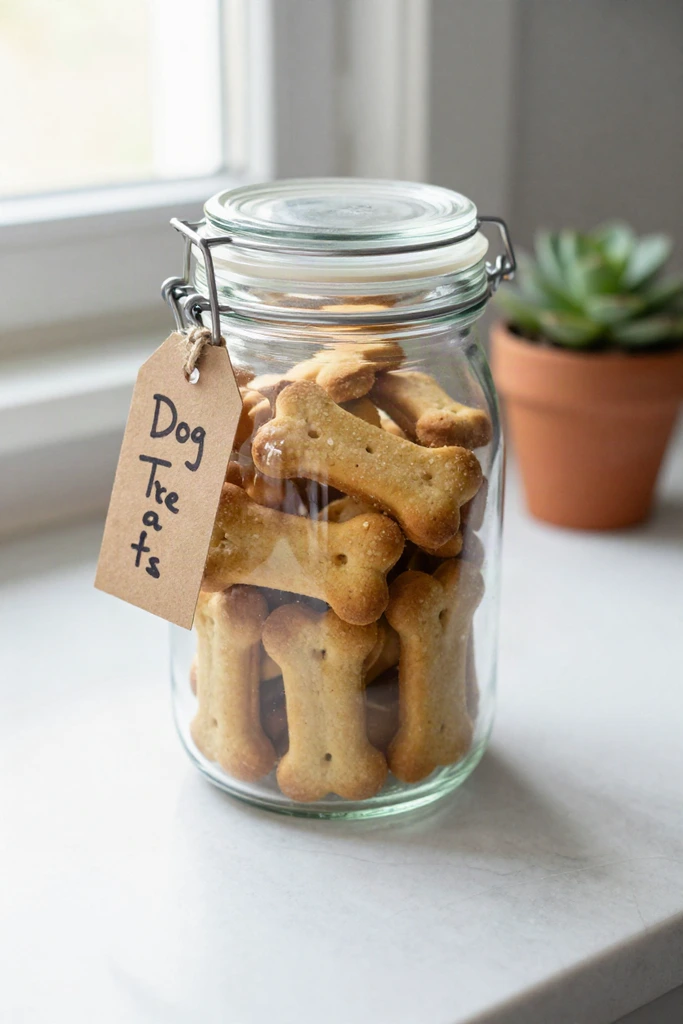
Because these baked bites contain zero artificial preservatives, managing residual moisture is essential once the batch cools completely on a wire rack. Transferring your crunchy rewards into an airtight container in the refrigerator keeps them fresh for up to two weeks while guarding against countertop humidity. For longer preservation, pack extra portions into freezer-safe bags to freeze for up to three months. You can simply thaw a piece at room temperature for a few minutes before treating your pup.
Frequently Asked Questions (FAQ)
Natural variations in sweet potato moisture or pantry staples can occasionally prompt a few quick adjustments at the kitchen counter. Swapping out grain cuts or fixing a dry dough requires only minor changes to the core process. Dialing in these practical kitchen fixes keeps your homemade batches dependable and easy to tailor to your dog's specific needs.
Can I use instant oats instead of rolled oats?
Quick-cooking varieties work as a substitute, but whole flakes provide superior structure and fiber. Because pre-steamed grains absorb sweet potato puree much faster, using them often creates a gummy dough texture that clings to your work surface.
- Baking results turn out significantly softer rather than crisp, which shortens how long the batch stays fresh on your counter.
- Rolling and cutting shapes becomes tricky unless you dust your countertop with extra oat flour or chill the mixture beforehand.
- Finely processed grains digest more rapidly, offering fewer of the steady digestive benefits that whole flakes deliver.
What if the dough is too crumbly to roll?
Dry patches often appear when whole oat flakes soak up moisture faster than expected while resting on your counter. Adding warm water, one tablespoon at a time, restores the balance without turning the batch into a sticky paste. Press and fold the mixture firmly after each splash so the starches absorb the liquid and cling together.
A touch of extra peanut butter provides another reliable solution. This introduces healthy fats that smooth out stiff edges in the dough. Knead the mixture steadily for thirty to sixty seconds until everything consolidates into a pliable ball that holds together neatly under your rolling pin.
Are these treats suitable for puppies?
Young dogs that have already transitioned to solid kibble can enjoy these simple snacks in moderation, provided their developing digestive systems handle dietary fiber and fats comfortably. Because young pups have smaller jaws and delicate baby teeth, snap each baked biscuit into tiny morsels before offering it to prevent any choking hazard. Keep portions modest so supplemental snacks never displace their main diet. Always consult your veterinarian before introducing any new homemade foods to your puppy's routine.