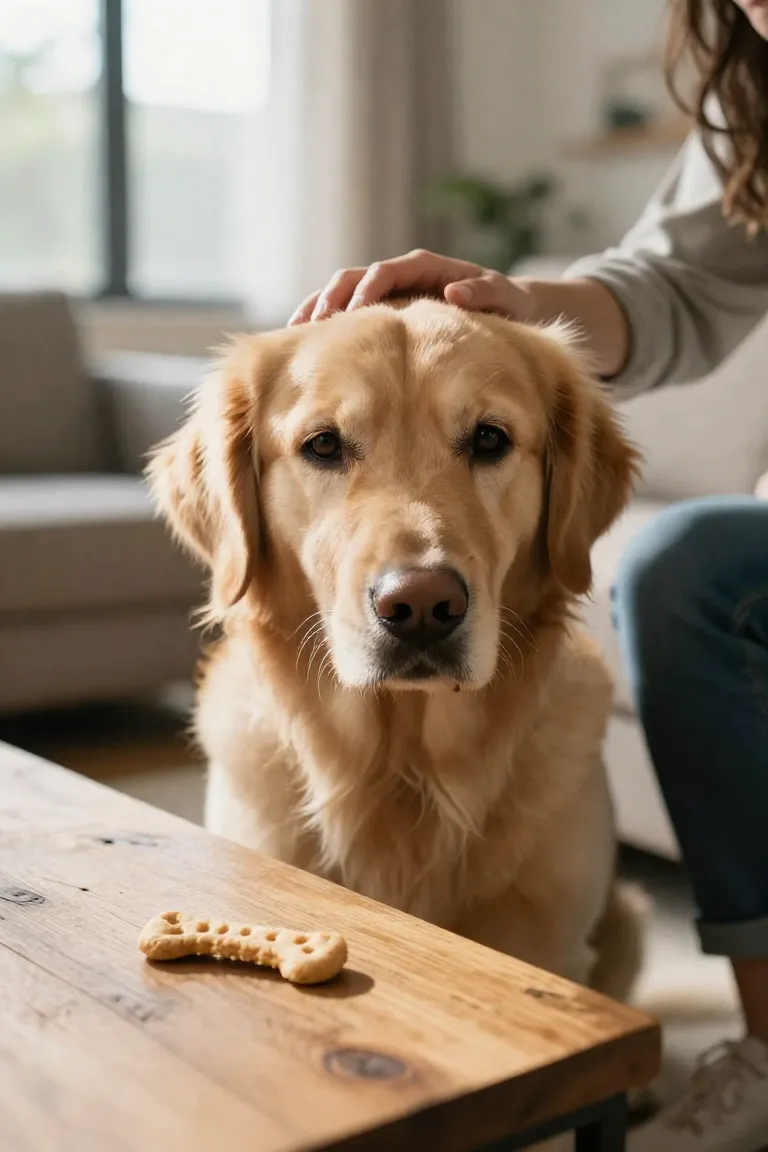
Introduction to Puppy-Safe Sweet Potato and Oatmeal Biscuits
Baking homemade puppy biscuits lets you control every single ingredient that enters your young dog's bowl. By combining steamed sweet mash with finely milled oats, you create nourishing, puppy safe dog treats that soothe delicate tummies while delivering steady energy for playtime. These oven-baked snacks skip the artificial preservatives and fillers often packed into commercial bags.
Why Sweet Potatoes and Oats Are Perfect for Puppies
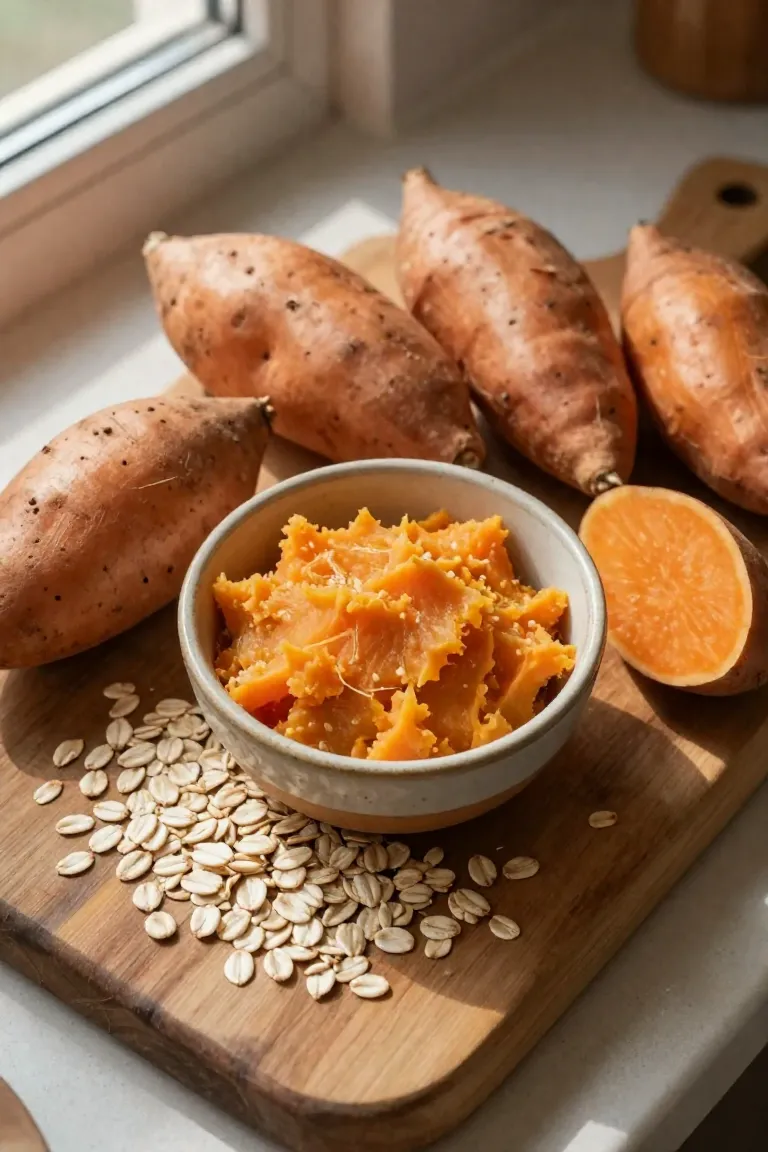
Growing canines need clean, nutrient-dense fuel to support rapid bone development and steady metabolic growth. Sweet potato benefits for dogs include generous amounts of beta-carotene, vitamin A, and potassium to bolster immune health and muscle function. This orange root vegetable produces a naturally sweet aroma that entices even picky eaters to the training mat without relying on added sugars or synthetic flavorings.
Plain oatmeal for puppies provides a gentle, complex carbohydrate foundation. Whole oats break down slowly in the stomach, releasing steady glucose that prevents mid-afternoon energy crashes during training drills. The combination of dietary fiber and essential B vitamins helps calm systemic inflammation, giving young pups the nutritional backing they need as their bodies mature.
1. Gentle Digestion for Sensitive Tummies
Young puppies often face loose stools and intestinal distress as their gut flora acclimates to solid food routines. Both oats and sweet potatoes deliver an optimal blend of soluble and insoluble fiber that absorbs excess fluid and firms up stool consistency naturally. By providing consistent bulk without irritating the intestinal lining, these ingredients mirror the soothing qualities found in veterinary gentle digestion dog food formulas.
Routine kitchen prep makes these sensitive stomach puppy treats an easy way to eliminate guesswork around hidden wheat gluten or dairy residues. Soluble beta-glucans from the rolled oats nourish beneficial gut microbes, while cooked tuber flesh moves through the tract smoothly. This predictable, soothing digestion keeps your pup comfortable and ready for daily backyard adventures.
2. Teething-Friendly Textures
Along with internal comfort, growing puppies naturally seek oral relief as their adult teeth begin pushing through swollen gum tissue. Baking the moisture out of the dough produces crunchy dog biscuits that offer firm resistance against tender mouths without splintering into sharp, dangerous fragments. As your young companion chews down on the baked edges, the gentle mechanical pressure acts as a soothing massage across irritated gums, satisfying their relentless instinct to gnaw on furniture or baseboards. These wholesome biscuits hold their shape under steady jaw work, making them reliable teething puppy treats for crate downtime or calm evening rewards. Warm saliva gradually breaks down the baked oat structure into a soft, easily digestible paste, preventing accidental choking or throat irritation during a fussy developmental stage.

Essential Ingredients and Tools You Will Need
You only need a handful of wholesome pantry staples and everyday kitchen supplies to assemble this batch in under fifteen minutes. Preparing treats at home avoids artificial additives and gives you total control over every component entering your puppy's dish. Gathering your dog cookie recipe ingredients on the counter ensures a smooth kitchen setup without complicated equipment.
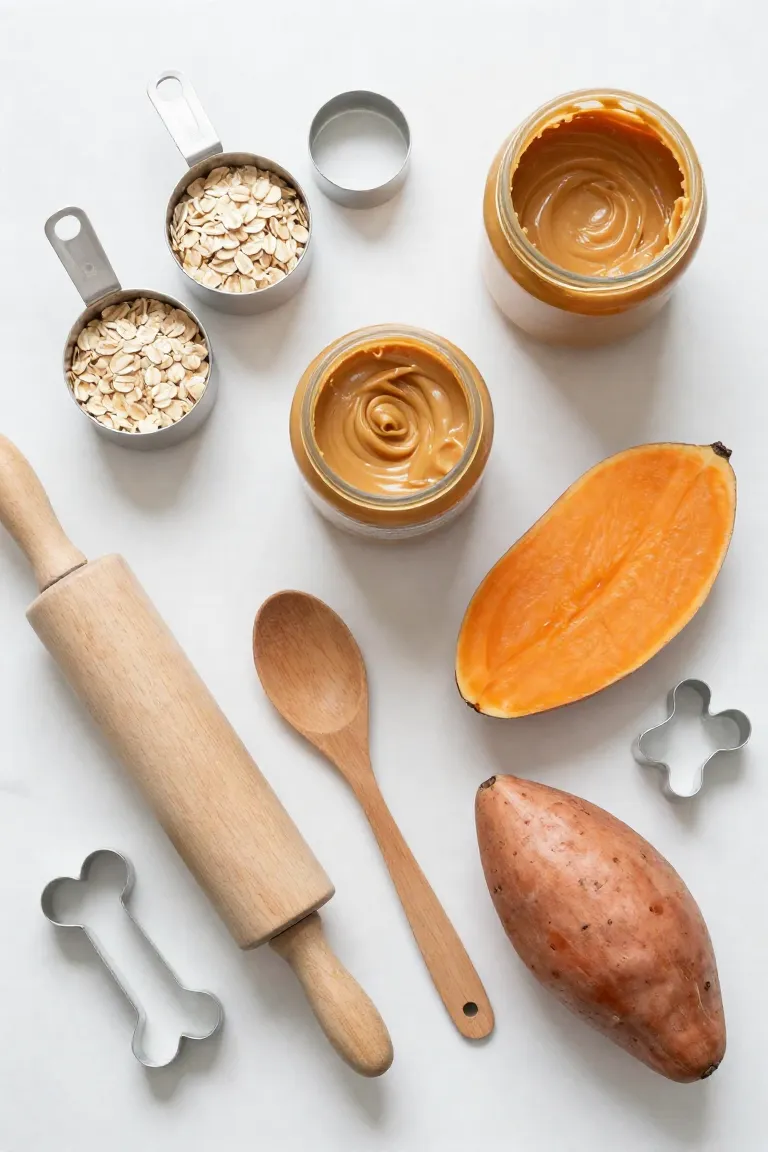
- Pantry staples including pure roasted sweet potato mash, whole rolled oats ground into coarse meal, and a splash of warm water or unsalted broth to bind everything smoothly.
- Basic homemade pet treat tools such as a wide ceramic mixing bowl, a sturdy fork for mashing, and a classic rolling pin to flatten the dough evenly.
- Baking essentials consisting of a flat rimmed baking sheet lined with unbleached parchment paper and miniature cookie cutters or a simple knife to score small training portions.
1. Choosing the Right Oats
Selecting clean, minimally processed grains forms the nutritional base for safe homemade biscuits. Whole rolled oats and plain quick-cooking oats stand out as the best oats for dogs because their whole-grain structure preserves essential dietary fiber, zinc, and iron without stripping natural nutrients. These varieties break down easily in a standard blender to create a fine flour that binds smoothly with moist tubers, giving your baked goods a uniform, digestible crumb.
Pre-packaged flavored oatmeal packs pose genuine health hazards and must never enter your mixing bowl. Commercial packets often conceal processed cane sugars, artificial flavorings, and dangerous sugar substitutes like xylitol that can trigger severe toxicity in young pets. Sticking to 100% plain oats safeguards developing vital organs and keeps your healthy dog baking routine safe for every growing puppy.
2. Preparing the Sweet Potato
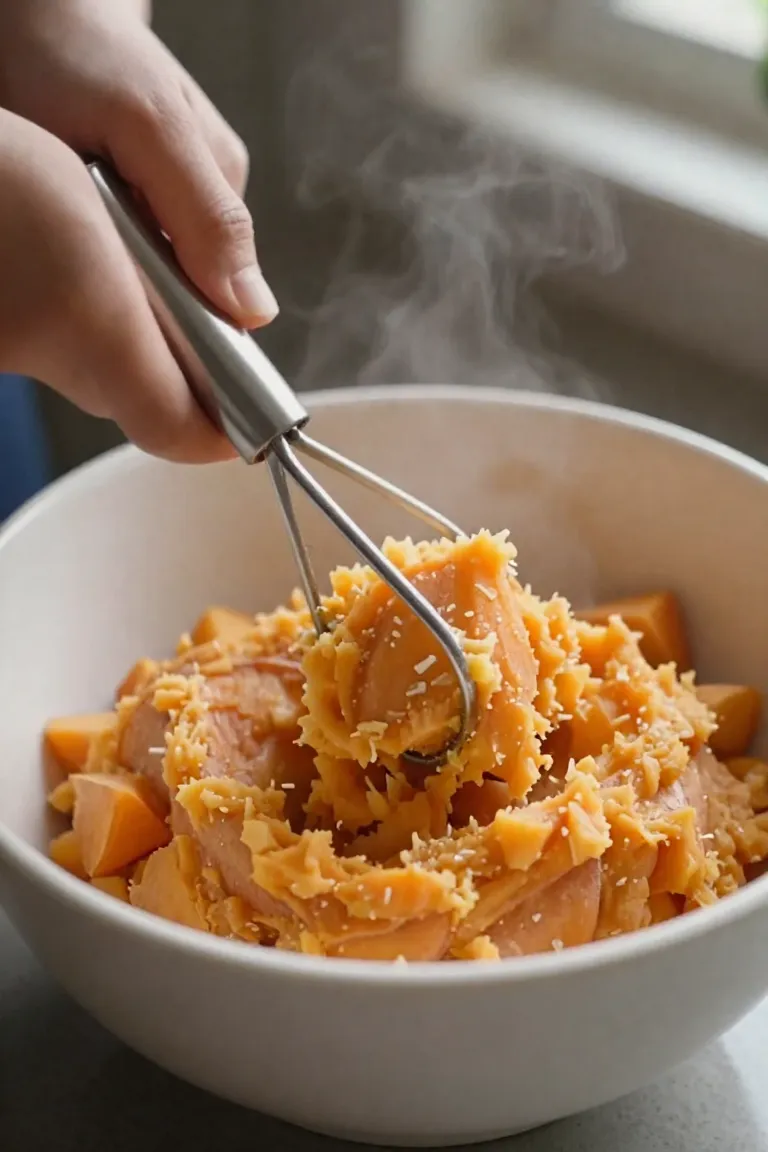
Peel one medium tuber completely to remove fibrous outer skin that could challenge a puppy's tender digestive tract. Steam or boil the cubes in unsalted water until a fork slides effortlessly through the center, skipping any butter, salt, or seasonings that could upset delicate canine stomachs. Once tender, mash the flesh thoroughly with a fork or hand blender until no firm chunks remain. Allowing this smooth mashed sweet potato for dogs to cool down to room temperature prevents the residual steam from altering your dry mixture prematurely. This clean cooking sweet potato treats method delivers rich beta-carotene and steady hydration without adding processed sugars or synthetic thickeners to your puppy's batch.
Step-by-Step Recipe Walkthrough
You don't need professional culinary training or specialized pastry tools to turn clean pantry staples into nourishing rewards. Moving through this easy dog biscuit recipe takes under thirty minutes of active prep from bowl to baking sheet. Crafting these step by step dog treats ensures you know every pure element going into your young pet's growing body.
- Clear a wide counter workspace and preheat your oven so the baking temperature stays steady.
- Line your metal baking sheets with parchment paper to prevent sticking without using added oils.
- Select small cookie cutters or a simple pizza wheel sized safely for petite puppy jaws.
Step 1: Mixing the Dough
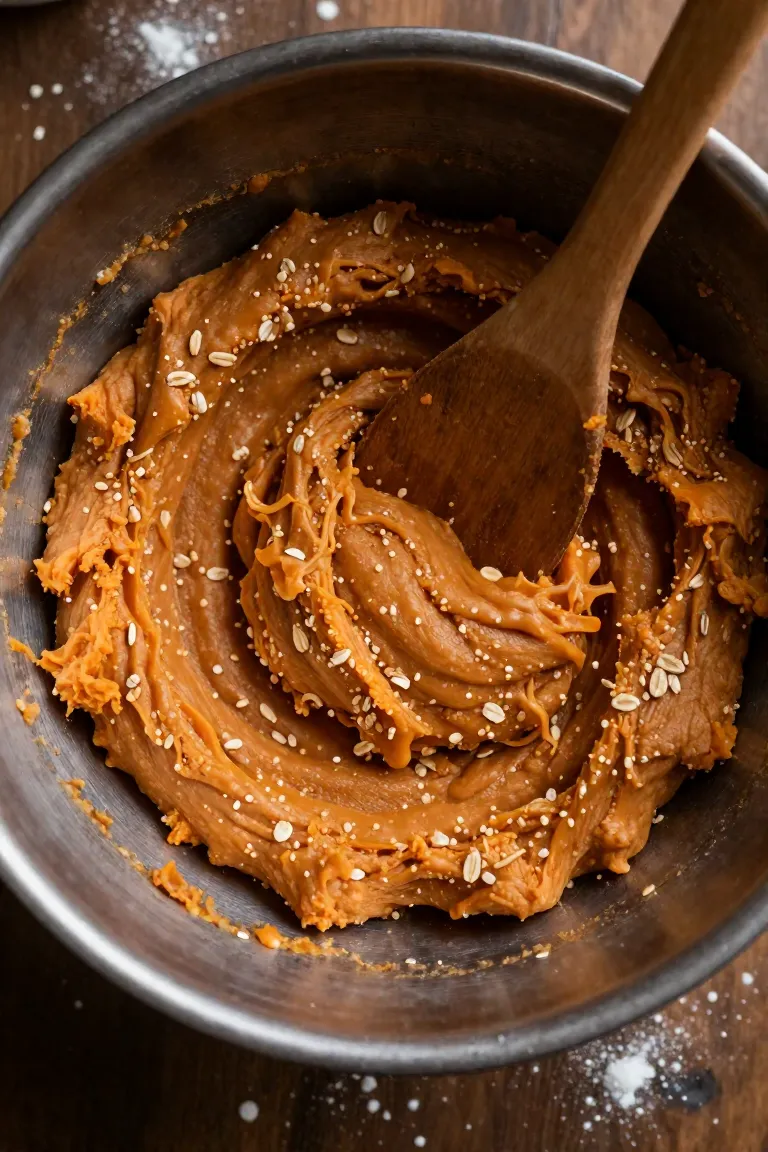
Begin by transferring your cooled pureed sweet potato into a wide ceramic bowl and folding in the prepared oat flour gradually with a sturdy silicone spatula. As you start mixing dog treat dough, watch how the natural vegetable moisture binds with the ground grains into a cohesive, workable ball. You want the mixture to pull away cleanly from the bowl walls without feeling uncomfortably tacky or shedding dry crumbs across your countertop.
The ideal dog cookie dough consistency resembles soft modeling clay that feels supple and pliable under gentle palm pressure. If the blend feels overly sticky to the touch, dust an extra tablespoon of oat flour across the top and knead it lightly for several seconds. Dry or cracking textures benefit from a splash of warm water added one teaspoon at a time until the mixture reaches a smooth, rollable finish.
Step 2: Rolling and Cutting the Biscuits
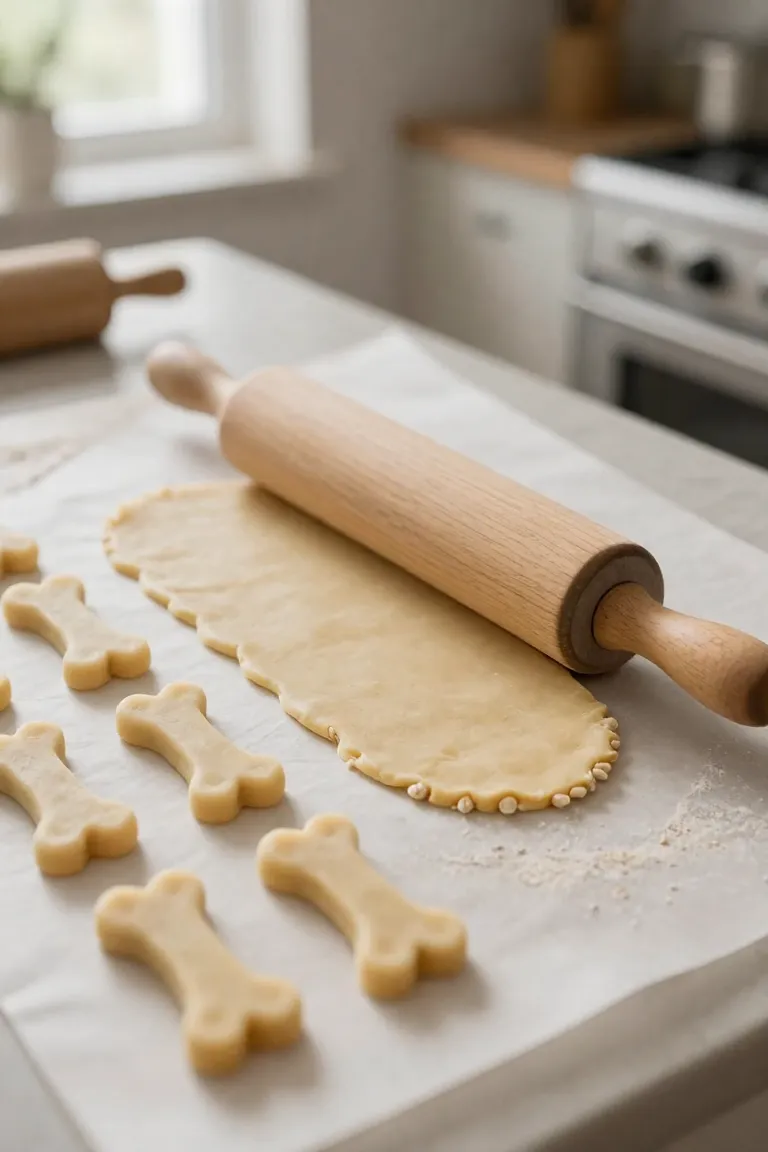
Place a sheet of unbleached parchment paper across your countertop to prevent sticking, then gently flatten the dough with a rolling pin to a uniform quarter-inch thickness. Keeping the dough at this specific depth ensures each bite is tender enough for young puppy teeth while retaining enough structural integrity to hold together during handling. When cutting dog biscuits, press firmly straight downward rather than twisting the edges, which guarantees clean, defined borders on your baking tray.
A compact bone shaped cookie cutter measuring roughly one to two inches is ideal for tiny jaws and keeps portion sizes reasonable during daily reward sessions. After stamping your first batch, gather the leftover dough scraps into a neat ball, press them flat again, and repeat the process until you have utilized every piece of dough without waste.
Step 3: Baking to Perfection
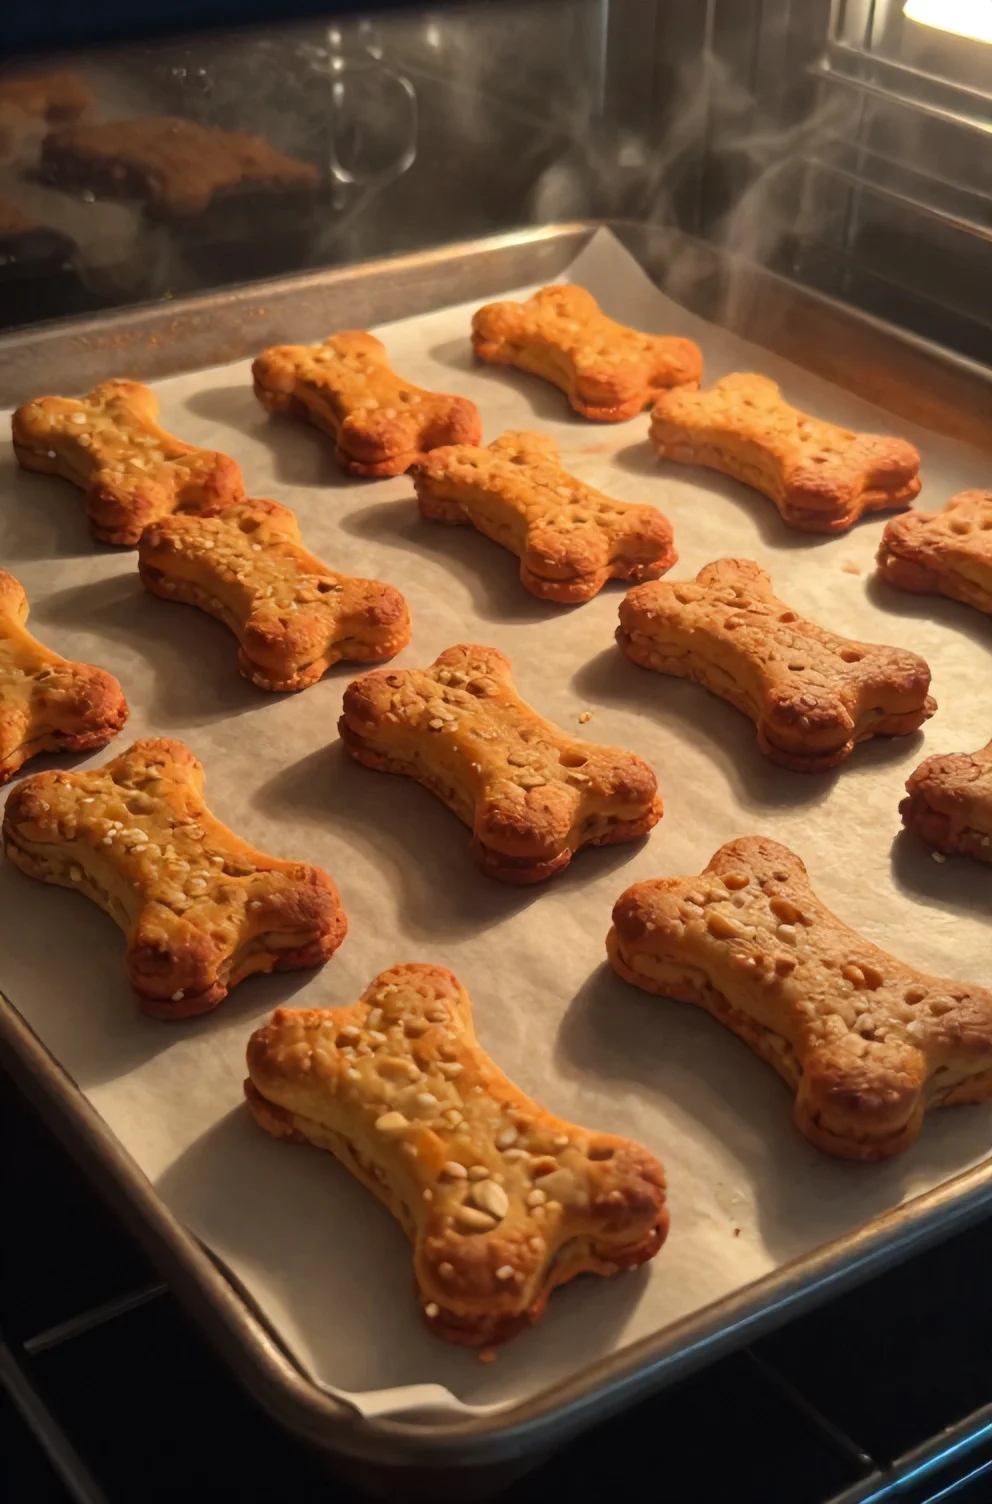
Preheat your oven to 350°F (175°C) and arrange your stamped dough shapes across a parchment-lined baking sheet with a small gap between each treat. When baking homemade dog treats for teething puppies, the goal is achieving a light golden rim that yields slightly under gentle pressure rather than turning rock-hard.
- Bake for twenty to twenty-five minutes, keeping a close eye on the tray toward the end as the dog biscuit baking time can vary depending on your oven's heat distribution.
- Check the underside of a biscuit around the twenty-minute mark. It should lift cleanly off the paper and show a pale, toasted color.
- Press the center with your thumb to verify that the biscuit feels firm on the outside while maintaining a slight give inside that soothes tender gums.
- Cool the treats completely on a wire rack so the remaining steam escapes, leaving behind a crisp texture without unwanted moisture pockets.
Proper Storage and Shelf Life
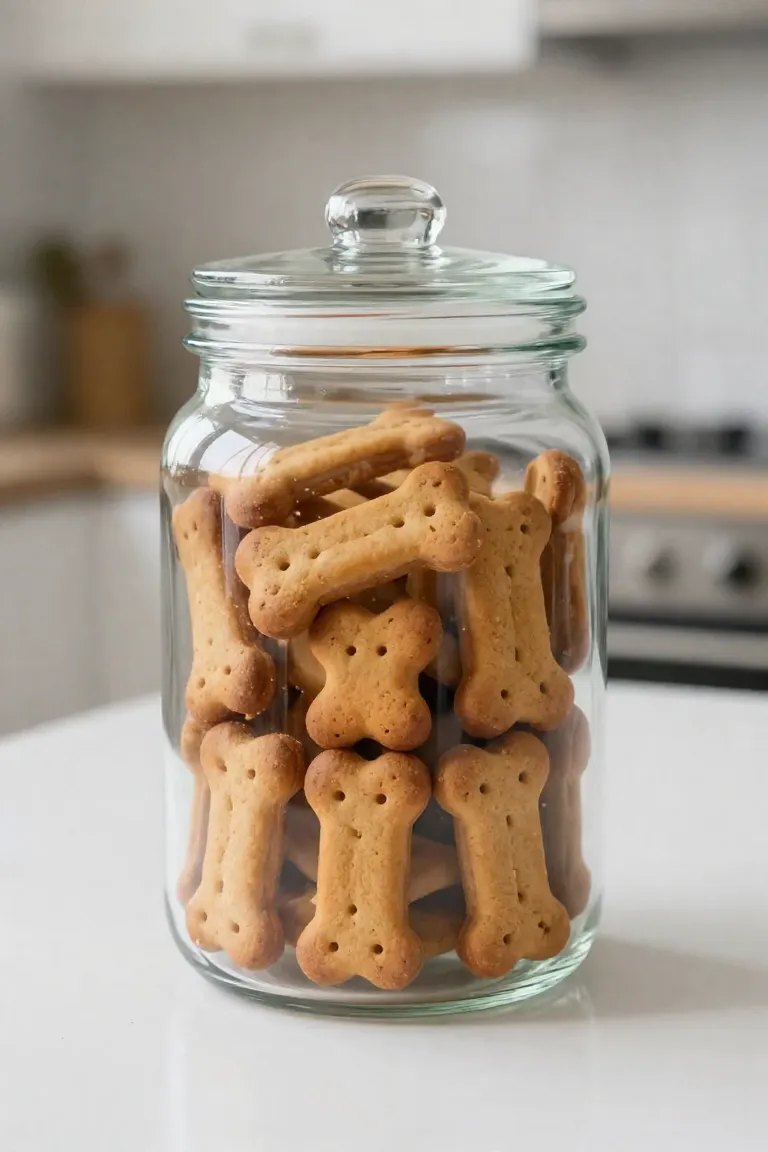
Allow the baked treats to shed every trace of heat before transferring them into an airtight glass jar or ceramic canister lined with a dry paper towel. When storing homemade dog treats on your kitchen counter, keeping ambient moisture away is essential. At room temperature in a cool, dark pantry, the standard dog biscuit shelf life spans about five to seven days. For longer preservation, slide the container into your refrigerator for up to three weeks, or stash individual portions in freezer-safe silicone bags for up to four months. Frozen biscuits can be thawed on the counter for ten minutes before feeding, or offered straight from the freezer on warm summer afternoons to soothe your pup's inflamed teething gums.
Frequently Asked Questions (FAQ)
Common homemade dog food questions often involve portion control. Remember that biscuits should never exceed ten percent of your young canine's daily caloric intake. Regarding ingredient safety, standard rolled oats and plain baked sweet potatoes carry an exceptionally low allergy risk compared to wheat or dairy. Introduce these crunchy bites gradually by breaking half a biscuit over their morning kibble to monitor stool consistency before offering a whole piece. Puppies with diagnosed grain sensitivities or specific veterinary dietary restrictions should always have their customized meal plans checked by a doctor prior to adding new starches. Adjust the serving size to match your puppy's current weight, offering smaller quarter-sized nibbles for toy breeds to keep everyday snacking safe and gentle.