Summary
- Introduction to Air Fryer Dog Biscuits
- Why Choose the Air Fryer Method for Dog Treats?
- Essential Ingredients for Sweet Potato Oat Dog Cookies
- Step-by-Step Air Fryer Sweet Potato Dog Biscuits Recipe
- Essential Temperature Settings for a Crunch Every Time
- Cooling and Storing Your Homemade Treats
- Frequently Asked Questions
Introduction to Air Fryer Dog Biscuits
Baking snacks for your pup at home gives you full control over what goes into their bowl, minus the artificial additives found in commercial packages. Preparing sweet potato and oat cookies in an air fryer yields a firm, satisfying crunch while cutting standard baking durations down significantly. This straightforward approach relies on pantry staples and steady convective heat to produce fresh, nutrient-dense rewards with minimal cleanup.
- Wholesome dietary fiber from plain sweet potatoes and rolled oats supports gentle, balanced digestion.
- Circulating hot air draws out excess moisture quickly to build a dry, teeth-cleaning texture.
- Baking small, fresh batches takes only a fraction of regular oven preheating and cooking time.
Why Choose the Air Fryer Method for Dog Treats?
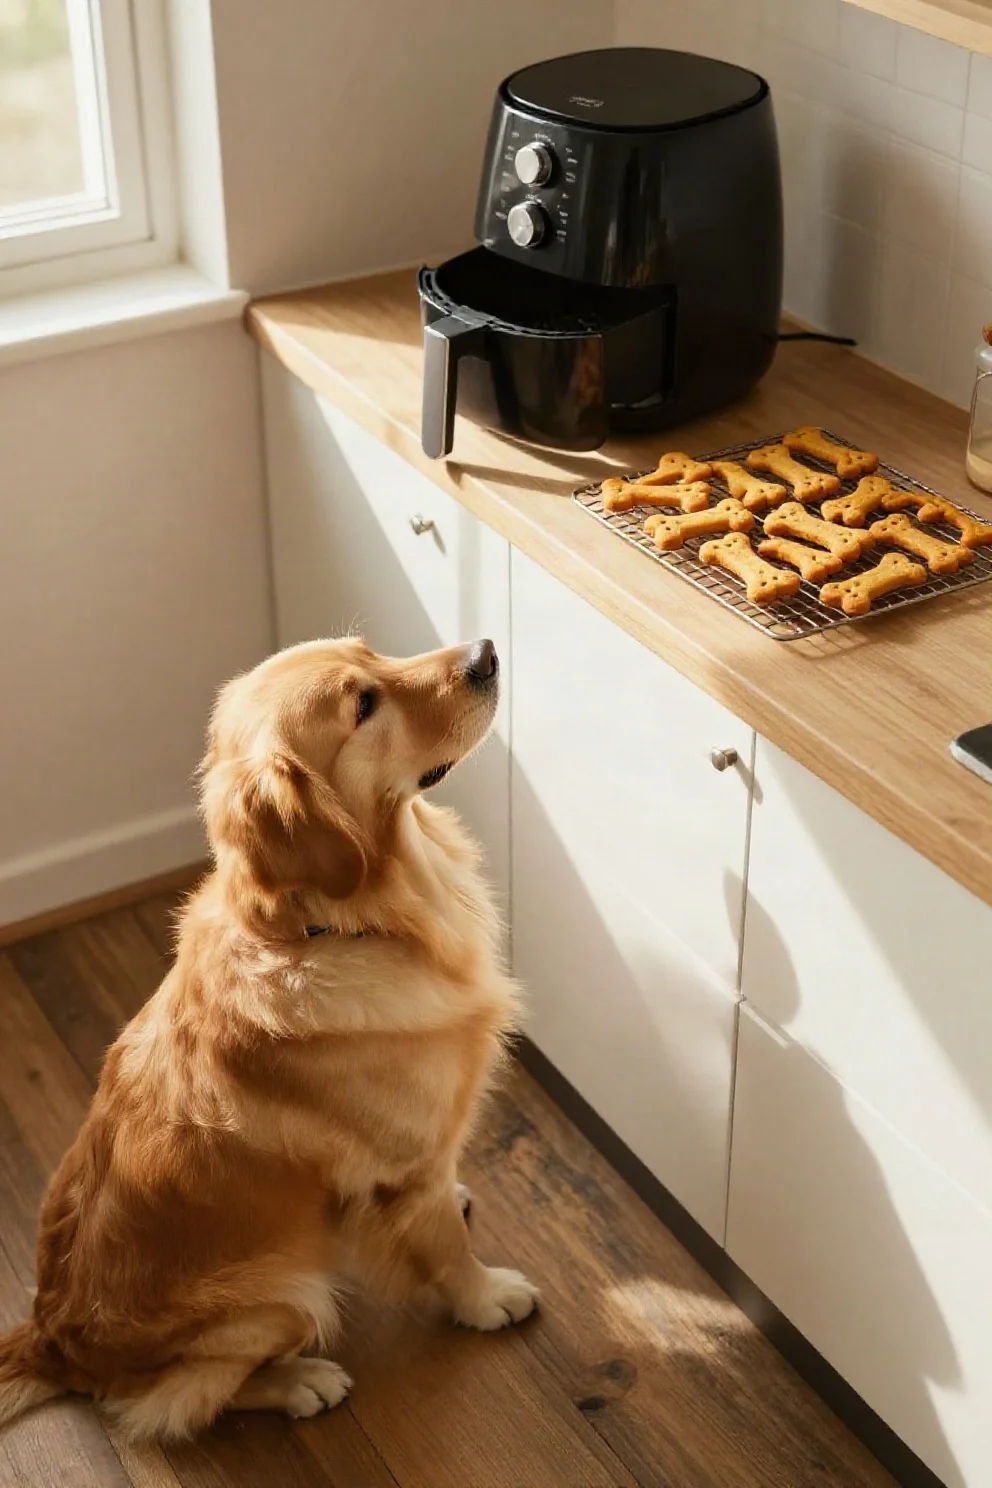
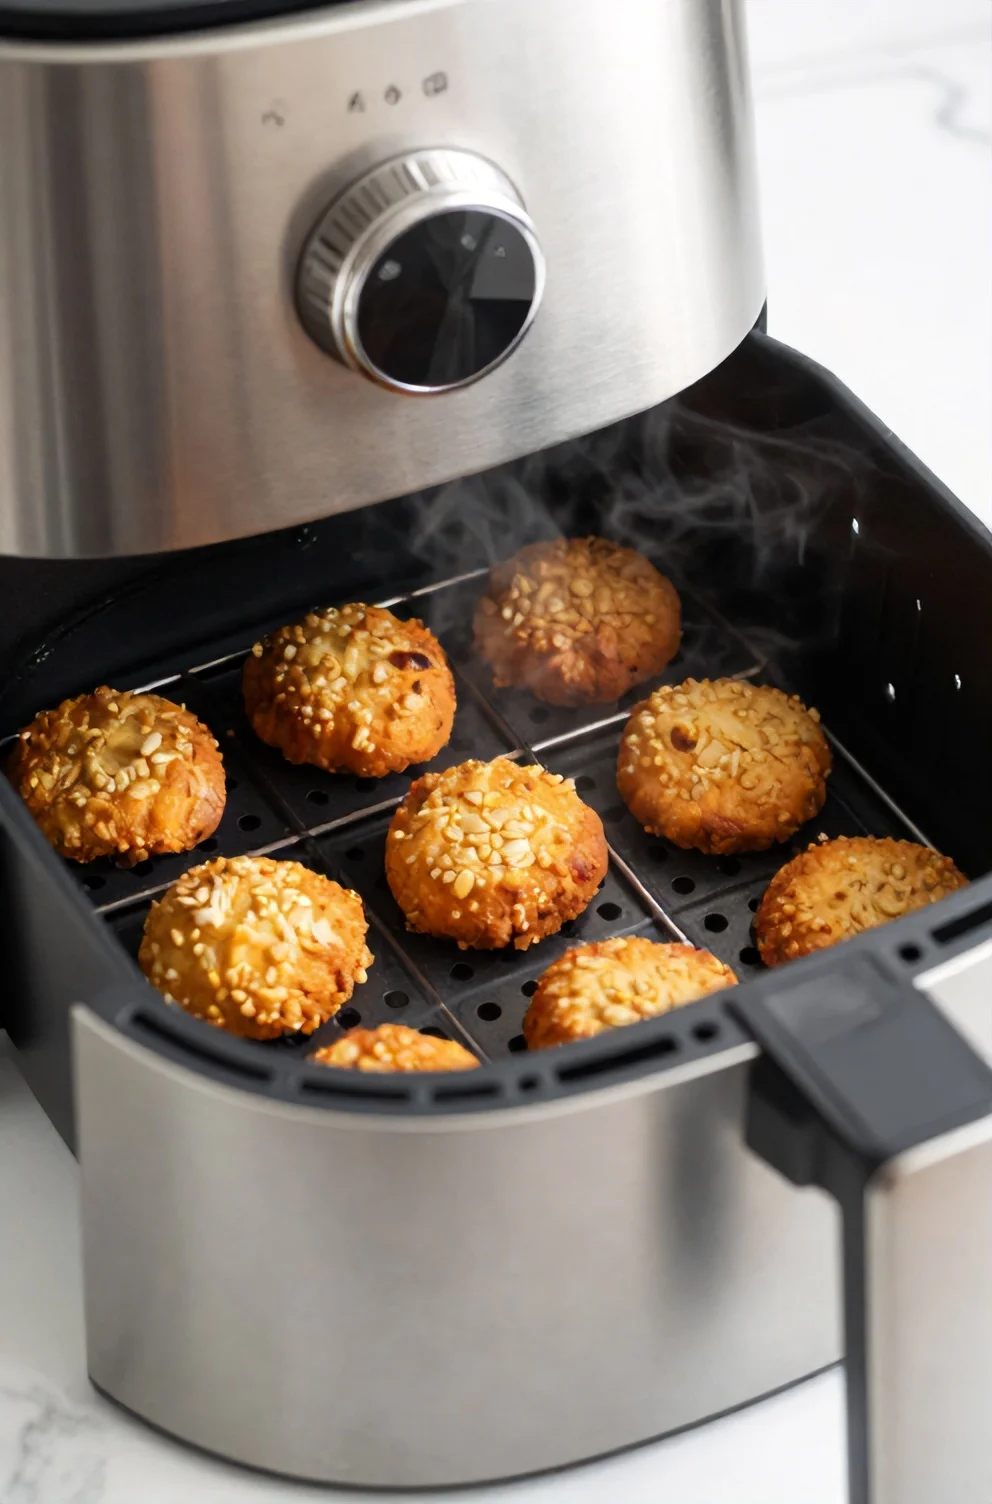
Standard kitchen ovens take twenty minutes just to preheat, whereas a compact convection basket surrounds each biscuit with rapid air circulation right away. This concentrated airflow pulls surface moisture from the dough far more efficiently than still oven heat, giving your pup a firm, crunchy snap in every bite. The dense crispness satisfies dogs who love a hearty chew, and the abrasive texture actively helps scrape away soft plaque and tartar from their teeth as they gnaw. You get consistent results without heating up the entire kitchen, making it practical to whip up fresh rewards whenever your treat jar runs low.
Speed and Unmatched Convenience
Traditional ovens demand fifteen to twenty minutes just to reach baking temperature, which often turns a simple batch of dog cookies into an hour-long ordeal. Because a compact basket heats up almost immediately, rapid air circulation begins crisping the dough within moments of pressing start. This quick process lets you prepare a fresh tray during a short work break or while dinner simmers on the stove. You bypass long wait times and reliably supply your dog with homemade nutrition on any regular weekday.
Achieving the Ultimate Biscuit Crunch
Rapid hot air circulation makes all the difference when turning dense dough into crisp, pantry-stable rewards. Inside the compact chamber, a high-velocity fan pushes heated air continuously across every square inch of the treat's surface. This constant thermal movement strips away moisture from wet sweet potato puree and heavy oat flour far more efficiently than standard radiant heat, drying the exterior quickly while cooking the center through.
The steady extraction of water creates a firm, dry interior that yields a clean snap rather than a chewy bite. Commercial bakeries often rely on artificial preservatives or chemical stabilizers to keep boxed biscuits brittle on the shelf, but proper moisture reduction accomplishes that exact same crispness naturally. Once the treats cool down, the starch matrix sets into a satisfying texture your dog can safely gnaw on.

Essential Ingredients for Sweet Potato Oat Dog Cookies
Creating that firm, crunchy bite doesn't require a long grocery receipt or specialty pet store additives. You only need two simple pantry staples to build this dough: plain cooked sweet potato and rolled oats. Keeping the formula down to basic whole foods means you avoid the artificial preservatives and mysterious flavorings packed into commercial bags. It's a straightforward combination that comes together quickly, giving you total peace of mind about everything going into your dog's treat jar.
Both components bring genuine dietary benefits to your pup's bowl alongside their natural flavor. Sweet potatoes supply a rich dose of vitamin A and digestive fiber, while whole oats deliver gentle complex carbohydrates that are easy on sensitive canine stomachs. Because these two starches hold together naturally under dry heat, you don't need any added fats or salt. Knowing how to select the right forms of each staple will ensure every batch turns out safe and evenly baked.

Selecting the Right Sweet Potatoes
Starting with fresh, firm tubers gives you full control over moisture, though canned options can save prep time on busy days.
- Steaming or boiling fresh cubes until fork-tender yields a smooth mash that blends cleanly into dry ingredients.
- Roasting whole tubers concentrates natural flavors and evaporates excess water, helping biscuits crisp faster during air frying.
- Store-bought canned puree works well in a pinch, but the label must state 100% pure vegetable with zero pumpkin pie spices or added sugars.
- Avoid any canned mix containing xylitol or artificial sweeteners, as even trace amounts are toxic to dogs.

Choosing Dog-Safe Oats
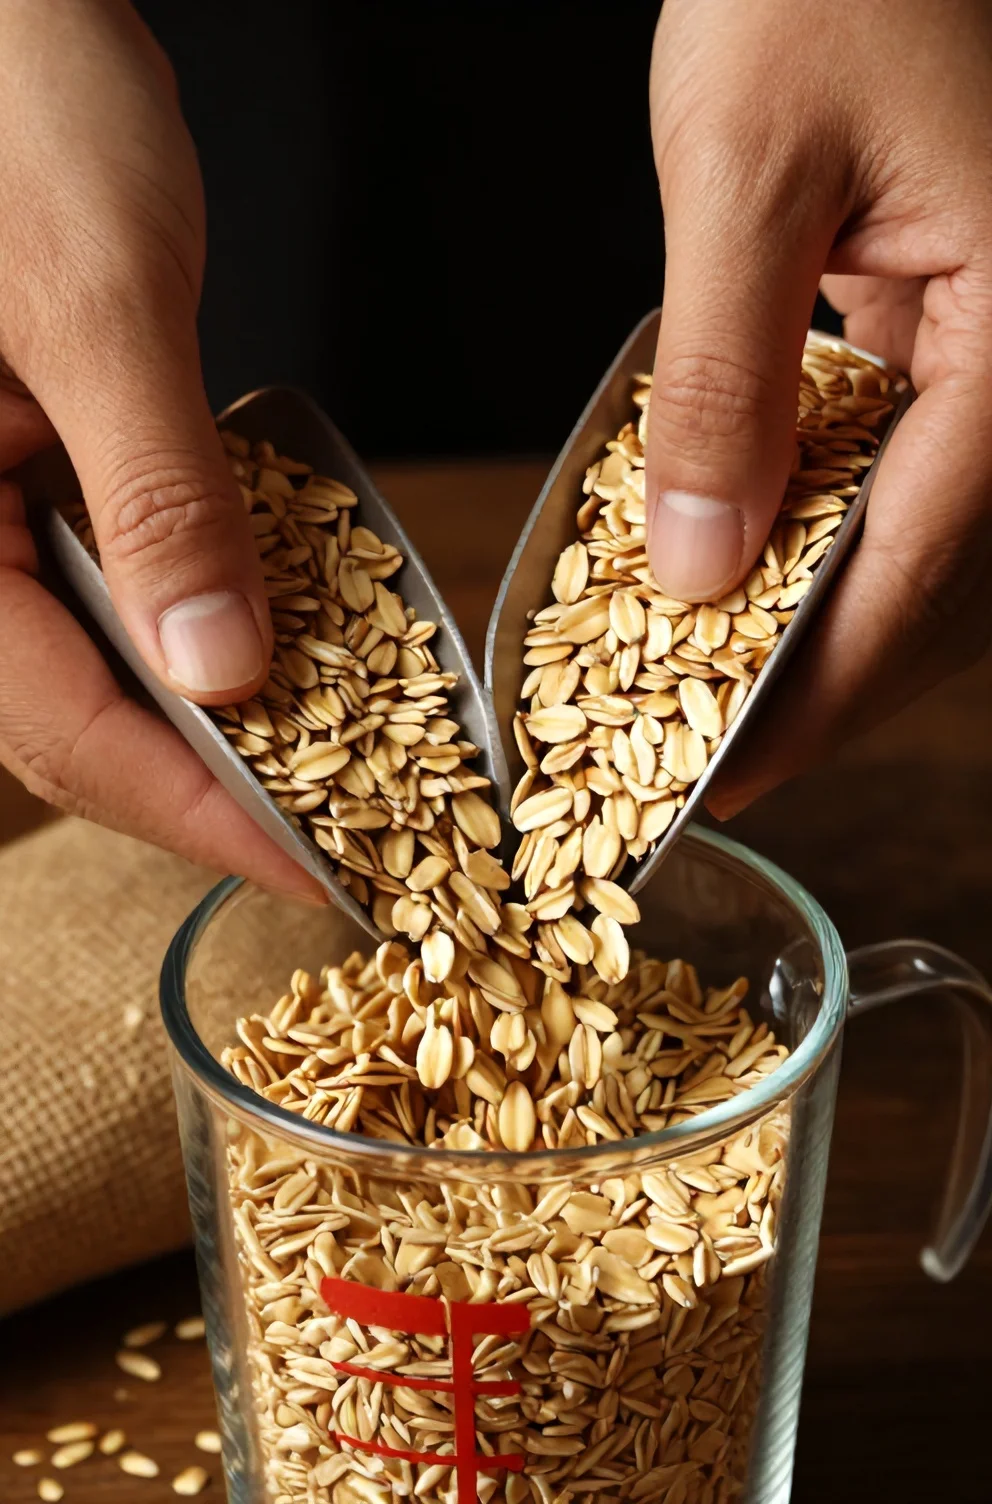
Plain rolled varieties give your biscuit dough the firm structure it needs to hold clean shapes in the fryer basket. Standard old-fashioned rolled oats hold up much better than quick-cook or instant packets, which often turn gummy once mixed with wet puree and may hide added sodium or flavorings. Grinding these whole groats into a coarse meal creates a natural binding matrix, so you don't need heavy wheat flours or egg washes to keep the mixture intact.
For dogs with sensitive stomachs, this simple whole grain is a gentle, gluten-free friendly carbohydrate that digests smoothly without triggering itchy skin or loose stools. The soluble fiber keeps their digestion steady while giving the baked treats a satisfying crunch that isn't too tough on older teeth. Once your dry oat flour is ready, you can start blending it into your warm, silky sweet potato mash.
Step-by-Step Air Fryer Sweet Potato Dog Biscuits Recipe
Bringing the base mixture together takes only a few minutes, making the process straightforward even if you rarely bake. The texture is forgiving, so you can easily adjust the moisture balance with a splash of water or an extra spoonful of ground oats without ruining the batch.
- A simple mixing bowl and fork are all you need to combine the ingredients into a workable mass.
- The dough should feel pliable and soft, similar to classic playdough, rather than sticky or crumbly.
- If the mixture feels a bit dry, adding a teaspoon of water restores moisture immediately without altering the flavor.
1. Preparing and Rolling the Dough
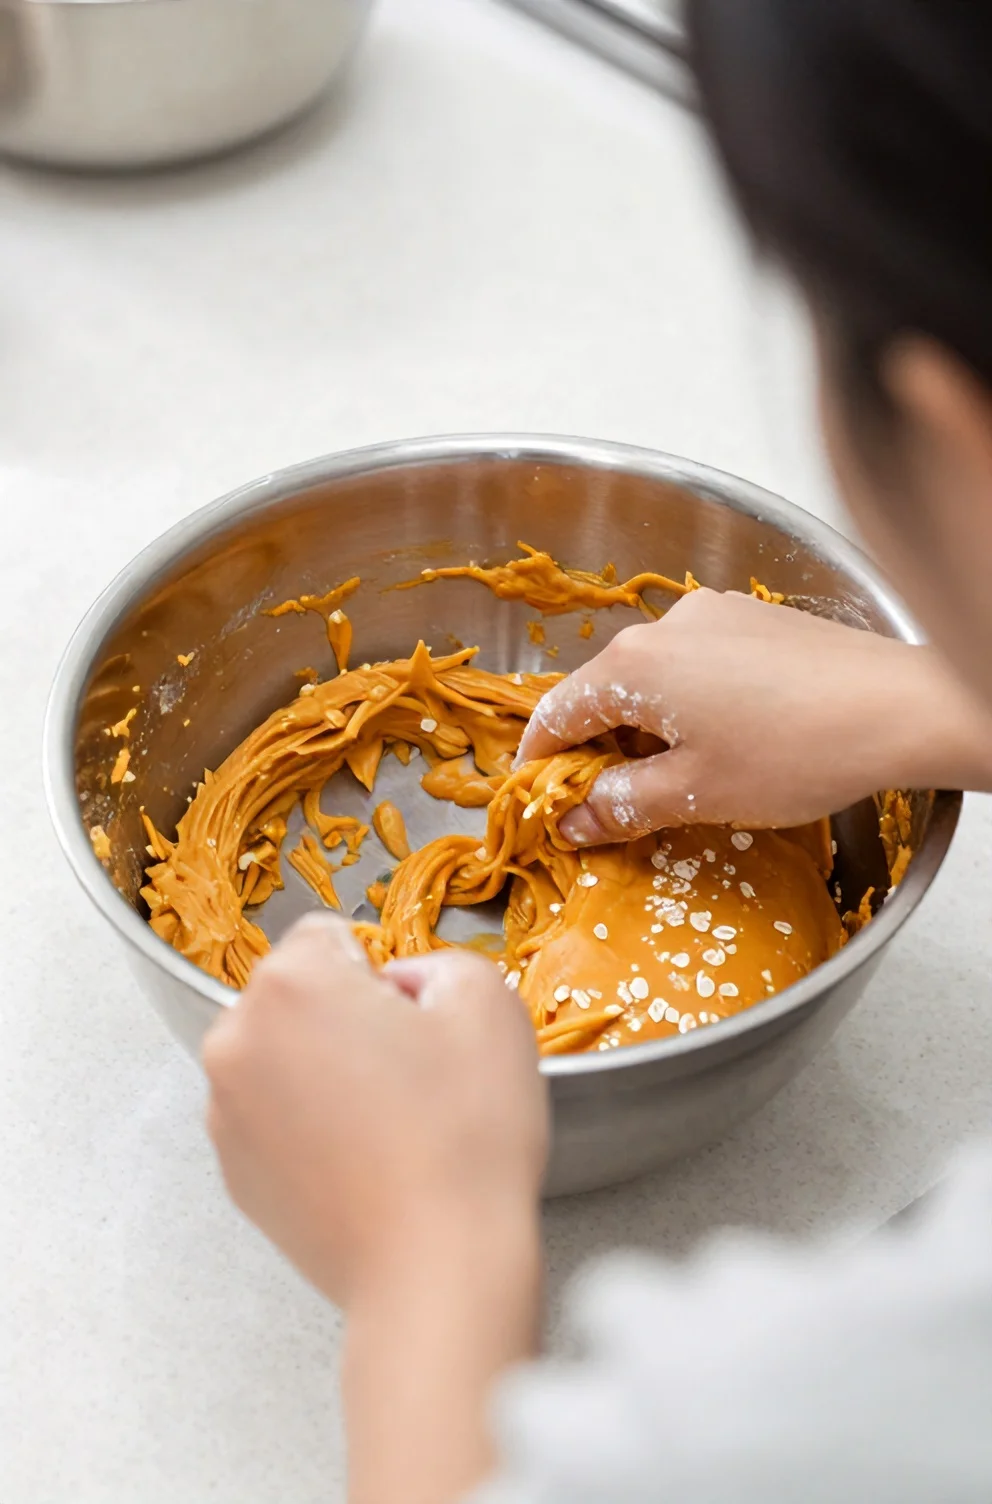
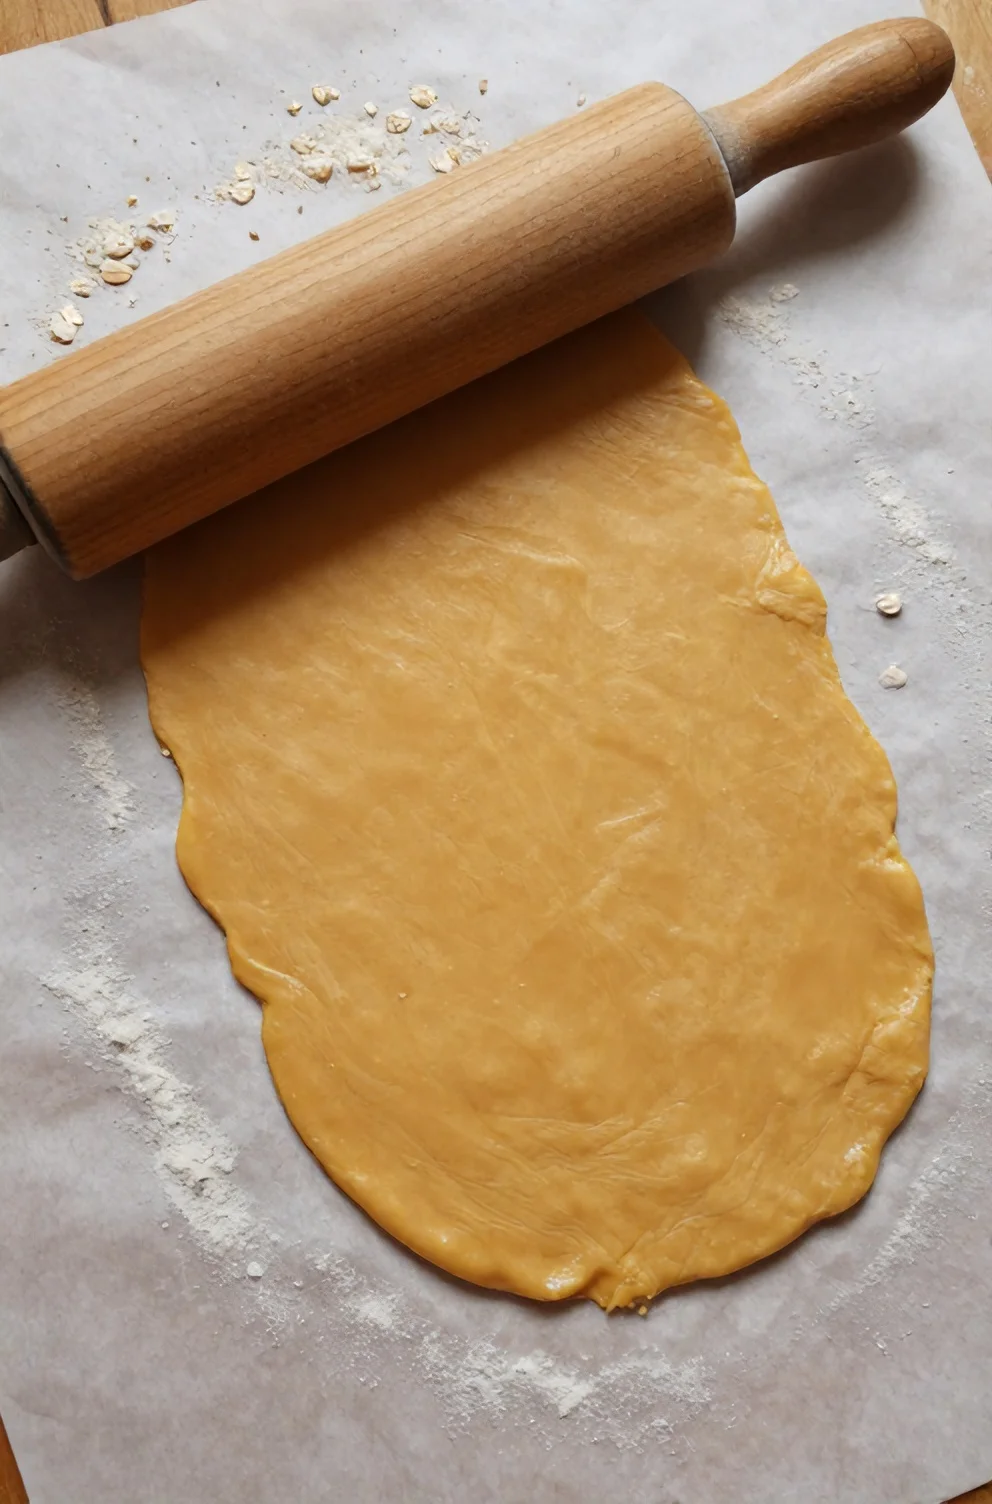
Once you blend the smooth sweet potato puree into the ground oats, press the mixture firmly until it gathers into a pliable, cohesive mass. Sandwiching the base between two sheets of parchment paper prevents sticking without adding dry flour to your counter. Guide a pin evenly outward across the surface until the slab reaches a uniform quarter-inch thickness, as consistent height ensures every bite cooks at the exact same rate without scorched edges.
2. Cutting Fun Shapes
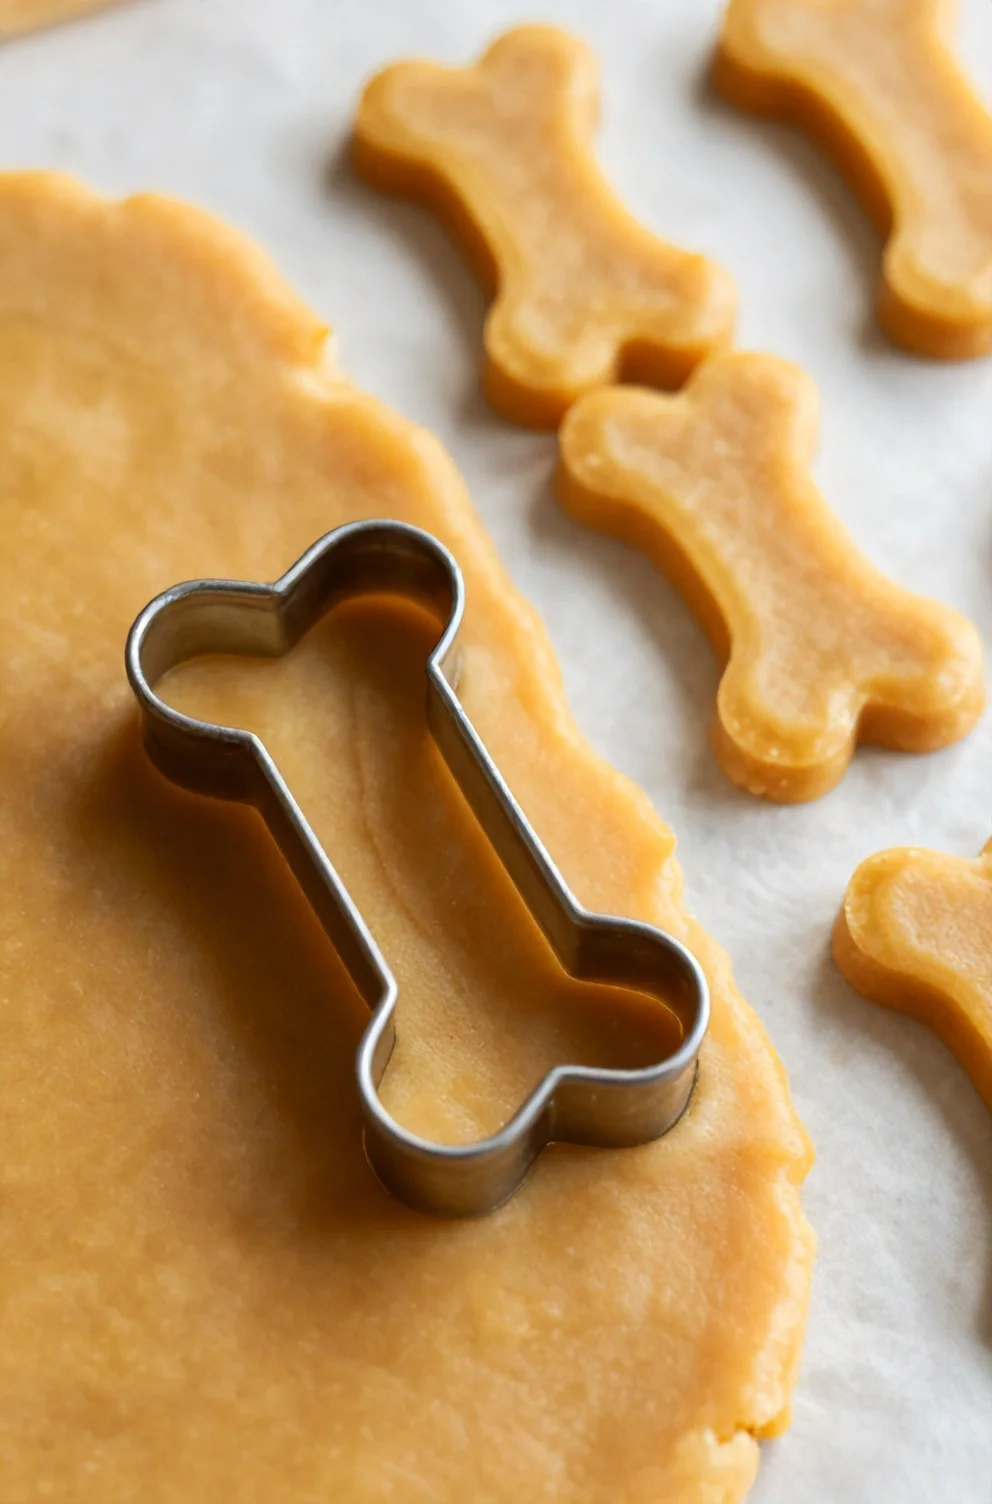
With the dough pressed out evenly, stamp your designs as close together as possible so you don't leave excess waste across the parchment paper. A quick dip of your cutters into a shallow dish of oat flour keeps the sticky sweet potato mixture from clinging to tight corners or tearing during release.
- Classic two-inch bone molds produce familiar dog-biscuit profiles, while a basic round cutter or the rim of a clean shot glass creates bite-sized training morsels.
- Gather all the leftover border trimmings into a compact ball, press the mass together to warm the natural binders, and flatten it again to stamp a second round.
- Repeat this gathering process until you've used the remaining dough, leaving each uniform cutout ready for the basket.
Essential Temperature Settings for a Crunch Every Time
Heat management determines whether your freshly stamped cutouts turn into snap-hard snacks or soft, spongy bites. A rapid blast of intense hot air browns the exterior within minutes, yet it locks residual moisture deep inside the oat dough. That trapped moisture leaves behind a chewy core that spoils quickly on the shelf and denies your dog that satisfying, scraping crunch against their teeth. Lowering the airflow temperature allows water to evaporate continuously across the entire biscuit rather than searing just the outer shell.
This low and slow technique operates much like a hybrid dehydrator, circulating warm air around the rack to draw out dampness without scorching the flour. Because forced convection circulates heat so efficiently inside a compact basket, gentle warmth reaches the bottom and top of each cookie simultaneously. You get a firm, dry structure that stays crunchy for weeks without turning rock-hard or burnt around the perimeter.
The Ideal Temperature Range: 300°F to 325°F
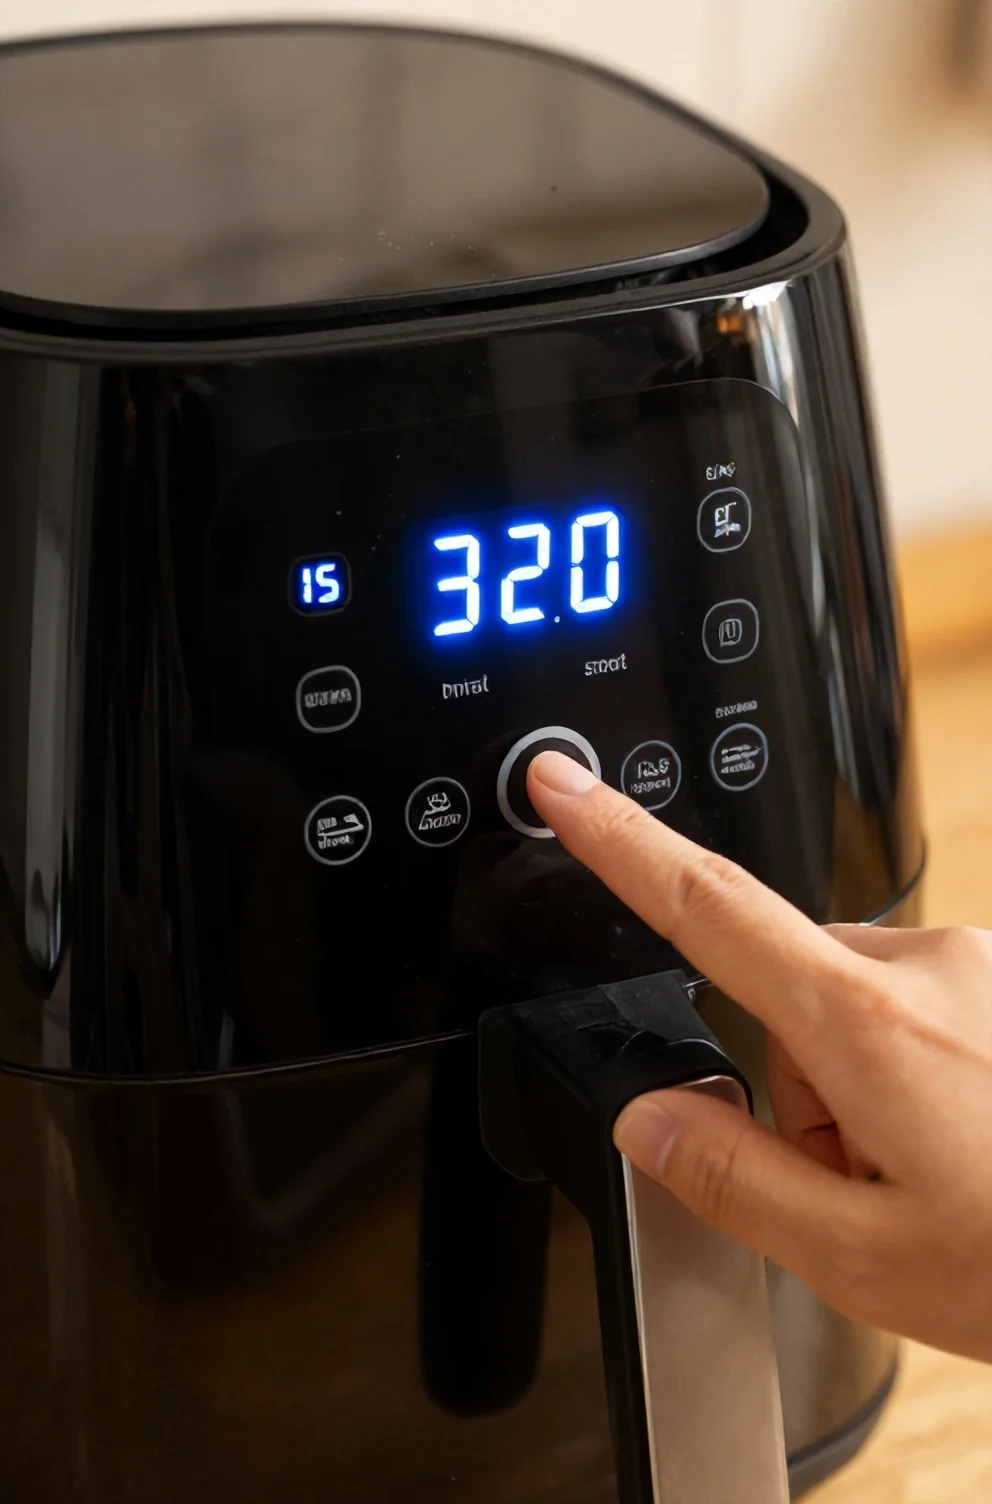
A gentle heat setting makes all the difference when dehydrating dense dough in a compact basket. Setting your air fryer between 300°F and 325°F (150°C to 160°C) provides steady warmth that pulls out moisture at an even rate. This moderate heat ensures the treats dry out all the way through without burning the delicate oat edges.
Standard oven temperatures of 350°F (175°C) or higher push hot air too aggressively for these treats. High heat quickly darkens the outer crust while trapping steam inside, resulting in raw centers that spoil quickly in storage. Keeping the heat lower allows full moisture removal while preserving that crisp finish before you set your cooking time.
Timing Adjustments for Different Treat Sizes
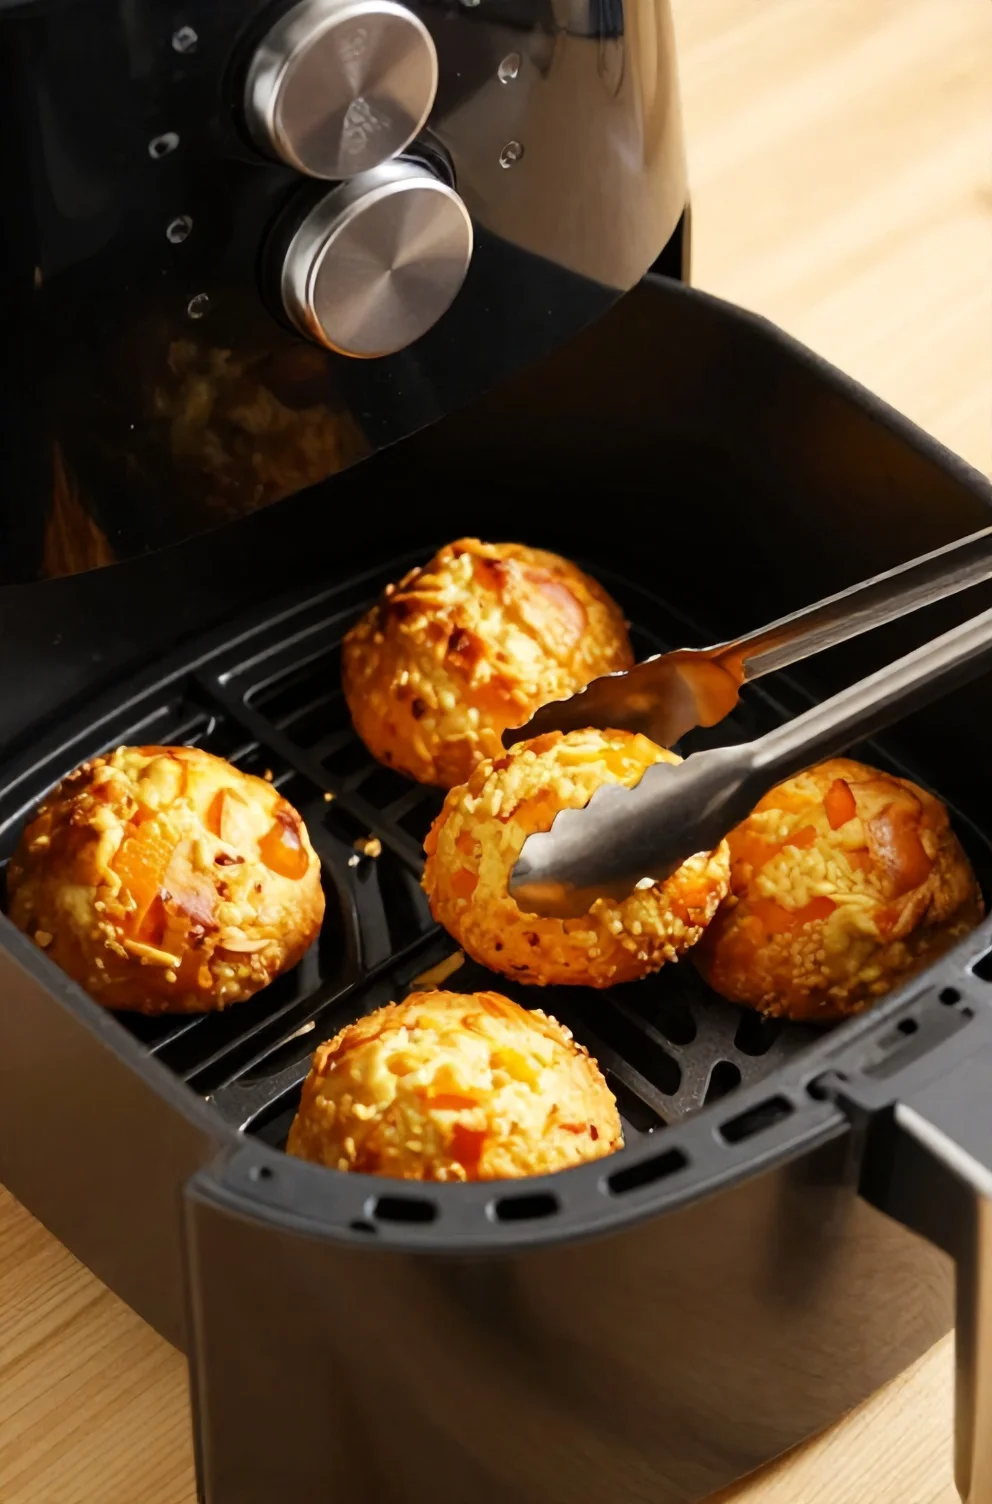
Small training pieces cut to a quarter-inch thickness need about 12 to 15 minutes in the basket, while larger bone-shaped dough portions require 18 to 22 minutes to bake completely through. Turning each piece over at the halfway mark ensures circulating hot air dries out both surfaces with balanced precision, preventing damp undersides that soften during storage. Watch the edges during the final three minutes of the cycle, as natural sugars from the sweet potato brown rapidly once surface moisture fully evaporates.
Cooling and Storing Your Homemade Treats
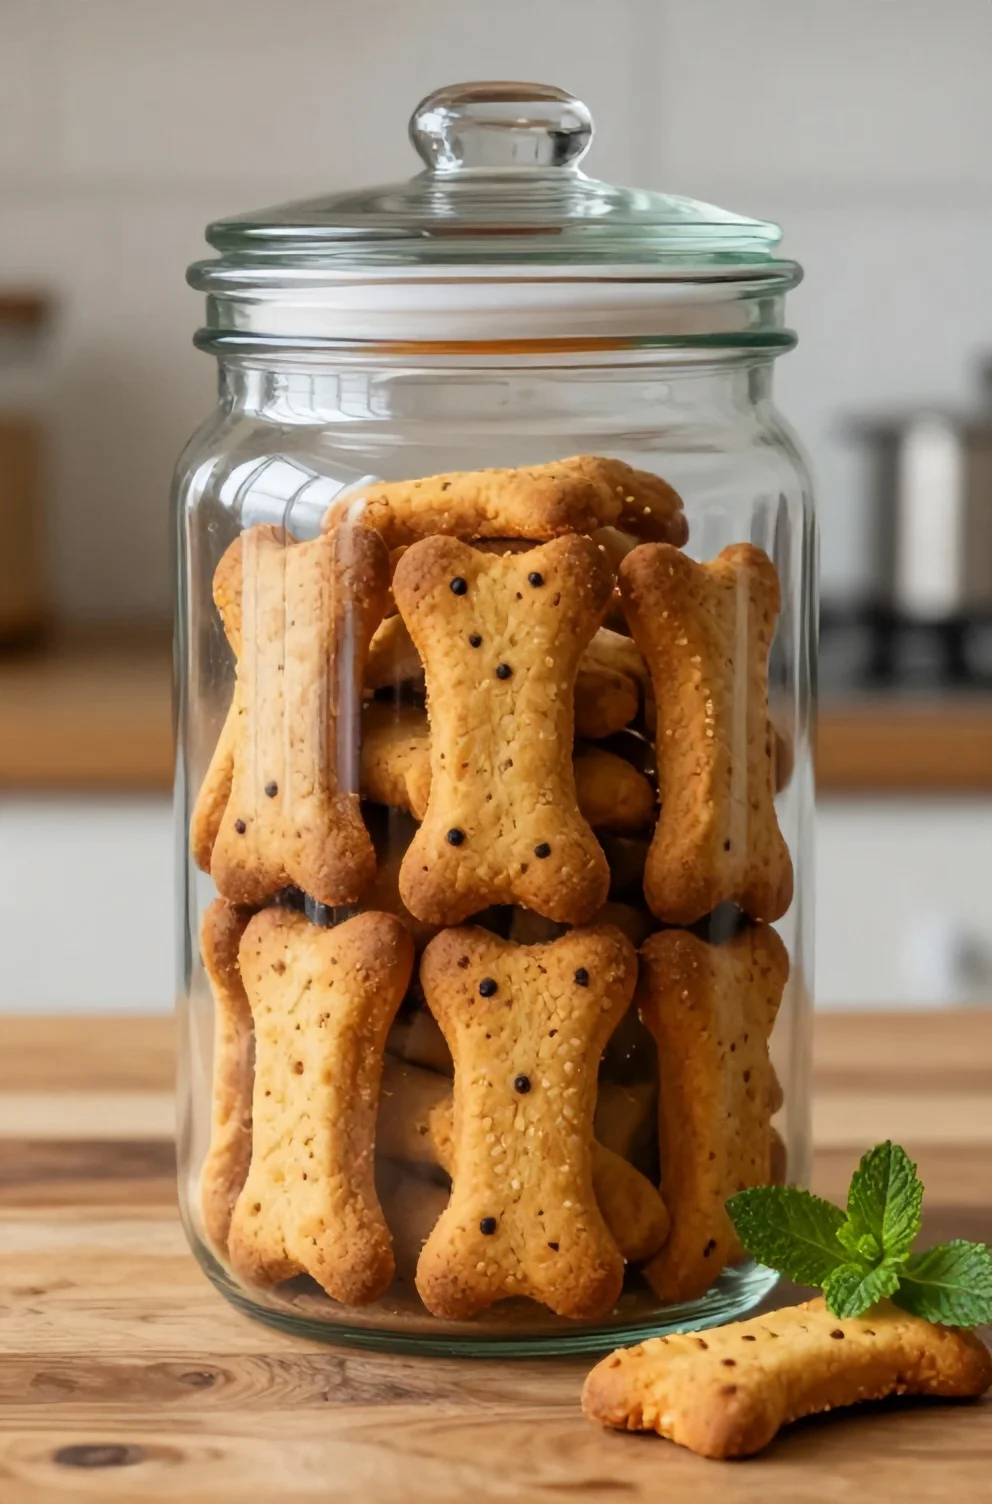
Pulling the warm biscuits from the basket while they still feel slightly soft is normal, because residual internal heat continues to harden the dough structure as moisture escapes. Transfer every piece directly onto a wire cooling rack so circulating air reaches the flat undersides and prevents steam from making the bottom soggy. Once the biscuits shed every trace of warmth and snap cleanly in half, move them into an airtight container, keeping them in a dark pantry or on the counter for one to two weeks. For larger batches, stash sealed portions in the freezer for up to three months, thawing a few pieces whenever you want to reward your dog with a fresh crunch.
Frequently Asked Questions
If your dough feels too sticky to roll smoothly, the moisture level in your sweet potato puree is likely the culprit. You can balance the texture by folding in an extra tablespoon of oat flour at a time until the mixture pulls cleanly away from your work surface. Treats that turn out slightly chewy instead of crisp simply need extra drying time, so leave them in the turned-off basket with the drawer closed for ten minutes to evaporate remaining moisture.
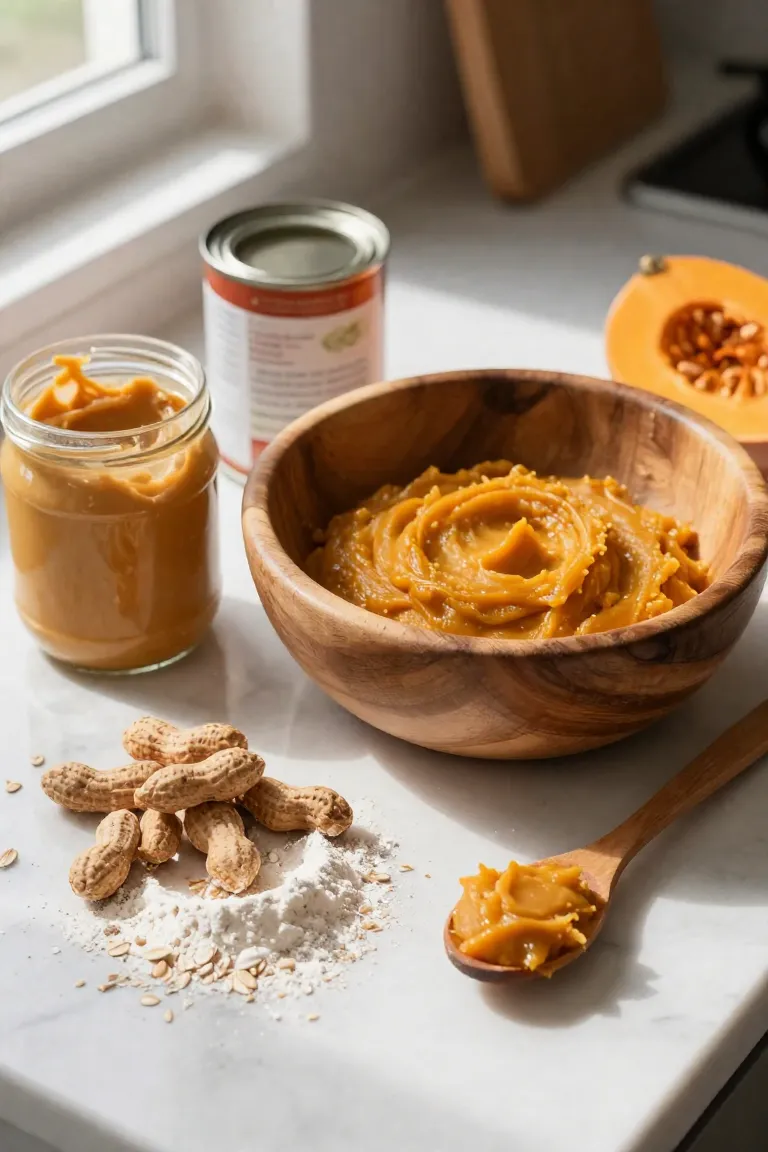
For ingredient swaps, you can easily replace the base with pure pumpkin puree or unsweetened applesauce in equal amounts. A spoonful of natural peanut butter without xylitol introduces rich aroma if your pup prefers savory flavors, provided you dust in extra rolled oats to keep the mixture firm and easy to handle.