Summary
- Why Homemade Sweet Potato Oat Dog Cookies Are a Budget-Friendly Choice
- Essential Ingredients for Sweet Potato Oat Dog Cookies
- Essential Baking Tools You Probably Already Have
- Step-by-Step Tutorial: Making Sweet Potato Oat Dog Cookies
- Proper Storage and Shelf Life for Homemade Dog Treats
- Frequently Asked Questions
Why Homemade Sweet Potato Oat Dog Cookies Are a Budget-Friendly Choice
Walk down any commercial pet aisle and the price tags on specialty biscuits can quickly derail your weekly grocery budget. Baking at home lets you bypass expensive markups and artificial preservatives while serving wholesome, budget friendly dog treats. This requires zero culinary background or specialized gear, making homemade pet nutrition accessible to any dedicated dog parent.
A single batch of sweet potato and oat biscuits costs just pennies per serving compared to boxed store varieties. With simple pantry staples and a basic baking sheet, you gain total control over every raw ingredient while keeping your pet food expenses low.
Essential Ingredients for Sweet Potato Oat Dog Cookies
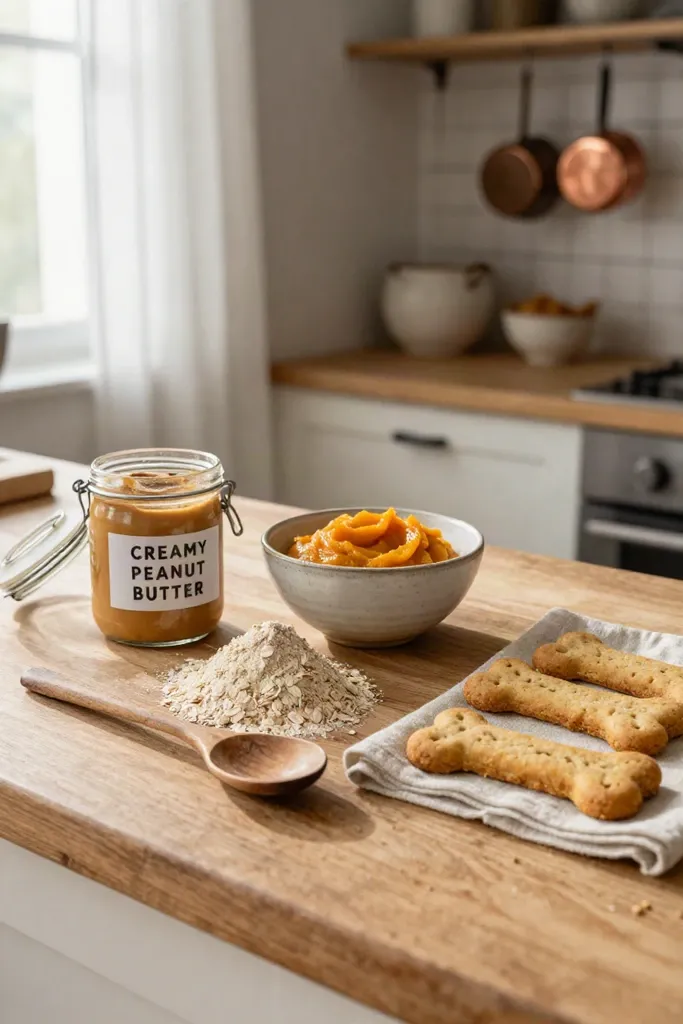
You only need two foundational staples from your grocery basket to make this simple dog cookie recipe: whole sweet potatoes and rolled old-fashioned oats. Unlike commercially packaged biscuits loaded with unfamiliar binders and added sodium, these dog treat ingredients provide nutrition with zero hidden fillers. Fresh orange sweet potatoes supply moisture and natural sweetness, while ground rolled oats act as a digestible binder that creates a crisp, sturdy dough. Both components keep well in your dry pantry and refrigerator, so you can restock on sale cycles and mix fresh batches anytime your treat jar runs empty.

1. Sweet Potatoes: The Nutrient-Dense Base
Orange tubers are an excellent base for homemade baking because they combine reliable moisture with an affordable bulk price. The sweet potato benefits for dogs make this root vegetable a practical choice for pet parents who value clean eating and budget cooking.
- High dietary fiber content supports dog digestive health and promotes firm, consistent stools.
- Beta-carotene and essential vitamins help maintain clear eyes and a glossy coat.
- Bulk pricing from local markets keeps the cost of every freshly baked tray low.
2. Rolled Oats: The Perfect Gluten-Free Binder
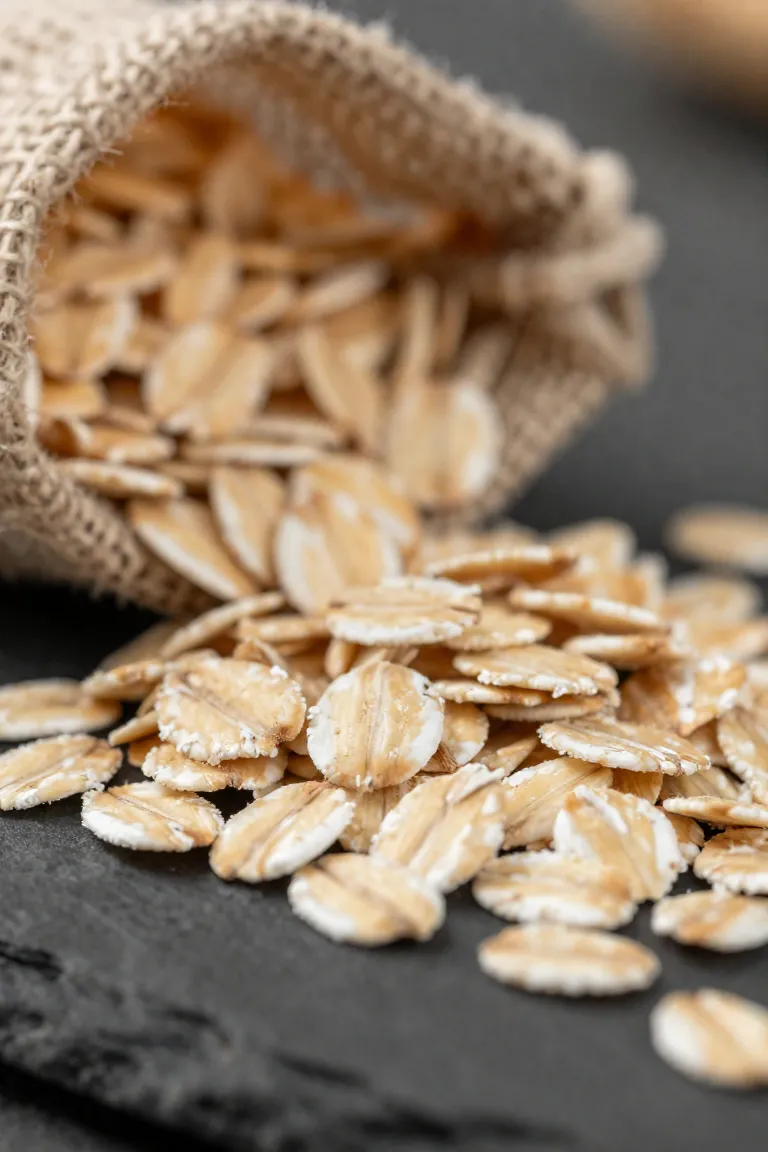
Pairing the root vegetable with standard whole grains transforms a loose mash into a workable dough. Finely milled or whole, oats for dogs provide soluble fiber that supports gut health while creating structural hold. Unlike standard wheat flour, which frequently triggers skin itchiness and digestive distress in sensitive pups, these flakes act as a gentle binder that keeps your oven-baked snacks intact without sticky residue. When crafting gluten free dog treats on a pantry budget, a quick spin of whole flakes in your blender yields a fine flour that absorbs excess moisture. The resulting texture rolls out smoothly across your work surface, ensuring every biscuit holds its shape from the cookie cutter onto the baking sheet.
3. Optional Budget-Friendly Mix-Ins
A base dough offers flexibility, letting you customize flavors using standard staples already inside your pantry. Stirring in unsweetened applesauce brings natural moisture and a hint of sweetness, while a spoonful of pure pumpkin purée deepens the earthy aroma. If you want to expand your rotation with cheap dog treat mix ins, simple kitchen basics keep your grocery spend minimal while introducing new smells to every batch.
A light dusting of Ceylon cinnamon is a simple addition among dog safe spices. A spoonful of natural unsalted peanut butter can also enrich the dough with savory protein, provided the jar contains zero xylitol or artificial sweeteners. These frugal touches let you tailor each bake to your dog's preferences without complicating your prep routine.

Essential Baking Tools You Probably Already Have
Setting up your baking station requires nothing more than everyday kitchen basics that are likely in your cabinets right now. A wide ceramic mixing bowl gives you clearance to combine wet and dry ingredients, while a sturdy fork or potato masher breaks down warm tubers quickly. You do not need specialized mixers or costly baking tools to achieve the right consistency. Standard silicone spatulas and a basic rolling pin handle the dough easily.
A rimmed metal baking sheet lined with unbleached parchment paper ensures even heat distribution and easy cleanup once your treats emerge from the oven. If you have decorative dog biscuit cutters shaped like bones or little paws, they bring a fun look to your snack jar. An upturned drinking glass or a clean pizza wheel works just as well for uniform portions. Everything comes together with equipment you reach for during routine weeknight cooking.

Step-by-Step Tutorial: Making Sweet Potato Oat Dog Cookies
Once your workspace is clear and your sheet pan is lined, this dog cookie tutorial guides you through four phases from raw root vegetable to crisp snacks. Crafting step by step dog treats at home requires zero pastry skills, leaning instead on basic timers and simple touch to gauge dough hydration. You will soften the root vegetable, mill your grain, shape the dough, and slow-bake it so every batch finishes firm without scorched edges. Spending a half-hour yields dozens of wholesome pantry biscuits to keep your treat jar stocked, giving you control over every ingredient your companion eats.
Step 1: Prepping and Mashing the Sweet Potato
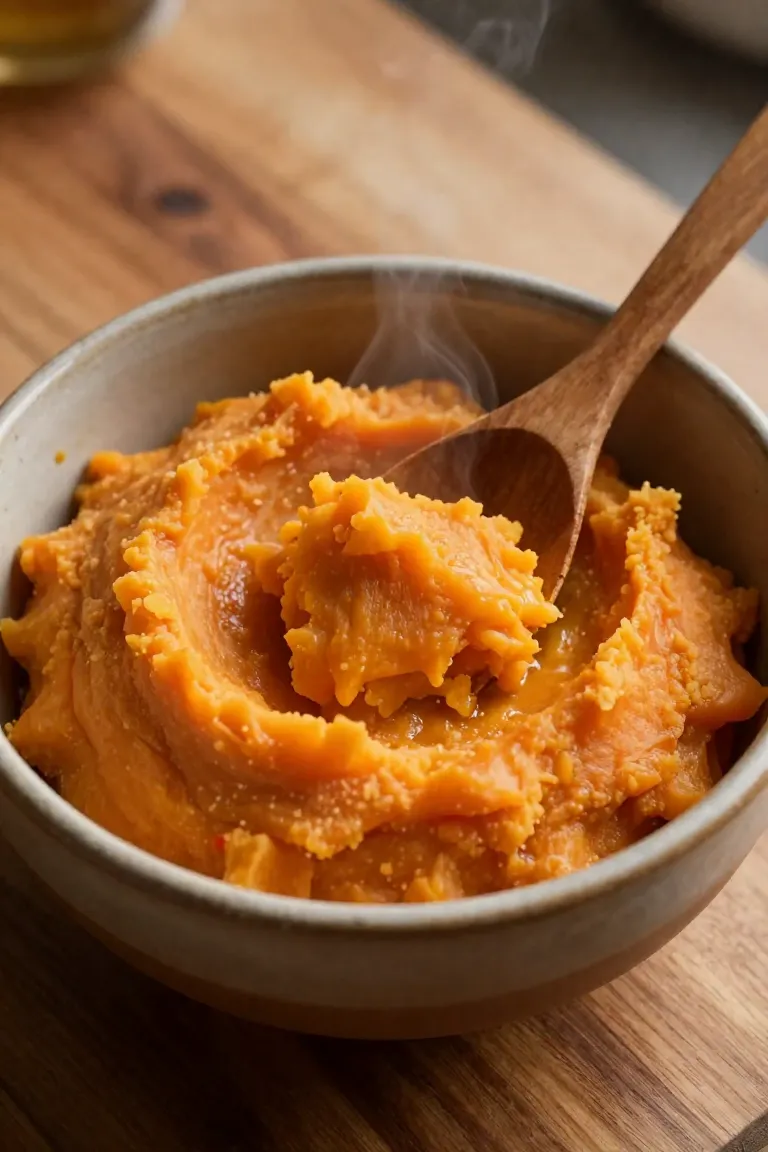
Begin by scrubbing one medium sweet potato under cold running water to remove surface grit. You can leave the skin intact or peel it depending on your dog's digestive sensitivity. When prepping dog treat ingredients on a busy afternoon, rapid cooking methods save time. Prick the skin multiple times with a fork and microwave on high for six to eight minutes, or steam cubed chunks on the stovetop for twelve minutes until completely fork-tender. Once the flesh cools slightly, transferring it to a wide shallow bowl makes mashing sweet potatoes simple using a standard wire masher or a heavy dinner fork. Work through any stringy fibers until you achieve a uniform mash with no dry lumps. This creates a moisture base that binds your dry grains as it cools to room temperature.

Step 2: Blending Oats and Mixing the Dough
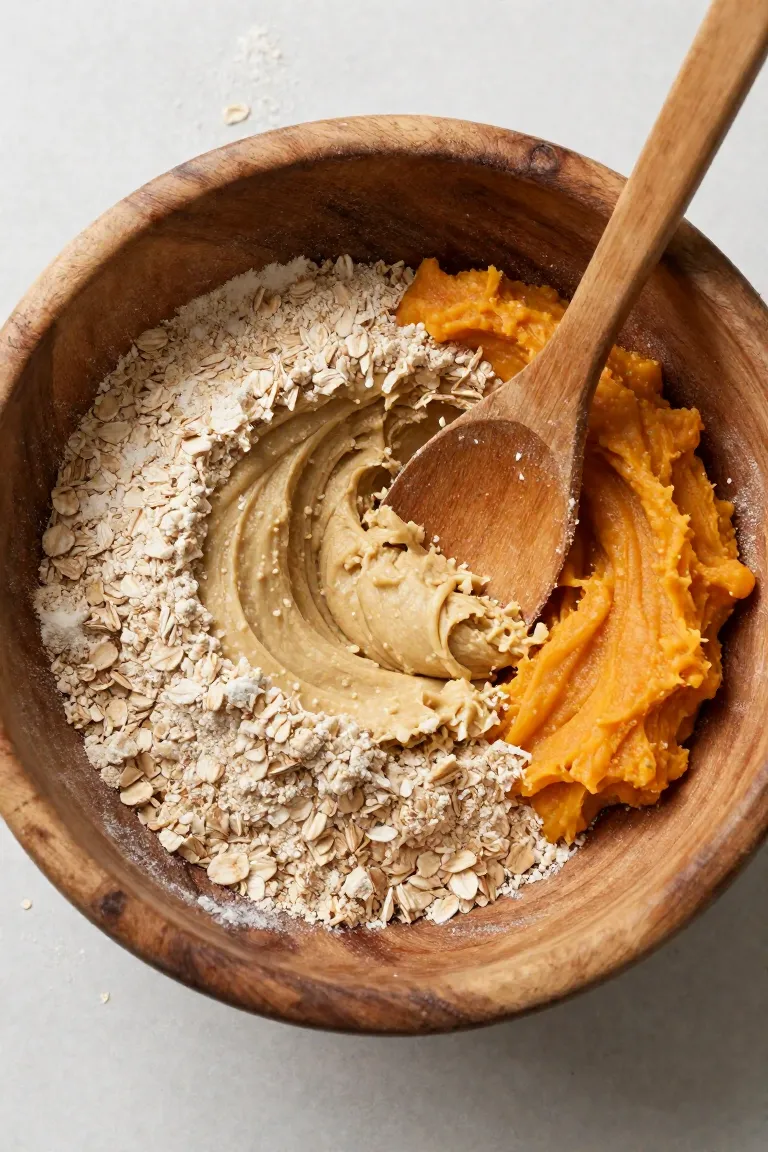
Transforming whole rolled oats into an absorbent binder takes just thirty seconds in a standard food processor or blender. When making oat flour at home, pulse your oats in short five-second bursts until they achieve a textured, sandy flour consistency rather than an ultra-fine powder. Pour this freshly milled grain directly into your cooled sweet potato purée and stir with a sturdy wooden spoon. Fold continuously until the dry flecks absorb the vegetable moisture and form a pliable, non-sticky dog cookie dough that pulls cleanly away from the bowl.
- Check the moisture balance with clean fingers. If the mixture feels excessively sticky, knead in an additional tablespoon of rolled oats.
- Add a splash of lukewarm water or unsalted bone broth if dry crumbs linger in the bottom of your mixing bowl.
- Let the dough ball rest on your work surface for five minutes so the natural oat starches hydrate and firm up before rolling.
Step 3: Rolling and Cutting Fun Cookie Shapes
Place your rested dough between two sheets of parchment paper to keep it from sticking to your rolling pin. Smooth it out evenly to about a quarter-inch thickness, ensuring the biscuits bake at a uniform rate throughout your baking sheet. When rolling cookie dough, consistency in depth prevents scorched edges and raw centers. If the mixture feels slightly tacky on your hands, dust the counter with a pinch of extra oat flour. If it crumbles along the edges, work in a teaspoon of warm water with your fingers.
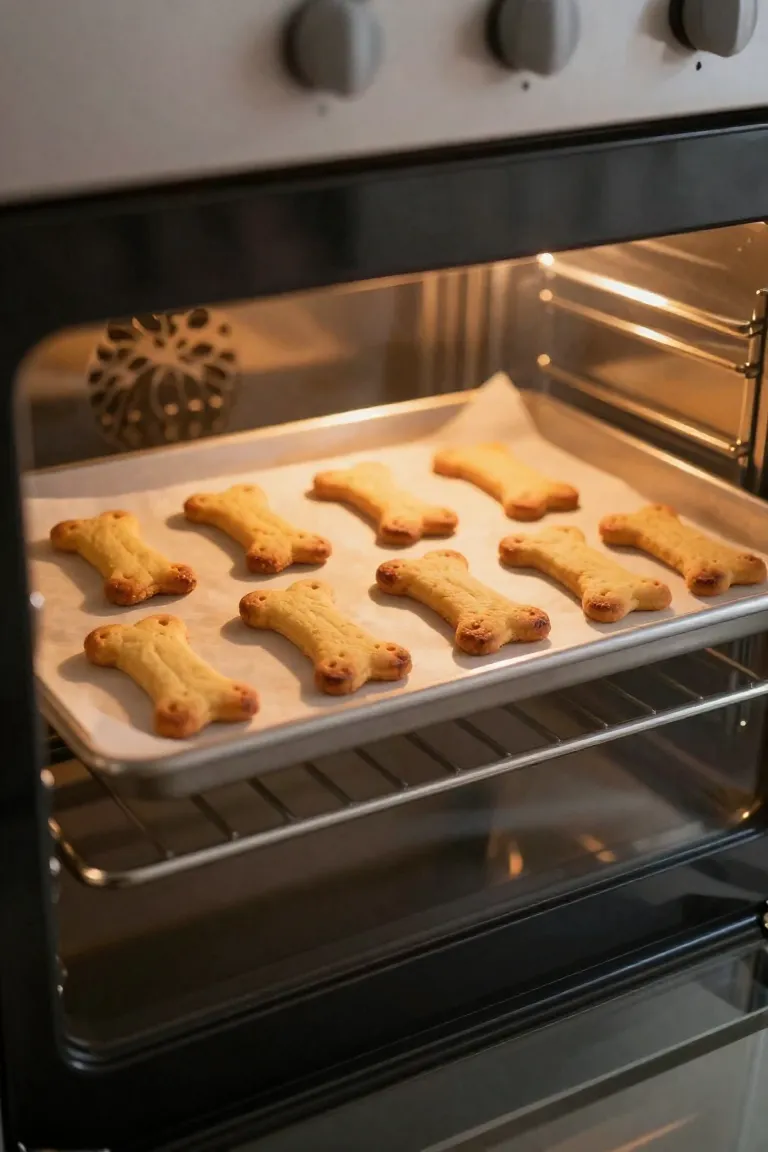
Novelty dog bone cookie cutters give these rustic snacks a fun look, though a simple round biscuit cutter or a clean knife works just as well. Press your cutters firmly down into the dough, giving a gentle twist before lifting the cutouts directly onto a lined baking sheet. Any leftover dough scraps can be gathered, gently pressed back together, and rerolled until you use all the dough.

Step 4: Baking to the Perfect Crunch
Preheat your oven to 350°F (175°C) and arrange the cutouts with a half-inch of breathing room between them on a parchment-lined baking sheet. When baking dog biscuits at home, adjusting the oven duration allows you to tailor the finished texture directly to your pup's bite preference and dental needs.
- Bake for 20 to 25 minutes for a tender, chewy bite that works gently on senior jaws and sensitive teeth.
- Extend the timer to 35 minutes for dense, crunchy pet treats that scrape tartar and satisfy eager chewers.
- Turn off the heat and let the tray sit inside the cooling oven for 10 minutes to draw out residual moisture for maximum snap.
Proper Storage and Shelf Life for Homemade Dog Treats
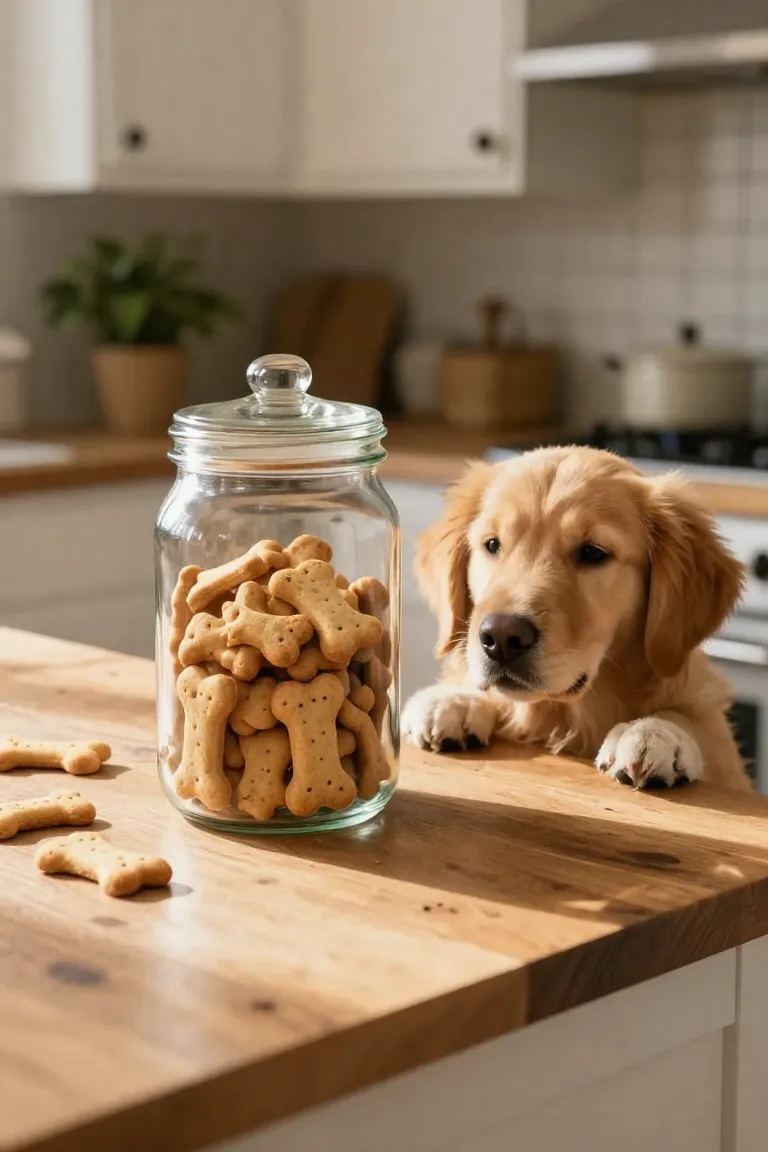
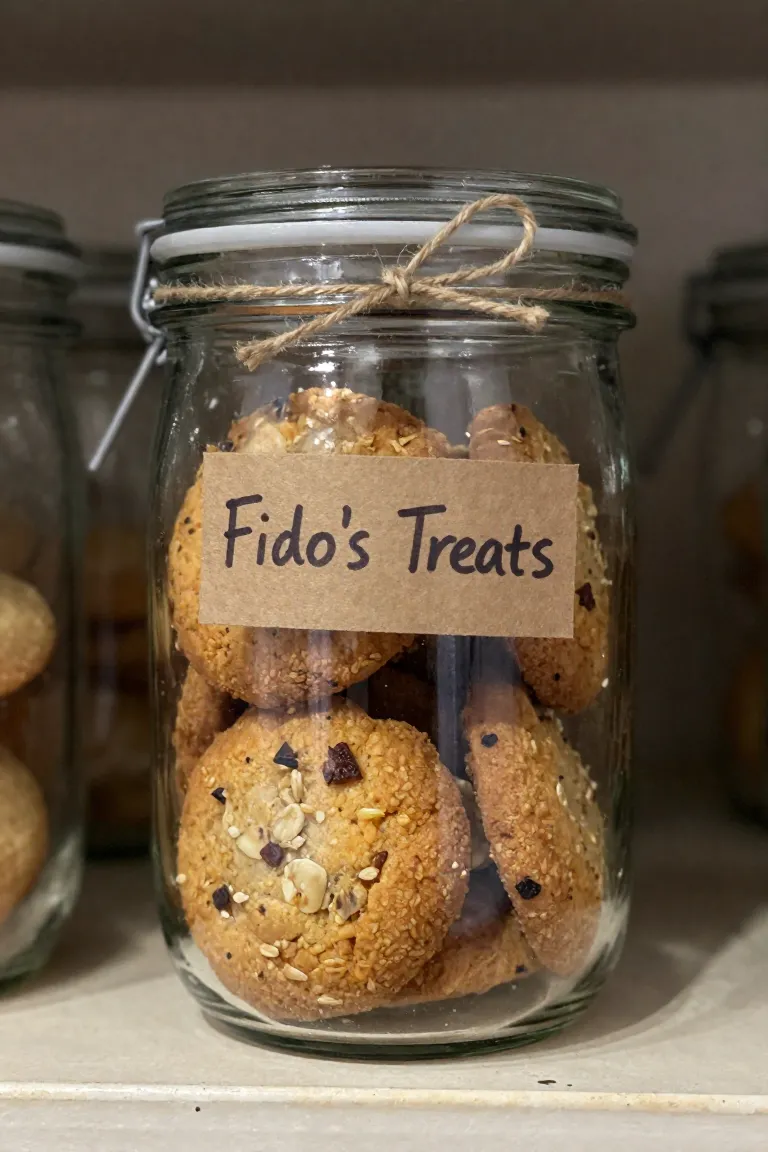
Because these treats lack artificial preservatives, cooling them completely on a wire rack before packing is essential to prevent trapped steam from creating moisture pockets. For storing homemade dog treats during the first week, keep them in an airtight glass jar or ceramic treat canister on your countertop, out of direct sunlight and heat vents. If your kitchen runs warm or humid, moving the jar into the refrigerator extends freshness for up to three weeks without softening the crisp bite. To preserve a larger batch over several months, tuck the biscuits between parchment sheets inside a freezer-safe bag. This provides a dog cookie shelf life of up to six months while keeping every bite fresh whenever you need a quick reward.
Frequently Asked Questions
Baking homemade snacks often brings up practical questions about ingredient safety and kitchen substitutions. Even with straightforward pantry staples, it is normal to have caution around digestion, swaps, and proper preparation steps.
A clear grasp of ingredient purity and texture adjustments helps you make the right choices for picky pups. Getting these details right ensures every batch stays gentle on sensitive stomachs before you roll out your next tray.
Can I use canned sweet potato purée?
A pre-packed tin from your pantry shelf offers a speedy shortcut on busy baking days when roasting whole tubers takes too long. Choosing canned sweet potato for dogs works well, provided the tin contains pure sweet potato flesh with zero added salt, preservatives, or artificial thickeners.
Pre-made pie fillings or seasoned sweet potato cans frequently sneak in spices and sweeteners that pose serious health risks. Artificial sweetening agents like xylitol cause rapid blood sugar drops and liver complications in dogs. Always check the ingredient panel so only plain, unsweetened mash makes it into your mixing bowl.
Are oats completely safe for all dogs?
Whole rolled oats are safe grains for pets, providing soluble fiber and clean energy without common corn or soy triggers. While true dog oat allergies remain rare, introducing any novel starch requires a gradual approach, especially for pups prone to gastrointestinal sensitivities or chronic skin flare-ups. Offering these baked biscuits in moderation keeps digestion smooth. Checking with your veterinarian beforehand ensures your dog's specific dietary tolerance aligns with the recipe.
Can I freeze the cookie dough for later?
Prepping your batch ahead of time saves hours in the kitchen, providing weeks of treats from a single baking afternoon. Freezing dog cookie dough allows you to preserve moisture and nutrient quality while keeping snacks ready on demand.
- Shape the mixture. Turn the mixed base onto parchment paper and roll it into a firm cylinder roughly two inches thick, smoothing out any interior air pockets.
- Wrap and chill. Seal the log tightly in plastic wrap followed by a layer of foil or a freezer-safe bag to prevent freezer burn, storing it flat for up to three months.
- Slice and bake. When you want make ahead pet treats, let the log rest on the counter for ten minutes, slice quarter-inch medallions with a chef knife, and bake directly on a lined sheet.