Summary
- Texture Control Fundamentals for Grain-Free Blueberry Dog Treats
- Moisture Binding and Grain-Free Dough Emulsion
- Portioning, Surface Sealing, and Cold Curing
- Ingredient Ratios and Hydration Tolerance Matrix
- Residue Prevention Protocols and Common Texture Failures
- Batch Shelf Stability and Daily Feeding Schedule
Texture Control Fundamentals for Grain-Free Blueberry Dog Treats
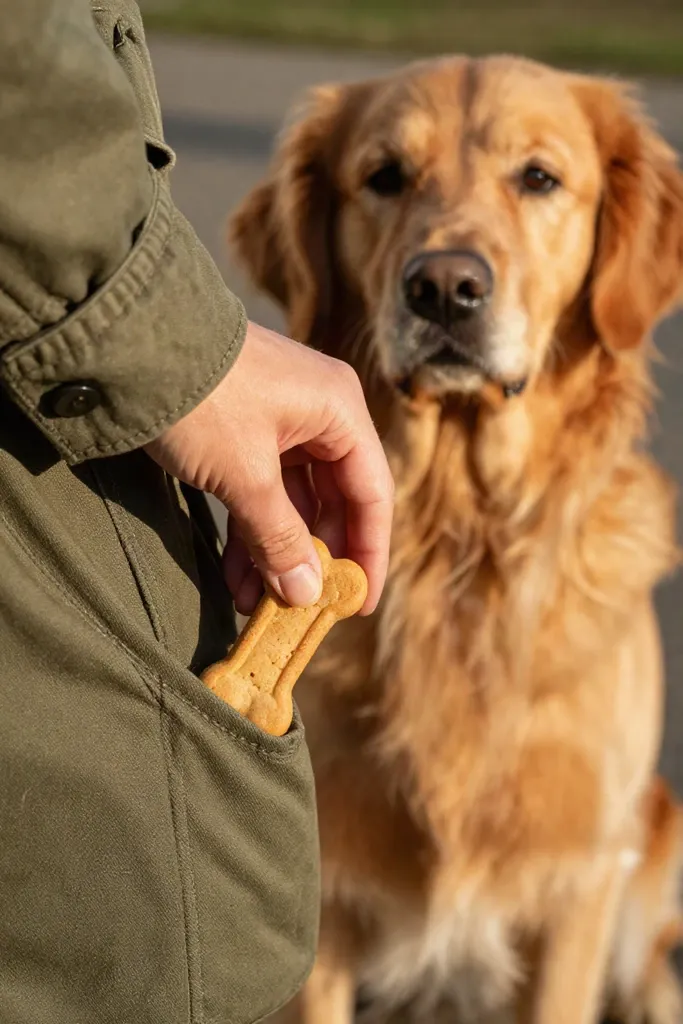
Making no-bake blueberry dog treats often leaves you with sticky fingers or a crumbly mess across the counter. The secret to treats you can handle cleanly lies in balancing absorbent plant fibers with freeze-dried fruit instead of heavy syrups. Once you establish the right balance between dry fiber and natural fruit moisture, these flourless bites hold their shape straight from the tray without leaving any oily residue on your hands.
Moisture Binding and Grain-Free Dough Emulsion
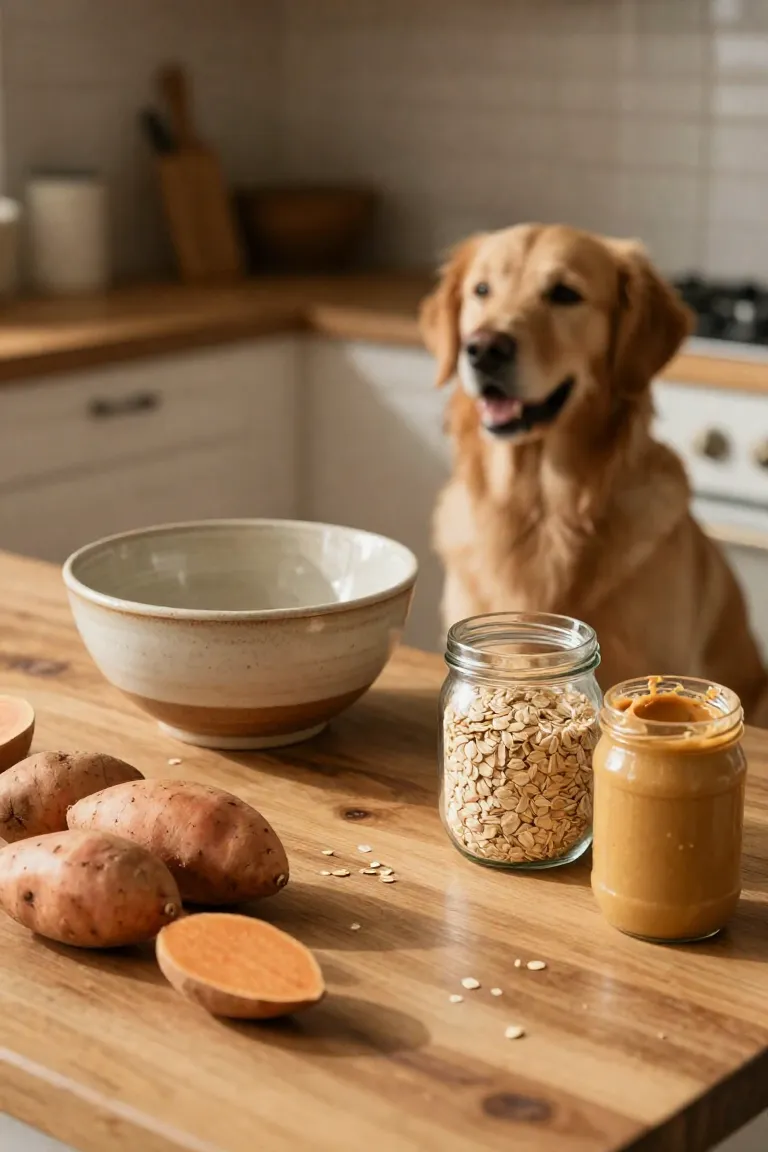
Getting the right texture comes down to balancing thirsty plant fibers against solid fats. A finely milled coconut flour base pulls in moisture quickly, locking hydration deep inside the dough instead of letting it pool across the surface.
- Mix cold-pressed coconut oil directly into dry flaxseed meal to coat the fibers before introducing fruit puree.
- Let the blended dough rest for five minutes so the plant fibers hydrate evenly, ensuring each piece stays smooth and firm.
1. Freeze-Dried Wild Blueberry Reduction for Moisture Equilibrium
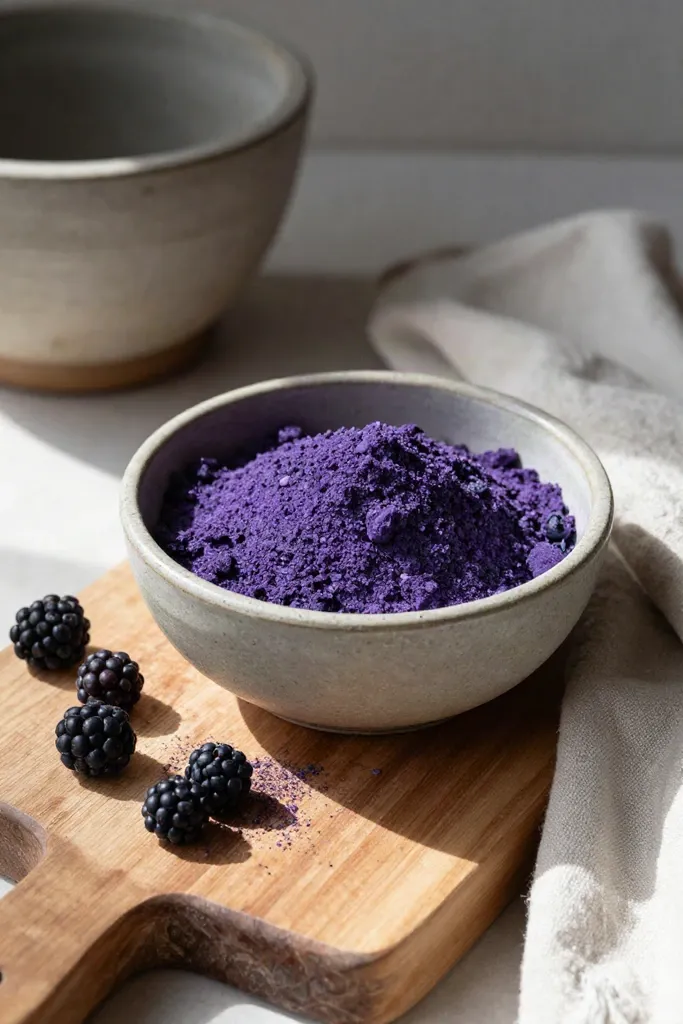
Fresh fruit carries excess water that easily seeps into dough, creating a tacky film on your hands. To keep moisture completely under control, weigh out 50 grams of crisp freeze-dried berries, or simmer fresh fruit over low heat for 12 minutes until thick and reduced.
- Grind the brittle freeze-dried fruit into a fine powder using a clean spice grinder to keep moisture uniform.
- Fold this berry powder directly into your dry ingredients to distribute natural flavor and antioxidants evenly without adding excess liquid.
2. Coconut Flour and Ground Flaxseed Absorbent Base Matrix
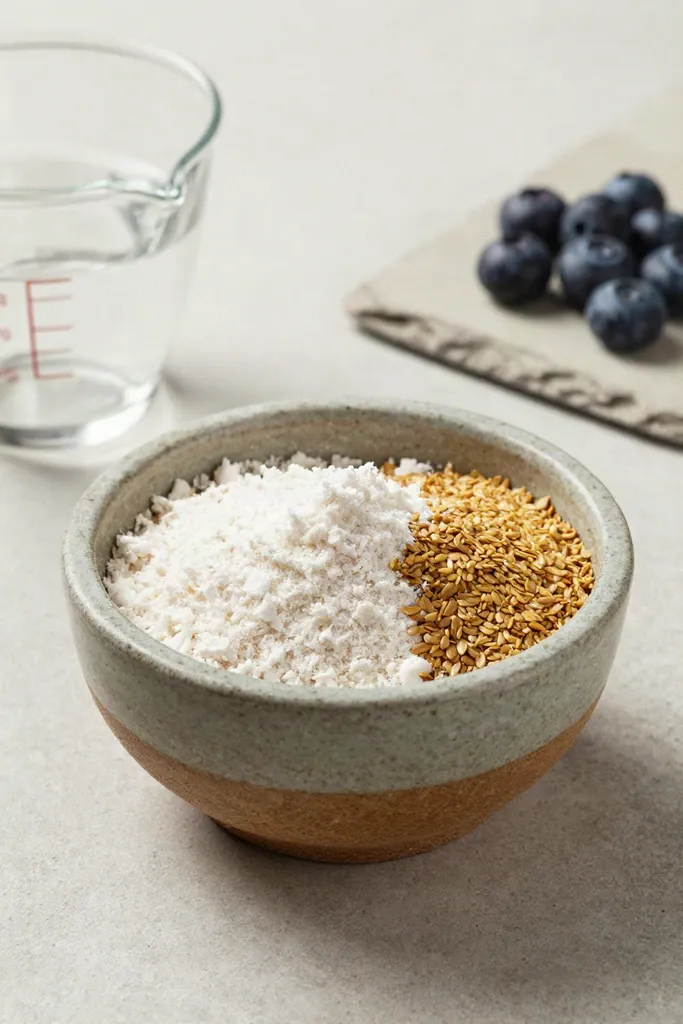
Whisking your berry powder into a dependable dry foundation keeps the entire mixture light and clean on your fingers. In a wide mixing bowl, combine 0.75 cups of fine coconut flour with 2 tablespoons of cold-milled golden flaxseed meal. Coconut flour absorbs up to four times its weight in liquid, acting as a natural binder that controls surface wetness without grain fillers. If you attempt to swap in tapioca starch without recalibrating hydration, you'll end up with a gummy paste that clings stubbornly to your palms during rolling.
A fine-mesh stainless sifter eliminates stubborn fiber clusters before any liquid touches the bowl. Sifting ensures the dough holds its shape cleanly while preserving healthy omega-3 fatty acids from the flaxseed. When you prep this absorbent dry base, aerating the flour allows fats to coat every particle evenly rather than pooling into damp pockets.
3. Cold-Pressed Virgin Coconut Oil Binding Emulsion
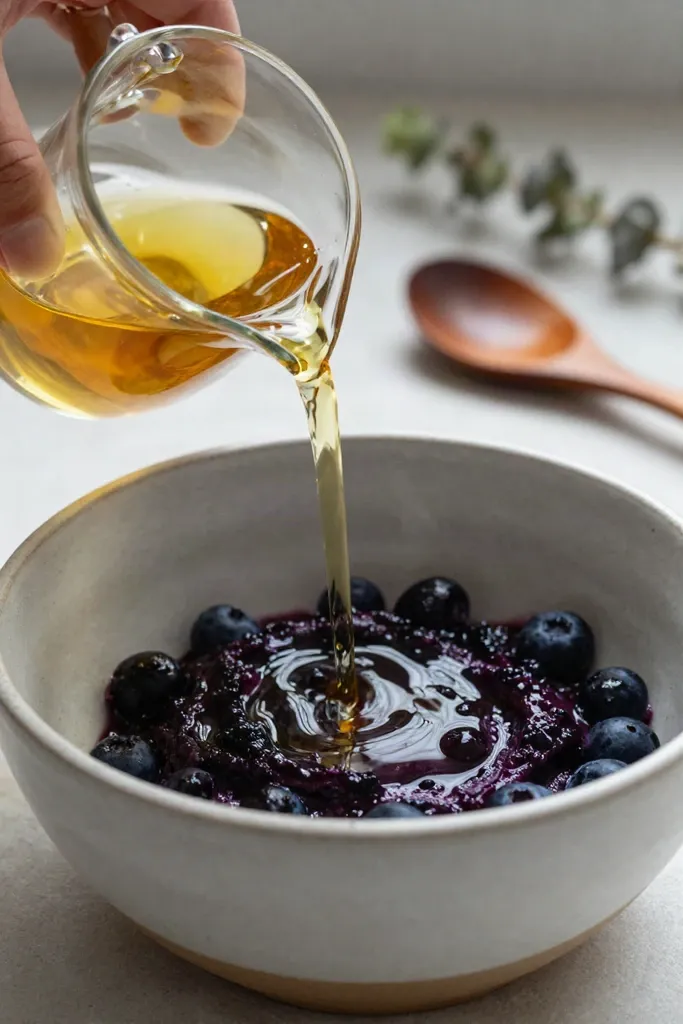
Once your dry bowl is prepped, bringing the wet phase together requires careful temperature management to lock in clean handling. In a small glass bowl, blend 3 tablespoons of unrefined virgin coconut oil warmed to 85 degrees Fahrenheit alongside 2 tablespoons of pure unsweetened pumpkin puree. Whisk vigorously until a smooth, glossy emulsion forms without any separated oil pools. Keeping the coconut oil near room temperature prevents oil separation, so you never end up with a slick film on your hands when rolling out treats.
- Check that the oil is barely lukewarm to protect its wholesome fats without breaking the emulsion.
- Incorporate the pumpkin puree gradually, blending water and fat into a stable mixture.
- Pour this silky liquid blend across the dry flour mix so every particle absorbs moisture evenly.
4. Precision Puree Folding to Prevent Liquid Weeping
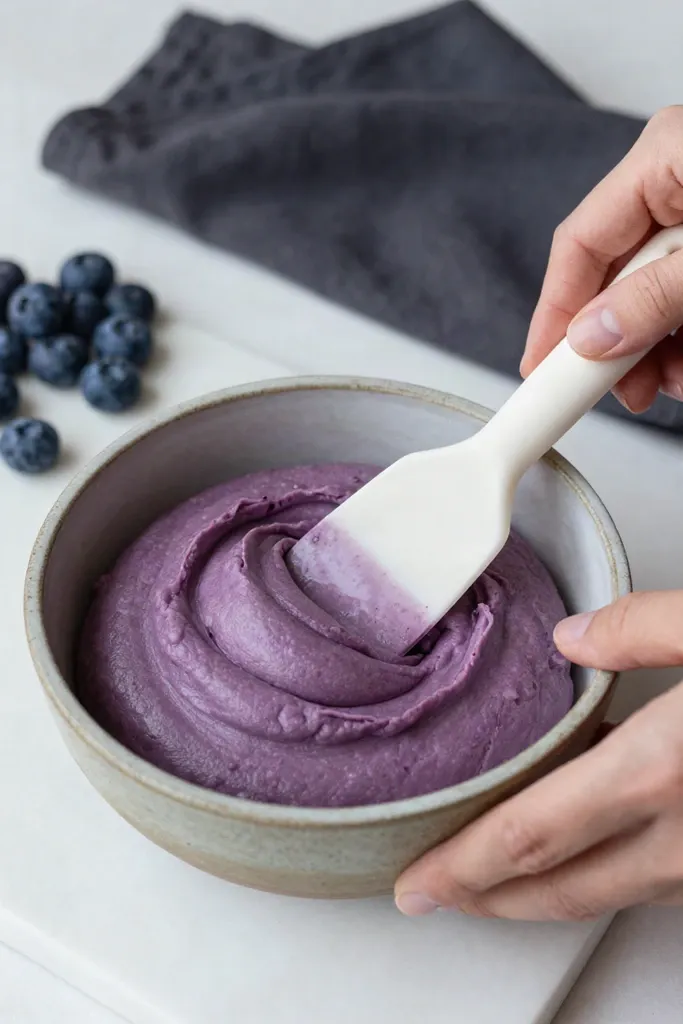
Bringing the colorful dry powder and the fat base together demands patient mechanical pressure rather than splashing in extra liquid. Work the freeze-dried berry flour into the emulsion with a firm silicone spatula, cutting down the center and sweeping along the bowl edges. Kneading the mixture steadily for three minutes gently warms the coconut fat, coaxing the dry plant fibers to absorb moisture and form a supple, cohesive ball.
Stylist Rule: Resist the temptation to add water if the mixture seems crumbly during the first sixty seconds. Extra water breaks the texture, creating a gummy paste that tears apart during molding.
With steady hand pressure, the crumbly mass transitions into a pliable dough with zero surface tackiness. You'll know the dough is ready when it pulls away from the basin walls entirely, leaving the ceramic surface clean. This balanced texture ensures the treats are easy to handle during training sessions and can be slipped into your pocket without leaving any residue.
Portioning, Surface Sealing, and Cold Curing
Shaping the dough requires a careful balance of firm pressure and cool temperatures. To produce clean bites that hold up against warm fingers, you need to firm up the exterior before room temperature softens the healthy oils.
This process relies on three simple phases to set the dough cleanly: firm mold compression, a light coconut flour dusting, and rapid chilling to firm the plant oils.
5. High-Density Silicone Mold Compression Technique
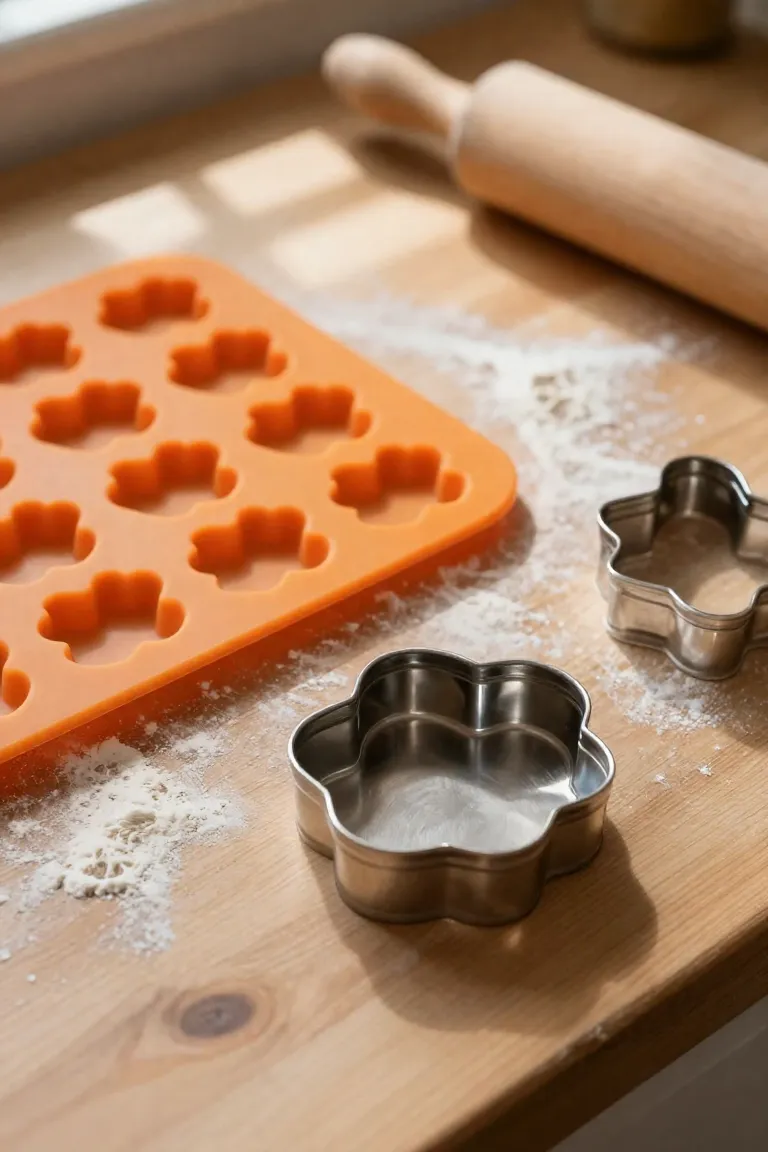
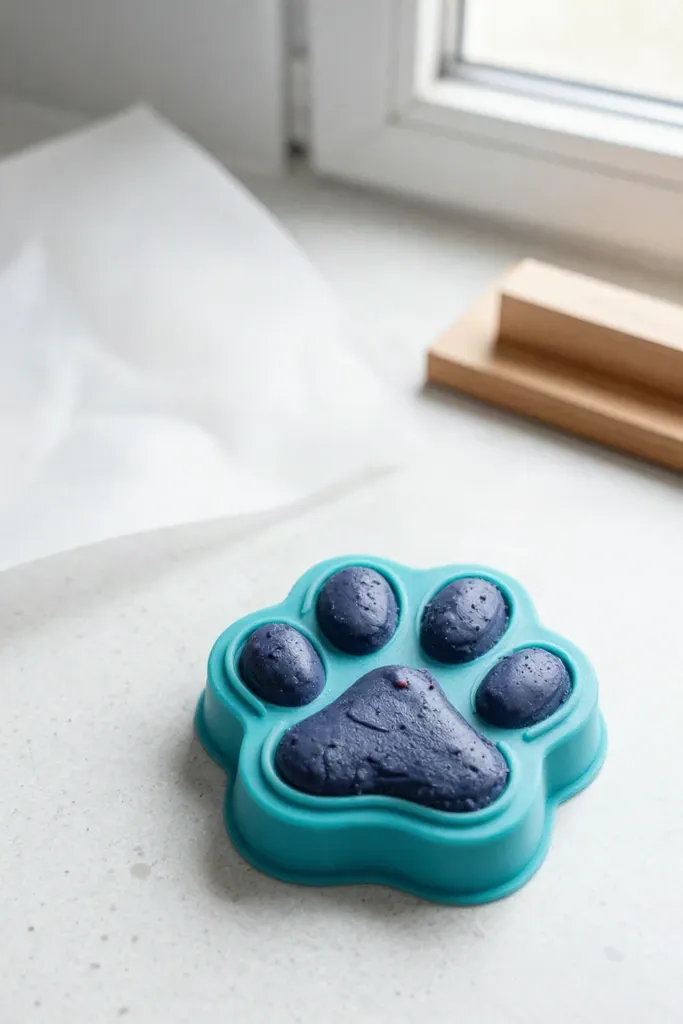
Roll the dough into bite-sized spheres roughly the size of a marble and press them directly into your silicone mold cavities. Creating compact bites requires firm downward pressure with your thumb, ensuring the base binds tightly without leaving hidden gaps.
- Press the dough firmly into each mold cavity to eliminate air pockets.
- Run a flat bench scraper smoothly across the top to level the edges and clear away excess dough.
- Chill the mold briefly before popping out the shapes so they release cleanly without crumbling.
6. Fine Coconut Dust Outer Friction Barrier
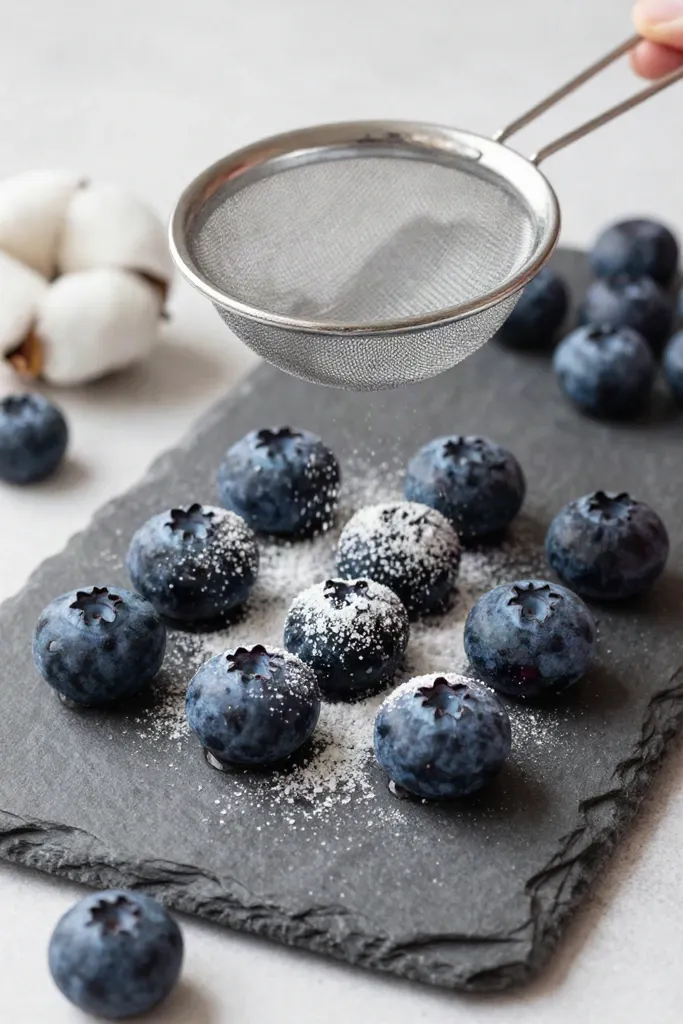
Once the shapes pop free from the mold, dust a single tablespoon of coconut flour over the tray using a fine-mesh strainer. A light outer veil of dry plant fiber absorbs ambient moisture immediately, keeping the treats dry so they never smudge your fingers or training pouch.
Gently roll each piece across the powder until a micro-thin, dry coating seals the surface. These lightly dusted treats stay clean to the touch even on humid morning walks.
7. Cryo-Flash Setting to Lock Surface Lipid Structure
After dusting the bites, slide your prepared baking sheet directly into the freezer at 0°F for roughly 25 minutes. Rapid chilling solidifies the dispersed coconut oil before ambient room warmth can soften the surface. Leaving freshly shaped bites to cool on the counter leaves soft edges that melt against warm fingers. Freezing temperatures, by contrast, firm up the healthy fats in under half an hour.
A properly chilled treat yields a clean, firm bite without leaving any greasy residue on your skin. If the center still feels like soft putty, return the tray to the freezer for another ten minutes. That swift chill locks in a firm structure that holds up during active training sessions without softening in your hand.

8. Parchment-Spaced Hermetic Jar Storage for Zero Contact Tackiness
Once your bites finish chilling, transfer them directly into a clean, wide-mouth glass container rather than a plastic pouch where condensation collects. Stacking fresh pieces directly against each other leads to moisture transfer and gummy contact points over time. Layering the treats between sheets of parchment prevents surface tackiness from developing between individual pieces during multi-week storage.
Consistent cold prevents humidity spikes and preserves structural firmness, keeping your stash ready for daily use:
- Line the container bottom with a fitted parchment square to prevent sticking.
- Arrange the treats in a single layer with a little breathing room between edges.
- Place a protective sheet of parchment over each completed tier before stacking the next layer.
- Seal the airtight lid immediately to shield the treats from humid room air.

Ingredient Ratios and Hydration Tolerance Matrix
Reliable dough texture depends on balanced moisture proportions. Because coconut flour pulls in moisture so aggressively, your base needs enough concentrated fruit to bind without turning soggy. Maintain a simple ratio of three parts absorbent dry base to two parts fruit puree, finishing with one part coconut oil to keep the dough cohesive without oil separation.
| Formula Component | Base Proportion | Safe Substitution Limit |
|---|---|---|
| Absorbent Base | 3 parts coconut flour | Replace up to 25% with golden flaxseed meal |
| Moisture Carrier | 2 parts blueberry reduction | Swap up to half with strained pumpkin puree |
| Lipid Binder | 1 part coconut oil | Keep constant to avoid dough collapse |
Any change in ingredients alters how moisture disperses through the bowl. If you introduce pumpkin puree, press it through cheesecloth first to catch excess liquid. Stray water softens the core and leaves a tacky film, whereas balanced proportions yield clean bites that never stick.
Residue Prevention Protocols and Common Texture Failures
Even with balanced ingredients, warm hands or kitchen heat can soften coconut oil while you shape the dough. When fresh berries release unintended juice or chilling is cut short, the mixture quickly turns tacky. Reliable texture control starts with cool handling: work with chilled hands and let your mixing bowl rest in the freezer for five minutes to prevent the dough from sticking to your skin.
If crumbly dough splits apart under firm mold pressure, work in a quarter-teaspoon of melted coconut oil to restore pliability. For overly tacky dough, knead in a small pinch of coconut flour to soak up remaining moisture. Once shaped, separate the layers with parchment paper so trapped humidity never softens the dry exterior.
Batch Shelf Stability and Daily Feeding Schedule
A standard batch stays firm in an airtight glass jar for up to seven days in the refrigerator, or two months in the freezer. Seal the lid securely after every opening to keep ambient humidity out of the jar. Chilled plant fats keep each piece stable, giving you clean treats that leave zero oily residue on your fingers during daily walks.
| Canine Weight Class | Recommended Daily Portion |
|---|---|
| Toy & Small (Under 20 lbs) | 1 treat per day |
| Medium (20 to 50 lbs) | 2 treats per day |
| Large (Over 50 lbs) | 3 treats per day |
Keep these supplemental snacks well within ten percent of your dog's daily caloric intake to maintain a balanced diet. Offer these berry bites between meals as high-value training rewards, and pin this recipe to your pet care board for quick weekend prep.