Introduction: The Joy and Responsibility of Gifting Homemade Dog Treats
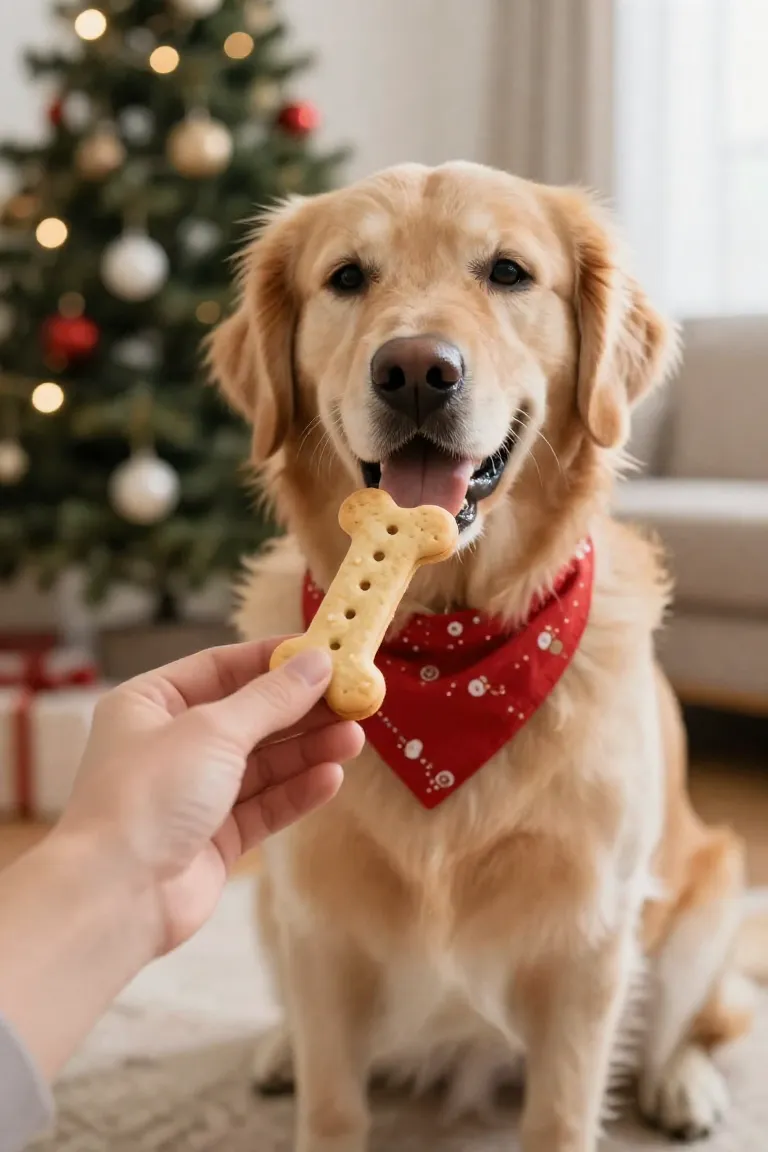
Baking homemade sweet potato treats brings a personal touch to neighborhood dog treat exchanges during the winter festivities. Crafting nutritious holiday dog treats requires balancing wholesome ingredients with moisture control to keep every batch safe and crunchy.
- Select simple, nutrient-dense pantry staples that support gentle digestion.
- Ensure thorough baking and dehydration to prevent mold during gift exchanges.
- Store treats in breathable, moisture-free packaging to preserve freshness.
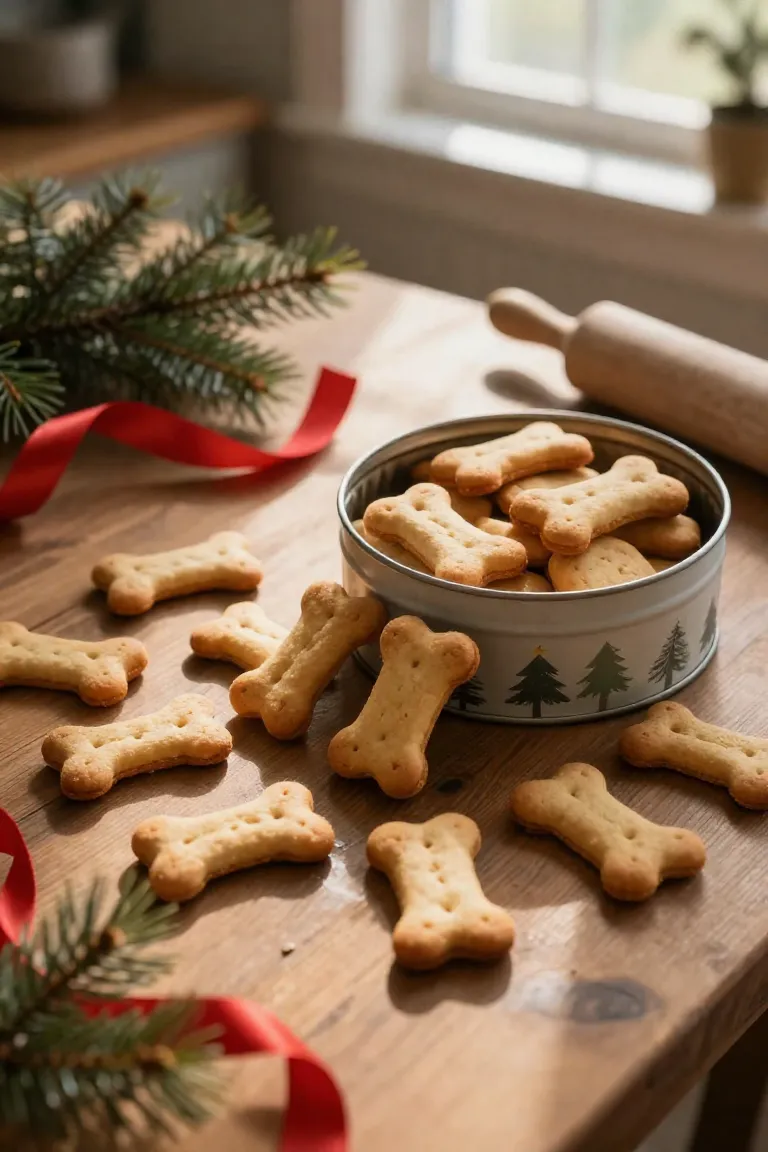
Common Ingredient Sourcing and Preparation Mistakes
Creating nutritious snacks starts with selecting genuine, dog safe ingredients rather than grabbing whatever rests in your standard baking pantry. Human-grade kitchen shortcuts, such as seasoned vegetable mixes or canned fillings with sweeteners, introduce hidden compounds that sensitive canine digestive systems cannot tolerate.
A safe approach to baking for pets requires a strict review of every single item before mixing. Whole food sources and unrefined binders work as ideal healthy dog biscuit ingredients, ensuring your final gift packs wholesome nutrition without unintentional digestive upset.
1. Using Canned Sweet Potatoes with Additives
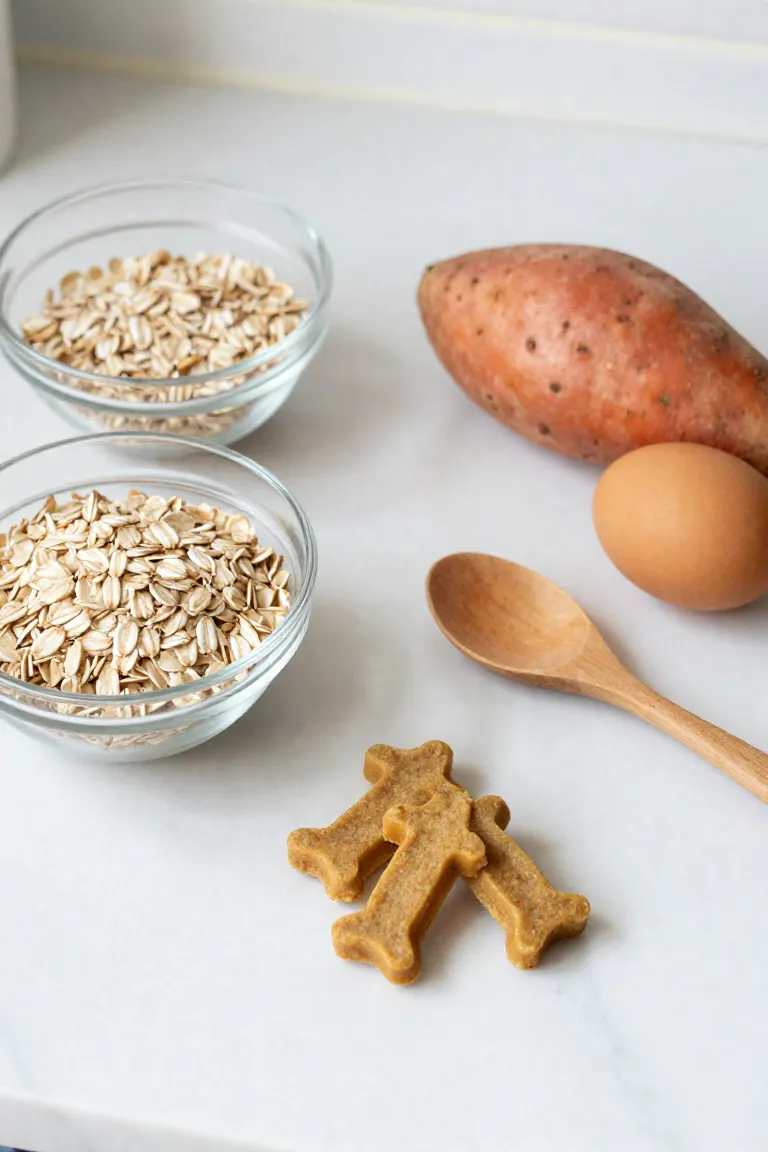
Canned yams and grocery-store sweet potato cuts frequently sit in heavy syrups or sodium solutions that compromise your dog's wellness. Prioritizing pure sweet potato puree with zero additives supplies beneficial beta-carotene and dietary fiber while avoiding sugar for dogs in their holiday goodies.
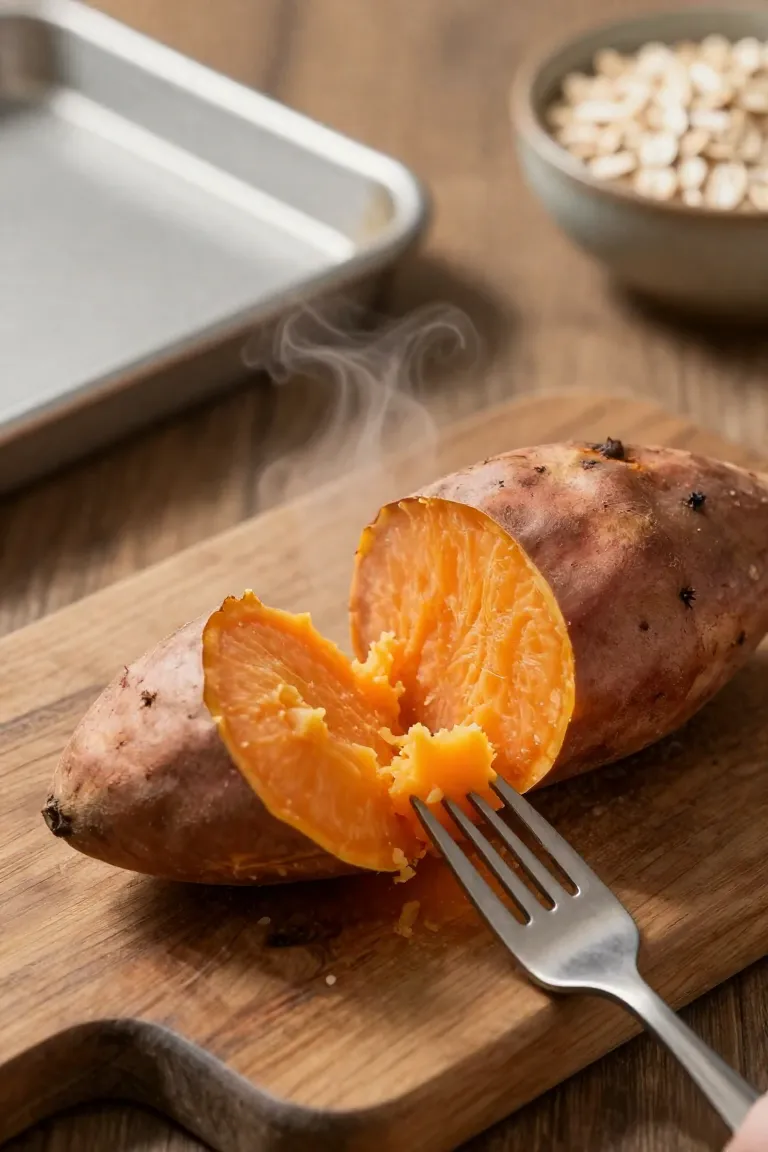
Fresh whole tubers provide the most reliable foundation for clean holiday baking. A quick session roasting plain sweet potatoes in your oven until tender delivers a 100% dog safe sweet potato base with the exact moisture balance needed for crisp dough.
2. Choosing the Wrong Type of Oats
Once your vegetable base is prepped, pairing it with the correct grain makes all the difference in achieving the right homemade dog biscuit texture. Plain old-fashioned rolled oats for dogs are the standard choice here, providing dietary fiber that is gentle on sensitive canine stomachs while grinding smoothly into a cohesive flour. Dense steel-cut varieties remain too coarse after baking, creating uncomfortable jagged shards for small pups, whereas heavily processed instant varieties break down into mush. Flavored breakfast packets often hide dangerous artificial sweeteners like xylitol or excessive cane sugars that can trigger acute toxicity. Sticking with pure, certified safe oats for pets ensures your holiday batch stays nutritious and firm.

3. Skipping or Substituting the Binder Incorrectly
Without a dependable element to lock your dry oats and root puree together, holiday cutouts will fracture into brittle crumbs before you even tie the ribbon on your gift bags. Incorporating a nutrient-rich egg in dog treats provides the essential protein web needed to hold bone and star shapes intact throughout the rolling and cutting process.
- Fresh whole egg: Delivers healthy fats and natural moisture while acting as the most reliable dog treat binder for crisp cookies.
- Unsweetened applesauce for dogs: Serves as a gentle, hypoallergenic plant alternative that binds dough neatly if your recipient suffers from poultry or egg sensitivities.
- Ingredients to avoid: Never attempt binding dough with sugar-laden fruit preserves or condensed syrups that pose digestive and metabolic risks.
Baking and Texture Pitfalls to Avoid
Mastering your oven settings is as critical as sourcing pure ingredients when preparing gift-worthy holiday treats. Unlike soft human pastries that favor a tender crumb, baking dog biscuits requires a slow and thorough bake to develop a firm, dry snap. Creating genuinely crunchy dog treats provides mechanical friction that cleans plaque from your pup's teeth during chewing and expels the internal moisture that causes mold to flourish in gift jars. Calibrating your oven heat properly ensures the ideal dog cookie texture, transforming moist sweet potato dough into shelf-stable rewards that remain crisp for weeks.
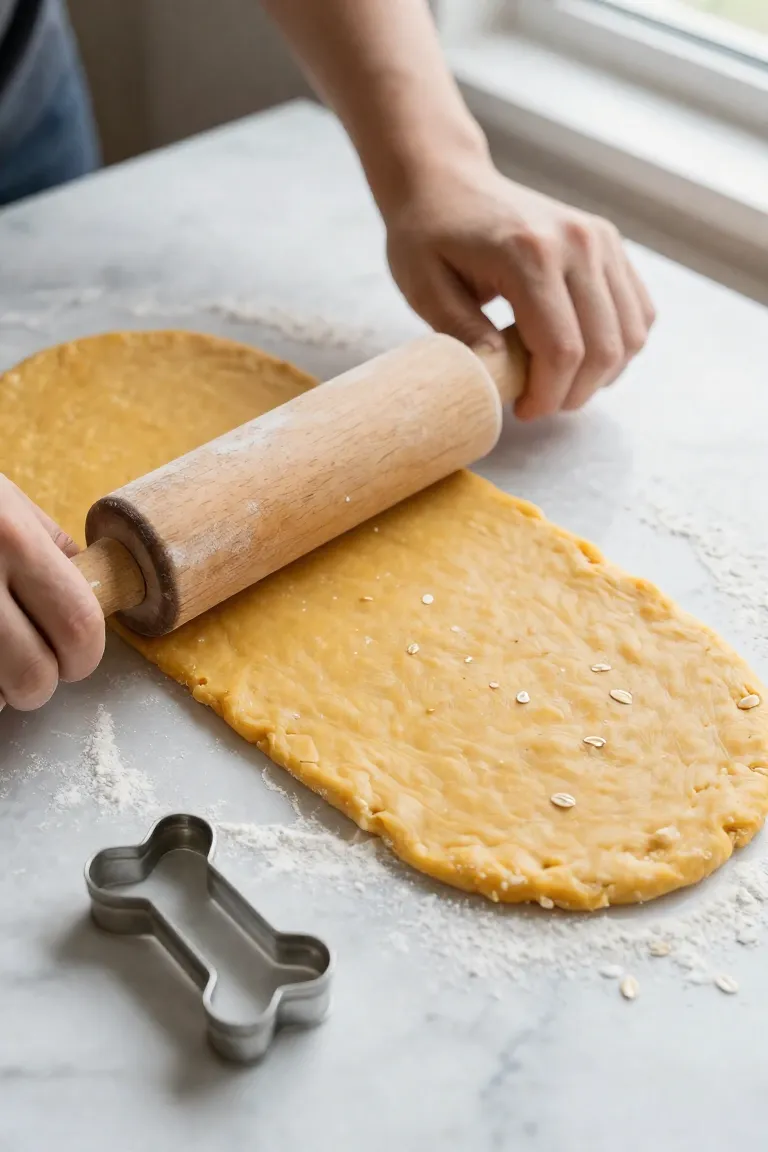
1. Rolling the Dough Too Thick or Unevenly
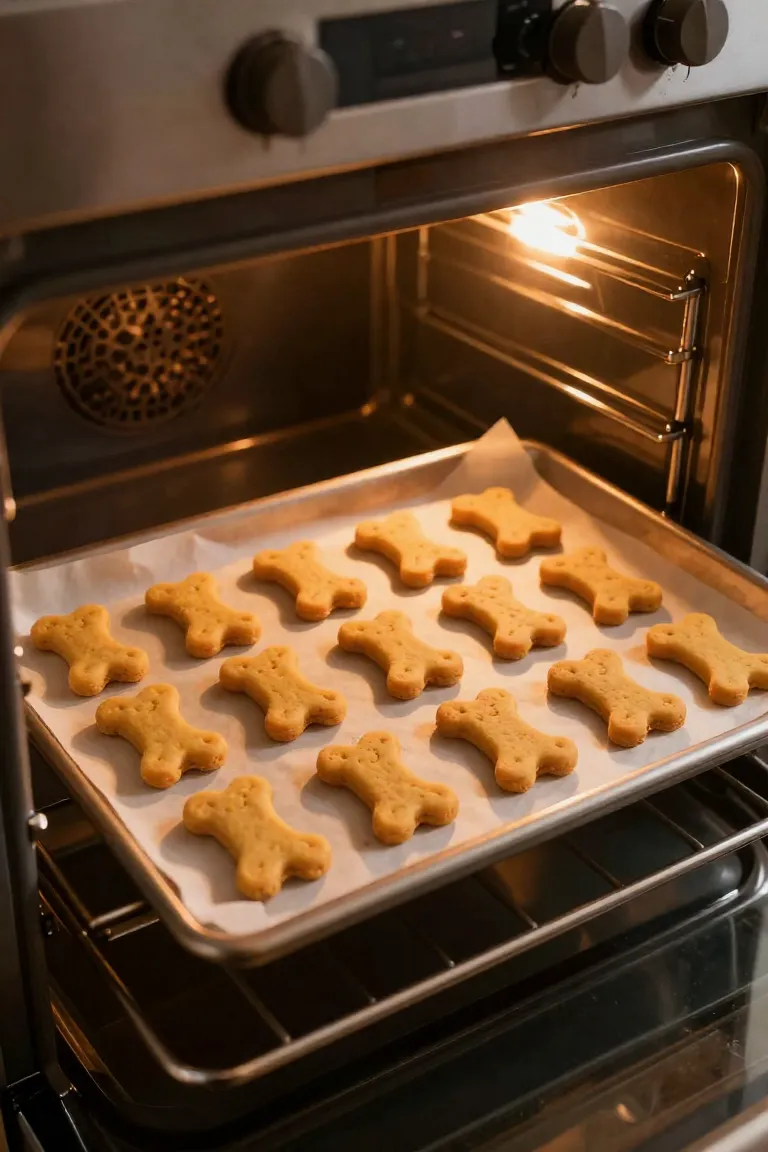
Achieving a uniform slab is the single most effective way to ensure every piece bakes at the exact same rate across your baking sheet. When cut shapes vary in height, thinner edges crisp up and burn before denser centers can release their moisture, leaving you with chewy centers that spoil quickly inside storage jars. Slide silicone guide rings onto your pin when rolling dog treat dough to guarantee a uniform 1/4-inch height across the counter surface. This exact height promotes even baking from perimeter to center, yielding crispy dog cookies that snap cleanly with zero soft spots. The balanced texture looks polished in cellophane gift bags and guarantees a satisfying crunch your recipient's pup will adore.
2. Baking at Too High a Temperature
Cranking up the dial to speed up your holiday baking schedule often backfires with sweet potato biscuits. Dense vegetable purees contain natural sugars that caramelize rapidly under direct heat, charring the exterior while trapping steam within the core. Dialing back your baking temperature for dog treats to 325°F creates the gentle thermal environment needed to extract moisture gradually without browning the surface prematurely.
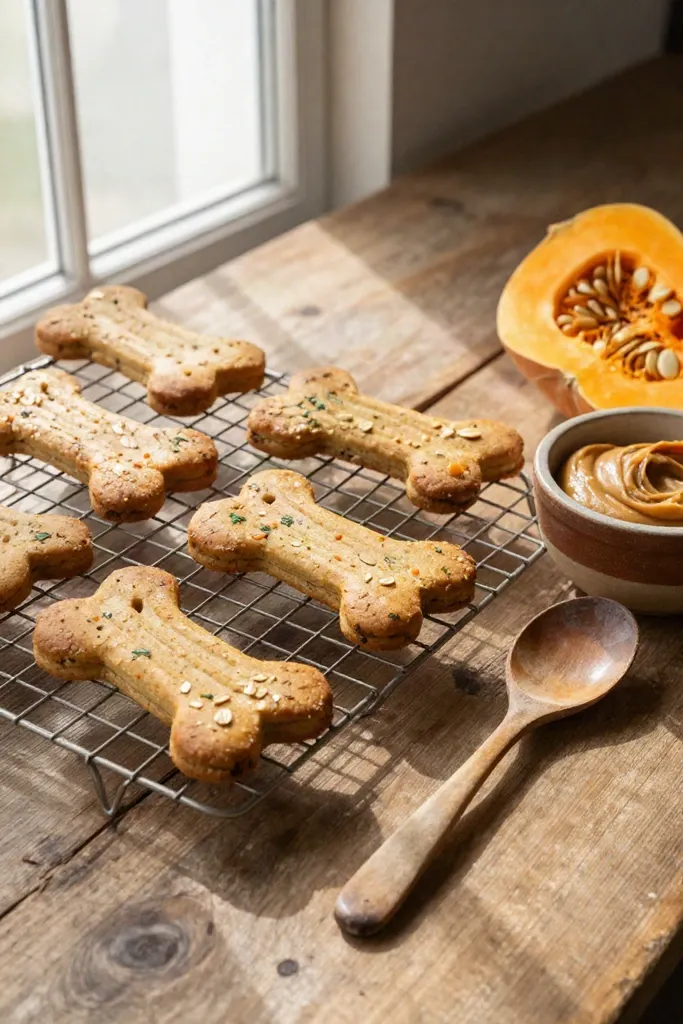
This low-and-slow strategy focuses on dehydrating dog biscuits rather than simply cooking the starch. A steady 40 to 45-minute stay in a moderate oven allows the heat to penetrate straight to the core, helping you avoid burning dog cookies while securing a thoroughly dried structure built for long shelf stability.
3. Not Allowing for Proper Cooling and Dehydration
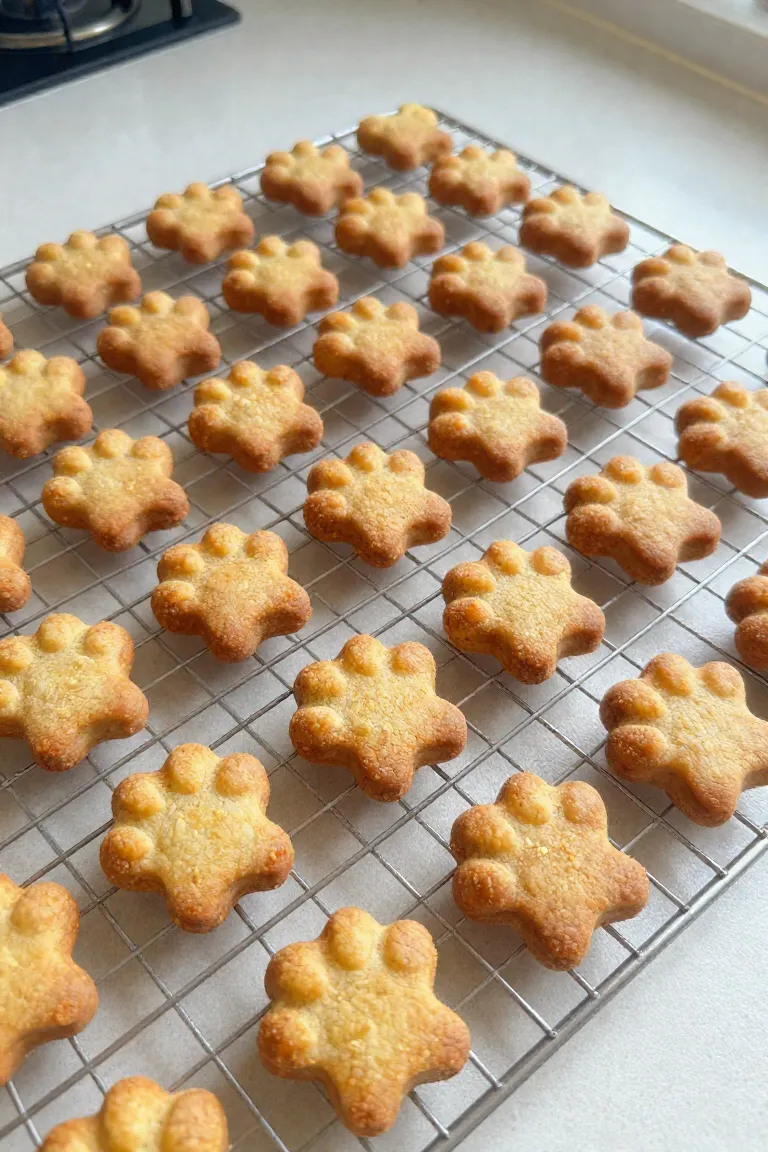
Pulling your trays directly from the heat onto a chilly countertop can lock microscopic pockets of humidity deep inside the biscuit crumb. Even when the exterior feels firm, lingering interior steam migrates outward during storage, softening the biscuit and providing an ideal breeding ground for spoilage organisms. Leaving the tray inside the turned-off oven with the door propped open slightly creates an extended warm environment for drying out dog biscuits thoroughly.
Patience during this final stage prevents mold on dog treats intended for holiday gift boxes. A full two-hour session of slow cooling dog treats on the wire rack afterward ensures every trace of condensation evaporates, locking in a hard, cracker-like crunch that stays fresh throughout the festive season.
Storage and Packaging Errors for Holiday Gifting
Once your oven-baked batches have reached that crisp golden state, your focus naturally shifts toward presentation for fellow pet parents. Beautiful ribbons and festive labels make holiday pet gifts stand out under the tree, but the real secret lies in protecting the batch from spoilage. When you approach packaging homemade dog treats, balancing visual charm with food-safe protection ensures every biscuit arrives crisp and wholesome.
Moisture remains the biggest threat to storing dog cookies without commercial preservatives. A thoughtful wrapping strategy keeps the biscuits thoroughly shielded from ambient humidity while showcasing your handmade effort.
1. Packaging Treats Before They Are Fully Cool
Rushing the bagging process while the biscuits still retain ambient warmth invites immediate disaster. Even a tiny pocket of residual heat produces moisture droplets inside the sealed container, turning a crunchy reward into a soggy mess. When you focus on storing homemade dog treats, preventing condensation is the critical step in defending your hard work against rapid mold growth.
Room-temperature airflow completes the moisture evacuation before any festive ribbon gets tied. A minimum resting window of several hours guarantees safe dog treat packaging that protects your four-legged recipients throughout the gifting week.
2. Using Non-Airtight Holiday Tins or Jars
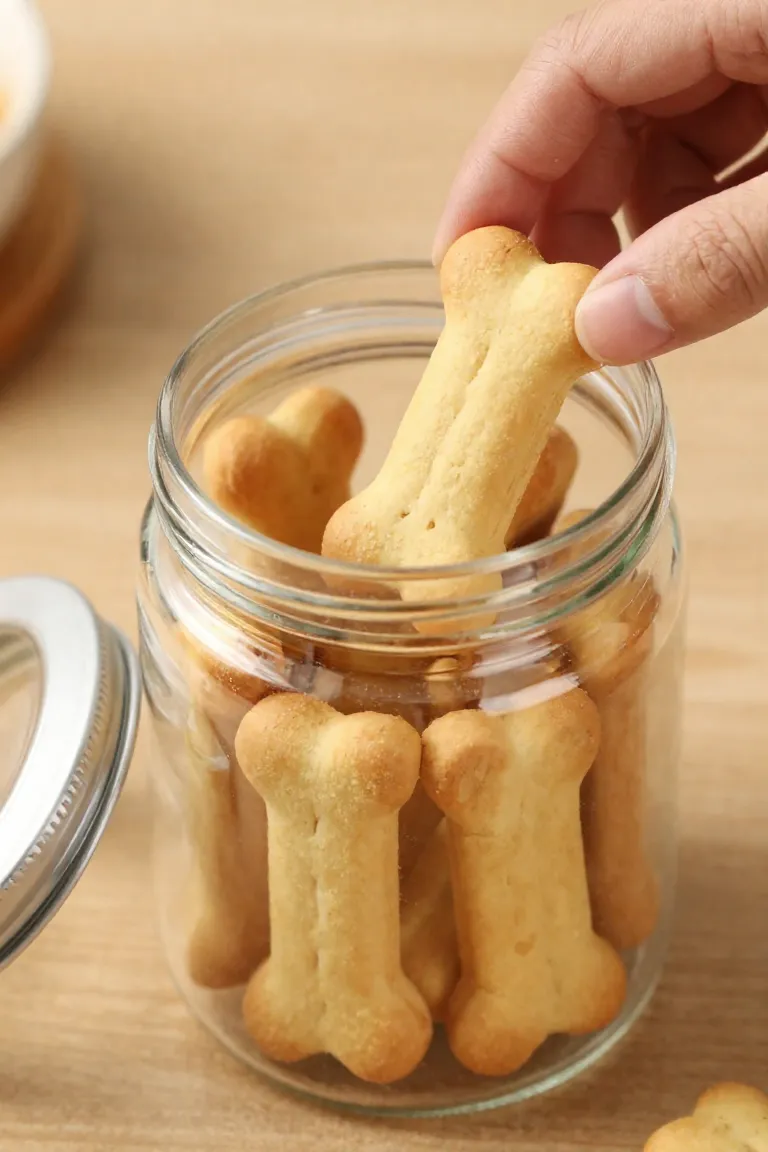
Decorative cardboard bakery boxes and unlined seasonal containers look adorable on display, but their porous surfaces let room humidity seep right in. Ambient air quickly softens dehydrated biscuits, robbing them of that satisfying snap dogs love. Opting for airtight dog treat containers creates a dependable moisture barrier that seals in the rich sweet potato aroma and crisp texture for weeks.
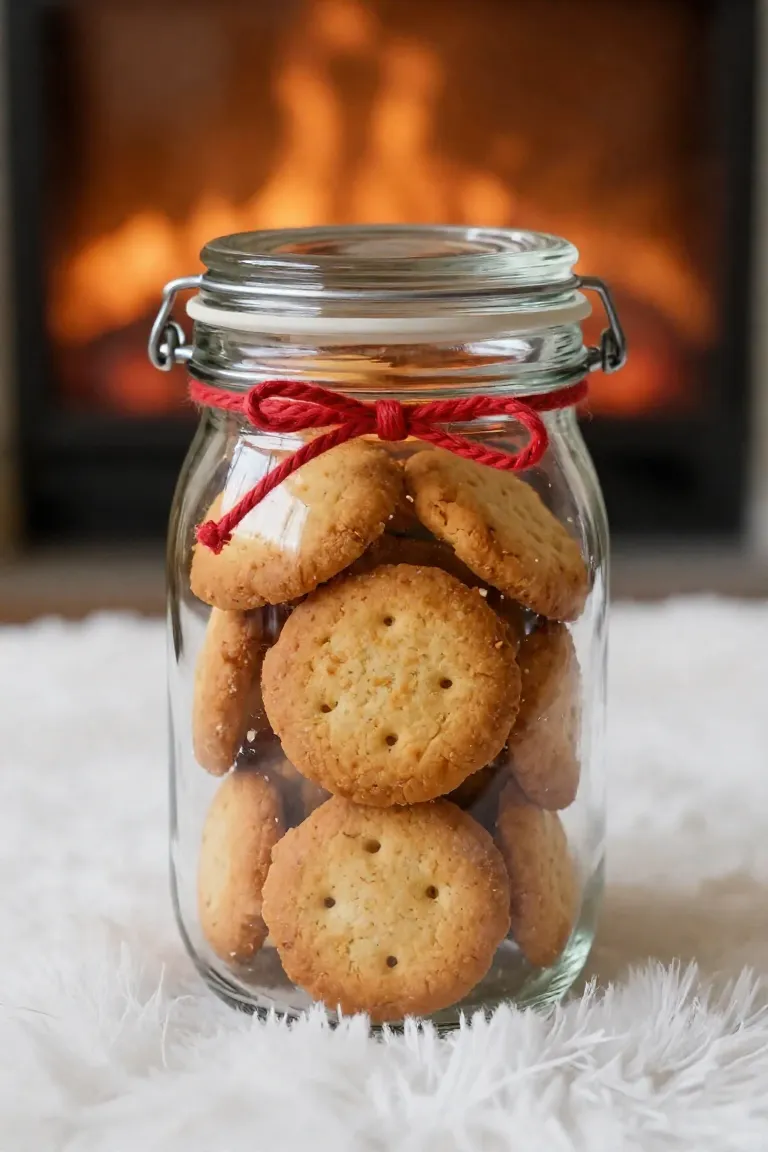
Classic mason jar dog gifts fitted with tight rubber gaskets offer a blend of rustic holiday aesthetics and reliable food protection. If you prefer a decorative holiday tin for dog treats, simply line the interior with parchment or wax paper to preserve maximum crunchiness until opening day.
3. Forgetting to Include an Ingredient Label for Other Dog Owners
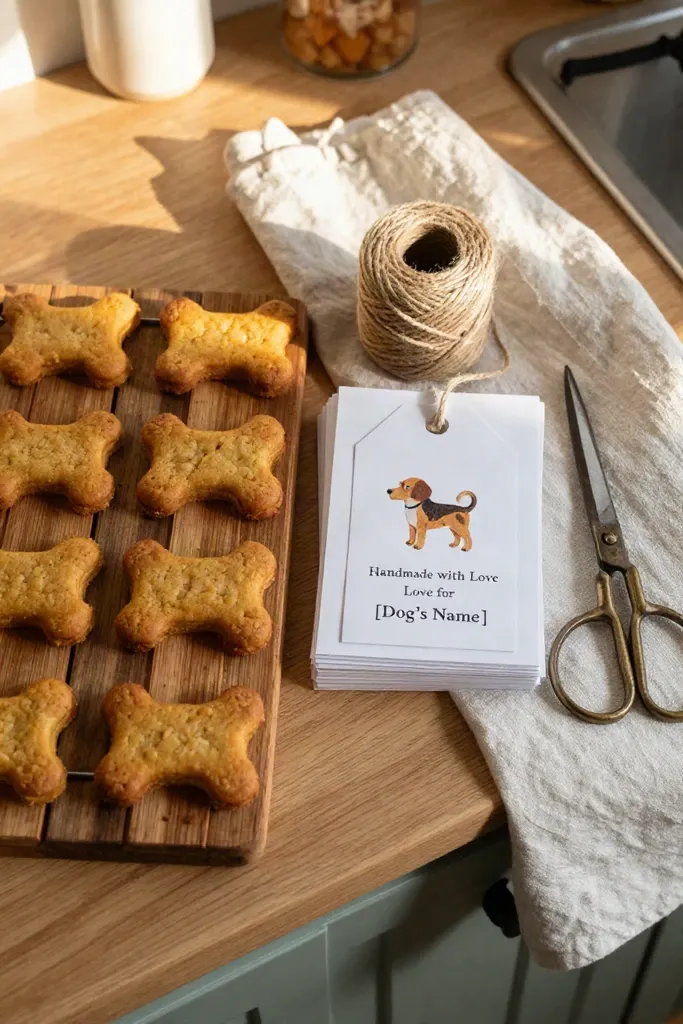
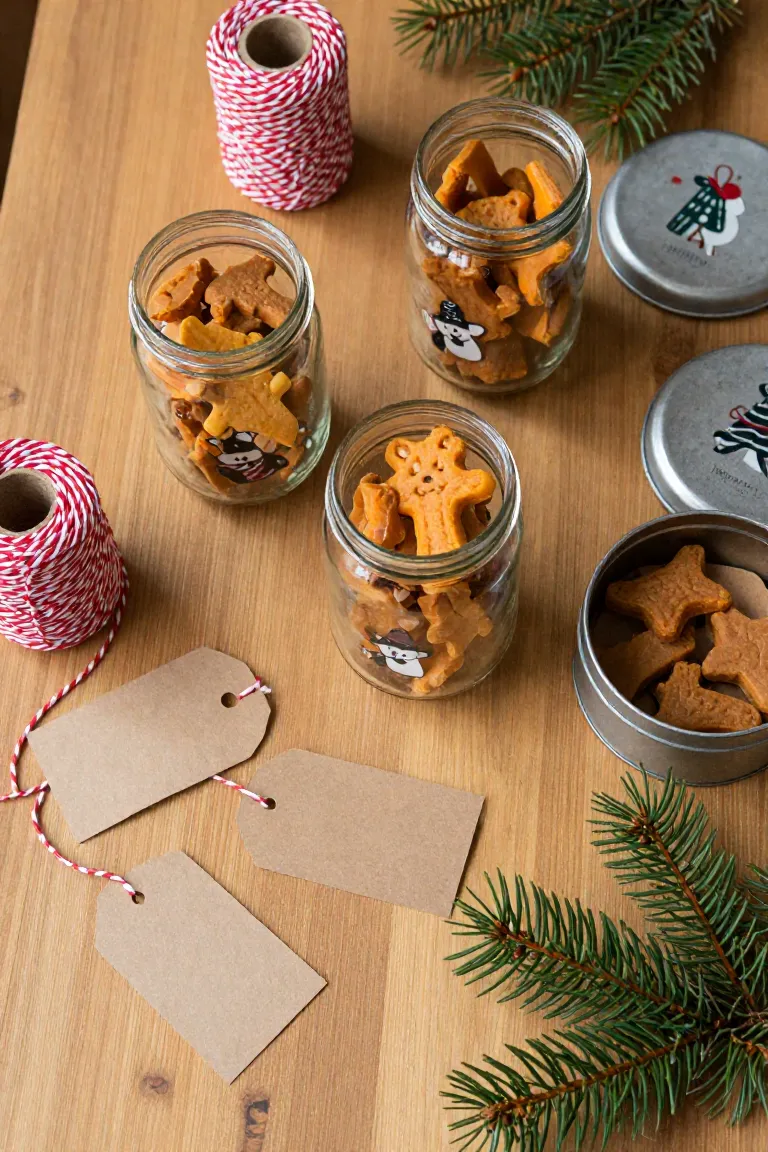
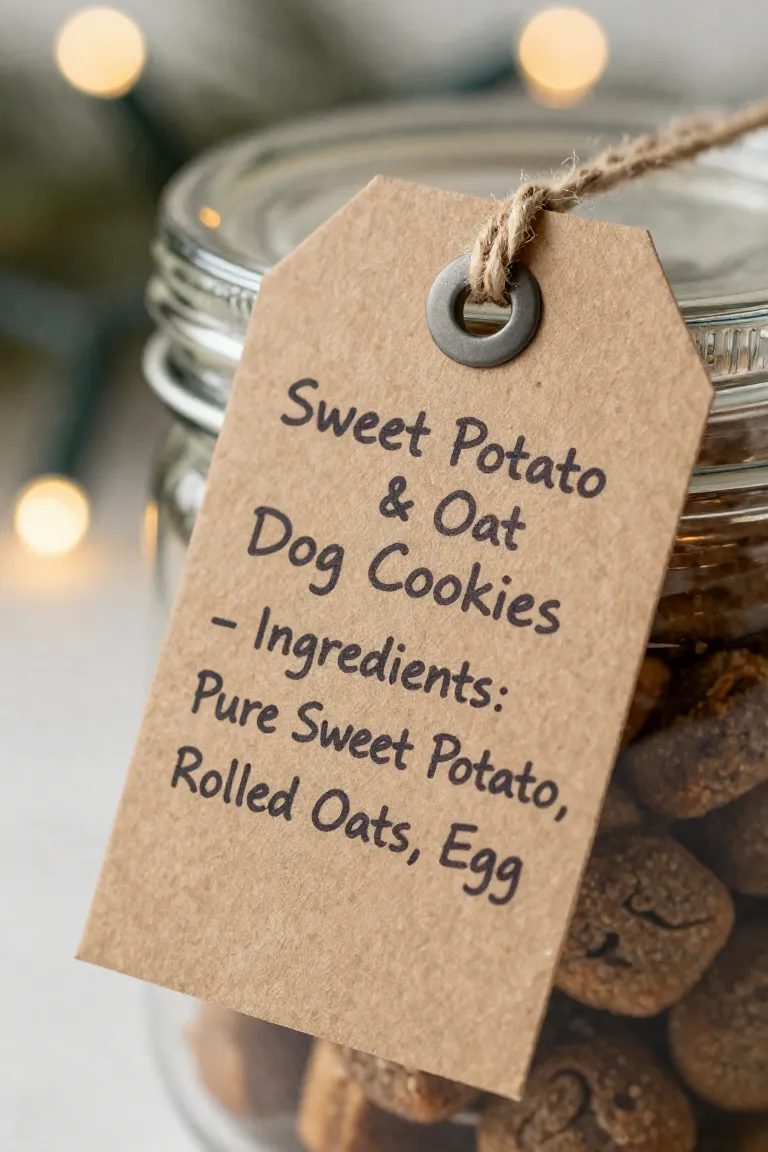
Even with protective packaging ready, omitting a clear recipe breakdown creates an avoidable safety hazard for your furry recipients. Many pets navigate sensitive stomachs or severe dog food allergies, reacting quickly to unexpected dairy or grain proteins. Attaching a transparent dog treat ingredient label gives fellow pet parents total confidence before treating their pups during seasonal playdates. You can blend functional safety with presentation by tying handwritten holiday dog gift tags around jar necks or treat bags, listing your exact components alongside the baking date. This gesture keeps every dog safe while adding an extra layer of seasonal warmth to your batch.
Frequently Asked Questions
Preparing fresh holiday batches often brings up practical concerns about dough consistency and oven timing. These common baking for dogs questions address adjustments needed before preheating your oven.
- Can you substitute rolled oats with commercial oat flour without altering water ratios?
- What simple adjustments keep crunchy biscuits from softening in humid kitchens?
- How do you adjust baking times when using smaller holiday cookie cutters?
How long do homemade sweet potato oat dog cookies last?
The practical shelf life of homemade dog treats depends almost entirely on residual moisture content and your daily container choice. Hard, crunchy biscuits that have been fully dehydrated in a low oven can sit safely on your counter for two to three weeks when sealed in a dark, dry pantry spot. When storing dog cookies with a softer, chewy center, keep them in a sealed container inside your refrigerator and feed them within five to seven days to prevent early mold growth. Inspecting biscuits for any damp spots before gifting ensures your four-legged friends enjoy every crunch at peak freshness.
Can I freeze the dough or the baked cookies?
Freezing dog treats is one of the most reliable ways to manage your seasonal schedule without sacrificing crispness or quality. Both raw mixture and fully baked batches store exceptionally well when shielded from air exposure. If you plan to make ahead dog cookies weeks in advance, roll your mixture into a solid cylinder or cutout shapes, wrap tightly in double-layer food wrap, and store the frozen dog treat dough for up to three months. For fully baked batches, allow every biscuit to cool completely before packing them into heavy-duty freezer bags with all excess air pressed out, maintaining peak quality for up to six months. When you are ready to assemble gift boxes, thaw the items at room temperature on an uncovered wire rack so surface moisture evaporates quickly.
Conclusion: Delivering Joy and Health This Holiday Season
Taking an unhurried approach in your kitchen guarantees your homemade holiday dog gifts deliver wholesome nutrition that fellow pet parents will genuinely appreciate. Selecting pure additions and sticking to gentle, thorough bake cycles helps you avoid moisture traps while creating safe treats for dogs that remain deliciously crunchy in festive containers.
- Double-check all ingredient labels to verify that no hidden sweeteners or artificial spices ever enter your mixing bowl.
- Bake until fully dried out and let treats rest on wire racks to lock in long-lasting shelf stability.
- Attach a handwritten recipe tag to ensure clear communication about ingredients before gifting.