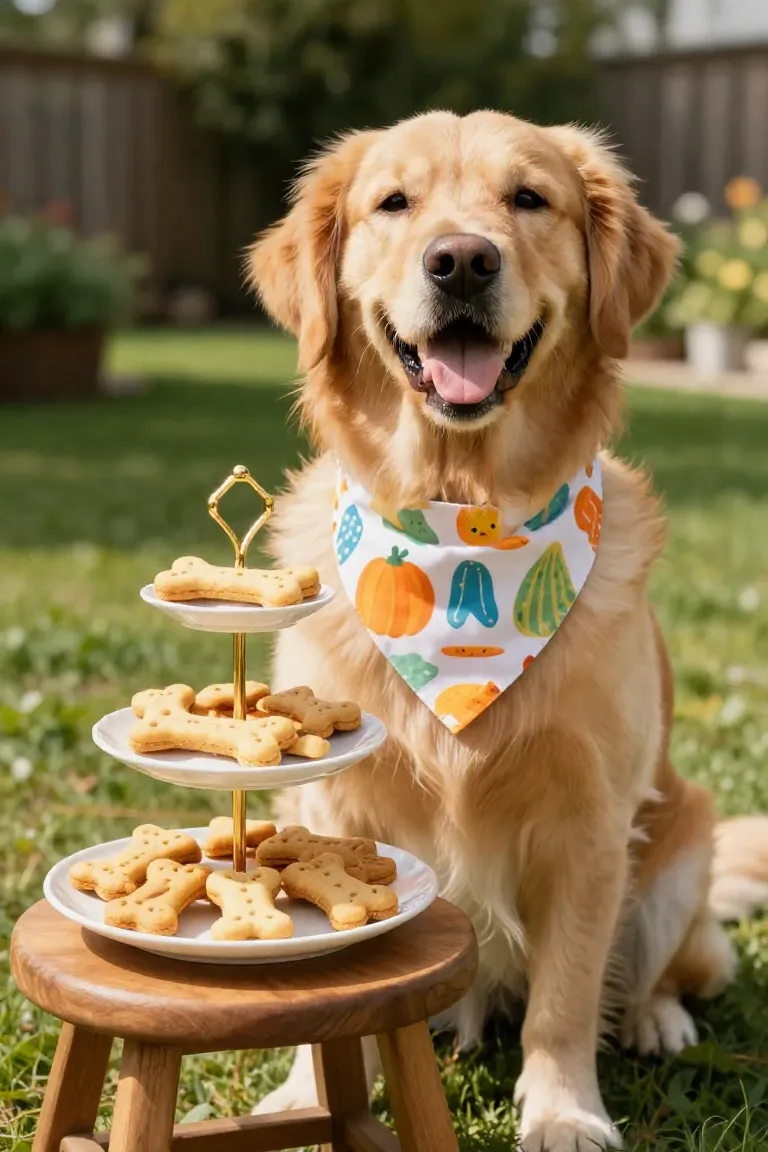
Introduction: Celebrating Your Dog's Big Day
Few milestones compare to watching your four-legged companion turn another year older. Whether your pup spent the morning chasing tennis balls across the yard or napping on the living room rug, marking the occasion calls for something more personal than an ordinary store-bought biscuit pulled from a cardboard box. Rolling up your sleeves to bake in your own kitchen creates a specific ritual that honors the loyalty they share with you every day.
A batch of freshly baked treats gives you full control over every ingredient, ensuring each bite remains wholesome and gentle on sensitive canine stomachs. The warm aroma drifting from the oven signals the start of a kitchen project centered on simple, canine-friendly ingredients.
Why Peanut Butter and Pumpkin?
Pairing these two kitchen staples creates a rich, savory aroma that your dog recognizes the moment you open the pantry. Roasted nut butter delivers a dense richness with natural plant fats, which balances the mild sweetness and hydrating moisture of canned pumpkin puree. When mixed together, the wet puree softens the sticky butter, yielding a smooth, workable dough that holds neat cookie-cutter shapes without crumbling across your baking sheet. Dogs instinctively love this flavor combination, making every batch an enticing reward for your pup's special day. This mixture creates an ideal foundation for healthy digestion.
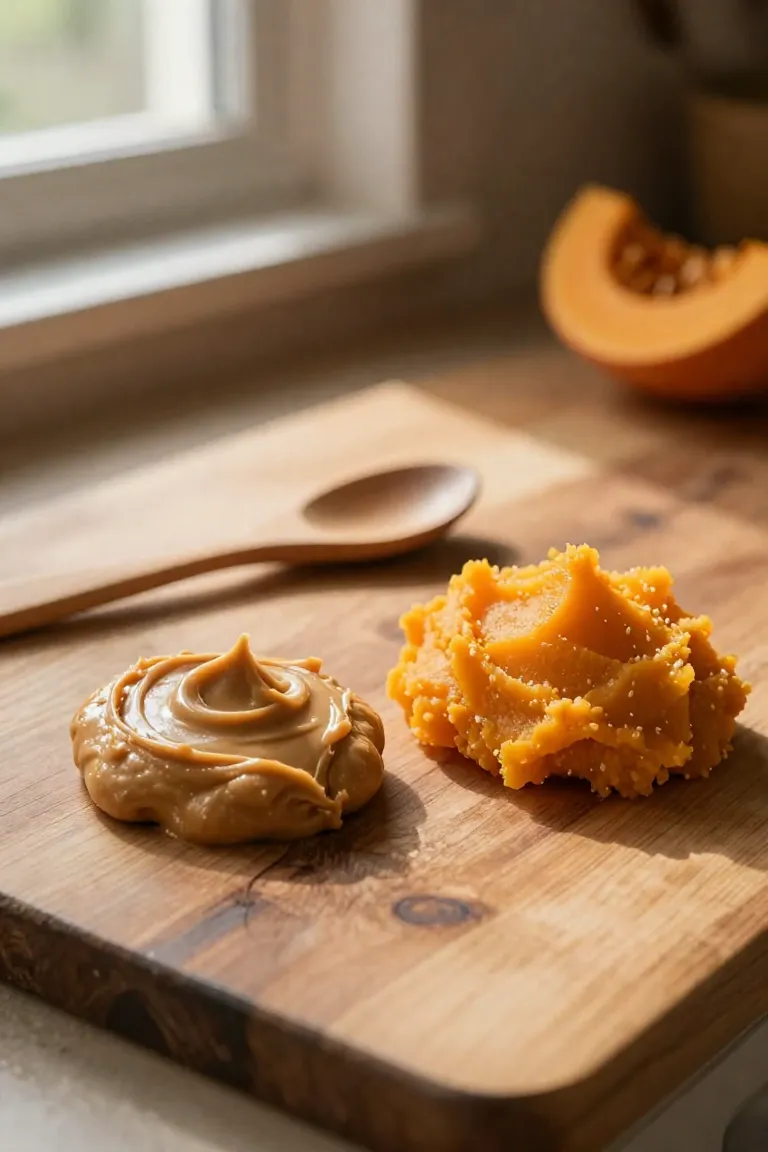
1. Nutritional Benefits of Pumpkin for Dogs
This bright orange puree acts as a soothing digestive aid for sensitive canine stomachs thanks to its dense concentration of soluble fiber. The gentle plant fiber absorbs excess moisture to firm up loose stools while simultaneously softening hard digestion, helping your companion maintain balanced gut motility after celebratory snacks. Because fiber breaks down slowly, it supports steady energy release throughout the afternoon instead of a quick spike.
Beyond digestive comfort, every spoonful of pure pumpkin delivers essential micronutrients like vitamins A and C alongside potassium. These vitamins nourish the immune system and support clear eyesight, while potassium helps maintain healthy muscle function and hydration. When shopping for baking ingredients, choose plain canned puree rather than spiced pie filling that contains harmful additives like nutmeg or cloves. Keeping the ingredient list clean ensures your pup gets wholesome nutrients.
2. Safe Peanut Butter for Dogs (What to Avoid)
Check the jar label closely before scooping anything into your mixing bowl. The single biggest hazard to watch for is xylitol, an artificial sweetener sometimes labeled as birch sugar that is toxic to canines even in tiny amounts. You will also want to bypass jars containing added cane sugar or palm oil that can needlessly upset a dog's stomach. Stick with simple jars where the label lists nothing other than dry-roasted peanuts, giving your recipe a clean base.
Essential Ingredients and Baking Tools
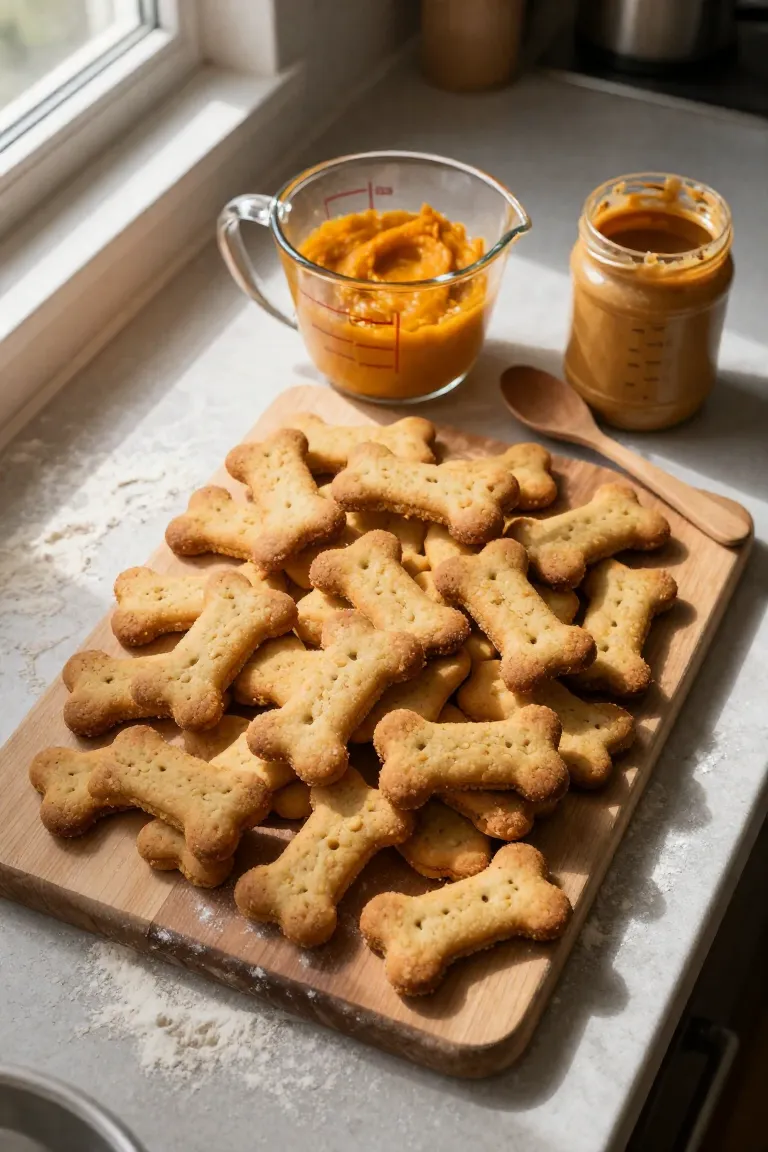
Setting up your counter before turning on the oven saves you from scrambling with dough-covered fingers later on. Having your pantry staples measured and your cookware arranged within arm's reach lets you focus on getting the dough texture just right. When everything sits ready on the counter, the entire project feels orderly and fun rather than chaotic.
A well-ordered prep station ensures you will not have to pause midway through the recipe to search for rolling pins or cookie cutters. Most of what you need already sits in standard home kitchens, requiring only simple utensils and a handful of wholesome canine-friendly staples. With your station organized, you can easily verify each physical item on the counter.
1. The Recipe Checklist
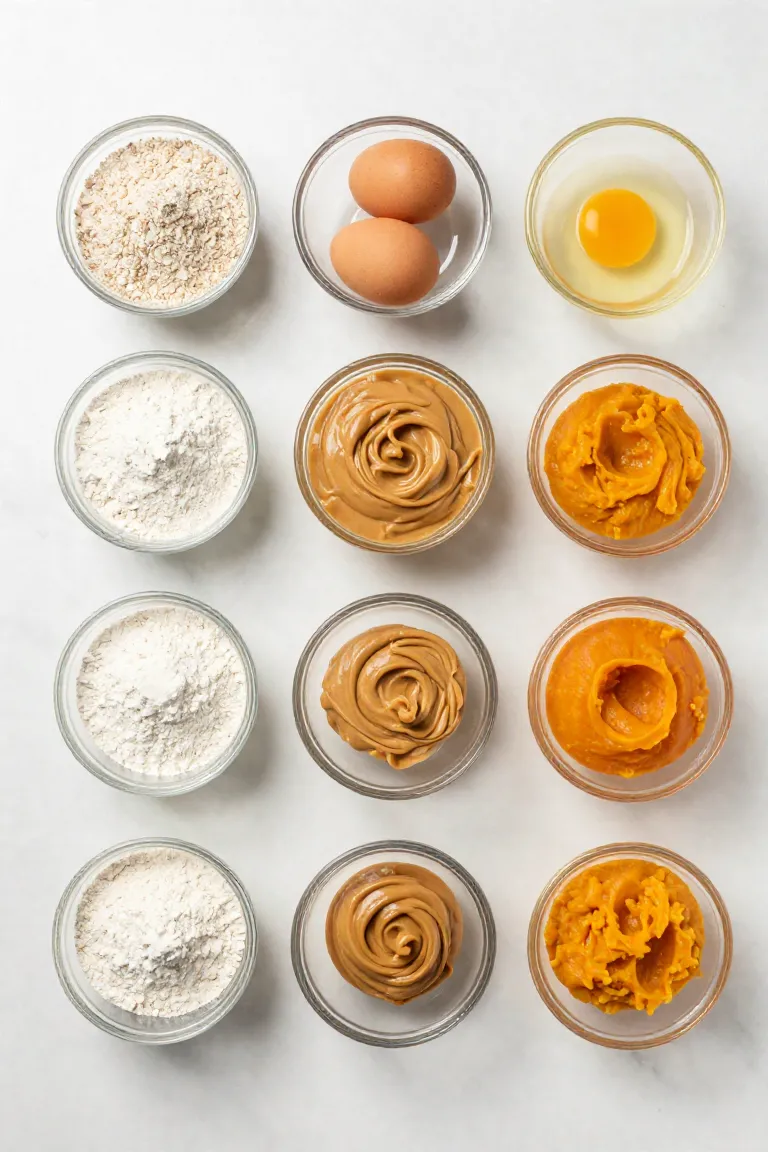
Gathering standard pantry staples keeps the preparation straightforward. Balancing a sturdy flour base with moisture-rich binders ensures the dough holds together cleanly while remaining gentle on your pup's stomach.
- Two and a half cups of whole wheat flour to provide structure and a firm dough texture.
- One cup of plain canned pumpkin puree free from added sugars or pie spices.
- Two large eggs to bind the wet and dry elements into a cohesive batch.
- Three tablespoons of natural, xylitol-free peanut butter for healthy fats and reliable flavor.
2. Must-Have Baking Equipment
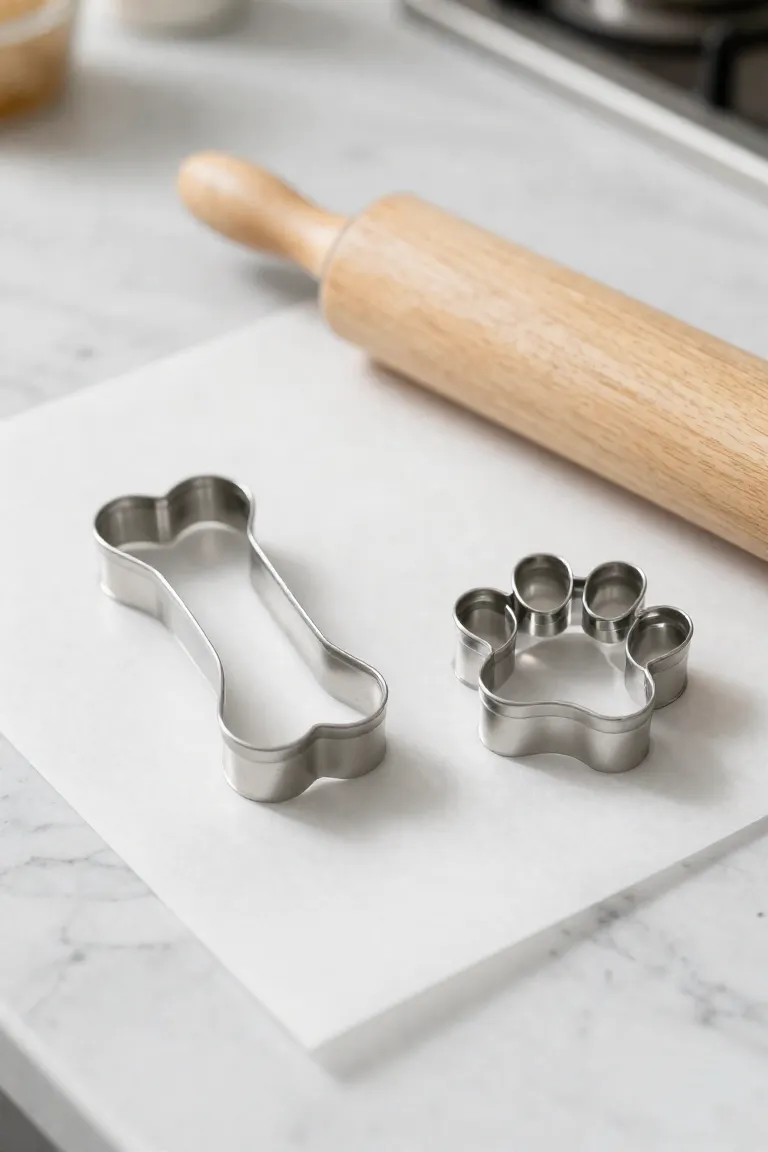
Gathering a few practical kitchen tools keeps your counter organized and your prep moving quickly. You do not need commercial gear to shape these biscuits, just dependable basics that handle thick, rustic dough.
- A large mixing bowl and stiff silicone spatula to combine the thick pumpkin and peanut butter into the flour without straining your wrists.
- A sturdy rolling pin to flatten the dense dough to a uniform quarter-inch thickness so each biscuit bakes evenly.
- Bone and paw-shaped cookie cutters to give the batch a festive presentation worthy of your dog's party.
- A flat baking sheet lined with unbleached parchment paper to prevent sticking and ensure tidy cleanup.
Step-by-Step Guide to Baking the Biscuits
Turning these wholesome staples into crunchy party snacks requires very little active prep time. Moving through the recipe in clear stages keeps the kitchen organized and guarantees a consistent texture your pup can easily chew.
A clean counter gives you ample room to work comfortably, whether this is your first time making dog treats or a regular weekend project. Setting aside just thirty minutes allows you to move smoothly from raw mixture to oven-ready cutouts without any fuss.
Step 1: Prepping and Kneading the Dough
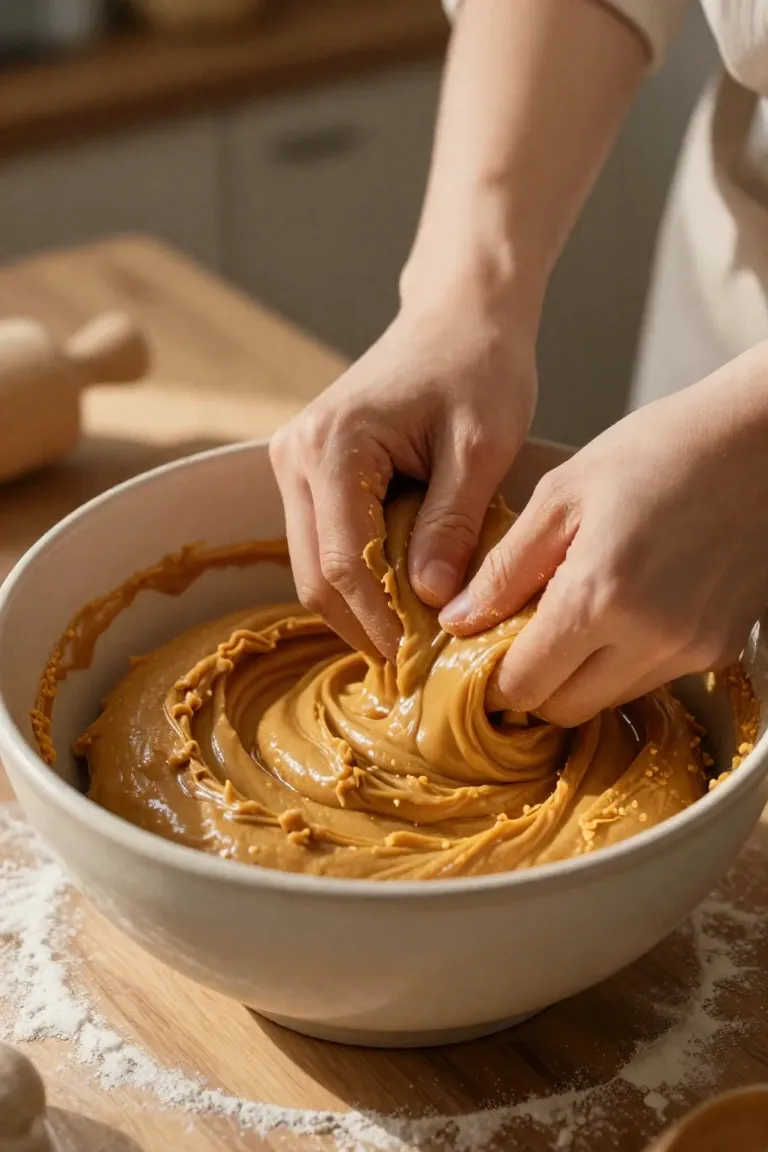
Combine the pure pumpkin puree and creamy peanut butter with the eggs in a large mixing bowl until the mixture turns silky and uniform. Gradually fold in your dry flour, switching from a sturdy wooden spoon to clean hands once the mass begins to pull away from the bowl edges. You want the ball to feel firm and pliable, similar to chilled modeling clay, without clinging to your fingers or falling apart into dry flakes. If the base feels overly wet or tacky after a minute of working it across the counter, sprinkle in an extra tablespoon of flour at a time. When the mixture feels crumbly and struggles to hold together, work in a teaspoon of warm water or unsalted broth until it forms a smooth, cohesive disc.
Step 2: Rolling and Cutting Fun Shapes
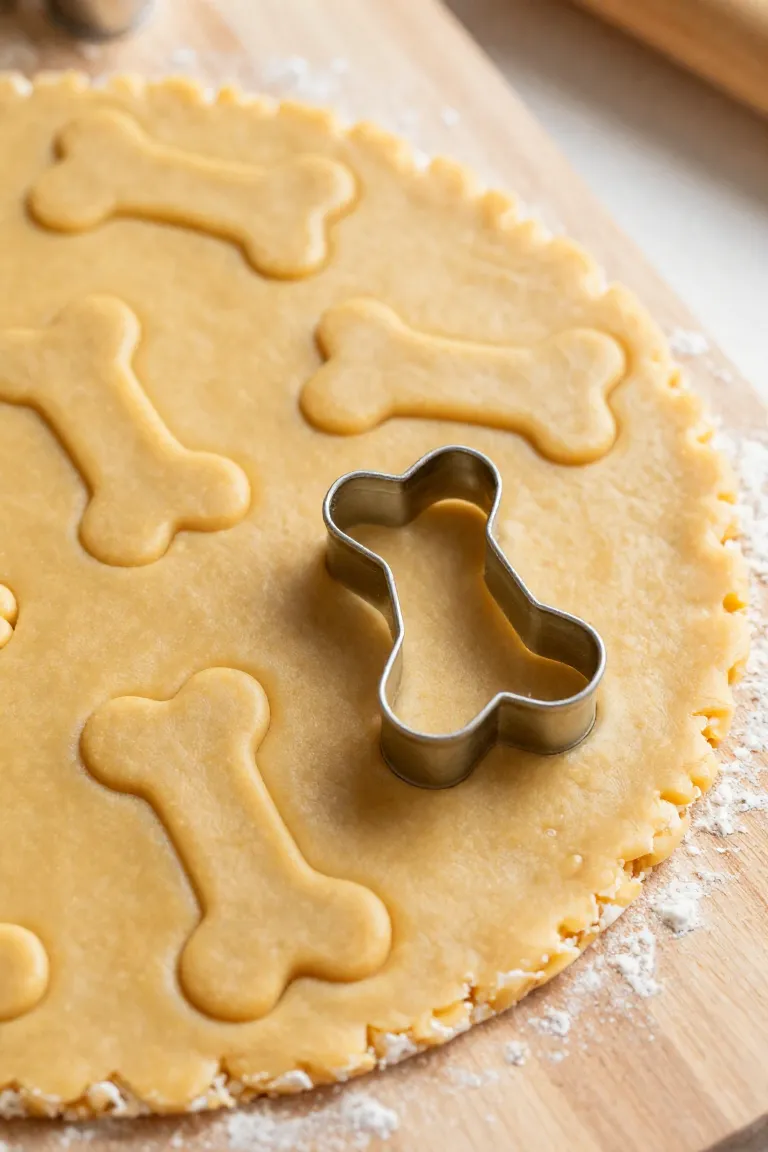
Dust a clean work surface lightly with flour so the mixture glides smoothly under your rolling pin. Press the dough flat with your hands first, then roll outward from the center with steady pressure until the slab reaches an even quarter-inch profile. Maintaining this uniform depth prevents thinner edges from over-browning while ensuring the entire biscuit crisps up consistently in the oven.
Classic bone and paw cutters give each birthday treat its festive look, especially when you dip the metal edges in dry flour before every cut. Press each mold firmly straight down through the rolled sheet, gently lifting the cutout directly onto your lined baking pan. Gather all the scrap dough into a ball, flatten it again to that same height, and cut out your final pieces so none of the ingredients go to waste.
Step 3: Baking to the Perfect Crunch
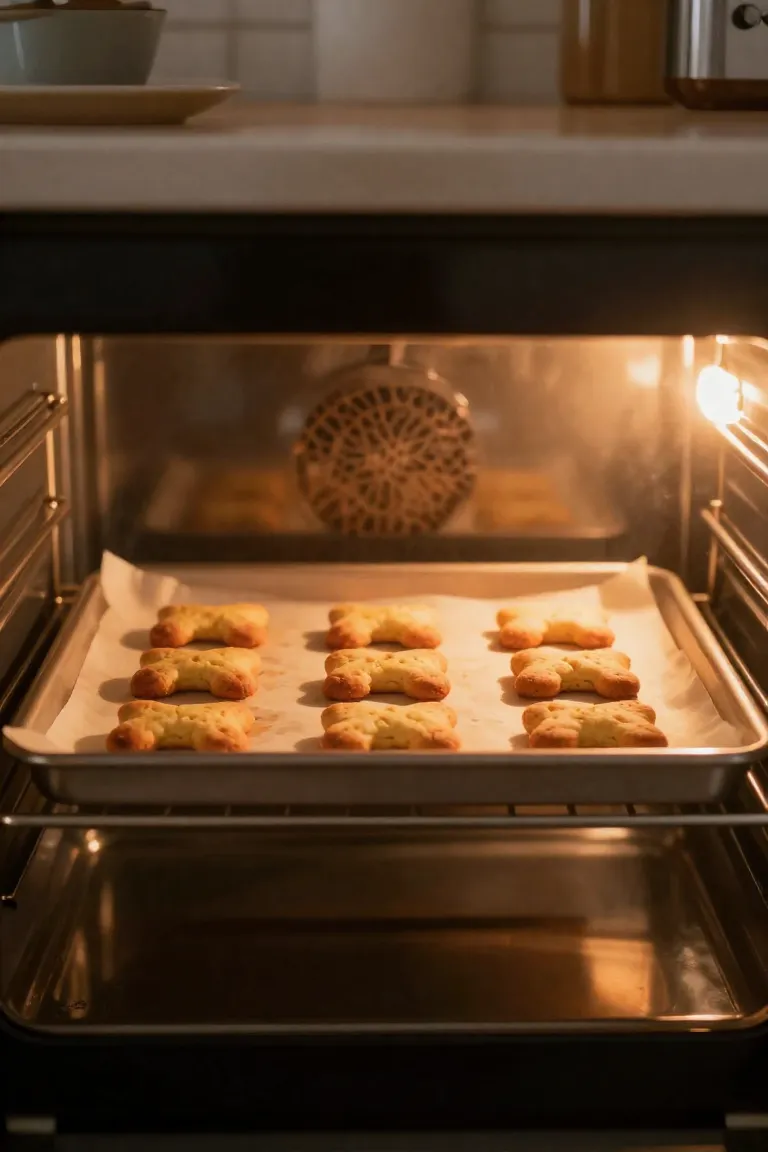
Slide your prepared baking sheet into an oven preheated to 350°F (175°C) and let the treats bake for 25 to 30 minutes until the edges turn lightly golden and the undersides feel firm to the touch. Once that initial bake finishes, switch off the heat completely and leave the trays inside for another forty-five to sixty minutes as the remaining dry warmth draws out residual moisture. This slow desiccation process creates a hard, brittle snap that helps scrape away soft plaque from your dog's teeth while keeping each piece sturdy enough for decorating.
Decorating Your Dog's Birthday Biscuits
Turning crisp cutouts into festive party centerpieces takes only a few creative touches. While your pup will happily devour plain snacks, personalized designs make party photos pop and transform routine kitchen bakes into genuine celebration highlights. You can outline bone contours or pipe custom puppy names using wholesome, dog-safe ingredients that stay gentle on sensitive canine stomachs.
1. Creating Dog-Safe Icing
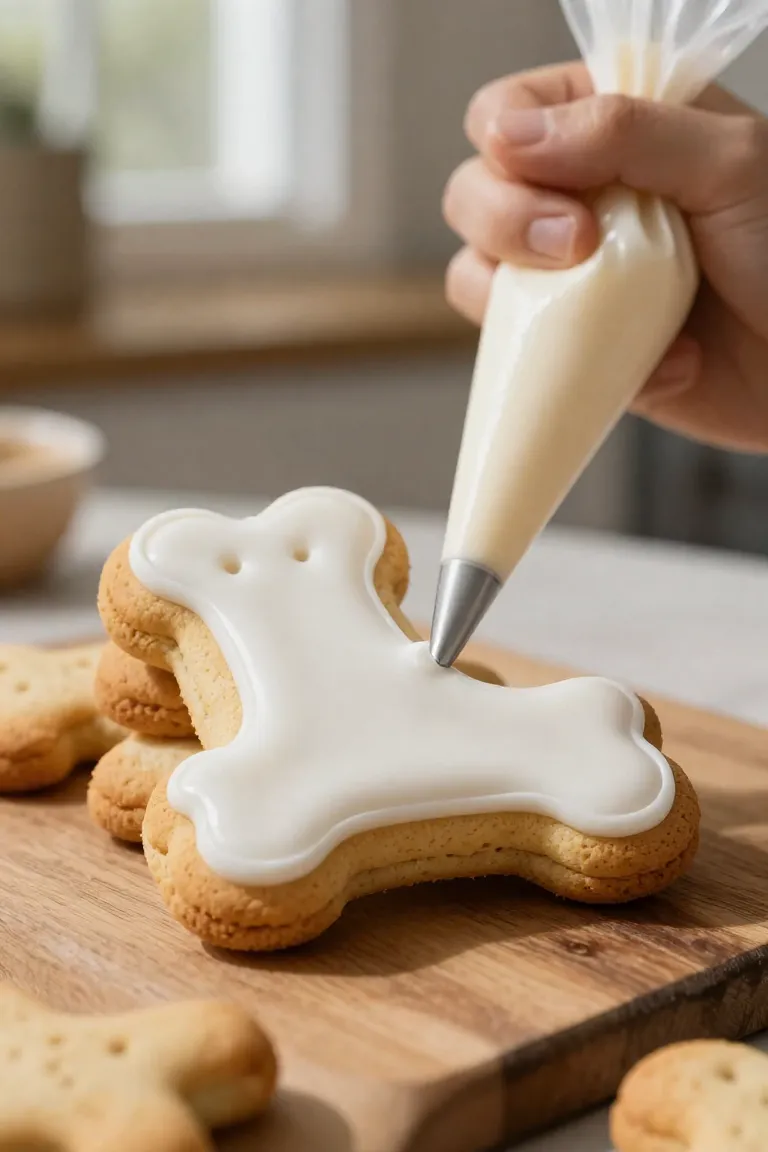
A smooth, pipable glaze comes together quickly without relying on processed sugars or artificial binders. Whisking unsweetened plain Greek yogurt with a pinch of starch creates a velvety texture that stays intact while you sketch birthday patterns onto the baked treats.
- Combine a half-cup of thick yogurt with one to two teaspoons of tapioca flour in a small mixing bowl.
- Whisk thoroughly until completely smooth, adding a few drops of water if the consistency feels too stiff for piping.
- Transfer the mixture to a sandwich bag, snip a tiny corner off, and draw your designs directly onto thoroughly cooled biscuits.
- Allow the decorated biscuits to rest at room temperature for fifteen minutes so the finish firms up before serving.
2. Adding Colorful Sprinkles and Toppers
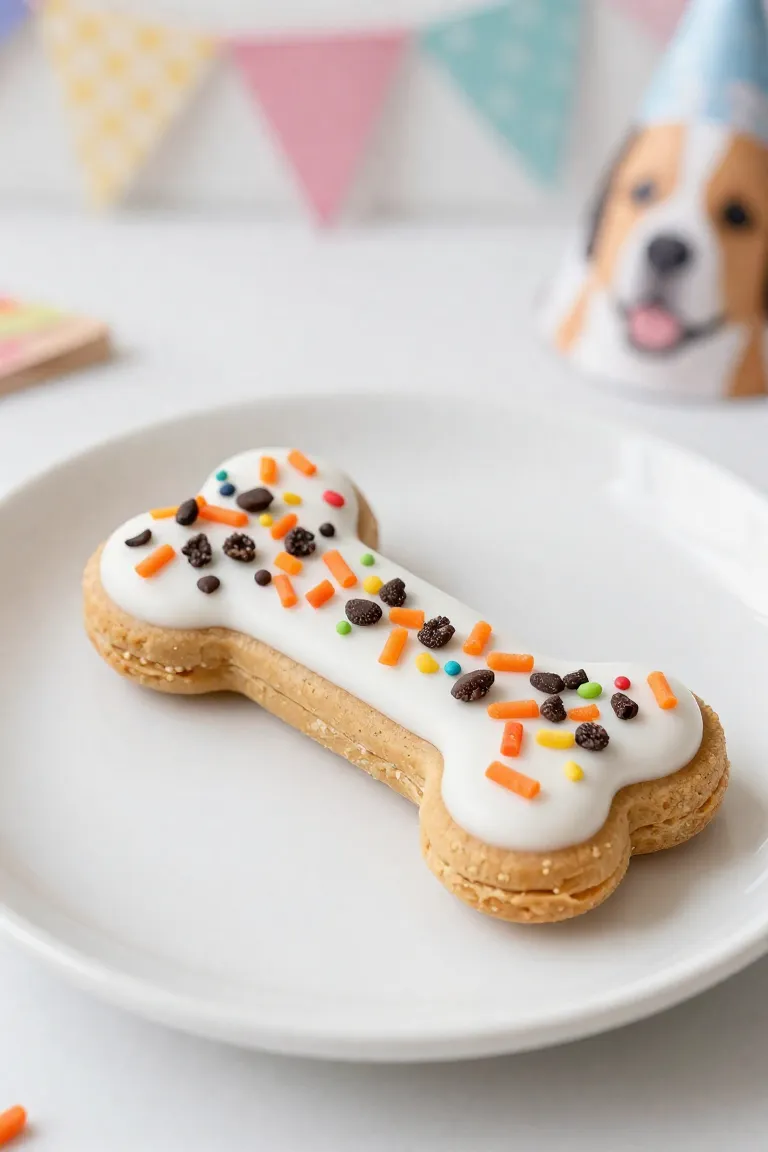
While the glaze is still slightly tacky, you can scatter bright kitchen scraps across the wet surface to create an eye-catching finish without relying on artificial food dyes. Finely shredded orange carrots and chopped fresh parsley bring crisp texture alongside natural color contrast, while finely crumbled dog-safe carob chips mimic chocolate sprinkles with zero digestive risk. To add a savory crunch, dust the tops with pan-crisped bacon bits that you have thoroughly blotted dry with paper towels to remove excess grease. Press these garnishes gently into the icing so they stay anchored once the coating sets completely on the cooling rack.
Frequently Asked Questions (FAQ)
Managing moisture levels and digestive tolerances ensures your homemade dog treats remain safe and crisp throughout the celebration. Proper storage and careful ingredient adjustments protect freshness and keep the snacks safe for sensitive stomachs.
- Full cooling on an open counter prevents trapped heat from creating unwanted moisture inside storage jars.
- Airtight containers protect the crunchy texture from ambient humidity in your kitchen.
- Individual pet allergies and digestive tolerances dictate which alternative flours suit your dog.
How long do these homemade treats last?
Because these baked snacks contain zero artificial preservatives, moisture levels directly dictate how fresh they stay after baking. Letting every batch cool completely on a wire rack prevents internal condensation before you seal them away.
- An airtight glass jar on your pantry counter keeps thoroughly dried biscuits crisp for up to two weeks.
- A sealed container in the refrigerator preserves freshness for up to four weeks, especially during warm weather.
- A freezer-safe bag keeps extra portions fresh for up to four months, giving your dog ready snacks after a brief room-temperature thaw.
Can I substitute the whole wheat flour?
Oat flour is an easy, gentle swap if your pup has a sensitive stomach or grain sensitivities. You can grind rolled oats in a food processor until fine and use them at an equal one-to-one ratio. The dough remains easy to handle and cut, giving the finished treats a slightly softer, crumbly texture that older dogs find easy to chew.
For a completely grain-free batch, coconut flour works well, though it absorbs moisture much faster than standard wheat options. You only need roughly one-third of the original amount alongside an extra tablespoon of pure pumpkin to keep the mixture pliable. This adjustment creates a denser, firmer dough that holds its shape nicely while baking.
Conclusion: The Ultimate Birthday Surprise
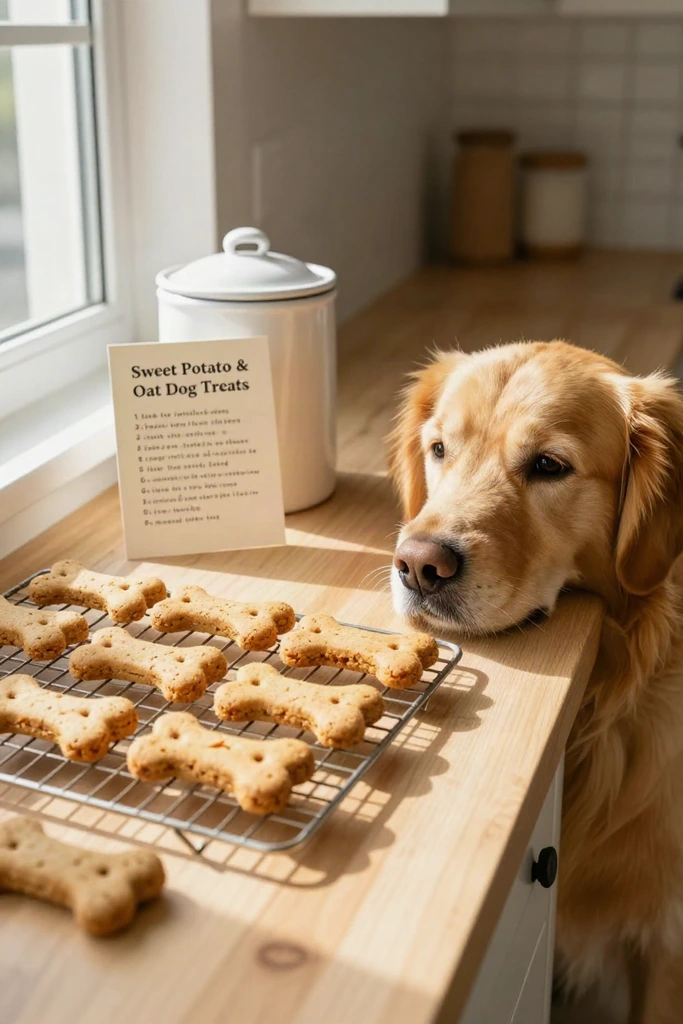
Taking a fresh batch of treats off the cooling rack gives you complete peace of mind about what goes into your companion's bowl. Knowing every single ingredient, from the pure pumpkin to the unsweetened peanut butter, turns a simple afternoon in the kitchen into a meaningful gesture that store-bought snacks rarely match. The genuine excitement in their eyes when you offer that first crunchy piece makes all the dough rolling well worth your time.
A quick snapshot of your dog digging into their celebratory snack creates a lasting memory of their special milestone. Snap a photo of their tail-wagging reaction to share with fellow pet owners and pin your favorite decorating results to Pinterest to inspire other dog lovers to bake wholesome goodies at home.