The Magic of Homemade Dog Treats
Baking canine snacks in your kitchen gives you direct control over every ingredient that enters your pet's diet. Commercial bags on store shelves frequently hide synthetic preservatives and unnecessary fillers that can irritate delicate digestive tracts. When you mix the dough yourself, you provide clean nourishment that supports your dog's daily vitality while your pup waits eagerly by the oven.
A simple combination of peanut butter and pure pumpkin puree creates a nutrient-rich foundation that appeals to almost any pup. Paired with oat flour, this mixture forms a pliable dough that holds its shape cleanly without sticking to your work surface. The oat flour provides a mild, digestible base loaded with wholesome fiber, giving novice bakers an accessible alternative to traditional wheat without requiring specialized kitchen equipment.
Why Choose Oat Flour for Dog Biscuits?
Swapping standard flour for a gentler alternative makes home treat baking an easy kitchen project. Most households already keep whole rolled oats sitting in the pantry, so you rarely need to buy specialized gluten-free bags just to bake a small batch for your pup. The mild grain absorbs moisture evenly and rolls out into a smooth dough that holds neat shapes on the baking sheet without crumbling apart.
On the prep counter, this friendly base saves you time because it mixes cleanly with wet ingredients and requires zero yeast proofing or fussy resting periods. You can pull together a baking tray in minutes whenever the treat jar runs low, keeping cleanup quick with just one bowl and a rolling pin. That dependable texture keeps your baking routine straightforward.
The Nutritional Benefits of Oats for Dogs
Inside the digestive tract, whole oats break down into a steady supply of complex carbohydrates that fuel everyday playtime without sudden glucose spikes. A primary asset here is soluble fiber, particularly beta-glucan, which absorbs water to help regulate bowel movements and support healthy gut flora. If your canine companion occasionally deals with irregular digestion or mild stomach sensitivities, this gentle bulk helps firm loose stools while aiding gastrointestinal function.
Essential micronutrients like zinc and essential B vitamins round out each serving to help maintain skin resilience and red blood cell production. These slow-burning starches deliver steady stamina throughout the afternoon, ensuring your dog stays fueled and satisfied between regular meals.
How to Make Your Own Oat Flour at Home
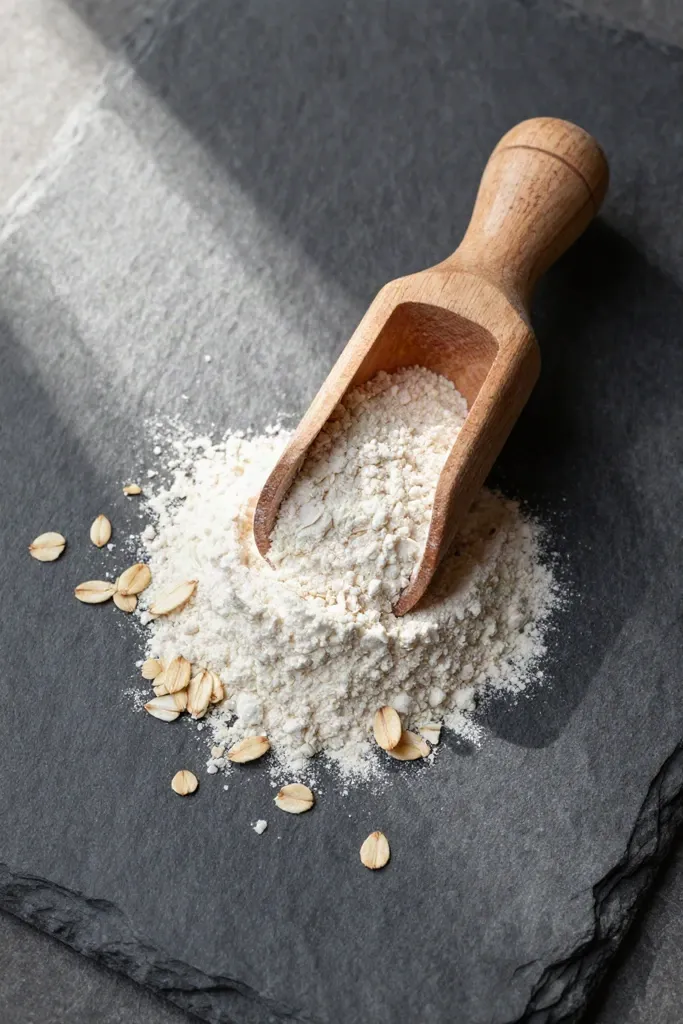
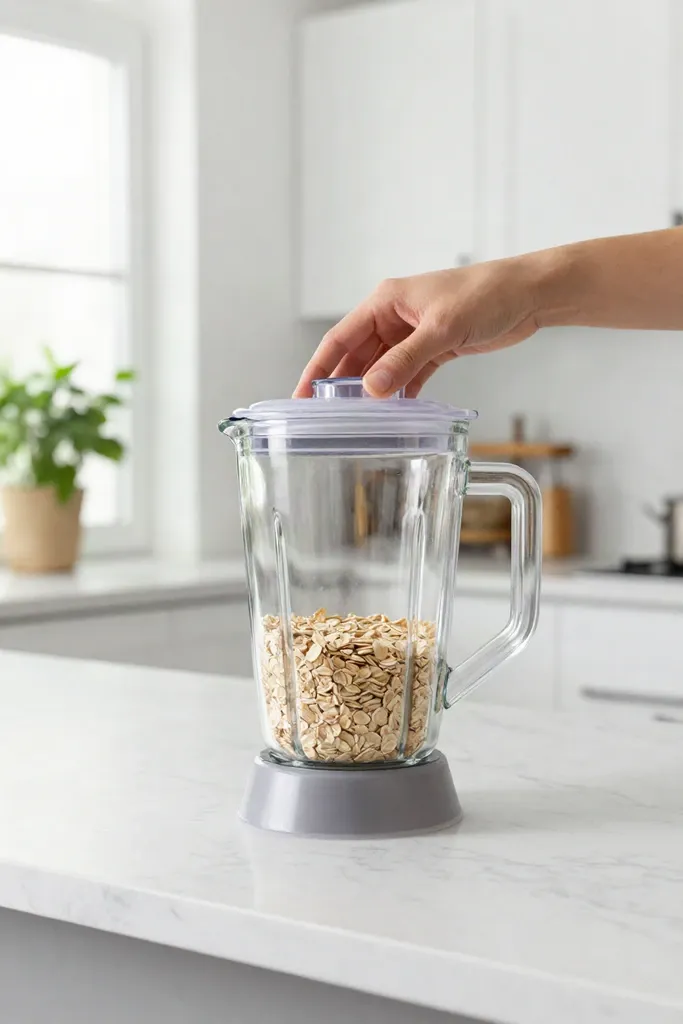
Instead of buying a specialty bag from the supermarket, you can grind whole rolled or quick oats directly from your pantry. If you have two cups of dry oats, pour them into a high-speed blender or food processor, secure the lid, and pulse on high for thirty to sixty seconds until the flakes break down into a fine powdery texture. Stop once to scrape down any stray flakes clinging to the rim, then run a final ten-second blitz to catch any coarse pieces. A quick sift through a mesh strainer confirms an even consistency, leaving you with fresh flour ready for your biscuit dough.
Key Ingredients for Peanut Butter Pumpkin Dog Biscuits
With your oat base ready, the rest of the batch comes together with three everyday kitchen staples: smooth peanut butter, pure pumpkin puree, and a single large egg to bind everything tightly. A splash of warm water helps adjust the dough's moisture if your puree runs slightly thick, keeping the entire mixture free from artificial preservatives and unnecessary fillers. Because each component directly affects dough elasticity and crispness, paying close attention to the specific jar and can you pull from your shelf determines the final texture of the biscuit.

Choosing the Right Peanut Butter (Xylitol-Free)
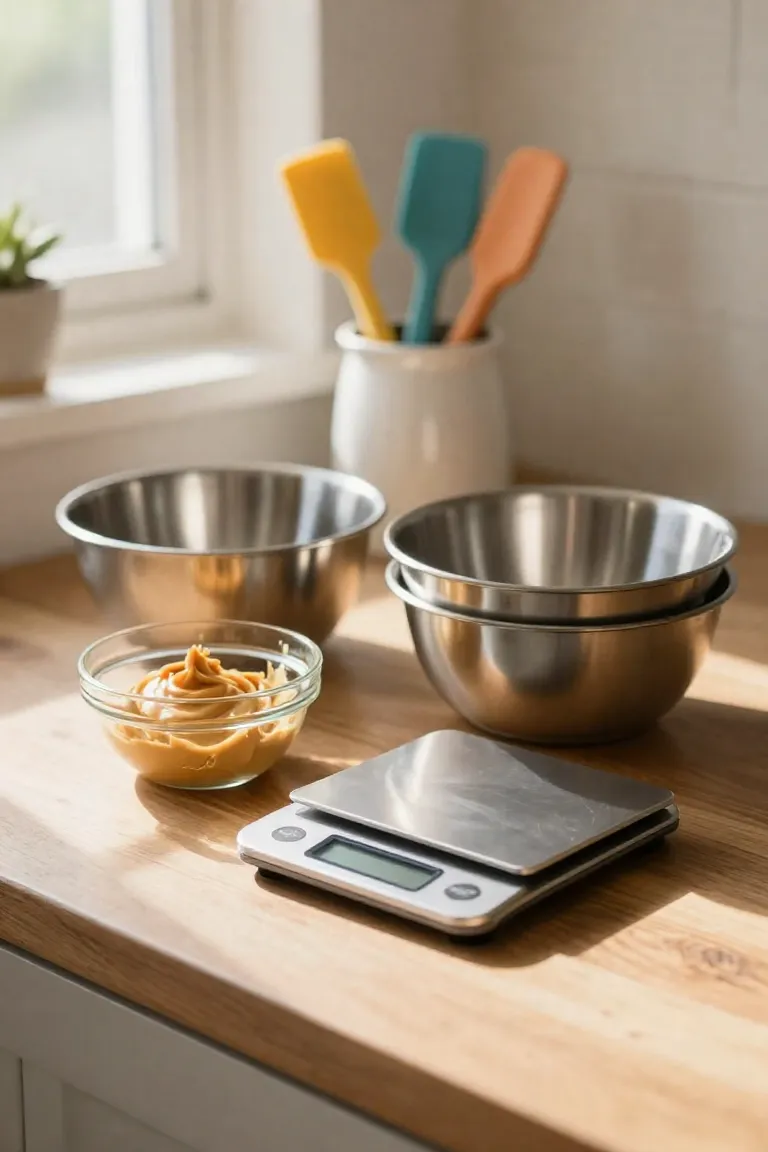
A quick inspection of the ingredient panel on the back of the jar is your most critical safety step before anything hits the mixing bowl. Ideally, the list should include just one item: roasted peanuts. Many standard household spreads incorporate hydrogenated oils, added sugars, and palm oil, which strain a dog's digestive system and dilute nutritional value. Natural varieties separate over time, so giving the jar a firm stir recombines the peanut oils that will help hydrate your dough and create a satisfying bite.
The most dangerous additive found in specialty or reduced-calorie spreads is xylitol, sometimes listed under the name birch sugar. In canines, this sugar alcohol triggers an immediate, massive release of insulin, which can lead to severe hypoglycemia, seizures, and acute liver failure within hours of ingestion. Opting strictly for pure, unsweetened nuts protects your pet from toxic exposure while providing the healthy fats needed to bind the rest of your recipe together.
Pure Pumpkin Puree vs. Pumpkin Pie Filling
Pumpkin supplies the base moisture and soluble fiber needed to bind your dough. Grabbing the right can off the supermarket shelf requires a close check of the label, as two similar tins often sit right next to each other in the baking aisle. You want a product containing only cooked pumpkin, avoiding the sweeteners and seasonal seasonings blended into dessert mixes.
- Standard canned pumpkin lists a single vegetable on the back panel, delivering clean fiber that supports canine digestion.
- Commercial pie fillings carry heavy amounts of refined sugar and syrup that cause sudden gastrointestinal distress in dogs.
- Pre-spiced fillings rely on ground nutmeg and allspice, which contain natural compounds that are toxic to a dog's nervous system.
Step-by-Step Instructions for Crispy Oat Flour Dog Biscuits
Transforming these base ingredients into crunchy snacks takes under forty minutes from counter to cooling rack. You do not need professional baking skills or specialized pastry tools to handle the mixture, as the entire batch comes together cleanly in a single bowl.
- Prep requires minimal cleanup since standard measuring cups and a wooden spoon handle the preparation.
- The dough rolls out smoothly between two sheets of parchment paper without sticking or tearing along the edges.
- Oven duration remains flexible, letting you easily adjust the texture to match what your pup enjoys chewing most.
Step 1: Mixing the Wet and Dry Ingredients
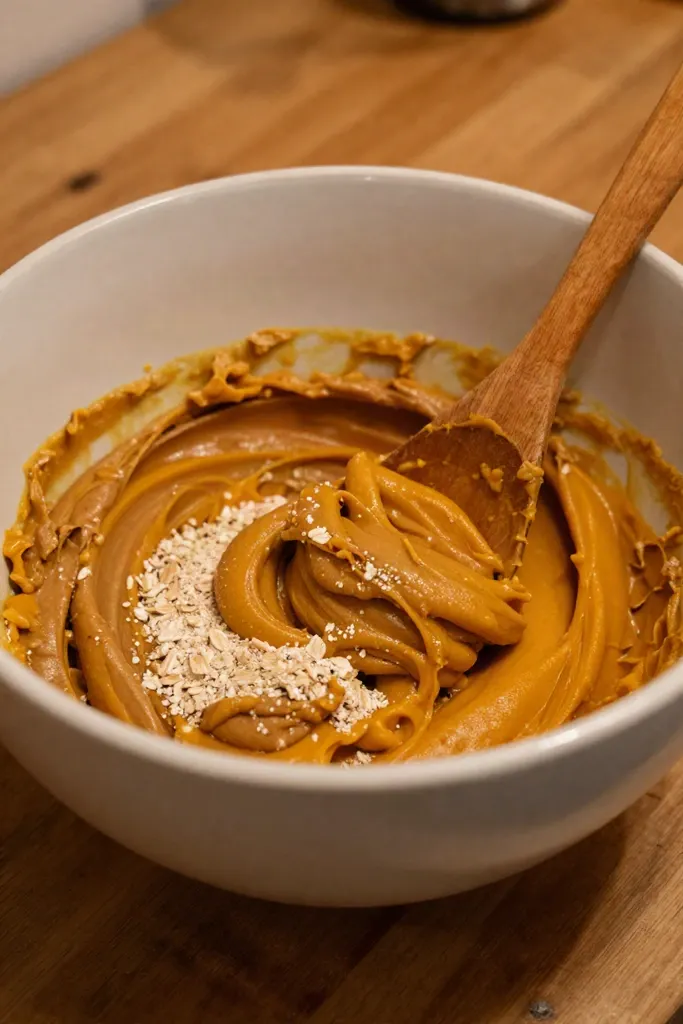
Begin by whisking the pure pumpkin, creamy peanut butter, and beaten eggs in a wide bowl until the blend turns glossy and uniform. Stirring the dense nut butter thoroughly into the moist pumpkin and eggs first prevents heavy pockets of paste from forming later. Once smooth, fold in the oat flour in two gradual additions, using a sturdy spatula or your hands to work the mass into a cohesive ball. The proper consistency feels firm and workable like chilled modeling clay, holding together cleanly without sticking to your palms or crumbling along the seams.
Step 2: Rolling and Cutting the Dough
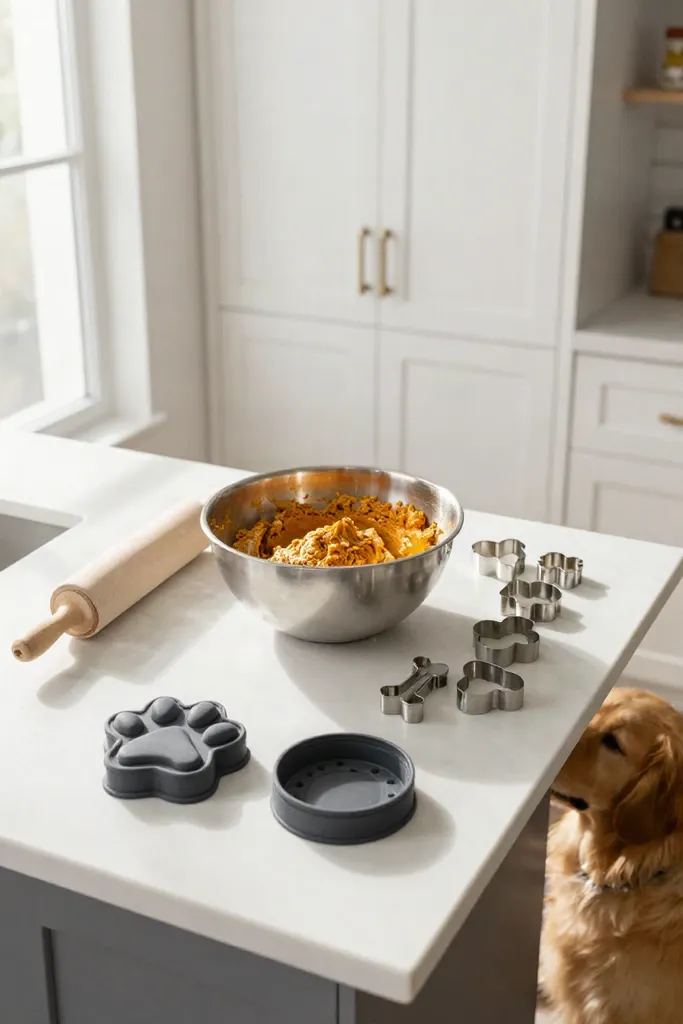
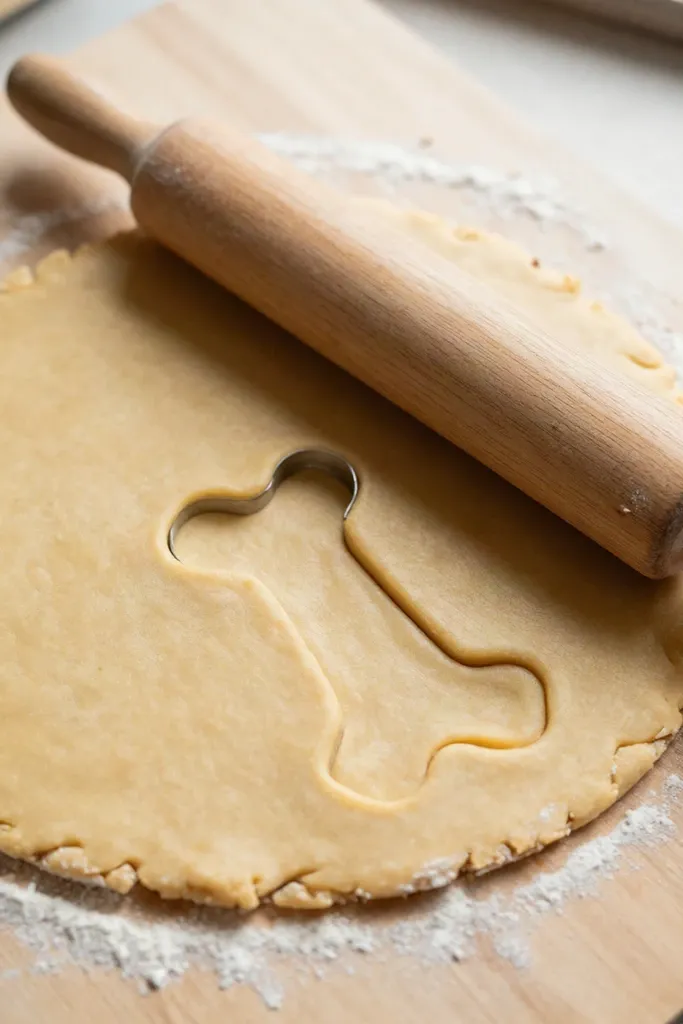
Dust a clean countertop with a light scatter of extra oat flour and flatten the mixture slightly with your hands before smoothing it out. Aiming for a uniform quarter-inch thickness ensures each piece bakes evenly, allowing moisture to escape so your dog gets a crisp, crunchy bite.
- Lay a sheet of parchment paper over the surface if any lingering moisture catches on your rolling pin.
- Press bone or paw-shaped cutters straight down into the flattened sheet to produce clean, recognizable shapes.
- Gather the remaining scraps, press them firmly back together, and flatten them again until you use up the batch.
Step 3: Baking to Achieve the Perfect Crunch
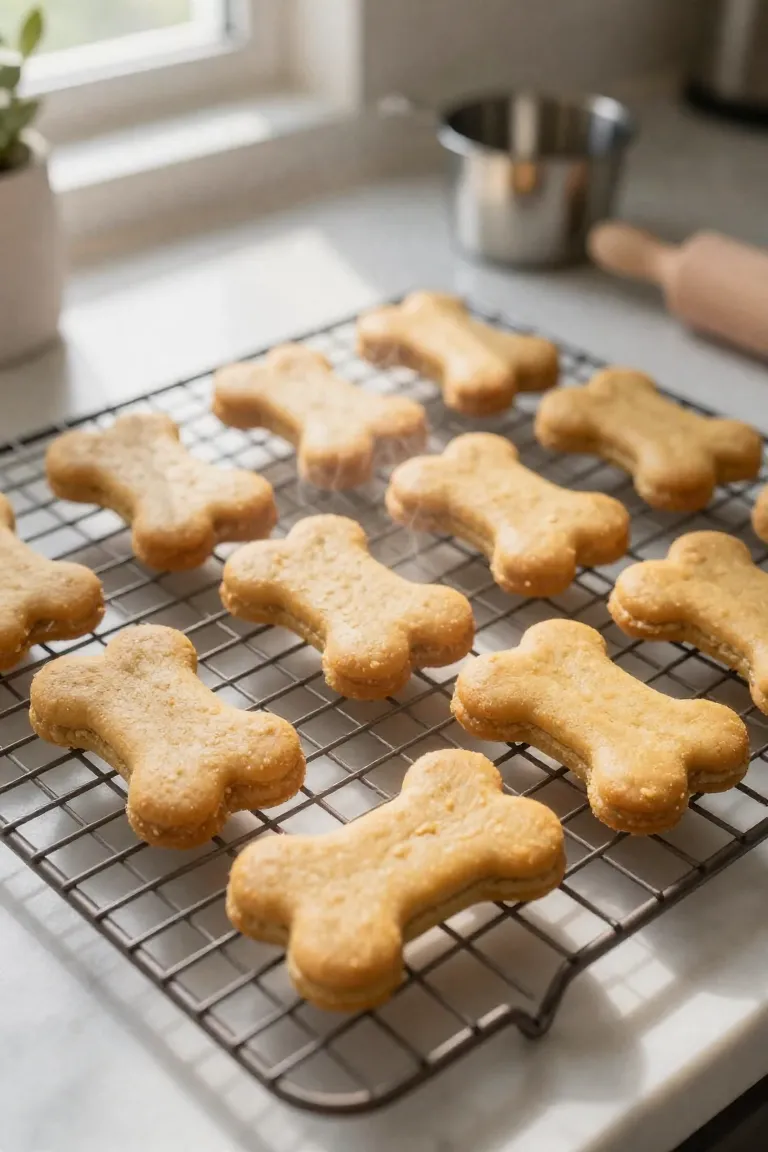
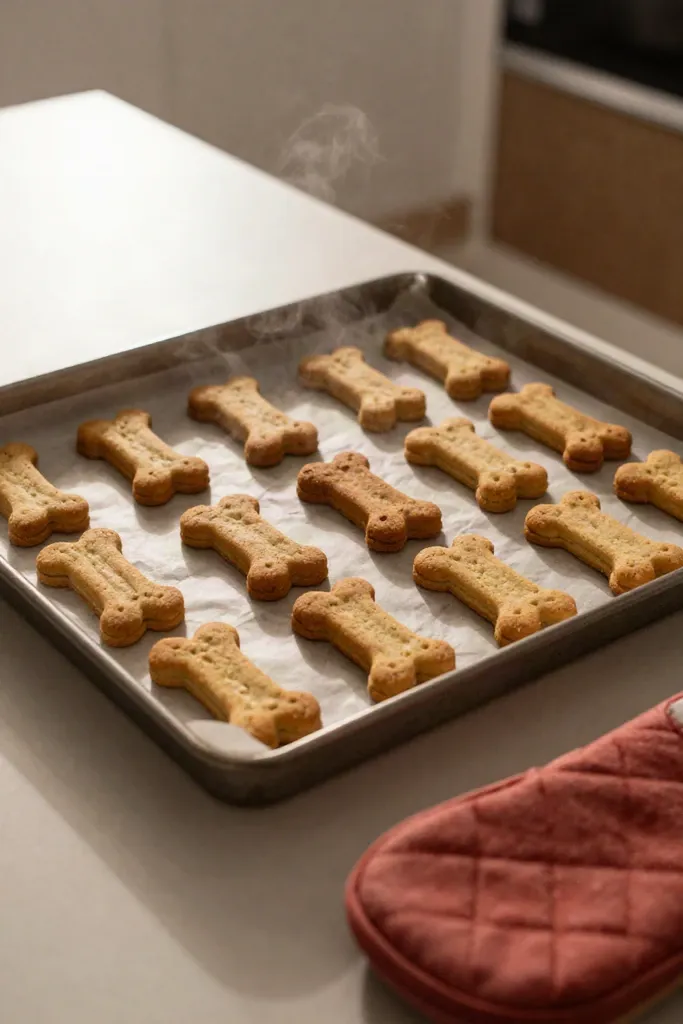
Slide your cut shapes onto a parchment-lined baking sheet and place them into an oven preheated to 350°F (175°C). Because oat dough holds its structure without spreading, you only need about half an inch of clearance between each piece on the tray. Let the batch bake for 25 to 30 minutes until the edges turn a firm golden hue.
Residual heat delivers the crispy texture that helps scrape plaque from teeth during chew time. Once your timer rings, shut the oven off and leave the tray inside the closed door for an extra 45 minutes. This slow cooling phase evaporates deep moisture from the pumpkin puree, yielding firm biscuits that snap cleanly without bending.
Storing Your Homemade Dog Treats
Once the biscuits cool completely, protecting them from ambient humidity becomes essential because kitchen-baked recipes carry zero artificial preservatives or mold inhibitors. A glass jar with a tight silicone gasket or a latching tin protects the texture from household moisture when placed in a cool, shaded pantry cupboard. If your home tends to hold warmth or humidity, moving the sealed container into the refrigerator keeps residual pumpkin moisture from softening that brittle snap.
For larger batches, freezer-safe silicone bags or airtight plastic bins offer a reliable path to maintain freshness without compromising biscuit quality. You can press out any excess air before tucking the bags into the freezer, which prevents ice crystals from clinging to the edges. Individual pieces thaw on the counter in just ten minutes, giving your pup a crisp reward ready for daily training.

Frequently Asked Questions
Subtle differences in oven heat or kitchen humidity can shift biscuit density during the baking process. Adjusting hydration levels and substituting specific flours directly impacts how well the final treat holds its shape and maintains its nutritional value for your dog.
Can I substitute oat flour with all-purpose flour?
Regular pantry wheat works as a direct alternative in a pinch, but switching ingredients alters both dough handling and your pup's overall digestive comfort.
- Some dogs experience mild sensitivities to wheat gluten, which can lead to itchy skin or loose stools compared to easy-to-digest oats.
- Gluten development in all-purpose flour produces a chewier, bread-like structure rather than the crisp, crumbly snap that helps clean teeth.
- Wheat absorbs moisture at a faster rate, so you may need an extra splash of water while rolling the dough and several extra baking minutes to pull out stubborn humidity.
How long do these peanut butter pumpkin biscuits last?
Once your baked batches cool completely to room temperature, their moisture-free texture keeps them stable on the counter inside an airtight glass jar for up to two weeks. Transferring the sealed container to the refrigerator extends their crisp freshness for about three to four weeks, which works well if your kitchen tends to get warm or humid. For larger batches, stash the treats in a heavy-duty freezer bag with excess air pressed out, where they stay safe and appetizing for up to four months. Because these homemade snacks contain no artificial preservatives, you should always check each biscuit for stray moisture or soft spots before tossing one to your pup.