Summary
- Introduction: Upgrading Your Homemade Dog Treats
- Why Swap Wheat for Oat Flour in Dog Treats?
- The Core Ingredients: Peanut Butter, Pumpkin, and Oats
- How to Swap Wheat for Oat Flour: The Golden Ratio
- Step-by-Step Recipe: Oat Flour Peanut Butter Pumpkin Dog Biscuits
- Storage and Shelf Life
- Frequently Asked Questions (FAQ)
- Conclusion
Introduction: Upgrading Your Homemade Dog Treats
Nothing beats watching your dog wait by the oven while a fresh batch of snacks cools on the counter. Mixing creamy peanut butter with pumpkin puree creates a familiar, aromatic biscuit that dogs instinctively love.
A simple pantry switch from standard wheat to finely ground oat flour gives these crunchy bites a mild, nutty aroma and a tender crumb. This wholesome base lets you craft dependable daily rewards using basic staples already sitting on your kitchen shelf.

Why Swap Wheat for Oat Flour in Dog Treats?
Standard all-purpose flour has long been the default for home baking, yet more pet owners now reach for finely milled oats when preparing homemade batches. Whole grain oats provide a distinct culinary advantage in the bowl, creating a pliable dough that holds clean edges without requiring extensive resting time. Because oats naturally lack heavy gluten networks, you can roll and cut shapes repeatedly without ending up with tough, rubbery biscuits.
In home kitchens, this ingredient choice also addresses common digestive sensitivities. Many dogs handle simple oats far better than processed cereal grains, absorbing steady energy while avoiding the bloat or loose stools that heavier flours sometimes trigger. The nutritional profile of this grain provides steady metabolic support for sensitive stomachs.
Benefits of Oat Flour for Dogs
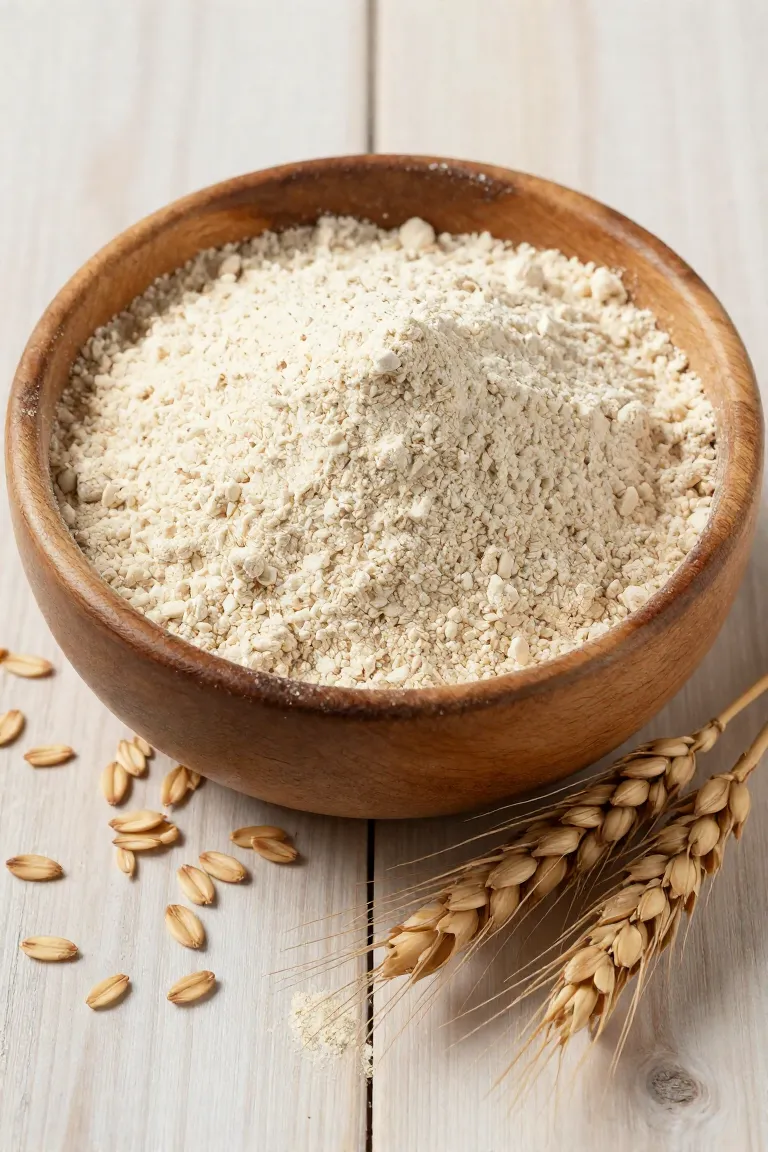
Whole ground oats break down smoothly in a dog's digestive tract because they contain substantial amounts of beta-glucan, a soluble fiber that absorbs water and forms a soothing gel inside the gut. This gentle digestion helps regulate bowel movements and stabilizes blood sugar, giving your pup steady, sustained energy throughout the day rather than the rapid glucose spikes and crashes common with refined white flours. You also provide your pet with essential B vitamins and plant protein that support cellular repair. Because the grain undergoes minimal processing before milling, its naturally occurring nutrients remain intact, making homemade biscuits far easier on sensitive canine stomachs while building reliable metabolic support.
When to Avoid Wheat Flour
If your dog frequently scratches their ears or experiences recurrent digestive upset after eating commercial biscuits, a gluten sensitivity might be responsible. While true grain allergies are less common in canines than reactions to meat proteins, chronic skin irritation and loose stools often indicate that your pet struggles to digest dense, refined grains. Moving away from standard bakery staples makes practical sense if you already stock whole oats at home and want to build homemade treats around recognizable ingredients.
The Core Ingredients: Peanut Butter, Pumpkin, and Oats
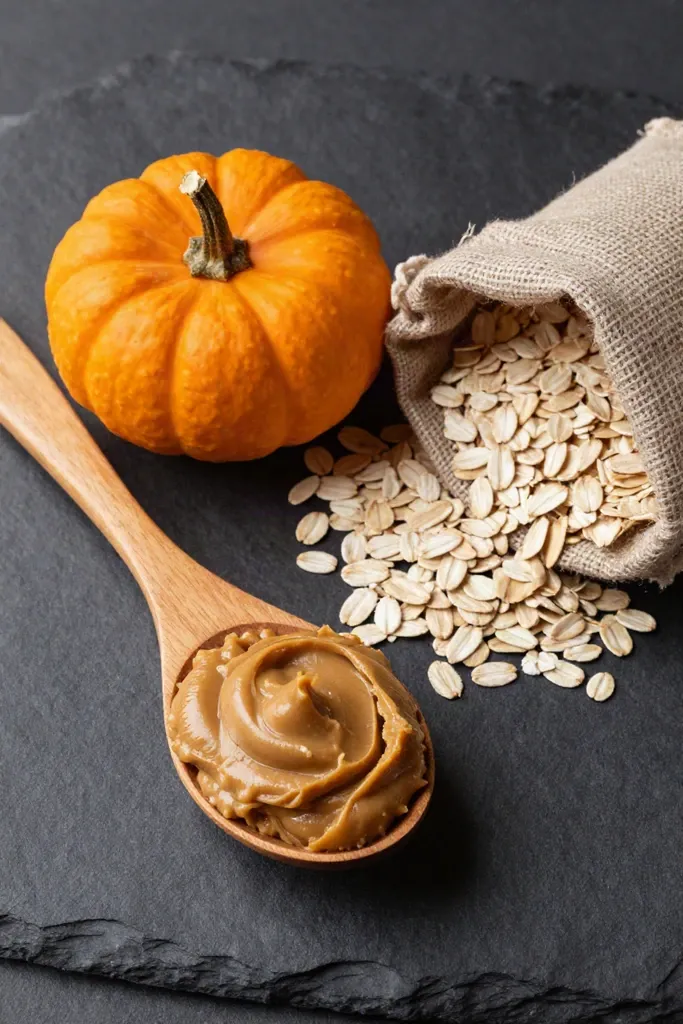
When you combine these pantry staples, each component handles a distinct mechanical and nutritional role in the dough. Ground oats establish a hearty, fiber-rich base that absorbs moisture steadily, giving your biscuits a satisfying crunch without crumbling on the counter. Pureed squash supplies the hydration and soluble fiber necessary to bind the dry granules into a workable ball, while smooth seed or nut butter introduces natural fats and rich aroma that entice your pup. Because ground oats lack the elastic gluten web found in standard wheat flour, the natural oils and dense vegetable puree work in tandem to hold the dough together from the cutting board to the hot baking sheet.
Choosing the Right Peanut Butter
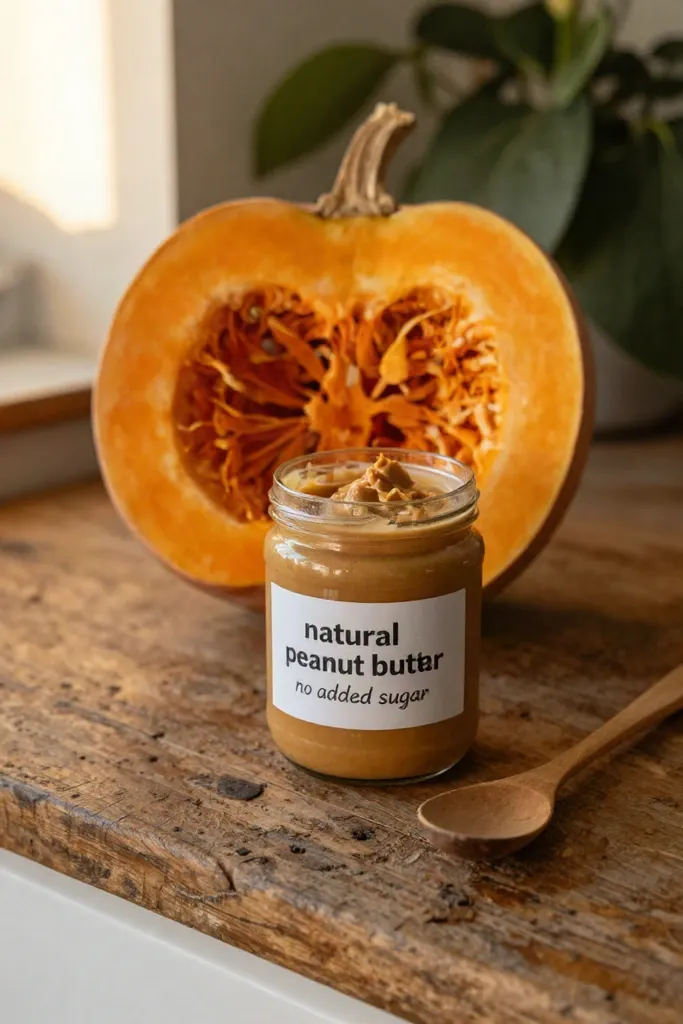
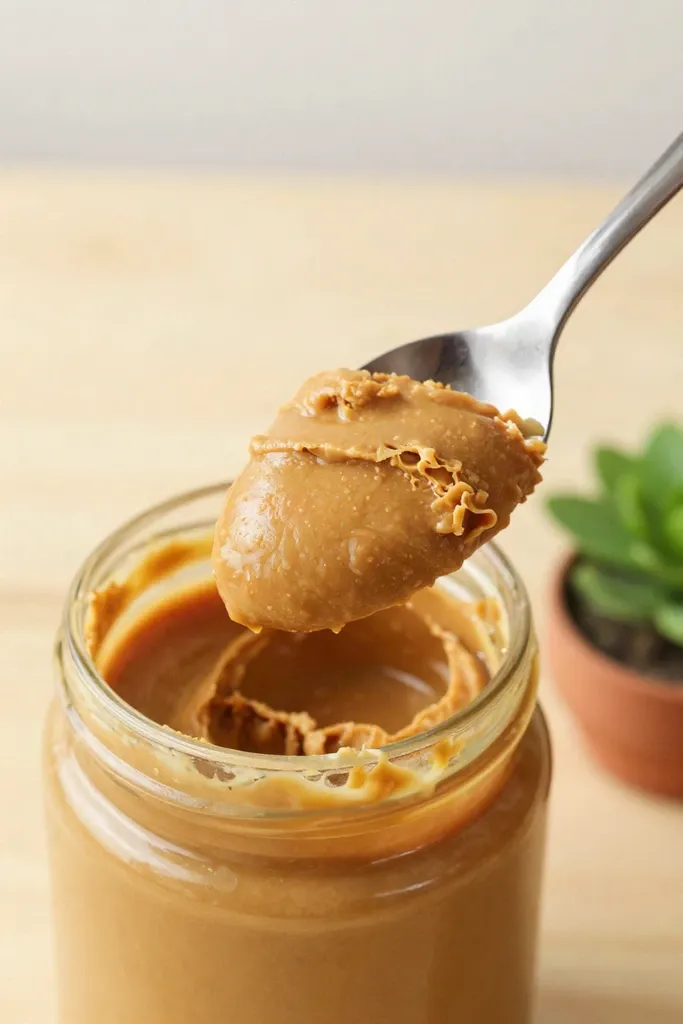
Check the ingredient label on your jar before scooping anything into your mixing bowl. A growing number of commercial brands sweeten their spreads with xylitol, sometimes listed as birch sugar, which is lethal to dogs even in trace amounts. Ingesting this sugar alcohol triggers a sudden insulin surge that leads to severe hypoglycemia and acute liver damage within hours. Standard grocery store options also frequently pack in hydrogenated palm oils and refined sugars that needlessly strain your dog's digestion.
The safest choice is a natural, unsalted jar made solely from peanuts with zero additives. While these pure spreads naturally separate and require a thorough stir, their runny consistency distributes evenly through dense dry mixtures and holds the dough together cleanly. Reading that ingredient panel takes only a few seconds and guarantees your batch stays wholesome from the very first mix.
The Magic of Pumpkin Puree
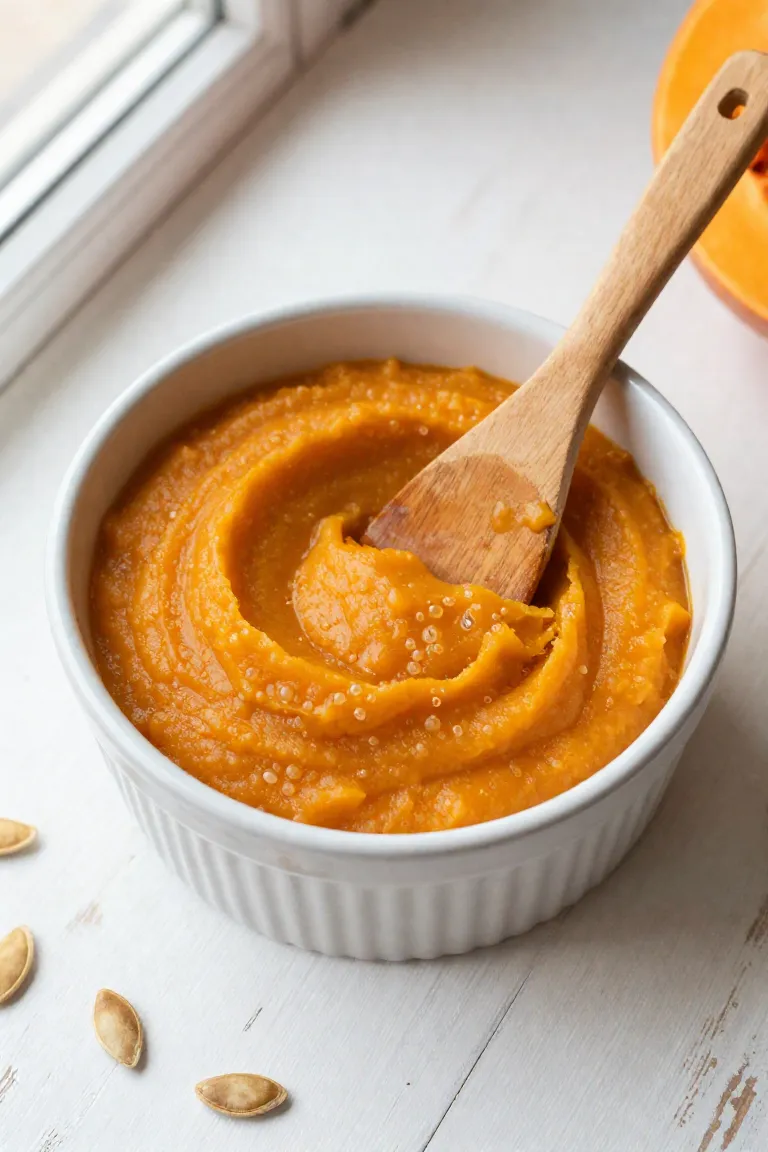
Once you select a clean nut butter, adding plain canned pumpkin delivers gentle, reliable support for your dog's gastrointestinal tract. Packed with dietary fiber, it absorbs excess moisture to firm up loose stool while simultaneously providing enough bulk to ease mild constipation. This nutrient-dense orange pulp also supplies beta-carotene and vitamin C, giving your companion essential micronutrients without piling on unnecessary fats. You must, however, inspect grocery cans with extra care because standard pumpkin pie mix sits right beside pure canned pumpkin on the shelf. Pre-seasoned pie fillings contain heavy corn syrup and toxic spices like nutmeg, which can trigger acute stomach inflammation or neurological distress in canines. Verifying that pumpkin is the sole item listed on the can protects your pet's sensitive stomach while keeping moisture levels balanced for the batch.
Making Your Own Oat Flour at Home
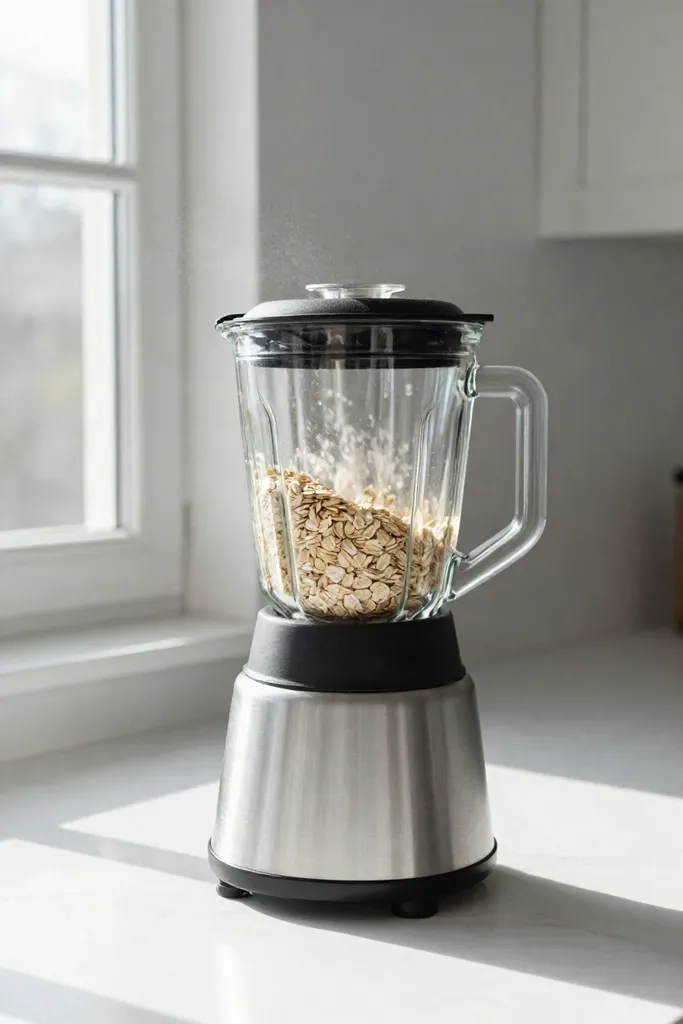
A standard canister of plain rolled oats from your pantry saves you an extra grocery run and cuts costs on packaged alternatives. Pour two or three cups of whole oats into a high-speed blender or food processor, secure the lid, and run the blades on high for roughly thirty to sixty seconds. The spinning blades rapidly reduce the dry flakes into a fine, uniform powder ready for mixing.
A brief pause to scrape down the sides ensures every whole flake catches the blade before you measure. If a few coarse pieces remain, shake the pitcher lightly and pulse for another ten seconds to produce a light flour that incorporates evenly with the wet base.
How to Swap Wheat for Oat Flour: The Golden Ratio
Shifting from a traditional wheat base to ground oats alters how moisture interacts with dry grains in the mixing bowl. Wheat contains gluten proteins that create elasticity, whereas oats lack that network and rely on soluble fibers to hold structure. Because ground oats don't behave like standard baking flours, exchanging them without a calibrated baseline easily throws off the moisture balance of your treat mixture. Establishing a reliable conversion benchmark ensures you'll get dough that binds cleanly without turning brittle or sticky.
The density of finely milled oats differs significantly from wheat flour, which means direct cup-for-cup swaps often leave a batch parched. You'll notice the mixture feels tender initially, but the oat particles steadily drink in moisture from the pumpkin and fats from the peanut butter. Anticipating this physical shift keeps your dough pliable under the rolling pin and sets the foundation for a crisp, even bake.
Understanding Flour Absorption and Texture
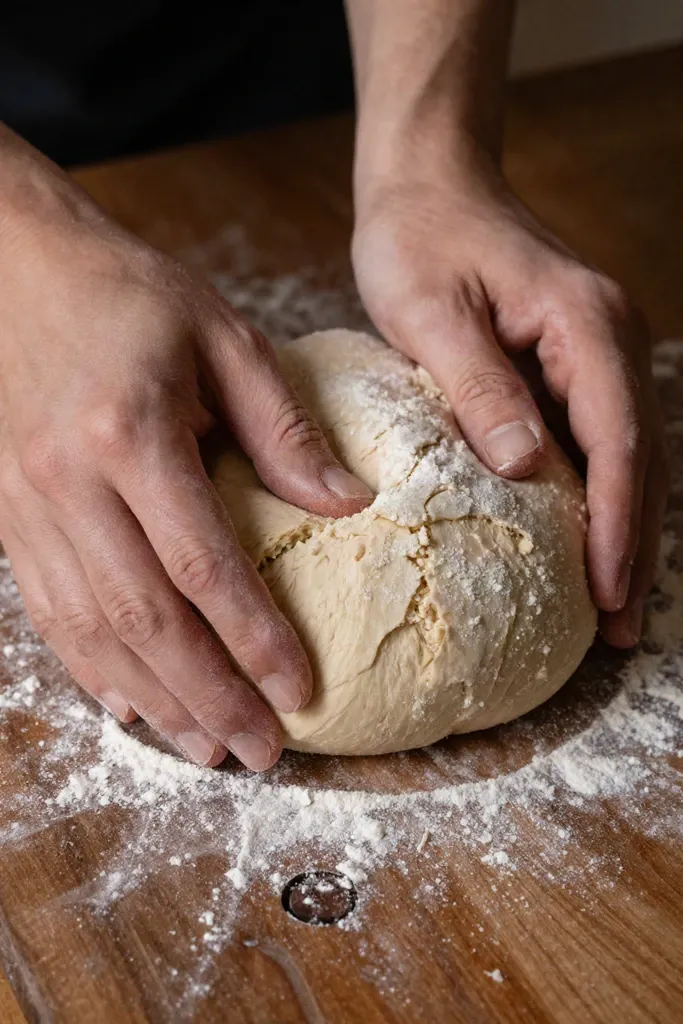
Ground oats act like tiny sponges, pulling liquid from the puree and binder far faster than traditional milled grain. Because oats naturally lack gluten, your mixture won't develop the elastic, stretchy web typical of standard wheat doughs. Instead of springing back when rolled, the dough behaves much like chilled shortbread, holding its shape cleanly while remaining slightly fragile to the touch. This structural difference yields a baked biscuit with a tender, satisfying snap that breaks easily between your dog's teeth rather than turning dense or chewy. A five-minute rest on the counter allows the dry particles to hydrate fully, keeping the cut shapes intact as they transfer to the baking sheet.
The Exact Substitution Formula
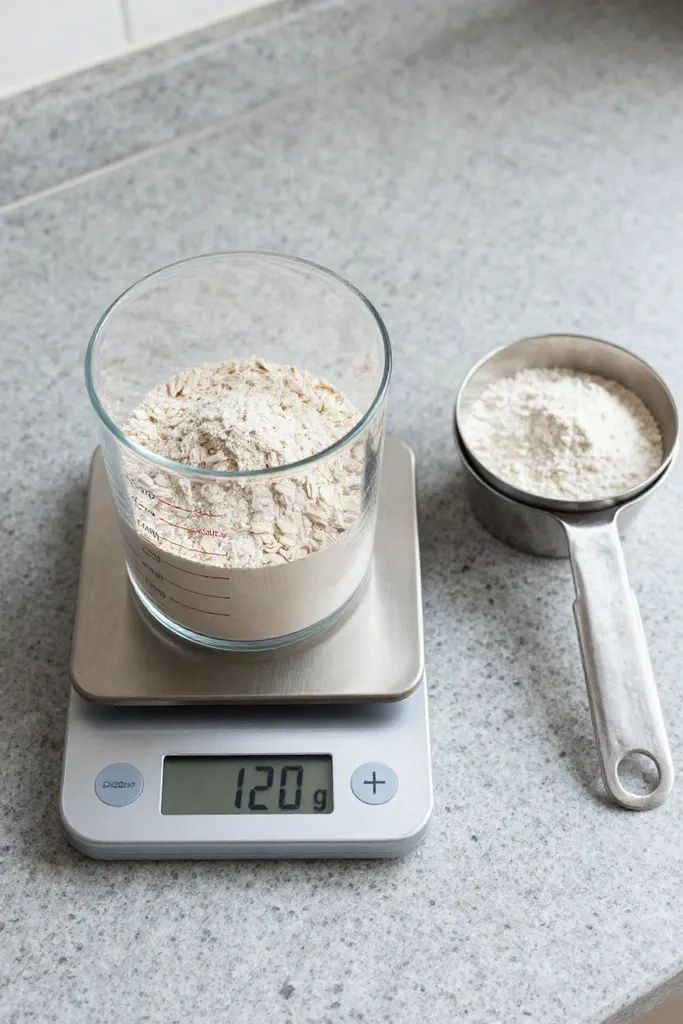
Getting the balance right comes down to accounting for grain density before turning on your mixer. Because milled oats are noticeably lighter and airier by volume than dense all-purpose grain, scooping out equal cup amounts leaves your dough sticky and wet. A digital kitchen scale provides dependable results, though standard cup measures work well when you make a simple volumetric adjustment.
- Use 1 1/4 cups of oat flour for every 1 cup of standard all-purpose wheat flour to make up for the lighter volume.
- Weigh out 120 grams of oat flour to replace every 120 grams of wheat flour if you prefer a direct weight swap.
- Add an extra spoonful of pure water or pumpkin if the rested dough feels dry, keeping the batch workable before cutting into shapes.
Step-by-Step Recipe: Oat Flour Peanut Butter Pumpkin Dog Biscuits
With your ratios dialed in, turning these wholesome pantry staples into crunchy rewards takes only a few simple steps. An organized station keeps sticky dough off your counters and makes the entire process enjoyable for you and your pup.
- Clear ample counter space so you have room to roll out dough without crowding your tools.
- Keep a small dish of water and a bowl of dry flour nearby for quick moisture adjustments as you work.
- Invite your dog into the kitchen to supervise, turning routine prep into a shared ritual.
1. Gather Your Supplies and Prep the Oven
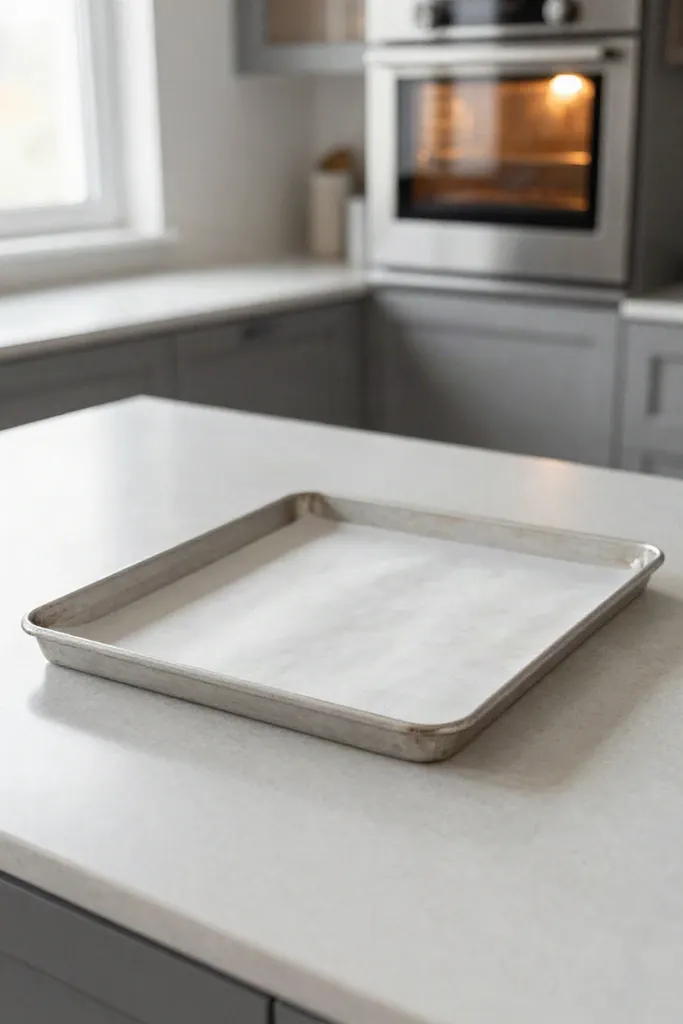
A properly arranged workspace keeps the entire baking process organized. You'll want the heat source steady and your baking sheet prepped ahead of time so the cutout shapes can transfer directly onto the pan without losing their form.
- Preheat your oven to 350°F (175°C) to ensure an even, consistent bake throughout the rack.
- Line a wide baking sheet with parchment paper or a food-grade silicone mat to stop the bottoms from scorching or sticking.
- Set out your mixing bowls and cookie cutters so every tool rests within arm's reach.
2. Mix the Wet Ingredients
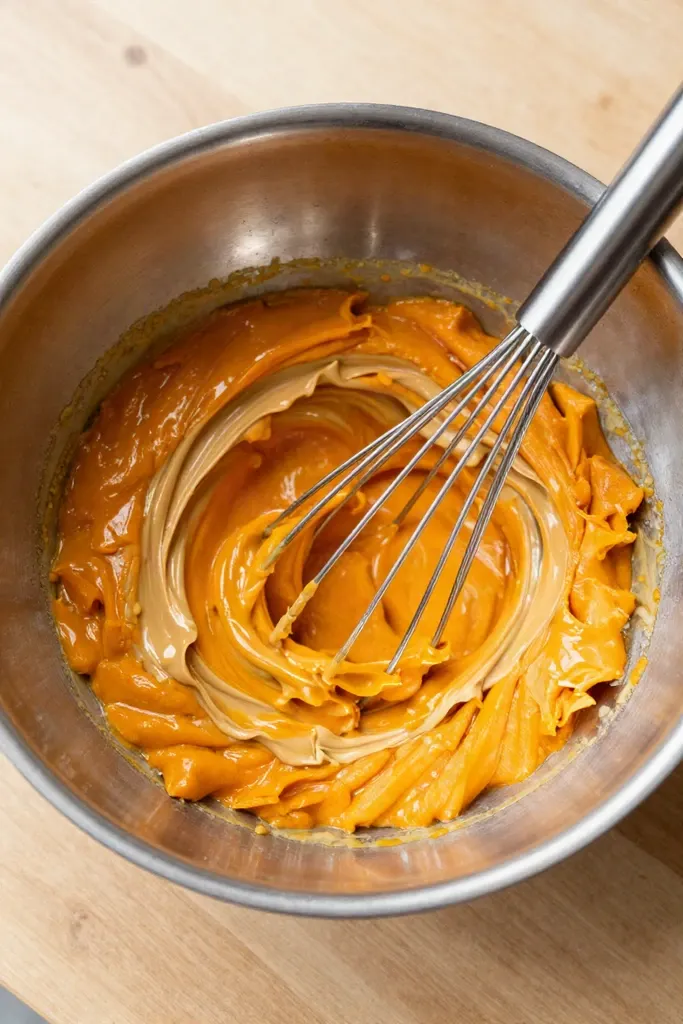
With your equipment ready on the counter, combine the wet ingredients like pumpkin puree and peanut butter with a whole egg in your large bowl. A thorough initial stir before introducing any dry grain ensures that moisture spreads evenly throughout the batch.
- Stir the mixture with a sturdy wooden spoon or wire whisk, breaking the egg yolk and incorporating the dense peanut butter into the pumpkin puree.
- Work the batter for one to two minutes until the texture turns smooth and settles into a uniform warm shade without oil separation.
- Scrape down the sides and bottom of the bowl with a flexible silicone spatula so no thick pockets escape before you add the flour.
3. Incorporate the Oat Flour
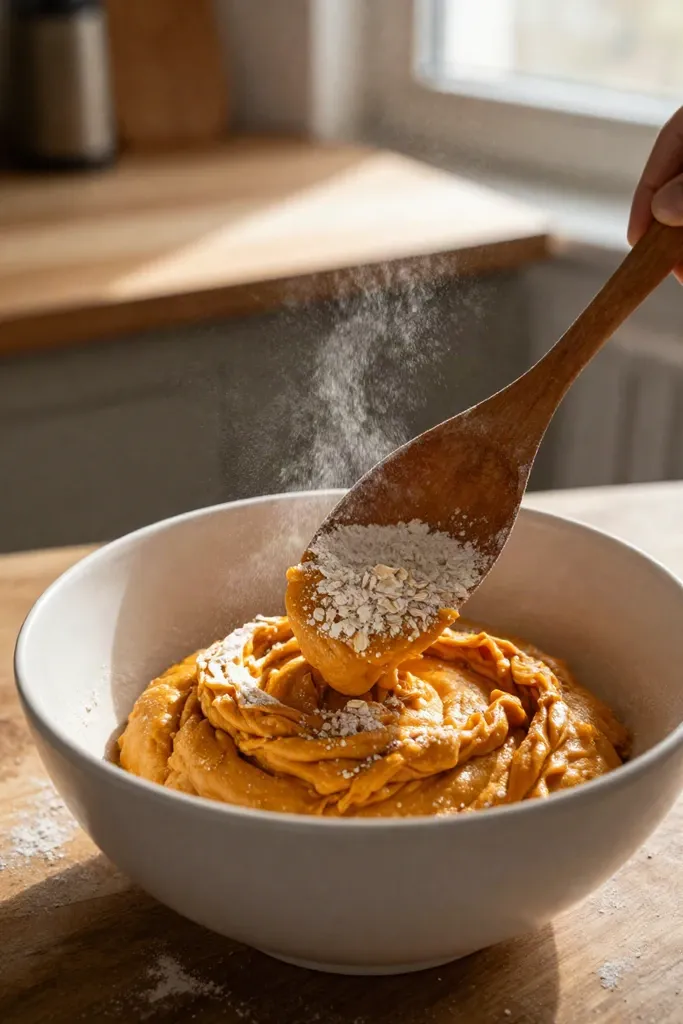
Pour half of your prepared dry base into the bowl, gently folding it into the smooth pumpkin batter with a sturdy spoon or spatula. Add the remaining portion in small batches, working the crumbs from the outer edges inward until no dry patches remain. The mixture will initially look shaggy and feel quite sticky against your hands, but resisting the urge to dump in extra flour right away keeps your finished batch tender rather than dry and crumbly.
Within five to ten minutes of resting on the counter, the thirsty grain particles pull in the moisture from the pumpkin and firm up into a workable dough. A quick touch test will show it holds its shape cleanly without sticking to your fingers, giving you a pliable base ready for shaping.
4. Roll, Cut, and Bake
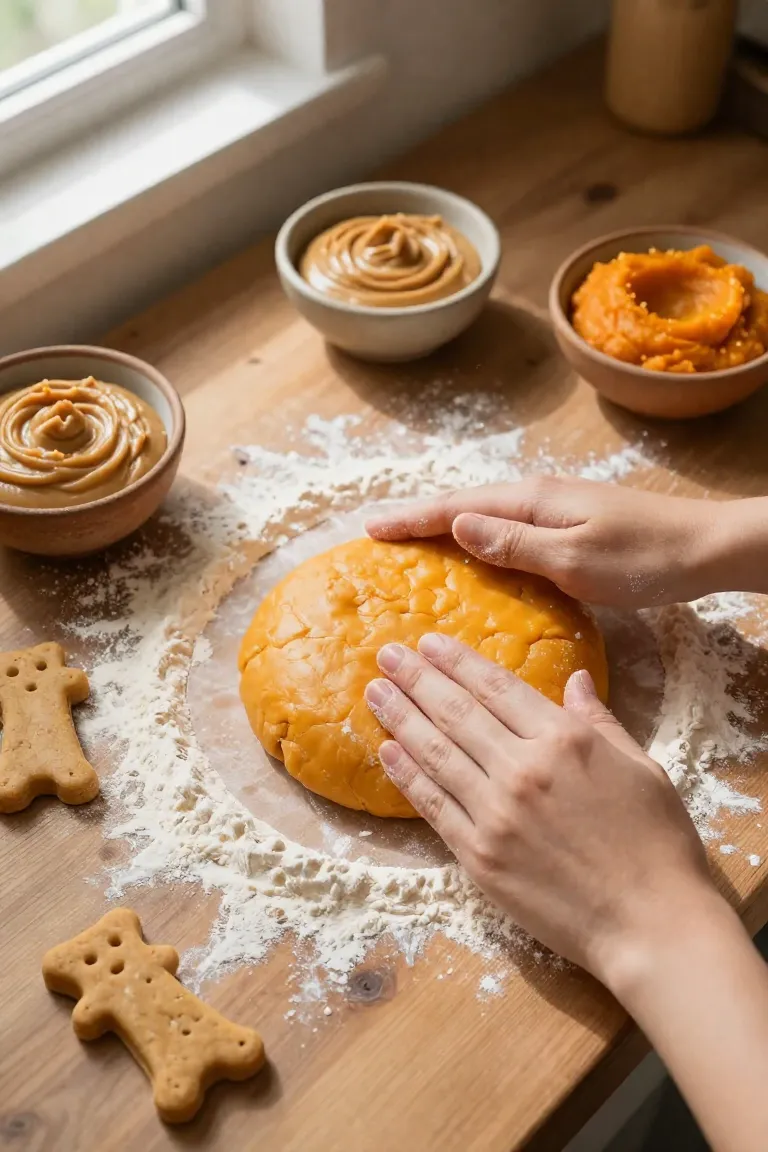
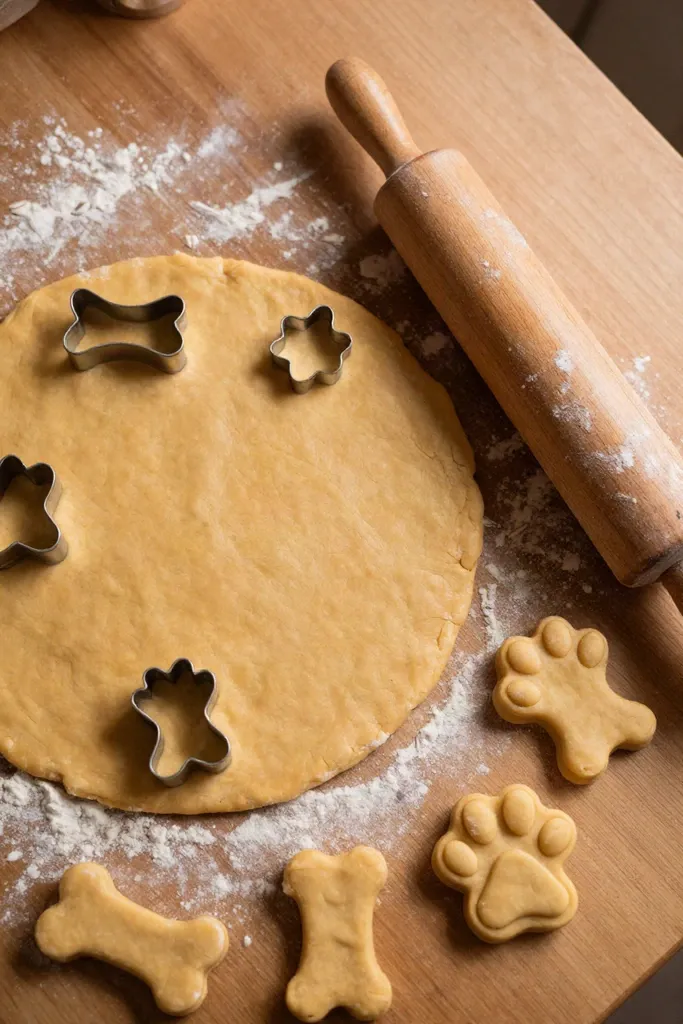
Lightly dust your clean countertop or a silicone mat with a small handful of ground oats so the mixture moves smoothly without tearing. Flatten the mound with your palms first, then glide a rolling pin across the top until the slab reaches an even quarter-inch thickness across the board.
- Press cookie cutters, such as bone shapes or paw outlines, firmly through the dough and transfer each piece onto a parchment-lined baking sheet.
- Gather the remaining edge scraps, press them into a ball, and roll them out again until you have shaped every bit of dough.
- Bake the tray at 350°F (175°C) for roughly 25 to 30 minutes until the biscuits turn golden along the rims and dry into a firm, crunchy bite.
Storage and Shelf Life
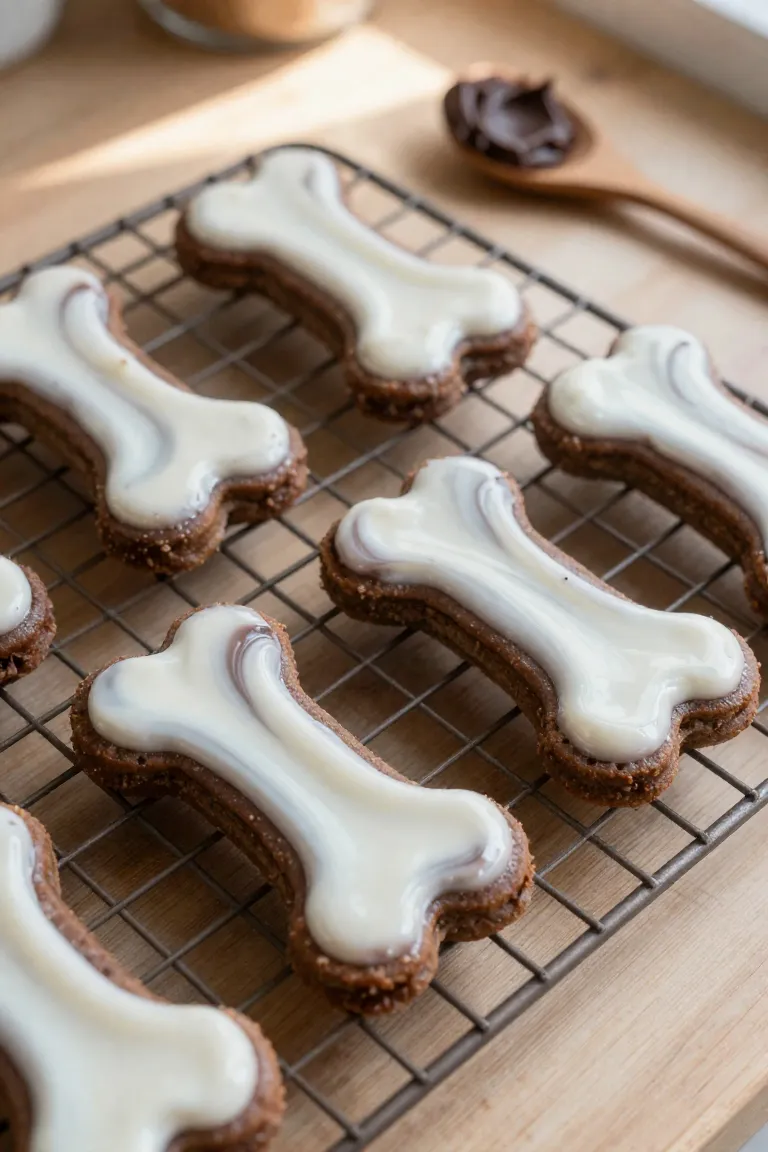
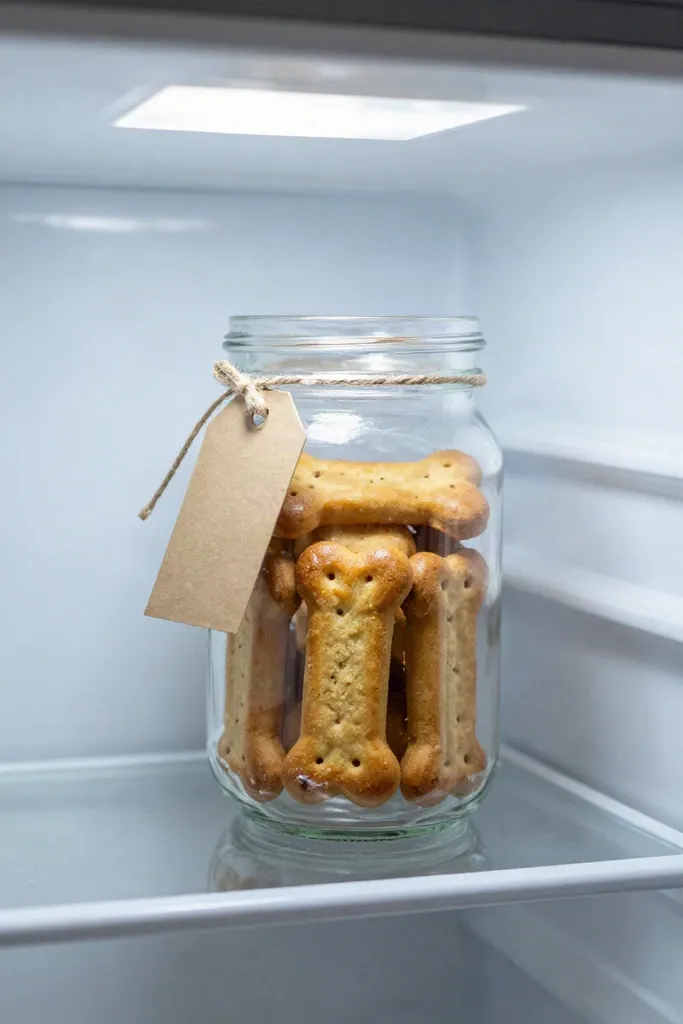
Once cooled completely on a wire rack, transfer the biscuits directly into an airtight glass container to lock out ambient moisture. Because fresh homemade batches contain zero artificial preservatives, leaving them exposed on the counter invites humidity and mold within just a few days. Keeping the sealed jar inside your refrigerator maintains that crisp texture for up to seven days, while stashing extras in freezer bags keeps them fresh for up to three months. When your dog is ready for a treat, thaw individual pieces on the counter for ten minutes or offer them straight from the freezer for a cooling crunch.
Frequently Asked Questions (FAQ)
Quick oats work just as well as rolled oats when ground into flour, though they absorb moisture slightly faster due to their smaller flake size. If your dough feels stiff after blending quick oats, a single tablespoon of warm water quickly restores the pliable texture needed for clean rolling. The finished biscuits can be either soft or crunchy depending on how long they bake; pull the tray at twenty minutes for a softer bite that gentle chewers love, or turn off the heat and leave them inside to dry into a firm, crunchy biscuit.
A modest pinch of ground Ceylon cinnamon adds a cozy aroma that complements the pumpkin without causing stomach upset. Keep the measurement to roughly a quarter teaspoon for the whole batch, and always avoid spice blends containing nutmeg or extra sweeteners. These minor kitchen tweaks let you customize the batch for your pup's teeth while keeping the healthy pantry base completely intact.
Conclusion
Baking wholesome biscuits at home gives you full control over your dog's digestion, and grinding rolled oats into a gentle flour takes only minutes with a standard blender. By skipping heavy wheat in favor of soluble fiber and plant-based protein, you provide a crunchy treat that supports sensitive stomachs and steady daily energy. Snap a quick picture of your dog sampling their fresh golden snacks and share your kitchen results online so fellow pet parents can see those happy tail wags in action.