Summary
- Introduction: The Magic of Sweet Potato and Oats for Your Dog
- Essential Ingredients for the Perfect Chewy Texture
- Must-Have Baking Tools for Homemade Dog Treats
- Step-by-Step Guide: Crafting Your Sweet Potato Oat Cookies
- Storage Tips to Keep Treats Fresh and Chewy
- Frequently Asked Questions About Homemade Dog Treats
Introduction: The Magic of Sweet Potato and Oats for Your Dog
Baking a fresh batch of homemade pet treats lets you skip mystery preservatives while giving your pup wholesome nourishment straight from the kitchen counter. Combining dietary fiber with beta-carotene creates healthy dog snacks that support sensitive bellies and healthy digestion.
Beginners often worry about fussy kitchen prep, but this simple bowl-to-tray method comes together in minutes without any culinary guesswork.
Essential Ingredients for the Perfect Chewy Texture
Crafting delicious chewy dog cookies at home comes down to balancing wholesome moisture with absorbent dry bases. When you keep your dog treat ingredients clean and unrefined, you achieve a soft, toothsome bite that older dogs and teething puppies can easily enjoy without crumbling into dust.
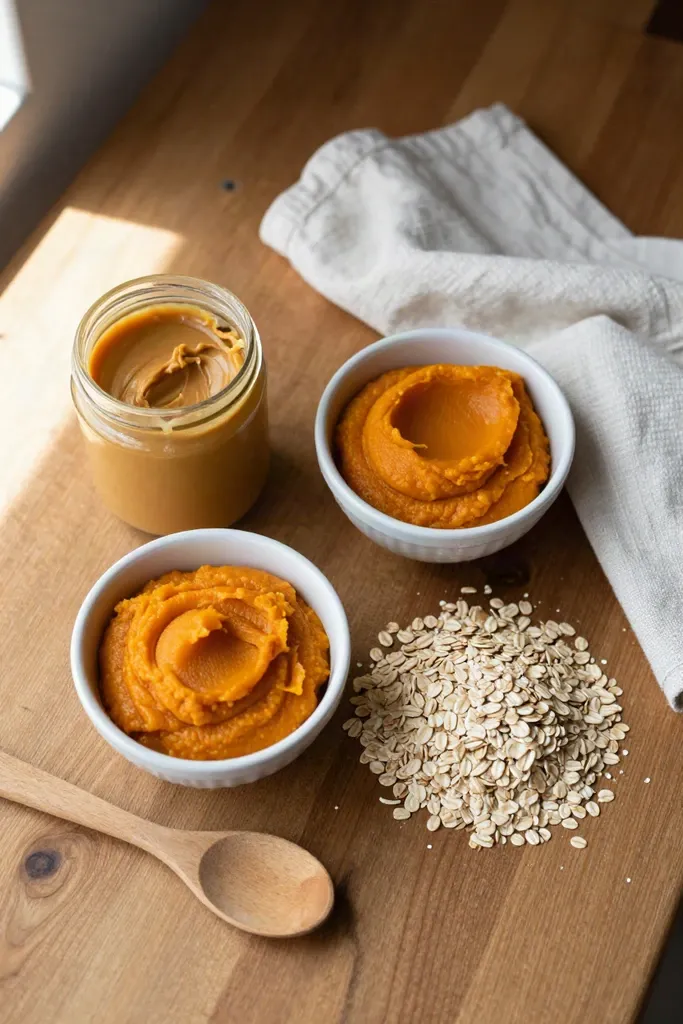
- Cooked sweet potato puree provides natural hydration and the foundational binder needed for pliable dough.
- Finely rolled oats absorb excess steam during the bake while establishing a soft, tender crumb structure.
- A splash of warm water or unsweetened applesauce allows you to dial in the moisture level before rolling.
Choosing the Right Sweet Potatoes
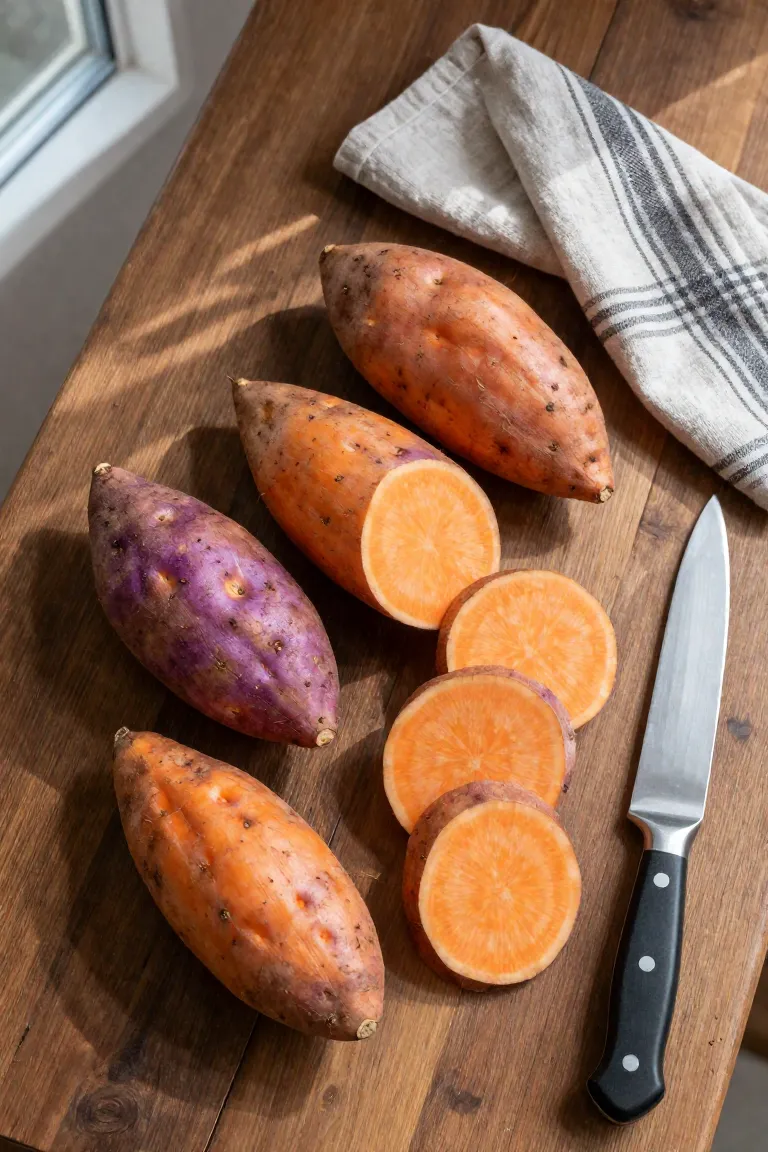
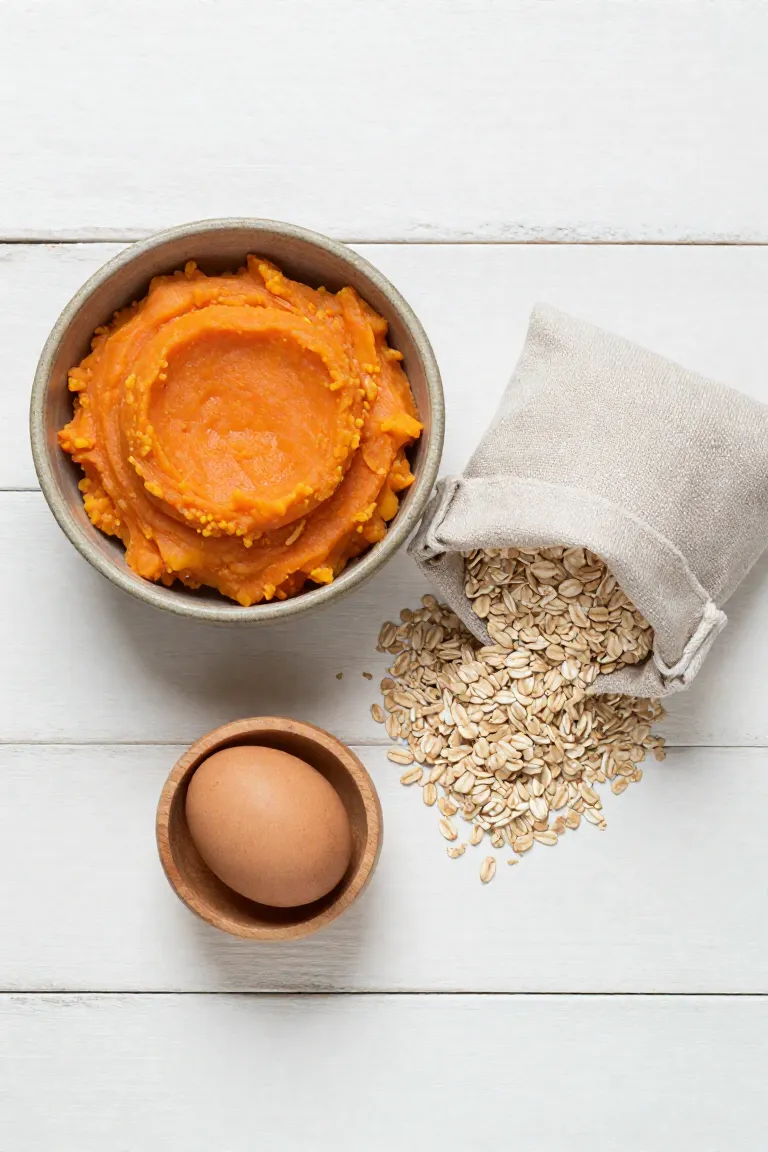
Reach for fresh garnet or jewel varieties at the market, as their deep copper skins and dense orange flesh deliver reliable moisture for your biscuit base. Selecting fresh whole tubers ensures your sweet potato for dogs remains completely free from the heavy syrups and excess sodium often packed into canned alternatives. Baking sweet potatoes in their skins until fork-tender gently caramelizes their natural sugars while making the pulp easy to scoop into a mixing bowl. This thick, silky puree hydrates rolled grain evenly, producing a tender crumb that holds its shape through every cut.

The Role of Rolled Oats in Dog Treats
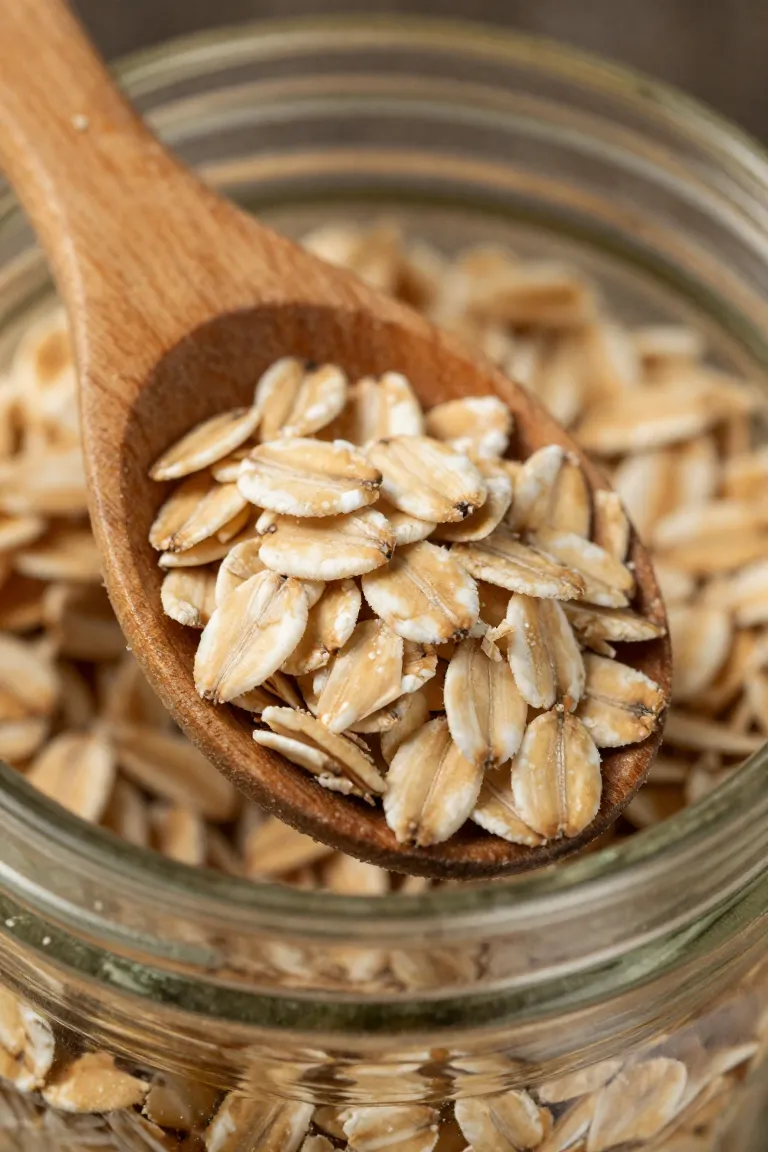
Unlike conventional wheat flour that can trigger digestive sensitivities or create overly brittle biscuits, whole grains provide a soft, stomach-friendly foundation for sensitive pups. Integrating rolled oats for dogs supplies soluble fiber that stabilizes digestion while absorbing excess moisture from the potato puree, yielding a pliable dough that holds together without cracking. When prepared as certified gluten free dog treats, these slow-burning flakes offer essential B vitamins and iron while keeping the baked crumb tender and easy on senior jaws. Pulsing them lightly in a food processor before mixing allows the coarse flakes to interlock easily with the wet mash, creating the distinct, chewy bite dogs love.
Dog-Safe Binders and Enhancers
While vegetable puree provides moisture, blending in nutrient-rich dog treat binders ensures your dough remains elastic and easy to handle on the counter. A single farm-fresh egg introduces high-quality protein and natural lecithin, which emulsifies the wet and dry components to prevent crumbly edges during baking. You can also incorporate a dollop of unsalted nut butter to boost aroma and deliver healthy dietary fats that support coat luster and joint mobility.
Safety remains paramount when selecting store-bought spreads, requiring a meticulous check of the ingredient label every single time. Always select verified xylitol free peanut butter, as this common sugar substitute is severely toxic to canines even in minuscule quantities. Pure, single-ingredient jars containing only roasted peanuts keep your kitchen creations wholesome and completely risk-free for your four-legged companion.
Must-Have Baking Tools for Homemade Dog Treats
Gathering practical equipment makes prep work smooth and tidy from the initial mash to the final tray. You only need a few reliable baking tools already resting in standard kitchen drawers: a wide ceramic mixing bowl for thorough folding, a heavy-duty potato masher to break down cooked tubers, and a wooden rolling pin for uniform slab thickness. Line your sheet pans with unbleached parchment paper to prevent sticking without adding greasy oils, then use a classic dog bone cookie cutter to stamp out clean, festive portions. Chilling the rolled dough for ten minutes before pressing ensures crisp silhouette lines that hold their boutique charm through the oven heat.

Step-by-Step Guide: Crafting Your Sweet Potato Oat Cookies
Rolling up your sleeves in the kitchen feels rewarding when you realize how approachable this dog treat recipe tutorial really is. You don't need professional pastry training or specialized kitchen gadgets to produce wholesome batches for your pet. Dedicating a quiet Saturday afternoon to baking dog treats lets you control every single ingredient while filling the house with warm, toasted aromas.
- Prep your kitchen workstation ahead with lined baking sheets, a sturdy rolling pin, and airtight tins to keep the workflow tidy.
- Involve the entire family in pressing out biscuit shapes to turn a basic kitchen routine into an engaging weekend ritual.
- Keep a spare handful of oat flour nearby to dust your countertop whenever the dough feels slightly tacky.
Step 1: Prepping and Mashing the Sweet Potatoes
Begin by washing two medium tubers thoroughly to remove lingering soil, then choose between a gentle simmer or an oven roast. Roasting them whole at 400°F concentrates their natural earthy sweetness, while steaming cubed pieces on the stovetop cuts prep time in half. You'll know they are ready when a metal fork slides through the thickest center with zero resistance. Peeling away the papery skins while the flesh is still warm allows steam to escape, which prevents excess moisture from thinning out your base when prepping dog treats.
A heavy handheld masher or food processor works best to crush the warm pulp into a dense, velvety pureé. Eliminating fibrous clumps at this stage guarantees that your mashed sweet potato distributes evenly across every single biscuit. If you notice any stringy fibers near the root ends, scoop them out with a spoon so your cutter slides cleanly through the rolled sheets later.

Step 2: Mixing the Dough to the Right Consistency
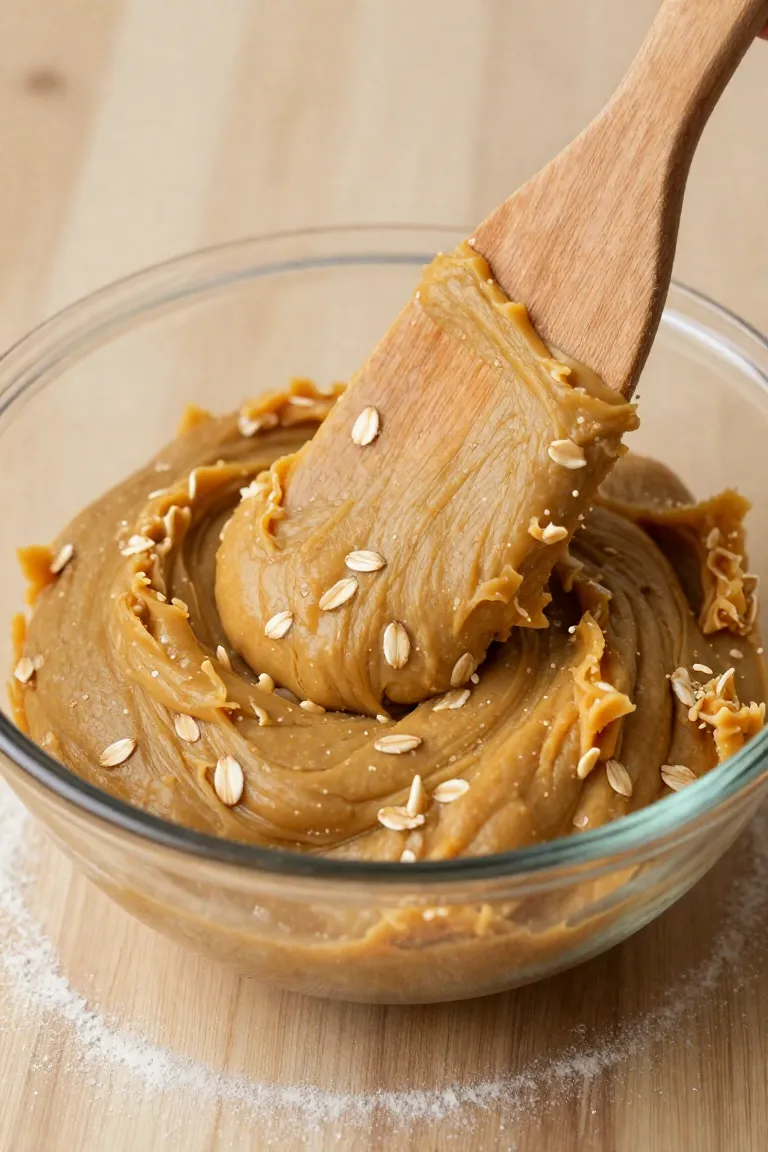
Pour your rolled oats and binder into the bowl alongside the cooled pureé, using a stiff silicone spatula to fold the components together until no dry pockets remain. When mixing ingredients, watch how the moisture absorbs into the flake structure; the resulting dog cookie dough should feel firm and pliable, holding a round shape without sticking heavily to your palms. If the mixture appears crumbly and cracks along the edges as you press it, knead in a single teaspoon of lukewarm water or pure pumpkin pureé at a time. Conversely, a blend that clings stubbornly to your fingers calls for an extra tablespoon of finely ground oats to restore balance before rolling.
Step 3: Rolling and Cutting Fun Cookie Shapes
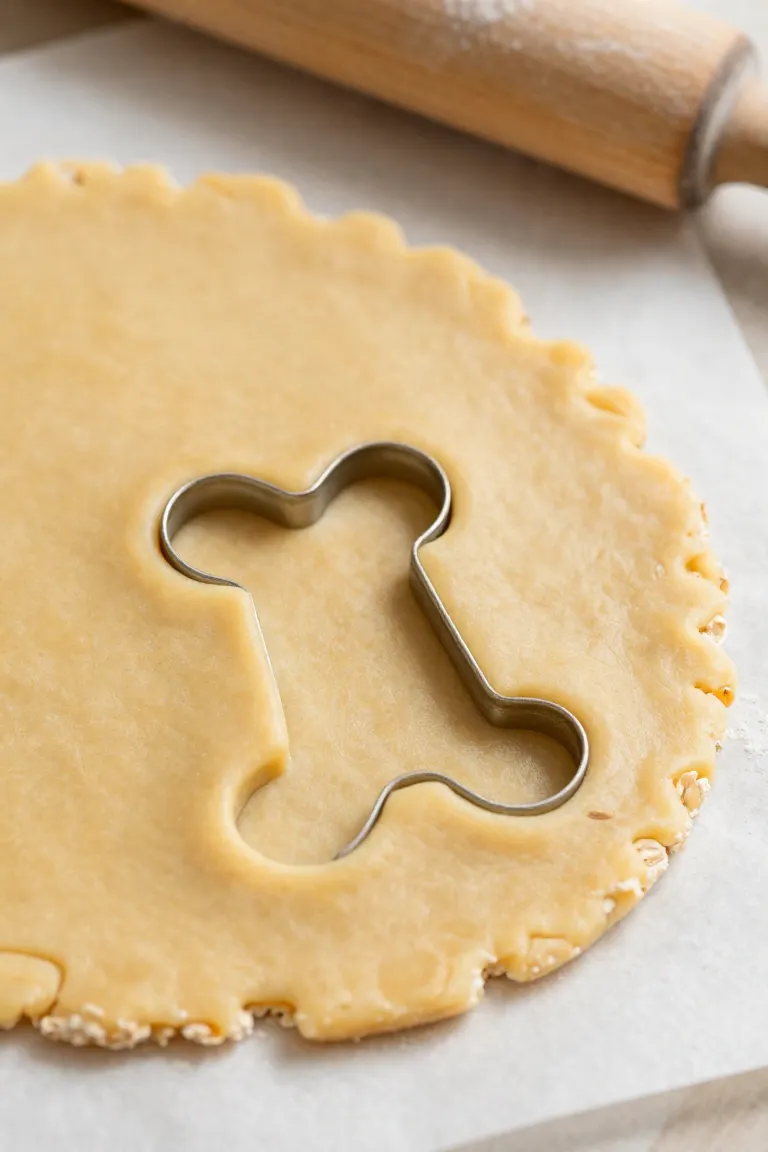
Lightly dust your countertop or parchment paper with a sprinkle of extra oat flour so the pliable mass glides smoothly under your pin. When rolling cookie dough, aim for a uniform quarter-inch thickness across the entire slab to ensure every piece bakes at the exact same rate. Placing wooden dowels or thickness rings on your rolling pin keeps the slab level, preventing thin, brittle edges while preserving that plush, tender interior your pup will adore.
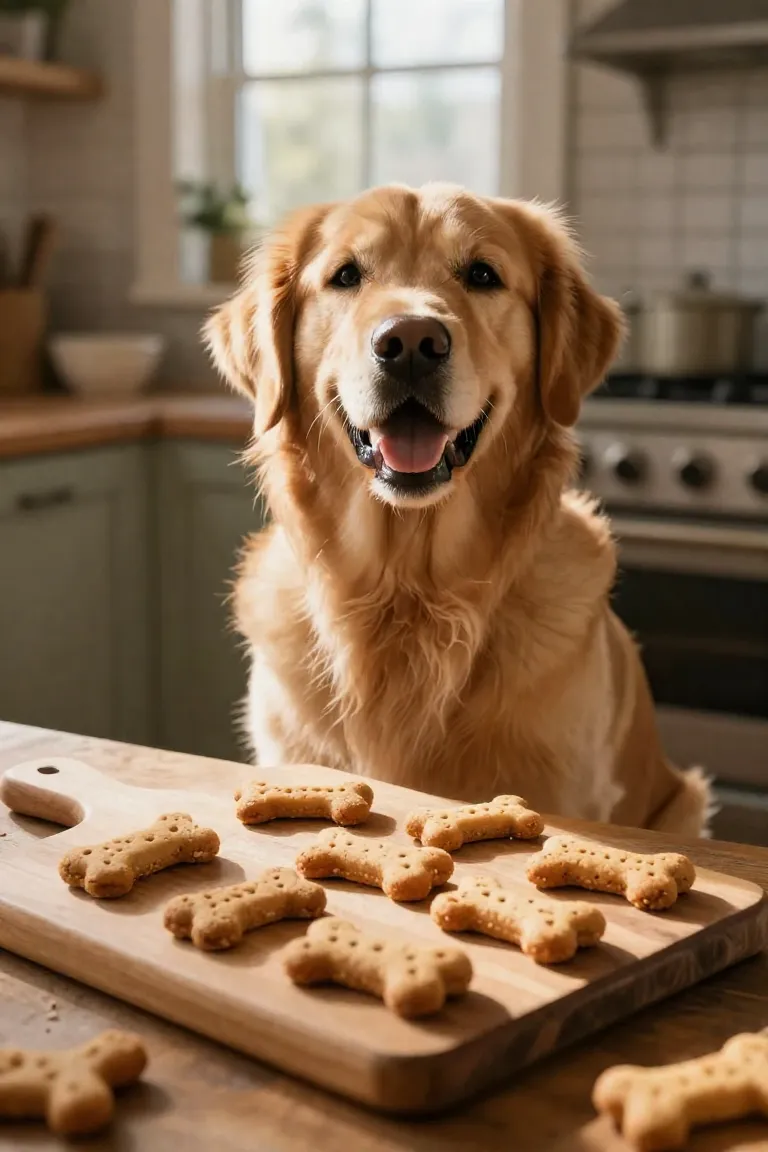
Small cookie cutters shaped like classic bones or mini paw prints yield the cleanest silhouettes when pressed firmly into the surface. For cutting dog treats with minimal waste, nest the cutter edges snugly against one another across the flattened dough before lifting the cutouts onto your lined baking sheet. Any leftover scraps gather quickly into a smooth secondary ball for one final gentle roll, maximizing every ounce of wholesome batter.
Step 4: Baking for that Irresistible Chewy Finish
Preheat your oven to 325°F (165°C), which is the sweet spot for gently cooking the starches without drawing out all the vital moisture. Maintaining this moderate baking temperature allows the edges to set delicately while locking in a pliable, tender bite. Slide the baking sheet onto the middle rack for approximately 18 to 22 minutes, keeping a close eye on the color during the final few minutes of baking.
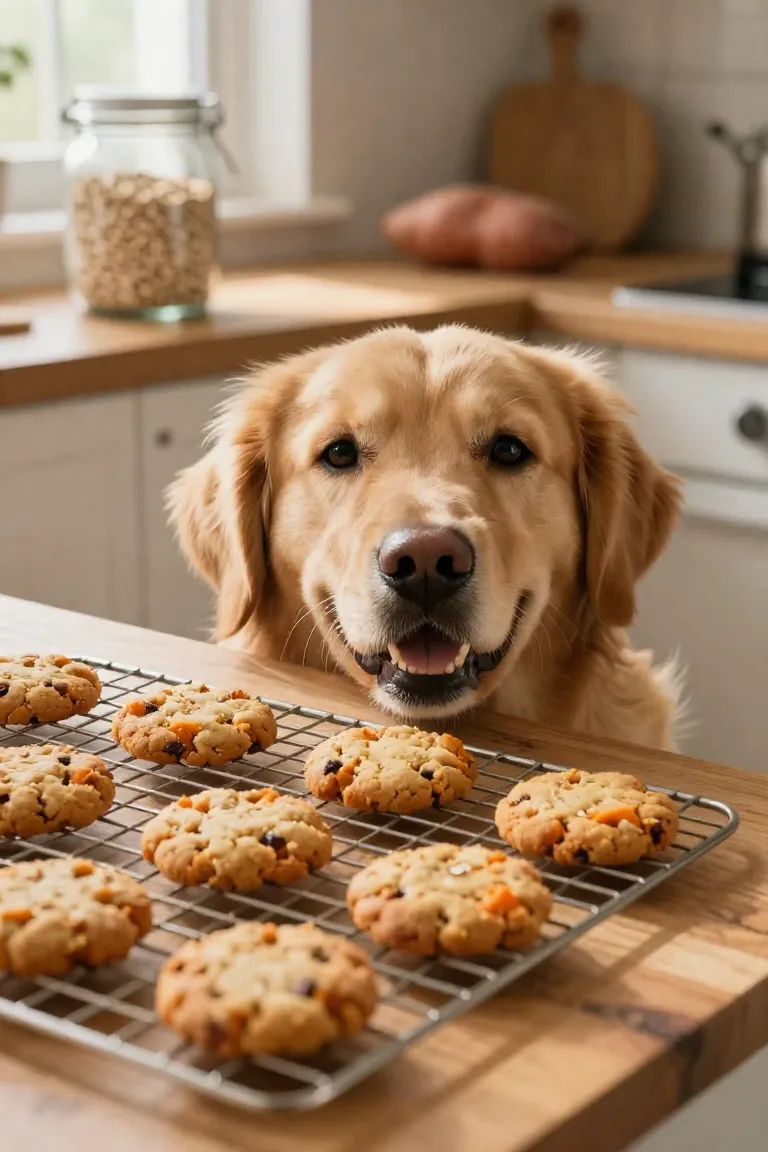
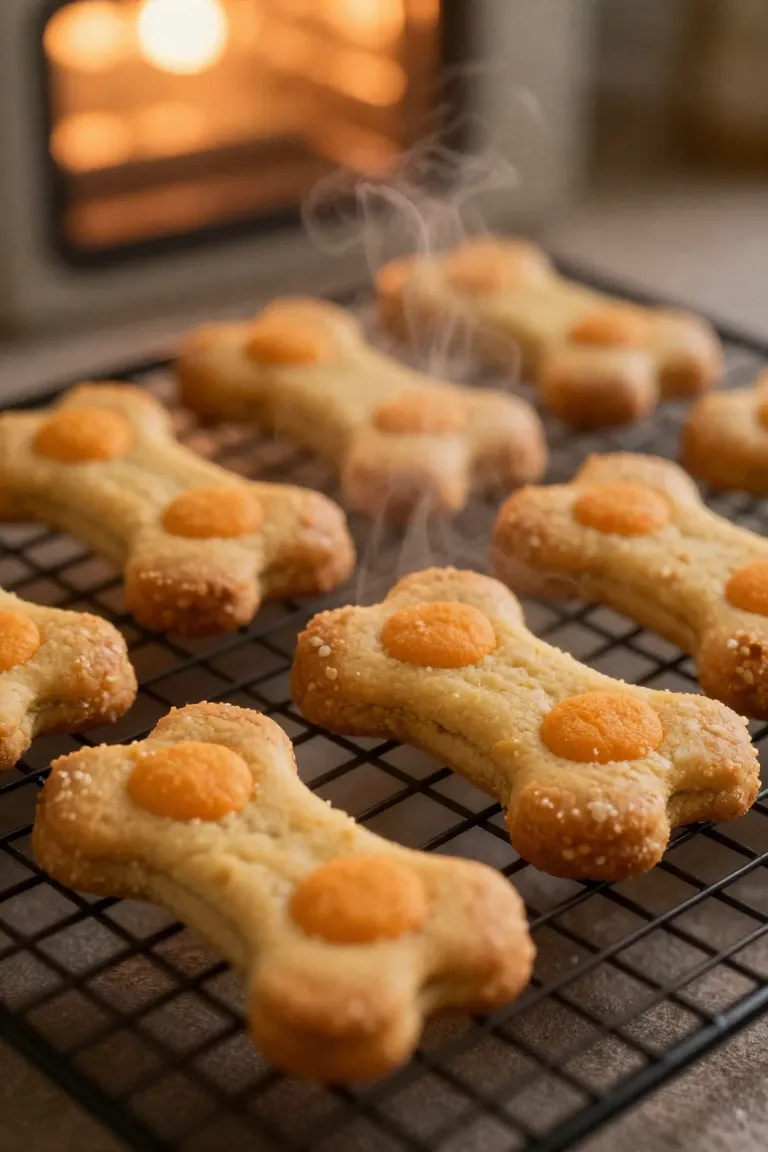
A quick press on the center of a biscuit tells you everything; the cookie should yield slightly under your fingertip rather than feeling rock-hard like a commercial biscuit. Immediate transfer to a wire cooling rack is essential, as trapped steam on a hot metal pan can turn the bottom soggy instead of yielding that signature chewy cookie texture. Once thoroughly cooled to room temperature, the treats achieve the ideal bite firmness that is gentle on canine teeth and gums.
Storage Tips to Keep Treats Fresh and Chewy
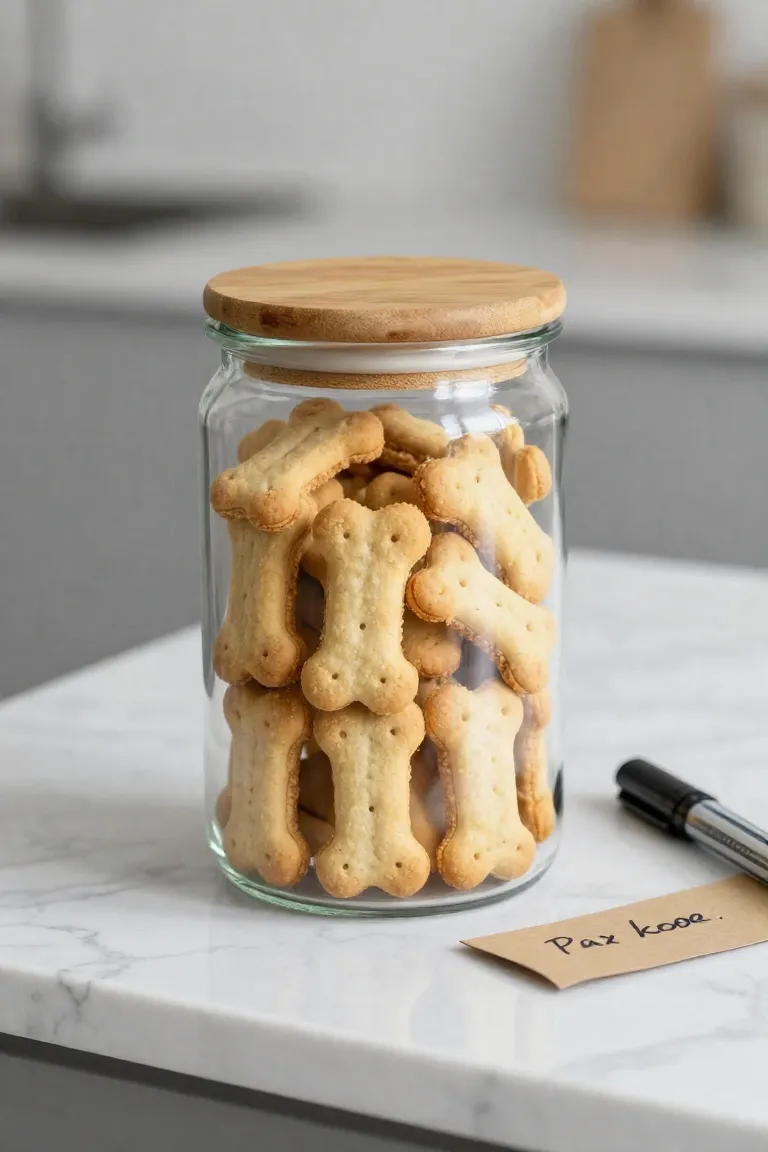
Because these oven-baked snacks skip artificial preservatives, storing homemade dog treats correctly is crucial to prevent mold and retain their soft bite. Keep your cooled batch in a sealed glass jar or silicone pouch on the counter for up to three days, or store them inside the refrigerator for up to two weeks to prolong freshness. When preparing larger batches ahead of schedule, freezing dog cookies in a single layer before transferring them into an airtight freezer bag keeps them good for three months. A quick ten-minute thaw on the counter restores their soft texture without making the crumb rubbery or dry.
Frequently Asked Questions About Homemade Dog Treats
Baking homemade canine snacks requires accurate recipe adjustments, safe storage practices, and appropriate portion sizing for different growth stages.
- Can you swap the base puree? Plain canned pumpkin or mashed butternut squash serve as reliable 1:1 sweet potato substitutes, providing similar binding moisture and gentle dietary fiber without altering your bake time.
- How long do they last in the fridge? Kept in an airtight glass container lined with a folded paper towel to absorb ambient moisture, these chewy bites retain optimal aroma and texture for up to seven days.
- Are they suitable for young puppies? Pups older than twelve weeks who have transitioned onto solid food can enjoy them safely, though you should break each piece into thumbnail-sized nibbles to accommodate smaller jaws.