Summary
- Introduction to Homemade Sweet Potato Oat Dog Cookies
- Why Sweet Potatoes and Oats Make the Perfect Dog Treat
- The Step-by-Step Walkthrough: Baking the Perfect Cookies
- Common Mistakes to Avoid When Baking Sweet Potato Dog Treats
- How to Store Homemade Dog Cookies Safely
- Frequently Asked Questions About DIY Dog Treats
- Final Thoughts on Baking Treats for Your Pup
Introduction to Homemade Sweet Potato Oat Dog Cookies
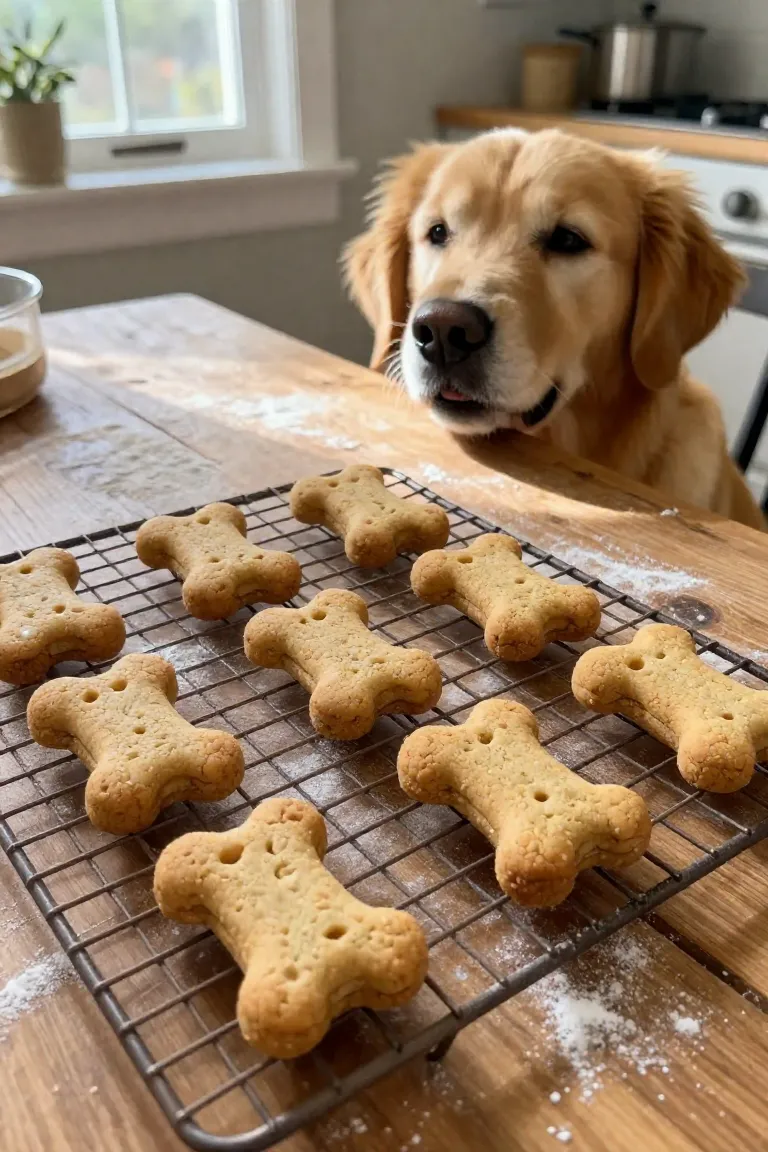
Preparing fresh batches of wholesome homemade dog treats lets you prioritize your pup's digestive wellness while filling your kitchen with cozy aromas. These naturally sweetened cookies offer a clean, reliable crunch every dog adores.
- Simple pantry ingredients with zero artificial fillers
- A detailed walkthrough covering every mixing and rolling step
- Crucial prep tips to avoid common dough mistakes
Why Sweet Potatoes and Oats Make the Perfect Dog Treat
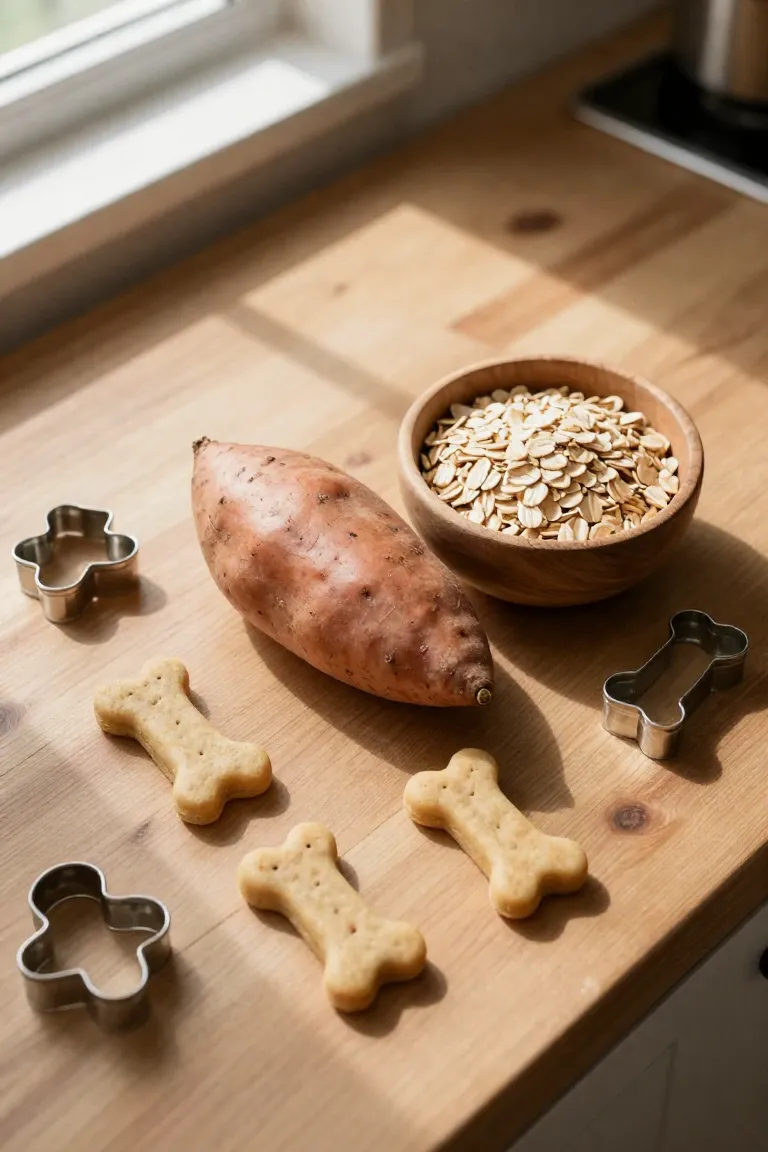
Fresh sweet potato mash provides a gentle source of beta-carotene and dietary fiber that promotes firm digestion while lending a subtle earthy sweetness your dog loves. When you pair this orange root vegetable with finely ground rolled oats, you create a nutrient-dense foundation that is naturally gentle on sensitive stomachs. The key benefits of sweet potatoes for dogs include a steady energy release, whereas slow-burning oats for dogs digestion offer prebiotic fibers that soothe the intestinal tract. Unlike commercial biscuits loaded with synthetic binders and artificial colors, this pairing relies solely on whole-food nourishment to build a crisp, gut-friendly bite.
The Step-by-Step Walkthrough: Baking the Perfect Cookies
This easy dog biscuit recipe requires zero professional pastry skills, making it the ideal entry point for anyone curious about diy dog baking. You will move methodically from boiling your root vegetable to cutting bone cutouts. Paying close attention to dough moisture and pan spacing ensures each treat bakes evenly without scorching along the edges. Tackling each step in order guarantees a batch that delivers consistent crunch and stays fresh for weeks in your treat jar.
Step 1: Preparing the Sweet Potato Mash
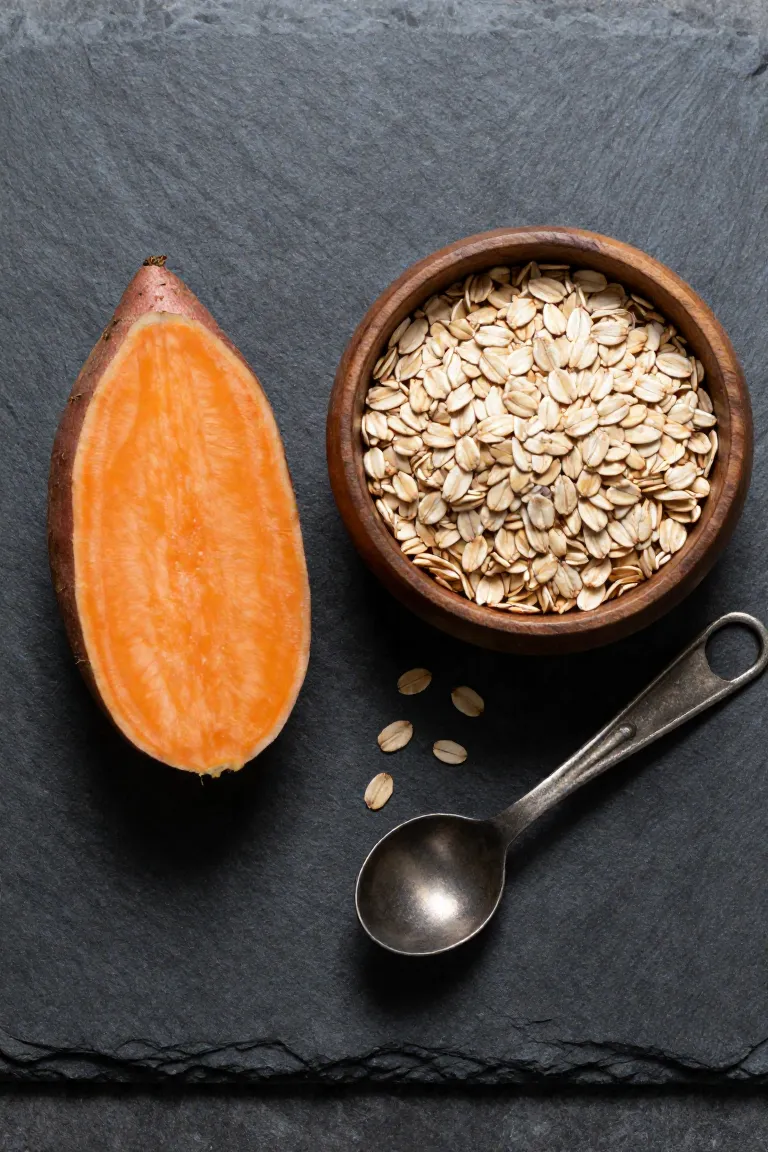
Start by peeling two medium sweet potatoes and cubing them into uniform chunks for even cooking. Whether you steam them in a basket over simmering water or boil them in a covered saucepan for fifteen minutes, test for readiness by piercing the center with a fork. When preparing dog treat ingredients from whole produce, achieving fork-tender softness ensures the base incorporates smoothly without leaving dry, unchewable bits in your finished biscuits.
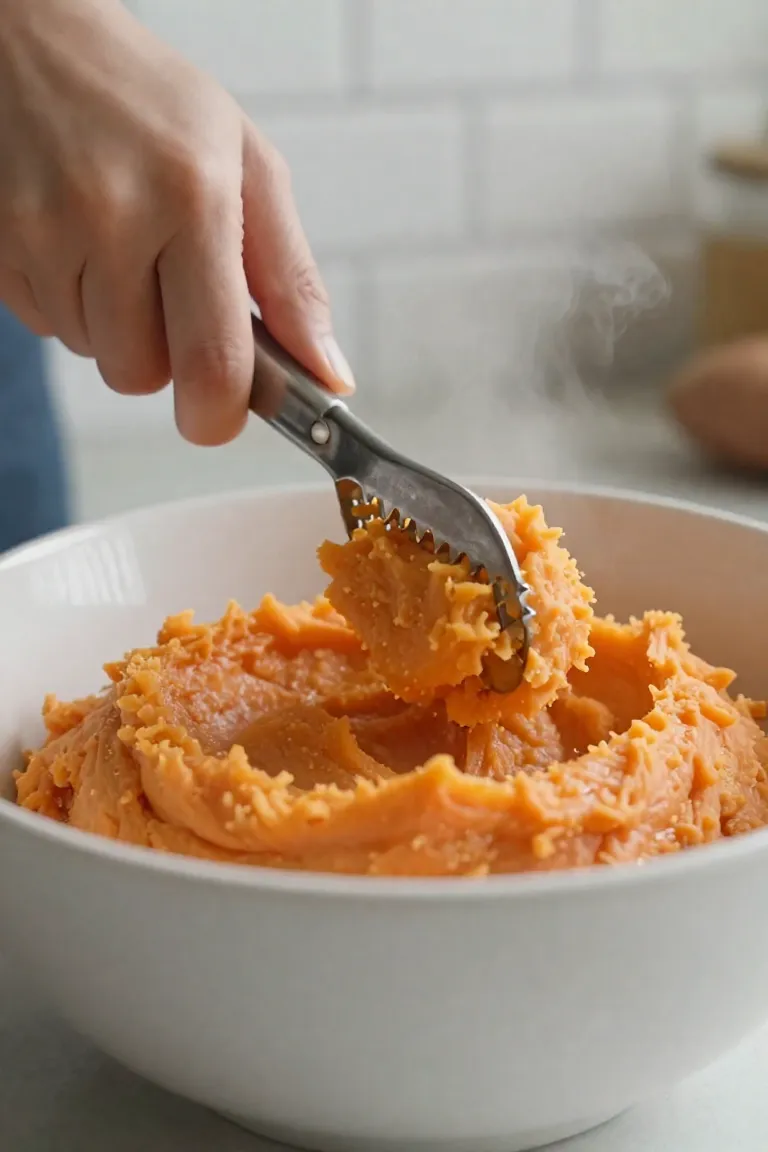
A standard potato masher or silicone fork works well to press out every firm pocket until you achieve a silky, uniform texture. Discard any tough, fibrous strings that linger along the sides of the bowl so your pup gets a gentle, digestible bite. Let the warm mashed sweet potato sit on the counter until it drops completely to room temperature, as residual heat can alter the flour binder and make your batch clumsy to handle.
Step 2: Blending the Oat Flour
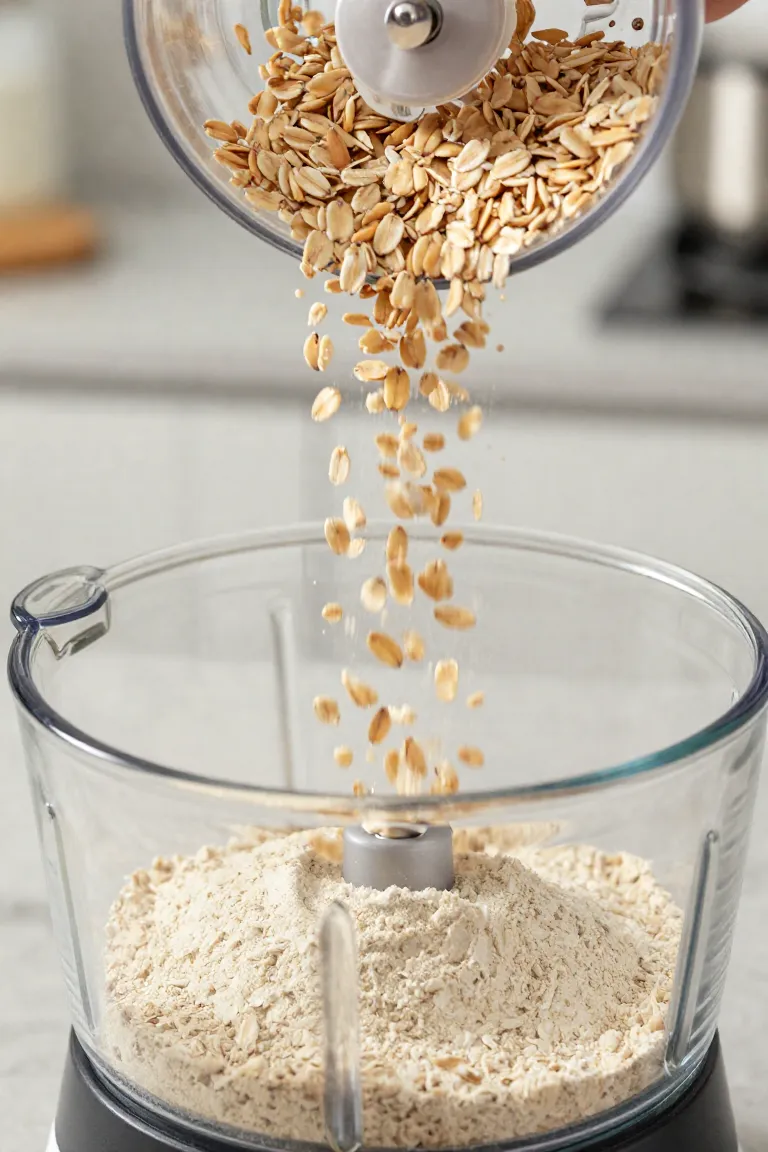
Pour two cups of standard old-fashioned rolled oats straight into a high-speed blender or food processor pitcher. Pulse the machine on high for about forty-five seconds, pausing once to scrape down the sides so no stray flakes escape the blades. The process of blending oats at home quickly produces a fine powdery flour that absorbs vegetable moisture more evenly than whole, coarse flakes.
Fresh batches of homemade oat flour save money compared to specialty store brands while avoiding the bleached starches found in commercial baking mixes. Whole oats deliver soluble fiber and plant-based protein that promote smooth digestion for sensitive canine stomachs without triggering common wheat sensitivities. You can stash any extra flour in an airtight mason jar for your next baking weekend.
Step 3: Mixing the Dough to the Right Consistency
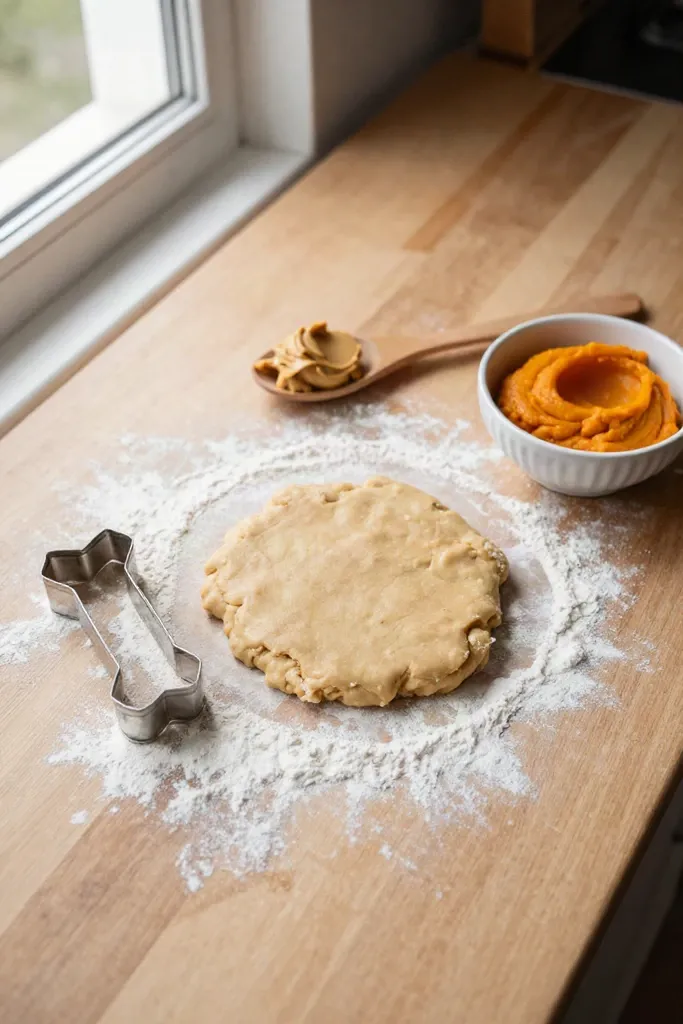
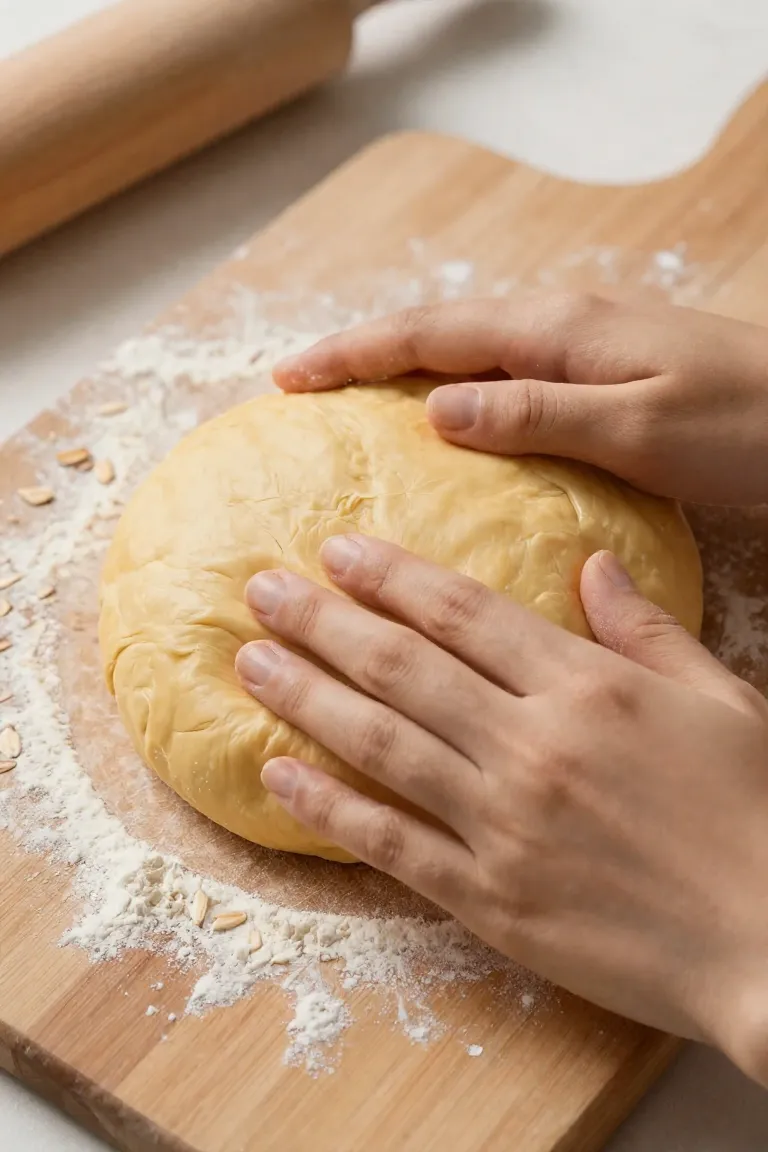
Scrape your cooled puree directly into a wide mixing bowl and gradually fold in the ground oats using a sturdy wooden spoon or clean hands. When evaluating your mixing dough consistency, aim for a cohesive ball that feels pliable and slightly tacky to the touch without clinging stubbornly to your fingers. If your dog cookie dough crumbles under gentle pressure, knead in a single teaspoon of lukewarm water at a time until the mixture holds together well. Dusting the mass with a tablespoon of extra flour quickly tames excess moisture if the mash felt overly watery, giving you a supple workable base that holds its shape beautifully across the cutting board.
Step 4: Rolling and Cutting the Shapes
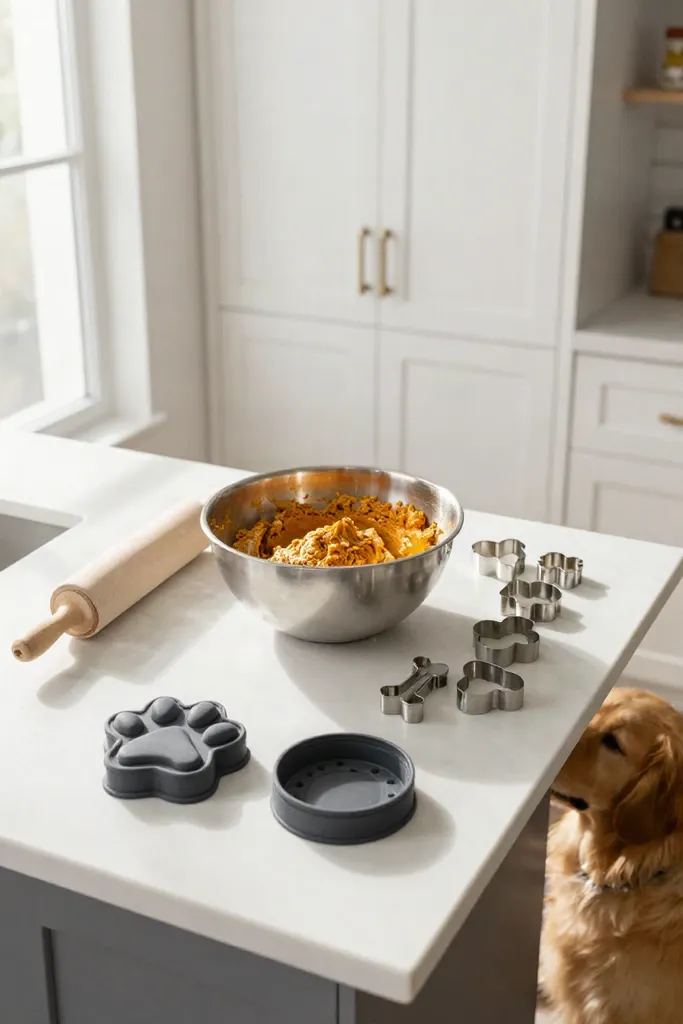
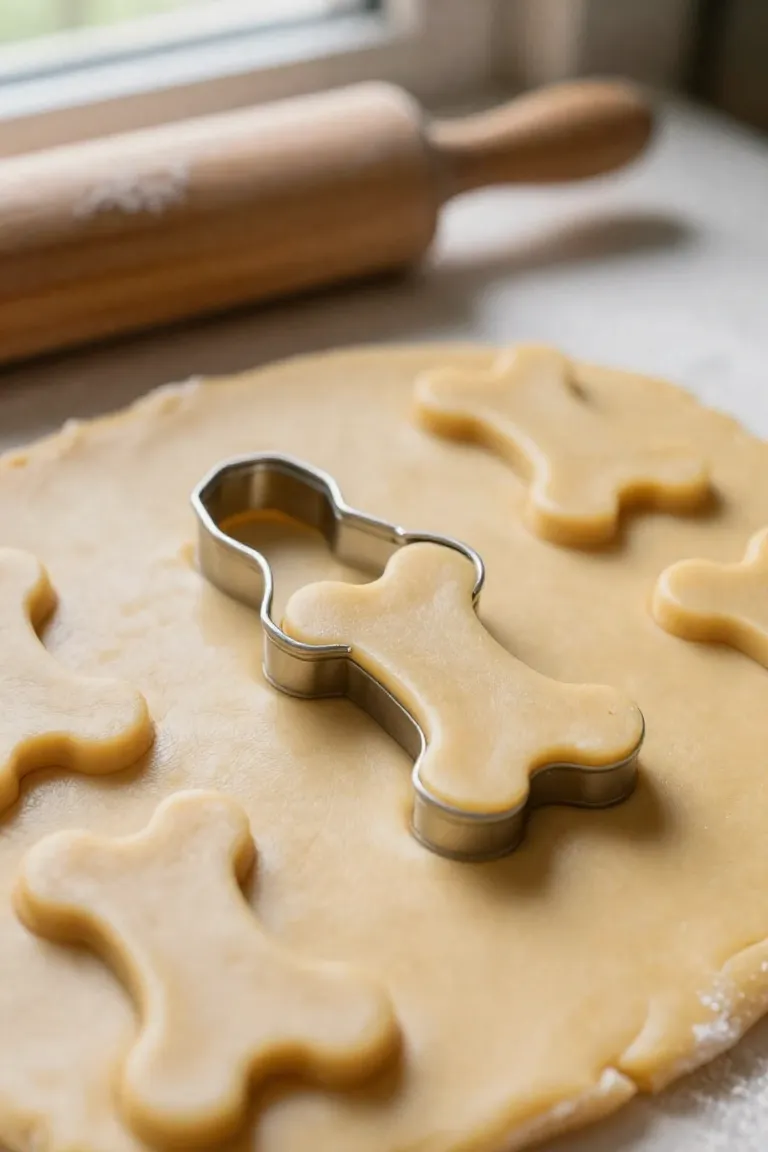
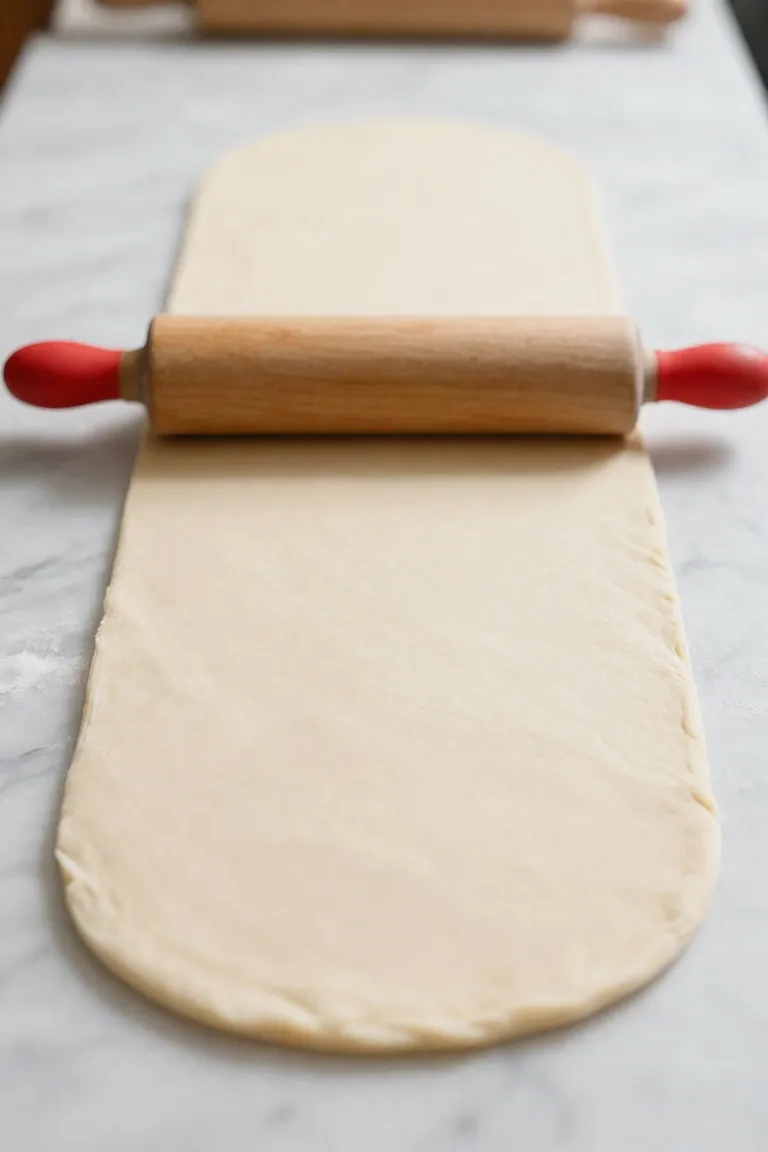
Lightly dust your rolling pin with extra oat flour before pressing into the prepared mixture, working from the center outward to keep everything level. Aim for a uniform slab roughly a quarter-inch thick so each treat cooks at the exact same rate in the oven, since rolling dough evenly prevents thinner edges from scorching before the centers dry out. Press metal dog bone cookie cutters firmly through the flattened sheet, wiggling them slightly to release clean defined edges before transferring the cutout shapes onto a parchment-lined baking sheet. After punching out the primary batch, gather the remaining perimeter scraps to knead them back into a cohesive mound, pressing it flat again until every scrap of nutritious dough is used up.
Step 5: Baking and Cooling for Maximum Crunch
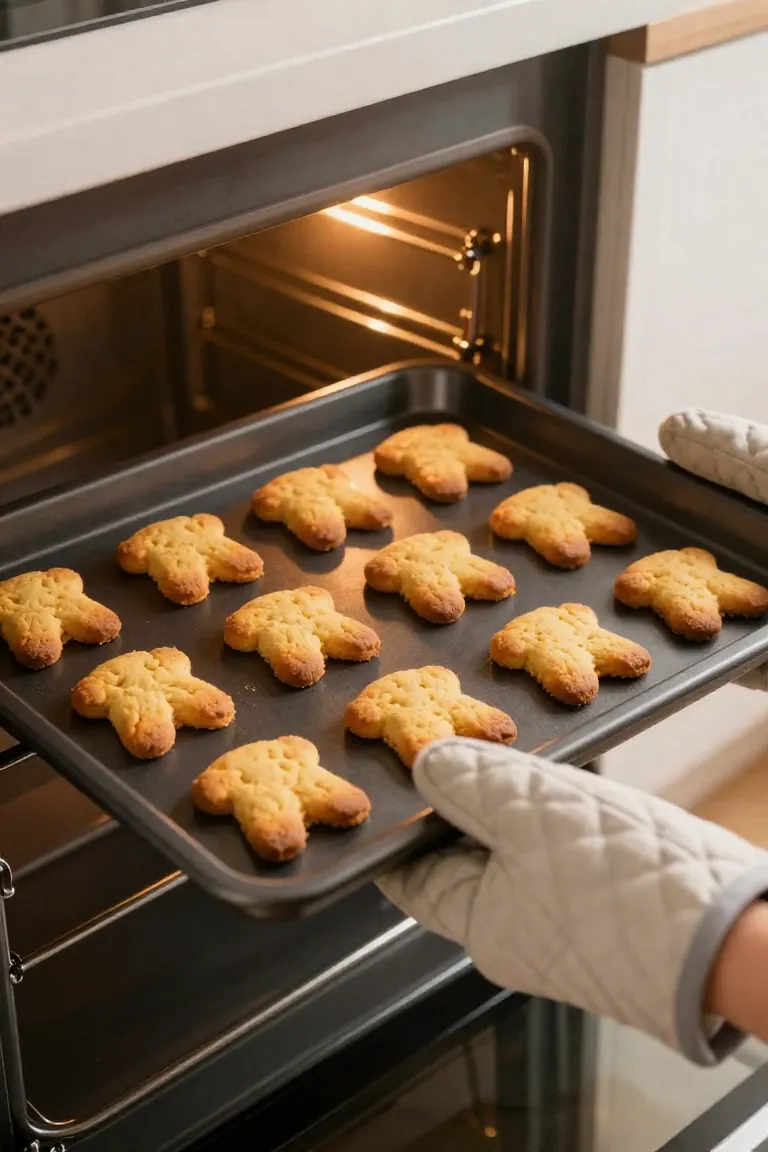
Slide the prepared tray straight into an oven preheated to 350°F (175°C), where steady moderate dry heat slowly dehydrates the dough into healthy, crunchy dog treats with a satisfying snap.
- Bake for 25 to 30 minutes, flipping every biscuit over halfway through the timer to ensure heat circulates evenly and prevents the underside from browning too quickly.
- Switch off the oven once the borders show a light golden hue, leaving the door slightly ajar for ten minutes so dry residual warmth can firm up the interior.
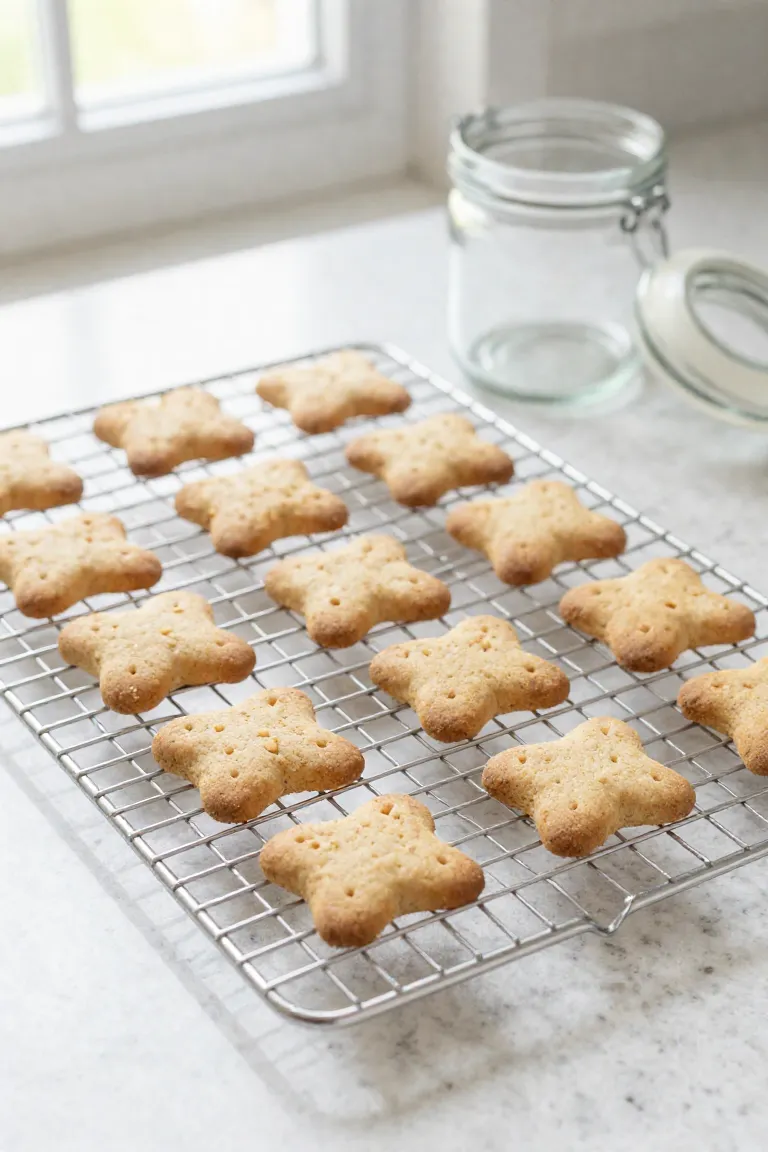
- Transfer the pieces onto an elevated wire rack until completely cold, as cooling baked dog treats with proper airflow underneath stops trapped condensation from softening the crumb.
Common Mistakes to Avoid When Baking Sweet Potato Dog Treats
Even with straightforward wholesome pantry staples, minor oversights during preparation can turn a kitchen project into a tray of scorched edges or crumbly biscuits. Frequent baking mistakes usually stem from small variables like rushing dough hydration or misjudging how different sweet potato varieties hold water. None of these slip-ups represent permanent setbacks. Looking at these moments as helpful guidance rather than ruined attempts builds your confidence whenever you step up to the mixing bowl.
A practical grasp of dog treat recipe troubleshooting allows you to pinpoint whether a minor flour adjustment or a slight oven temperature shift will rescue your cookies. Keeping these common pitfalls in mind helps you protect your dog's digestion while creating reliable, crunchy rewards every single time you preheat the oven.
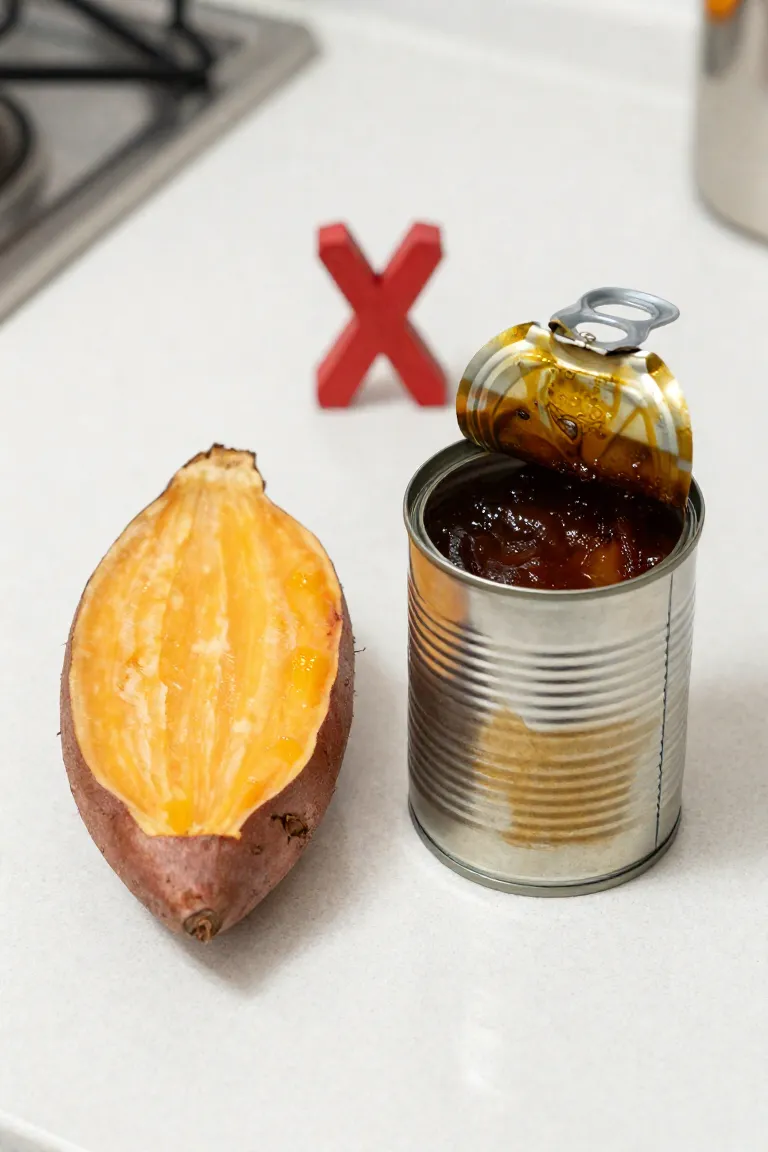
Mistake 1: Using Canned Sweet Potato Pie Filling
Grabbing a can off the grocery shelf seems like a convenient shortcut, but holiday pie mixes introduce serious health hazards to your baking session. Pre-seasoned canned fillings come packed with refined white sugars and artificial sweeteners like xylitol that pose severe metabolic threats to sensitive canine systems. Skipping the ingredient panel is dangerous because these additives quickly introduce toxic ingredients for dogs that ruin an otherwise wholesome batch.
In your kitchen pantry, look strictly for labels with one single item listed or roast whole tubers on a sheet tray until tender. A plain tin of pure sweet potato puree gives you full control over moisture balance and dietary fiber without hidden syrups or chemical preservatives creeping into your dog's diet. This straightforward choice protects your pup's digestion while preserving the clean, natural flavor they genuinely love.
Mistake 2: Making the Dough Too Sticky or Too Dry
Kitchen humidity and the natural water content in cooked sweet potatoes will shift your dough texture every time you bake. If your mixture holds too much liquid, it clings stubbornly to cookie cutters and tears across the countertop. A dry blend fissures and creates crumbly cookie dough that refuses to hold clean edges. Paying attention to tactile cues during kneading prevents these structural headaches before you start shaping treats.
As a simple sticky dough fix, work in an extra tablespoon of oat flour at a time until the surface feels pliable like soft modeling clay. When the mixture feels powdery or stiff under your palms, sprinkle a teaspoon of lukewarm water over the bowl and fold gently to restore elasticity. Finding that supple middle ground ensures your cutout shapes release easily onto the parchment paper without losing their defined outlines.

Mistake 3: Rolling the Dough Unevenly
Passing a standard rolling pin across the counter with unequal downward pressure creates uneven heat distribution once your tray enters the oven. Wafer-thin sections brown rapidly into charred edges while chunky centers stay spongy and harbor residual moisture that spoils quickly in storage. Slide silicone guide rings directly onto your pin or flank the dough with quarter-inch wooden dowels to maintain an even dough thickness from center to edge. This physical spacer standardizes your rolling depth, creating consistent heat penetration across the entire baking sheet. The resulting uniform profile is the secret to baking even cookies that dry out thoroughly and deliver that satisfying, tooth-cleaning crunch your dog expects.
Mistake 4: Skipping the Cooling Process
Rushing fresh biscuits straight into glass jars or leaving them trapped inside a warm oven creates ambient steam that softens brittle crusts. Trapped moisture quickly turns a crunchy texture soggy while providing the humidity mold spores need to thrive. When storing dog cookies, preventing mold on dog treats starts with complete thermal release outside the baking pan.
- Transfer hot biscuits onto an elevated wire cooling rack within two minutes of leaving the oven so room air circulates freely around every surface.
- Allow the biscuits to rest undisturbed for at least two hours until the centers reach room temperature without a trace of lingering heat.
- Snap one tester cookie in half to confirm zero warm steam pockets remain inside before packing your batch away.
How to Store Homemade Dog Cookies Safely
Because whole-food kitchen snacks contain zero artificial preservatives, disciplined dog treat storage keeps your hard-earned batch crisp and wholesome for daily training sessions. Once every biscuit sheds its oven heat completely, tuck the batch into a sterile glass jar or airtight food-grade canister sealed with a silicone gasket. Kept in a cool, dark pantry away from direct sunlight, these crunchy biscuits stay fresh for roughly five to seven days. For extended routines, freezing homemade dog biscuits in a double-zippered freezer pouch protects shelf life for up to three months without flavor loss. Label the container lid with masking tape and the bake date so you track freshness at a glance, thawing a few rewards at room temperature each morning.

Frequently Asked Questions About DIY Dog Treats
Addressing common dog baking FAQs keeps your homemade snack routine safe and nutritionally sound. You can fold two tablespoons of unsalted, xylitol-free peanut butter dog treats batter together with the sweet potato puree for extra aroma, provided the label lists only pure roasted peanuts. Puppies older than twelve weeks can also enjoy these biscuits once they digest solid kibble comfortably, though breaking each piece into bite-sized nibbles prevents choking risks during teething.
Daily treat portions should consistently follow the ten percent veterinary caloric guideline so supplemental snacks never crowd out balanced meals. For a typical medium-sized dog, offering two to three crunchy biscuits throughout the day provides plenty of enrichment while delivering wholesome dietary fiber. If your pup has a sensitive stomach, introduce single crumbs gradually across several days to observe digestion before making these oven-baked snacks a regular reward.
Final Thoughts on Baking Treats for Your Pup
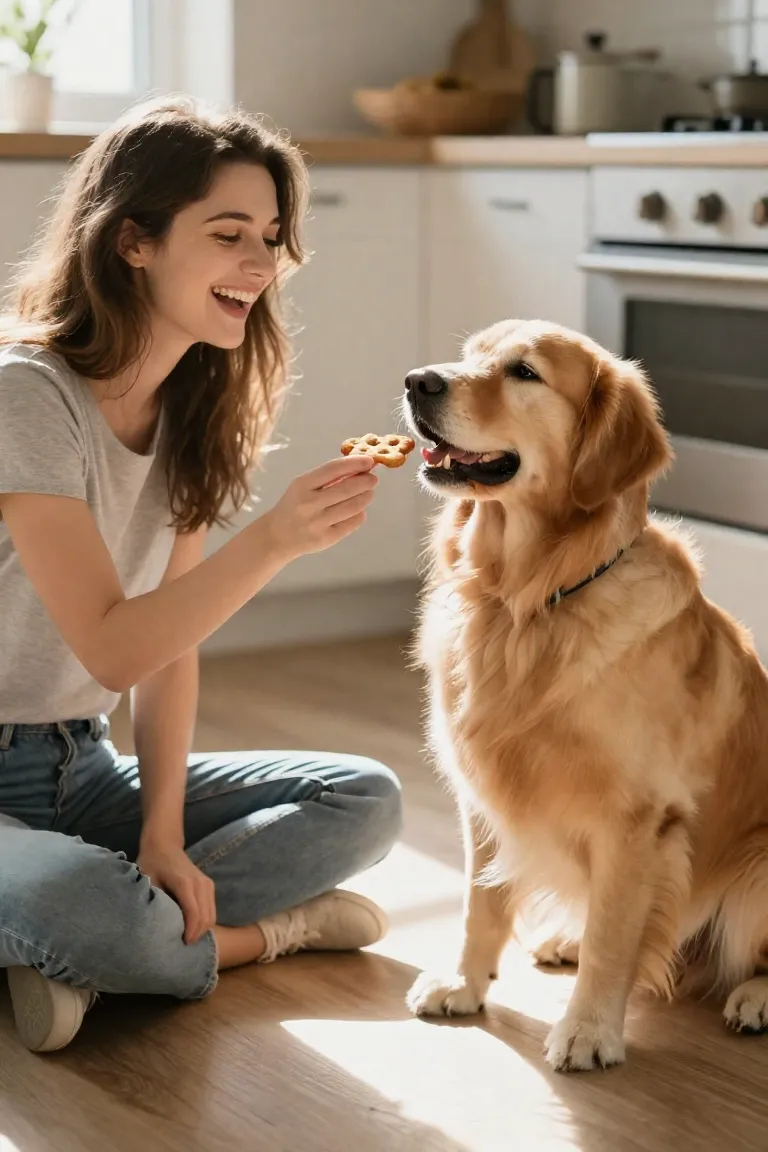
Taking control of the mixing bowl gives you genuine confidence about every single ingredient entering your dog's dish. Spending an afternoon rolling out simple dough turns kitchen time into a shared ritual, supporting a healthy dog lifestyle grounded in wholesome nutrition and active bonding. Thoughtful baking for pets doesn't require culinary mastery, just basic pantry staples and a pup waiting patiently by the oven door.
- Save this treat guide to your dog care Pinterest board so this quick recipe remains handy whenever the treat jar runs low.
- Leave a note in the comments describing how your pup enjoyed their first crunchy bite, or share any custom herb twists you tried.
- Post a snapshot of your golden baked cookie tray on social feeds to inspire other pet owners exploring wholesome homemade snacks.