Introduction: The Joy of Baking Healthy Dog Treats
Filling your kitchen with the warm aroma of oven-fresh biscuits is a simple way to show your pup extra love. Baking healthy homemade dog treats gives you complete control over every ingredient, swapping artificial fillers for gut-friendly fiber. With gentle complex carbohydrates, the natural benefits of sweet potato for dogs soothe sensitive stomachs while delivering steady afternoon energy and essential antioxidants.
Visual Ingredient Guide: What You Need
Setting up your countertop station requires only a handful of pantry staples rather than an endless grocery list. Clean, whole-food nourishment begins when you focus on unrefined sweet potato dog treat ingredients that work together without artificial binders or preservatives. When you are baking for dogs at home, relying on fresh produce and rustic grains provides wholesome canine nutrition that tastes rich while remaining gentle on your companion's everyday digestion.
1. Freshly Steamed Sweet Potatoes
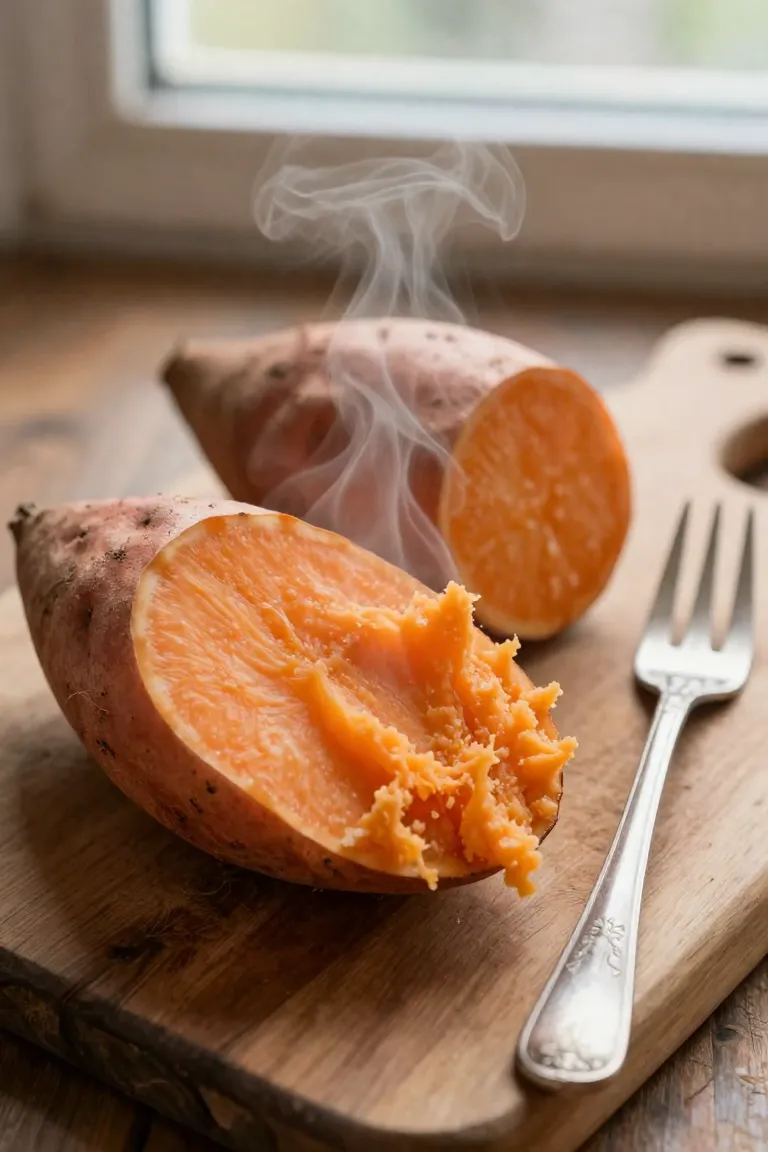
Choosing firm, medium-sized root vegetables with smooth copper skin gives you the sweetest flavor and highest beta-carotene content for dough mixing. Gently preparing sweet potato roots through thermal steam keeps water-soluble vitamins intact rather than leaching essential minerals away into a boiling pot.
- Cook peeled cubes over medium steam until a fork slides through with zero resistance.
- Let the cooked pieces cool completely to room temperature before mashing to avoid clumping the batter.
- Use steamed sweet potatoes for dogs as a hydrating binder that keeps the baked cookies crisp yet tender.
2. Whole Grain Rolled Oats
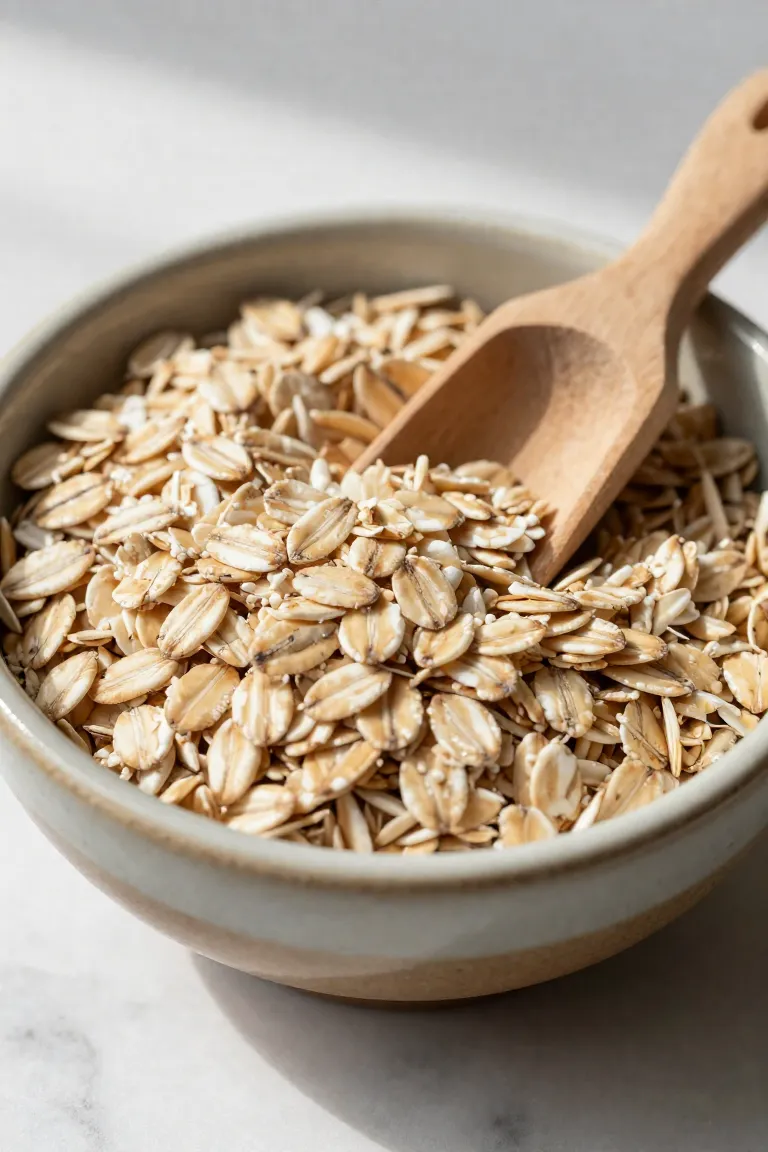
Once the cooked sweet potato cools, pure oats step in to provide structure, absorbing excess moisture and creating a workable dough. Among wholesome dog friendly grains, rolled oats for dogs deliver gentle, soluble fiber that aids digestion while functioning as a reliable gluten-free binder to hold cookie cutouts together on the tray.
Standard old-fashioned flakes work much better than quick-cooking or instant varieties for homemade biscuits. Instant packets often undergo heavy steaming and fine chopping, which turns dough into a gummy paste rather than a crisp biscuit, and they occasionally hide unnecessary preservatives or sodium. Whole rolled groats preserve their natural nutty aroma, giving your pup a satisfying chew that bakes evenly from crust to center.
Step-by-Step Recipe Tutorial
Getting your kitchen ready takes less than five minutes because this easy dog cookie recipe relies on basic pantry staples and minimal kitchen tools you already own. You do not need an electric stand mixer or delicate silicone molds to produce nourishing crunchy rewards. Approaching the simple workflow of baking dog treats step by step keeps counter cleanup breezy: gather a standard mixing bowl, a sturdy fork, and a rimmed baking sheet lined with parchment paper. Soon, two whole-food ingredients turn into golden, oven-baked goodies that fill the kitchen with a gentle, toasted oat aroma while your dog waits patiently by the oven door.
1. Mashing the Base Ingredients
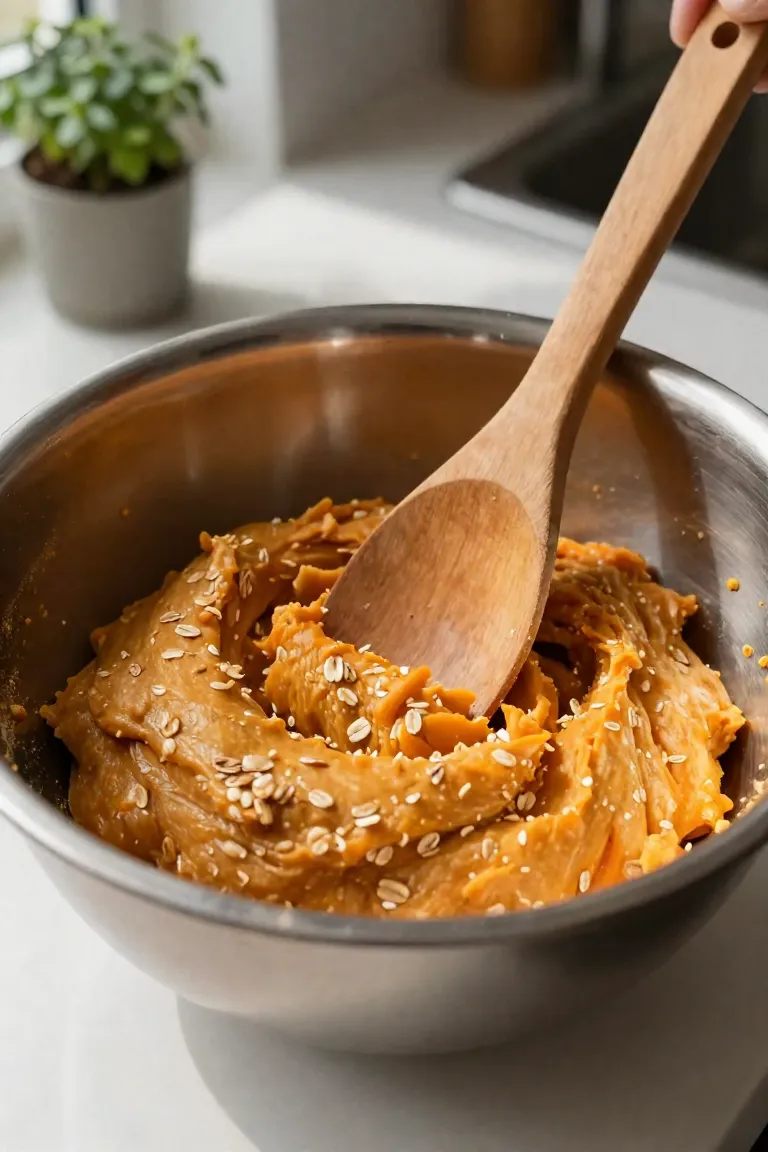
Begin by pressing your cooled sweet potato rounds with a potato masher or heavy fork against the bottom of the bowl until a smooth, lump-free puree emerges. The natural moisture released during mashing sweet potato creates your hydrating foundation, so take an extra minute to eliminate large chunks that might cause uneven spots later. When mixing dog treat dough, fold the rolled oats in gradually, half a cup at a time, allowing the dry flakes to absorb the puree. If the mixture feels a bit sticky or wet to the touch, sprinkle in an extra tablespoon of oats; if it seems crumbly and dry, knead in a splash of warm water until a pliable ball pulls cleanly away from the bowl edges.
2. Rolling and Cutting Fun Shapes
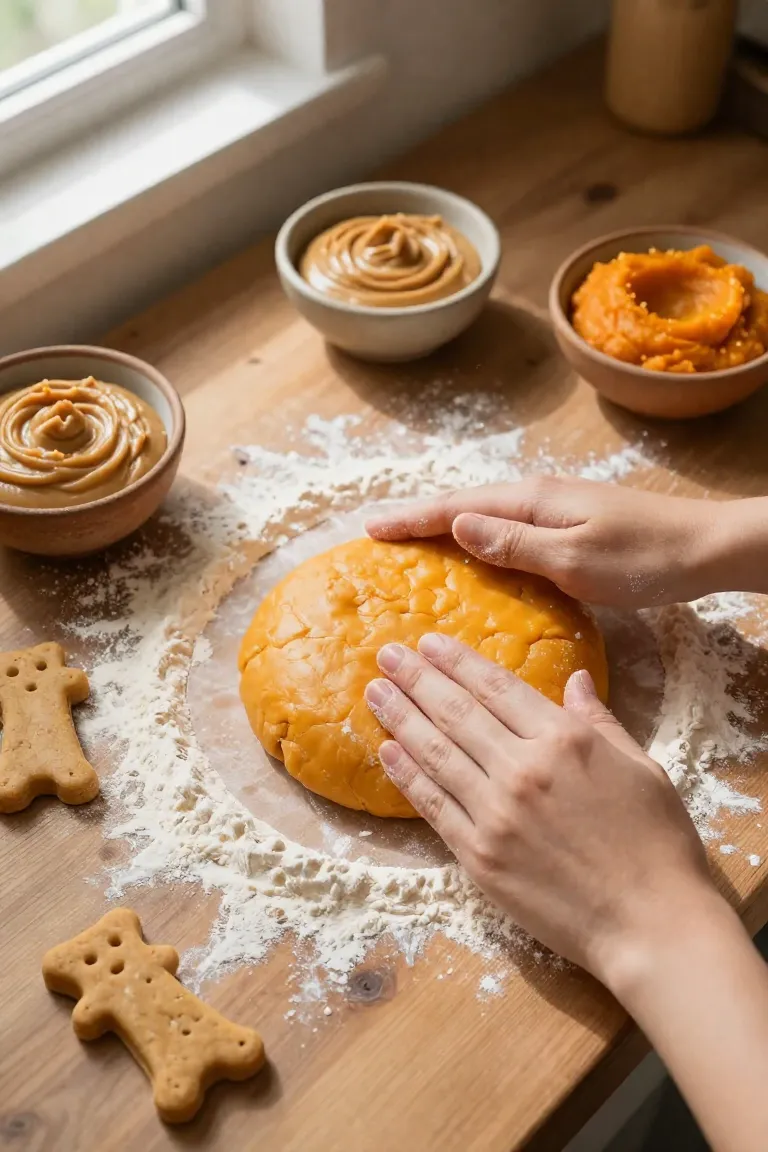
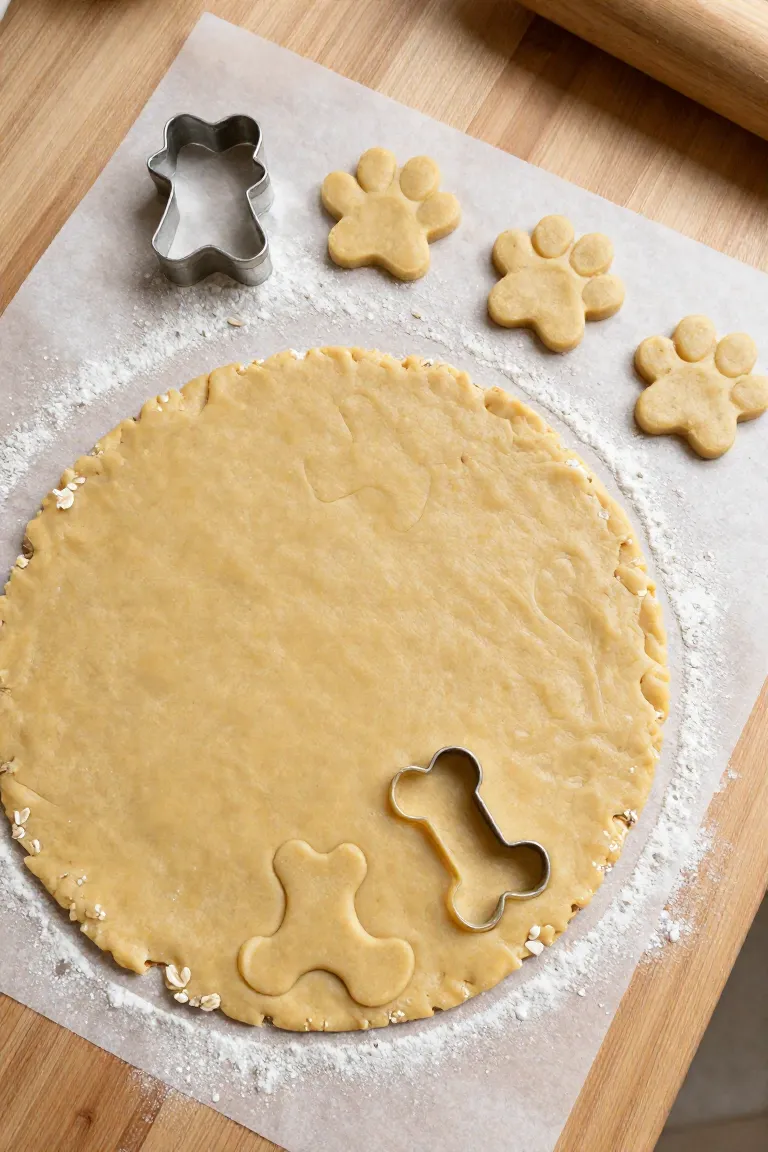
Dust your kitchen counter with a light scattering of oat flour and transfer that smooth dough ball right to the center. Flatten the mass slightly with your palms before smoothing it out with a rolling pin to a uniform quarter-inch thickness, ensuring every biscuit bakes at an even rate. When shaping dog treats for your companion, neat edges give the biscuits that charming bakery-counter feel.
- Press a small dog bone cookie cutter firmly into the rolled slab, giving it a slight twist before lifting to produce crisp, clean borders.
- Miniature paw molds or classic round biscuit cutters work wonderfully for creating bite-sized training rewards tailored to smaller dog breeds.
- Gather the leftover dough scraps, re-roll the mixture between two parchment sheets, and stamp out a second pass so nothing goes to waste.
3. Baking to a Perfect Crunch
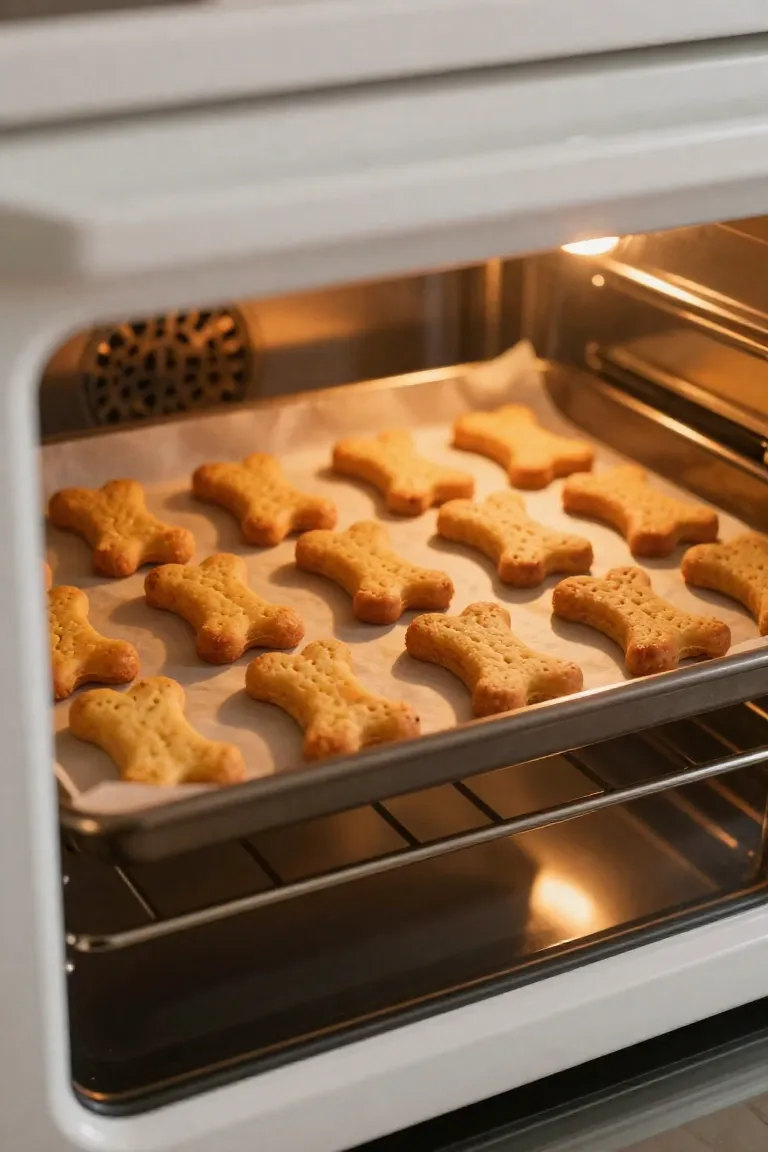
Slide your lined baking sheet into an oven preheated to 350°F (175°C) and let the dry heat draw out residual moisture. When baking sweet potato dog treats, patience is your best tool for achieving a satisfying snap that naturally scrapes plaque from canine molars during chew sessions.
- Bake the biscuits for 25 to 30 minutes until the base turns a golden biscuit hue and the edges feel firm to a gentle tap.
- Turn off the heat, prop the oven door open with a wooden spoon, and leave the tray inside for an extra twenty minutes to yield exceptionally crunchy dog cookies.
- Cool the batch completely on an elevated wire rack so trapped steam can escape without softening the underside.
Creative Plating and Serving Ideas
Once your homemade biscuits have fully cooled, thoughtful dog treat presentation turns simple kitchen snacks into festive moments worth celebrating. Arranging warm orange bone-shaped biscuits across a shallow ceramic dish or a rustic cutting board immediately captures the cozy charm of homemade pet care. Whether you are prepping a weekend obedience session or commemorating an adoption milestone, taking a minute to compose the dish adds playful intention to everyday care routines.
Natural morning light near a kitchen window creates the ideal setting for styling dog food before your pup digs in. A low-angle photo capturing your dog's curious nose alongside clean linen napkins and warm biscuit silhouettes yields charming snapshots for your feed.
1. The Enrichment Bowl Scatter
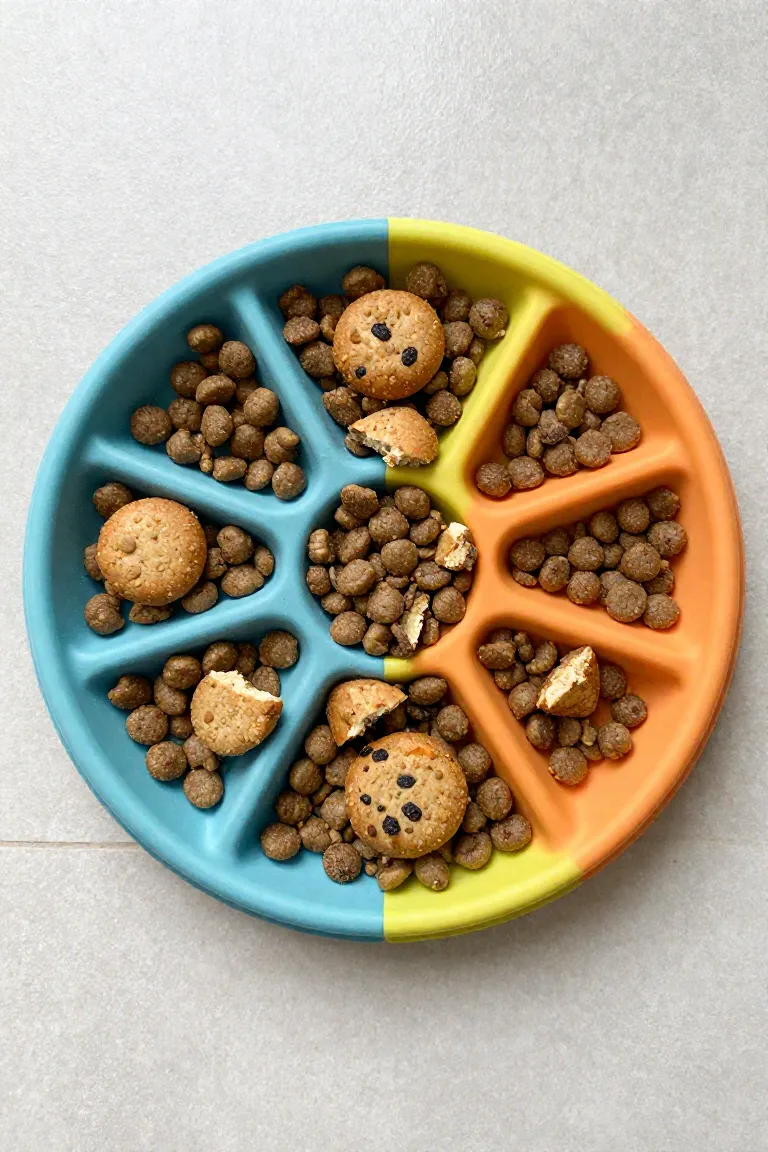
Transforming these baked biscuits into interactive playtime turns dinner into a rewarding puzzle. Instead of handing over a whole biscuit, snap a couple into bite-sized morsels and toss them across your pup's kibble. For dogs that quickly gulp down their meals, wedging these crunchy pieces between the silicone ridges of a puzzle dish provides immediate mental stimulation. This practice works well as a simple dog enrichment idea because it slows down digestion while encouraging healthy foraging instincts right at home.
In low-activity afternoons, these homemade crunchies work brilliantly as slow feeder bowl treats paired with a spoonful of pumpkin purée or plain Greek yogurt. The contrasting textures keep your dog focused, giving them an engaging sensory workout that burns mental energy before naptime.
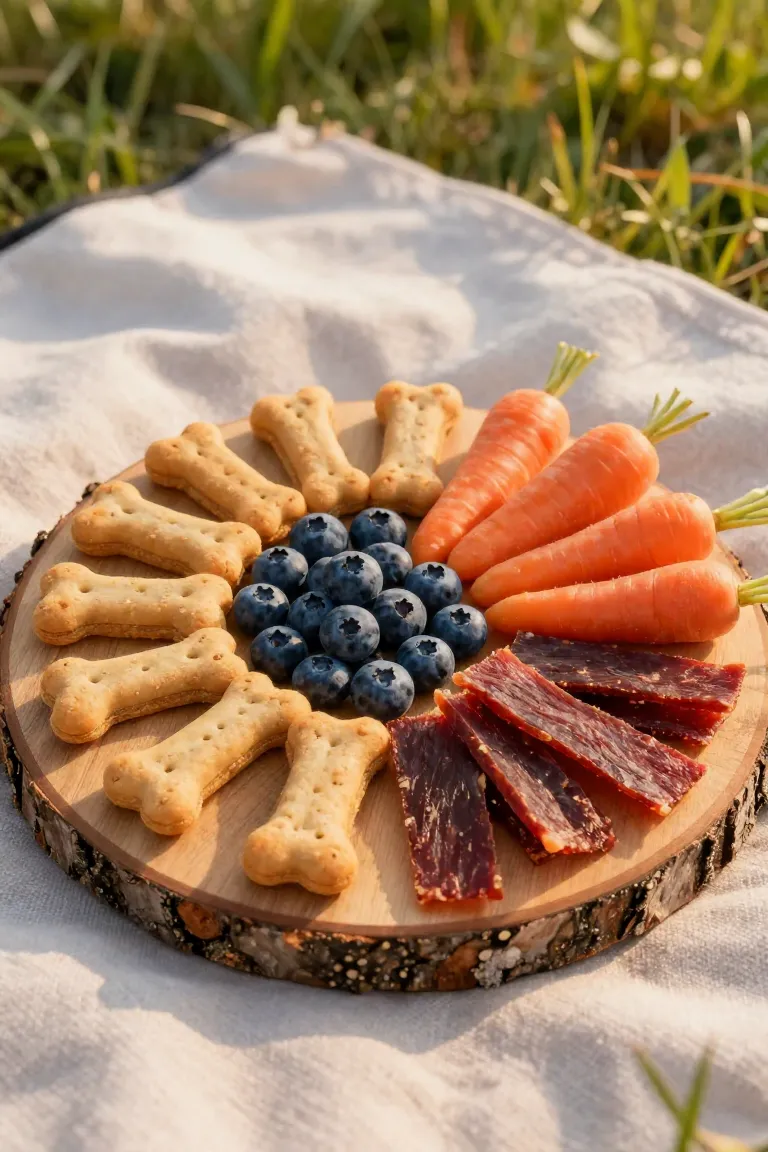
2. The 'Barkcuterie' Board
Special milestones call for an appetizing, picture-worthy presentation that makes your four-legged companion feel truly celebrated. Arrange a shallow wooden platter with your golden sweet potato crunchies clustered around dog-safe accents like crisp apple slices and savory single-ingredient beef jerky. Crafting a balanced barkcuterie board offers a playful centerpiece for family gatherings, letting you customize the layout with wholesome textures your dog loves.
For hosts scouting fresh dog birthday treat ideas, this styled snack platter keeps portions fully controlled while creating clear photo opportunities before the party begins. Just remember to slice all raw fruit into petite, bite-safe portions so your guest of honor can safely nibble without any choking hazards.
3. The Glass Jar Display
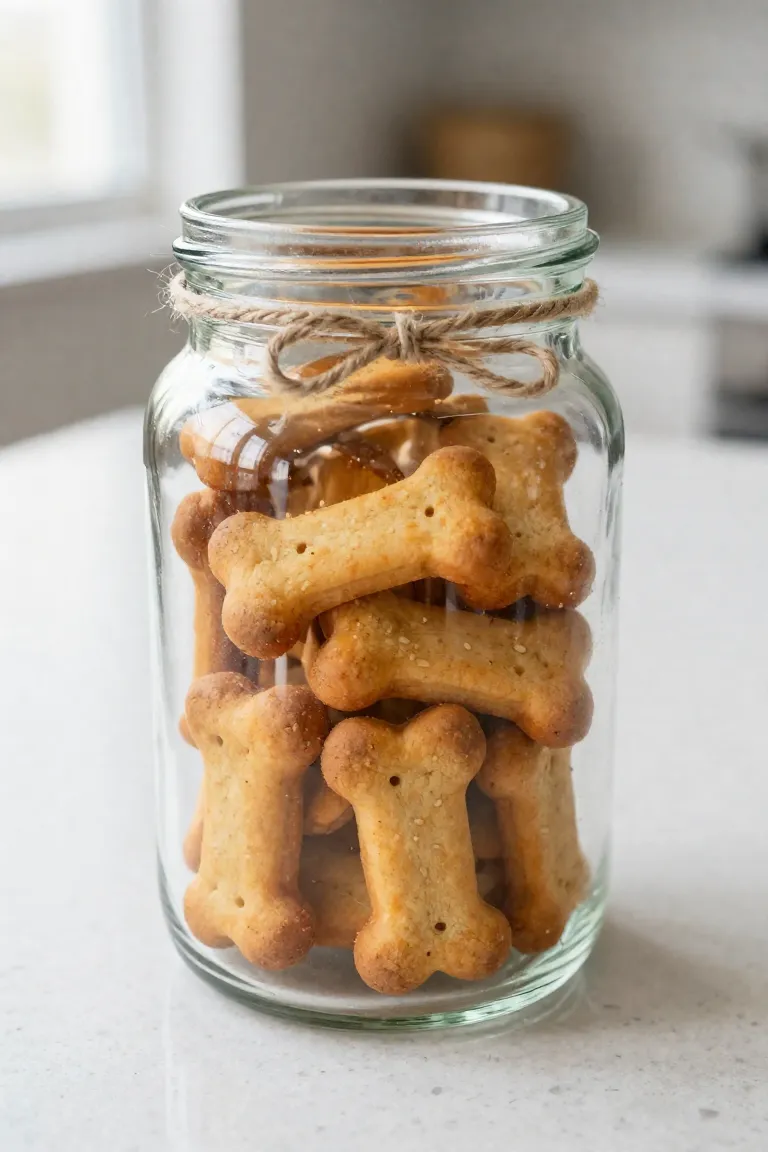
Tucking your freshly baked batches into decorative clear canisters bridges practical utility with warm countertop charm. Thick glass vessels with snug bamboo lids keep moisture out, preserving the crisp texture of your biscuits while putting their rustic, golden color on full display. This purposeful approach to dog treat storage means reward time stays within arm's reach during training sessions or quick morning routines.
On neutral stone surfaces and aesthetic kitchen counters, these transparent glass jars look right at home alongside your own coffee beans or dry pantry goods. A simple linen tie or minimalist label keeps the setup feeling cohesive with the rest of your kitchen decor while keeping your hound's favorite snacks fresh all week.
Storage Tips and Shelf Life
Because these wholesome sweet potato and oat biscuits lack commercial preservatives, managing moisture levels is crucial to keeping them fresh and mold-free. When storing homemade dog treats on your kitchen counter, make sure the biscuits are completely cooled before sealing them inside an airtight container for three to five days away from direct sunlight. If you live in a warm or humid climate, sliding the container into the refrigerator easily extends their crisp texture for up to two weeks without any risk of spoilage. For larger weekend bake sessions, freezing dog cookies on a parchment-lined tray before packing them into airtight freezer bags preserves their rich flavor for up to three months. You can simply grab one or two treats twenty minutes before training sessions, letting them thaw naturally on the counter so your pup enjoys the same satisfying crunch as day one.